 “There’s a hole in this cake,” says Maria Portocalos in My Big Fat Greek Wedding, when presented with a Bundt from her soon-to-be-in-laws. So what exactly is a Bundt cake? According to Wikipedia, the Bundt is based on a European fruit cake called Gugelhupf or, in the north of Germany, Bundkuchen. The Nordic Ware company began making Bundt pans in the U.S. in the 1950s and, with the help of some publicity from Pillsbury, the pans became popular.
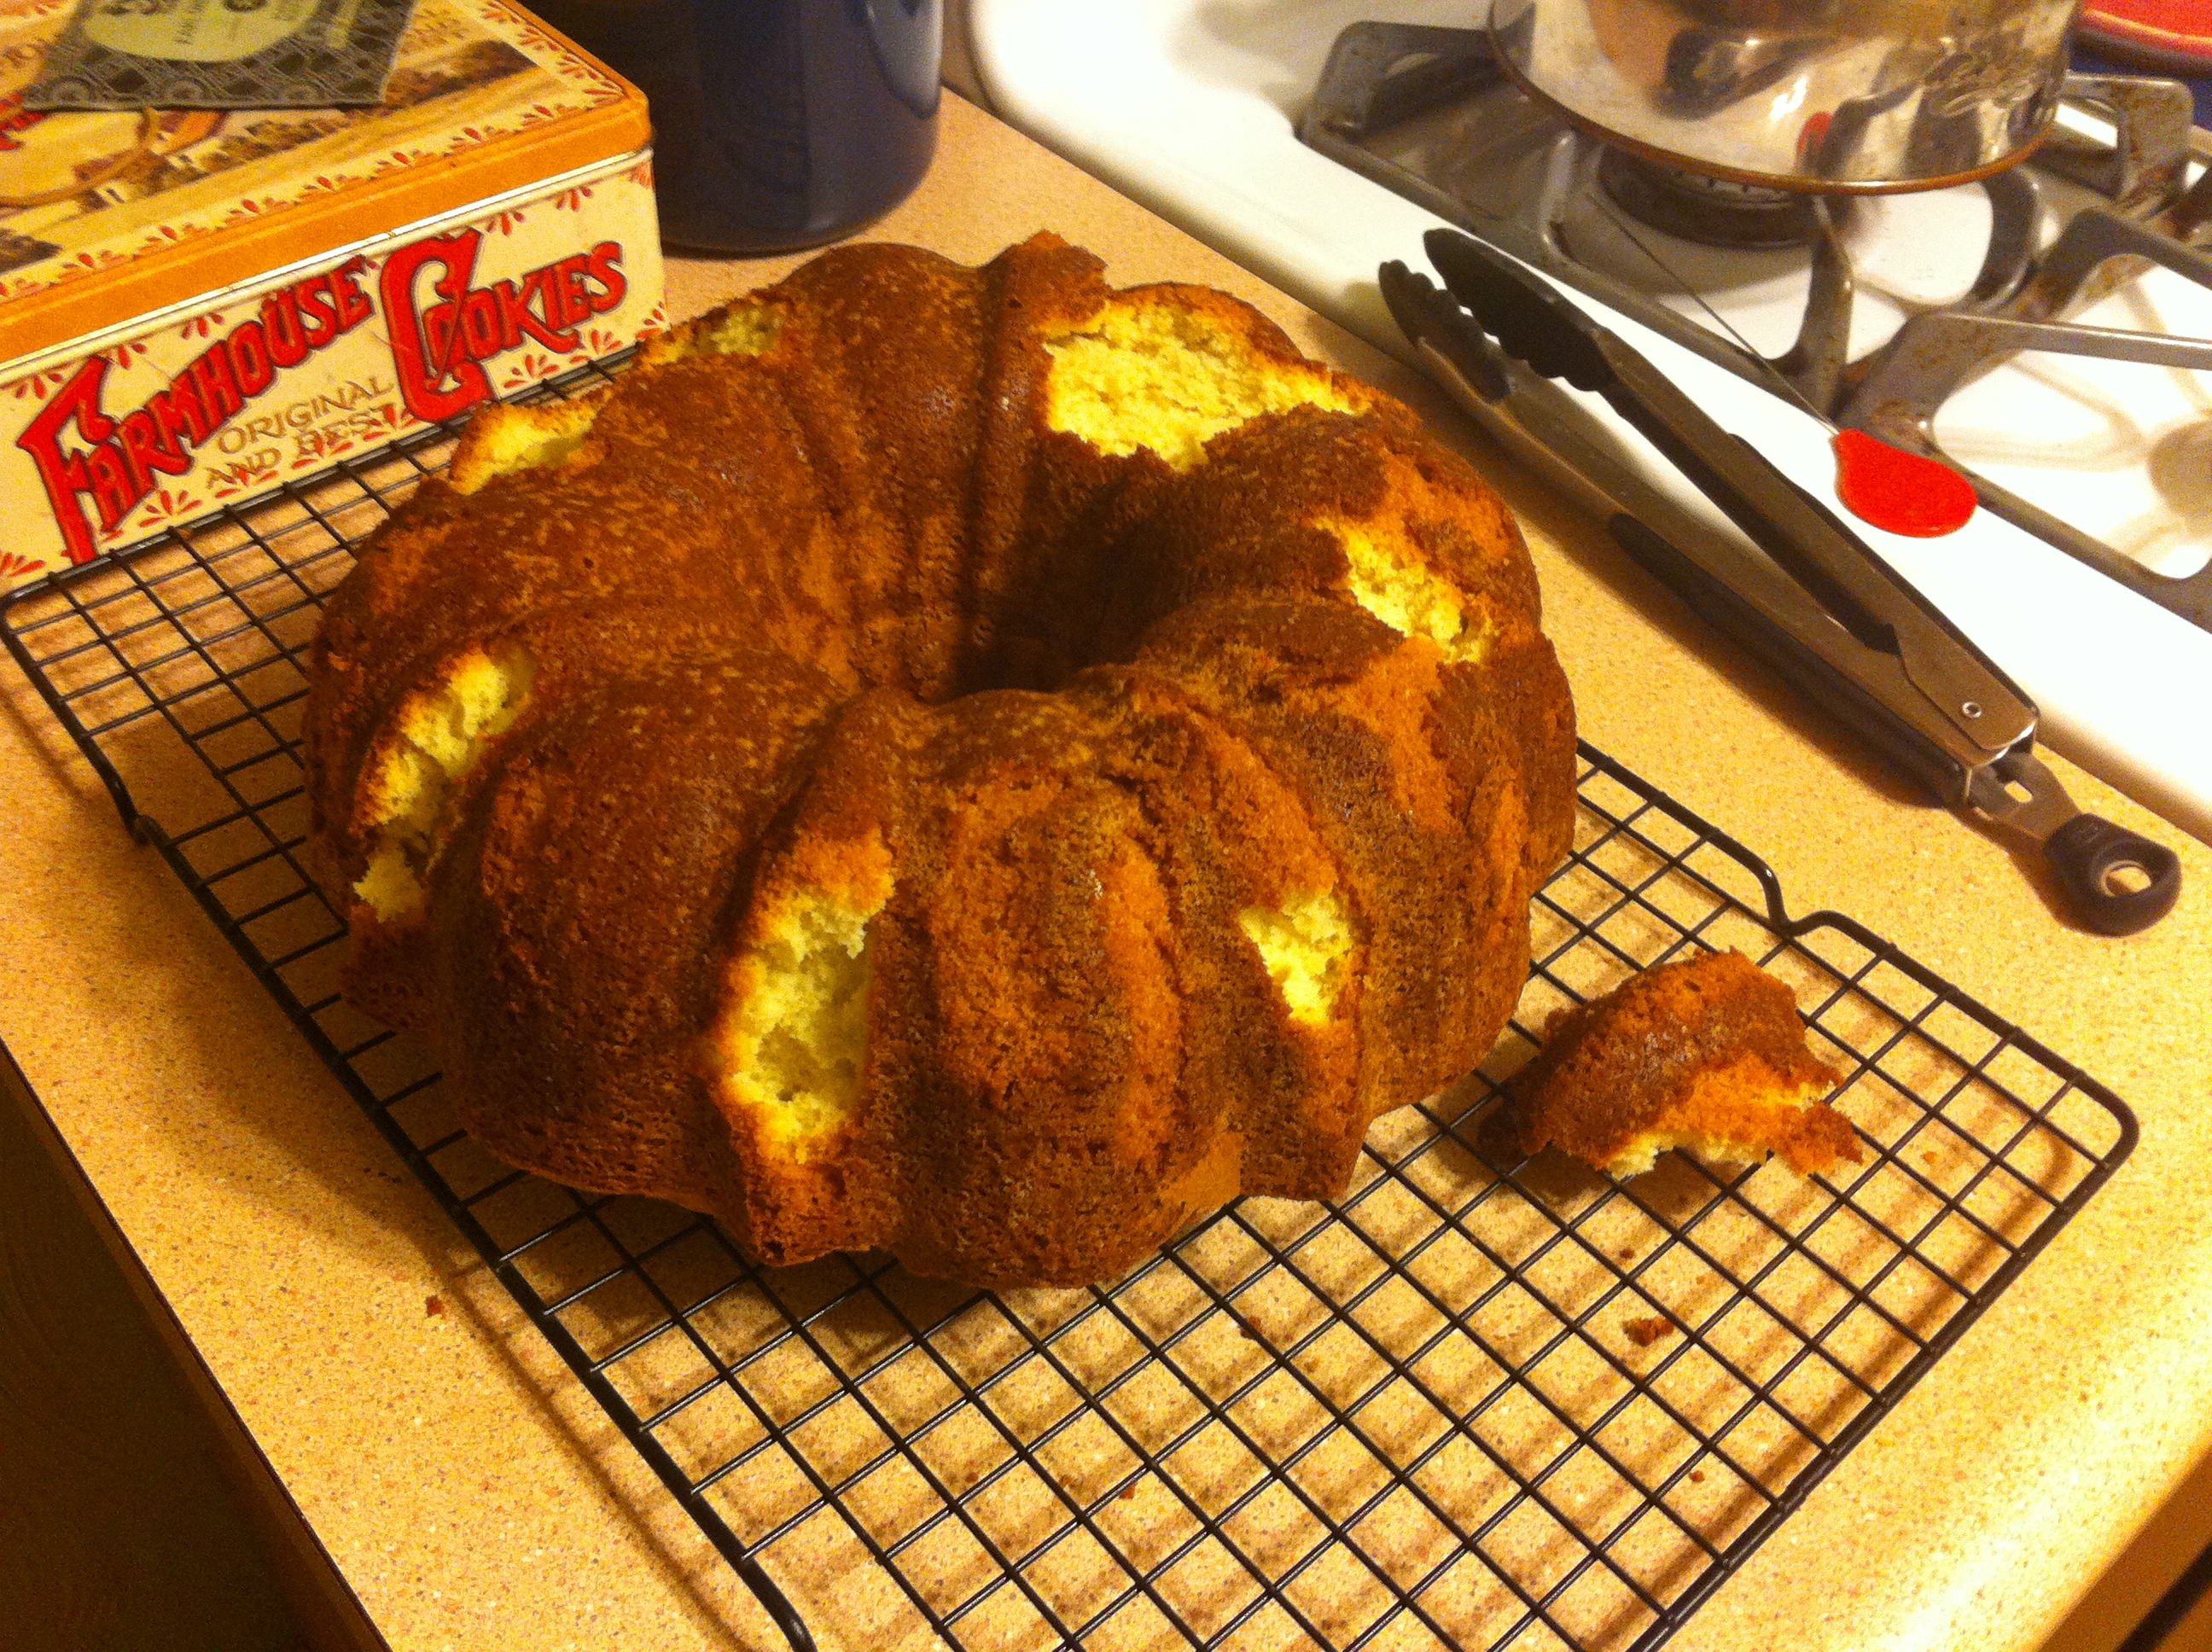
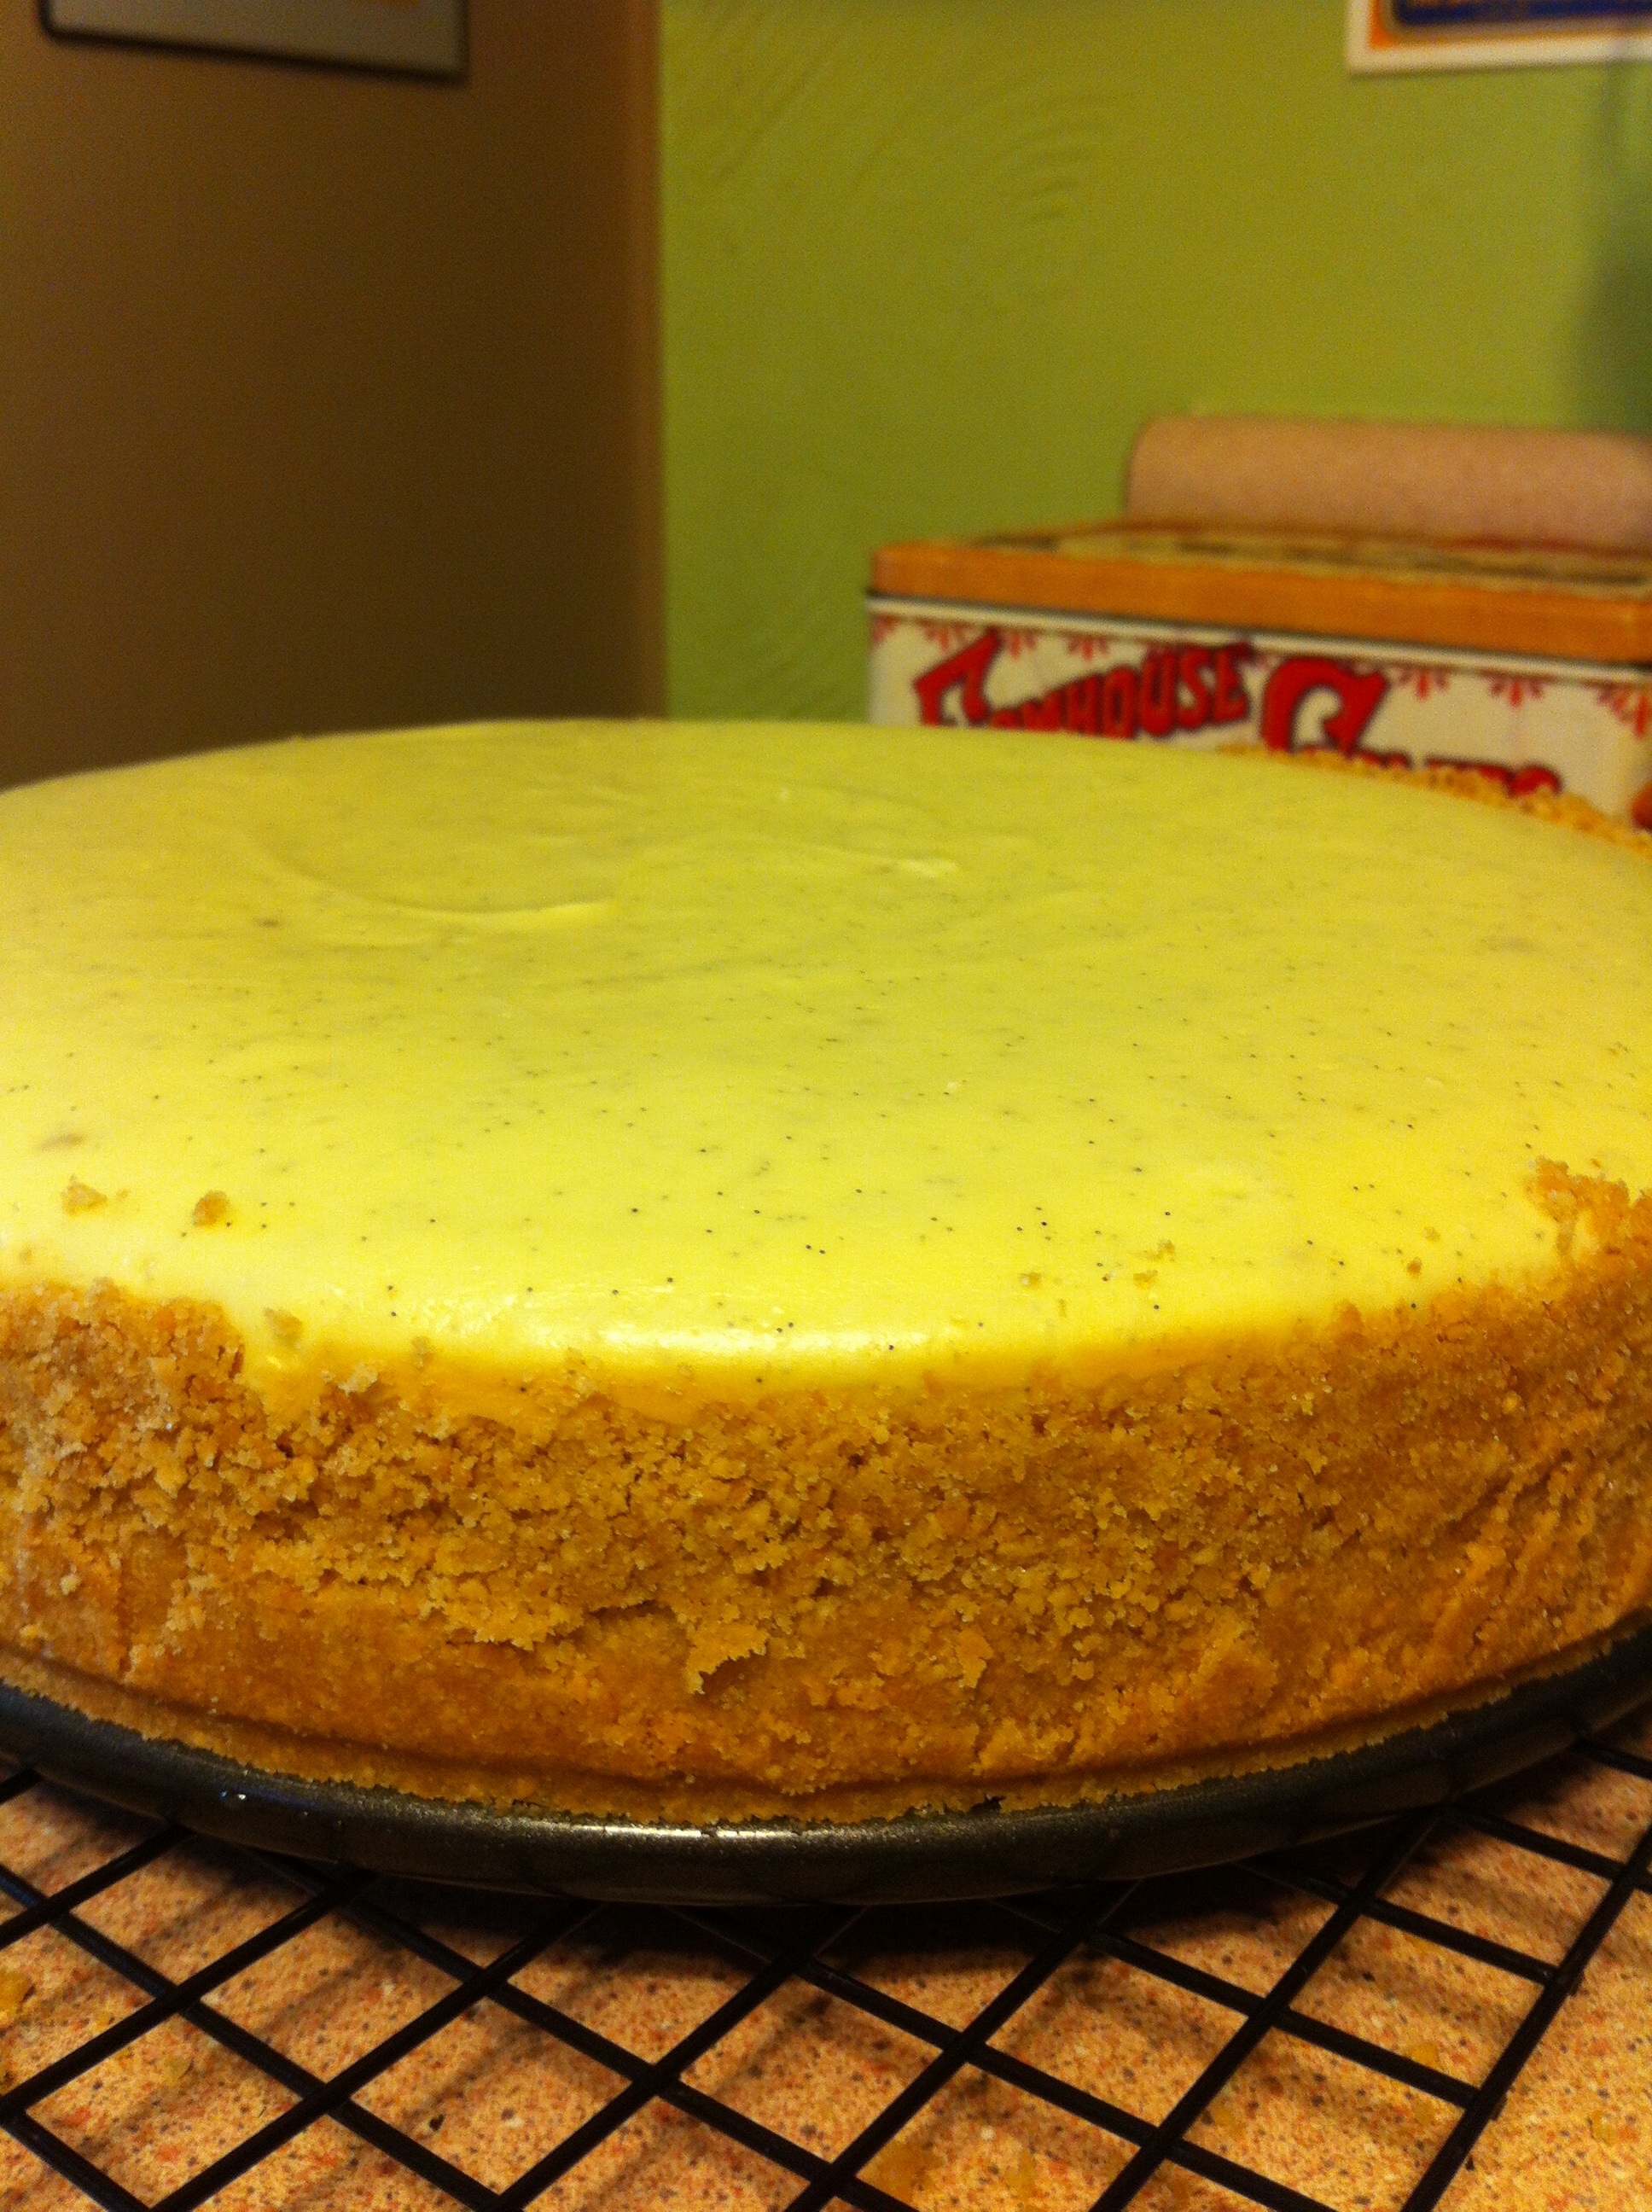
When you look at the photo below, you’ll have a new appreciation for the need to a) properly grease and flour your Bundt pan and b) allow your cake to cool completely before attempting to remove it from said pan. I thought my baking spray, which includes a combination of cooking spray and flour, would be enough to release the Bundt…but I was wrong. Also, I removed the cake when it was still slightly warm, which could have been another problem.
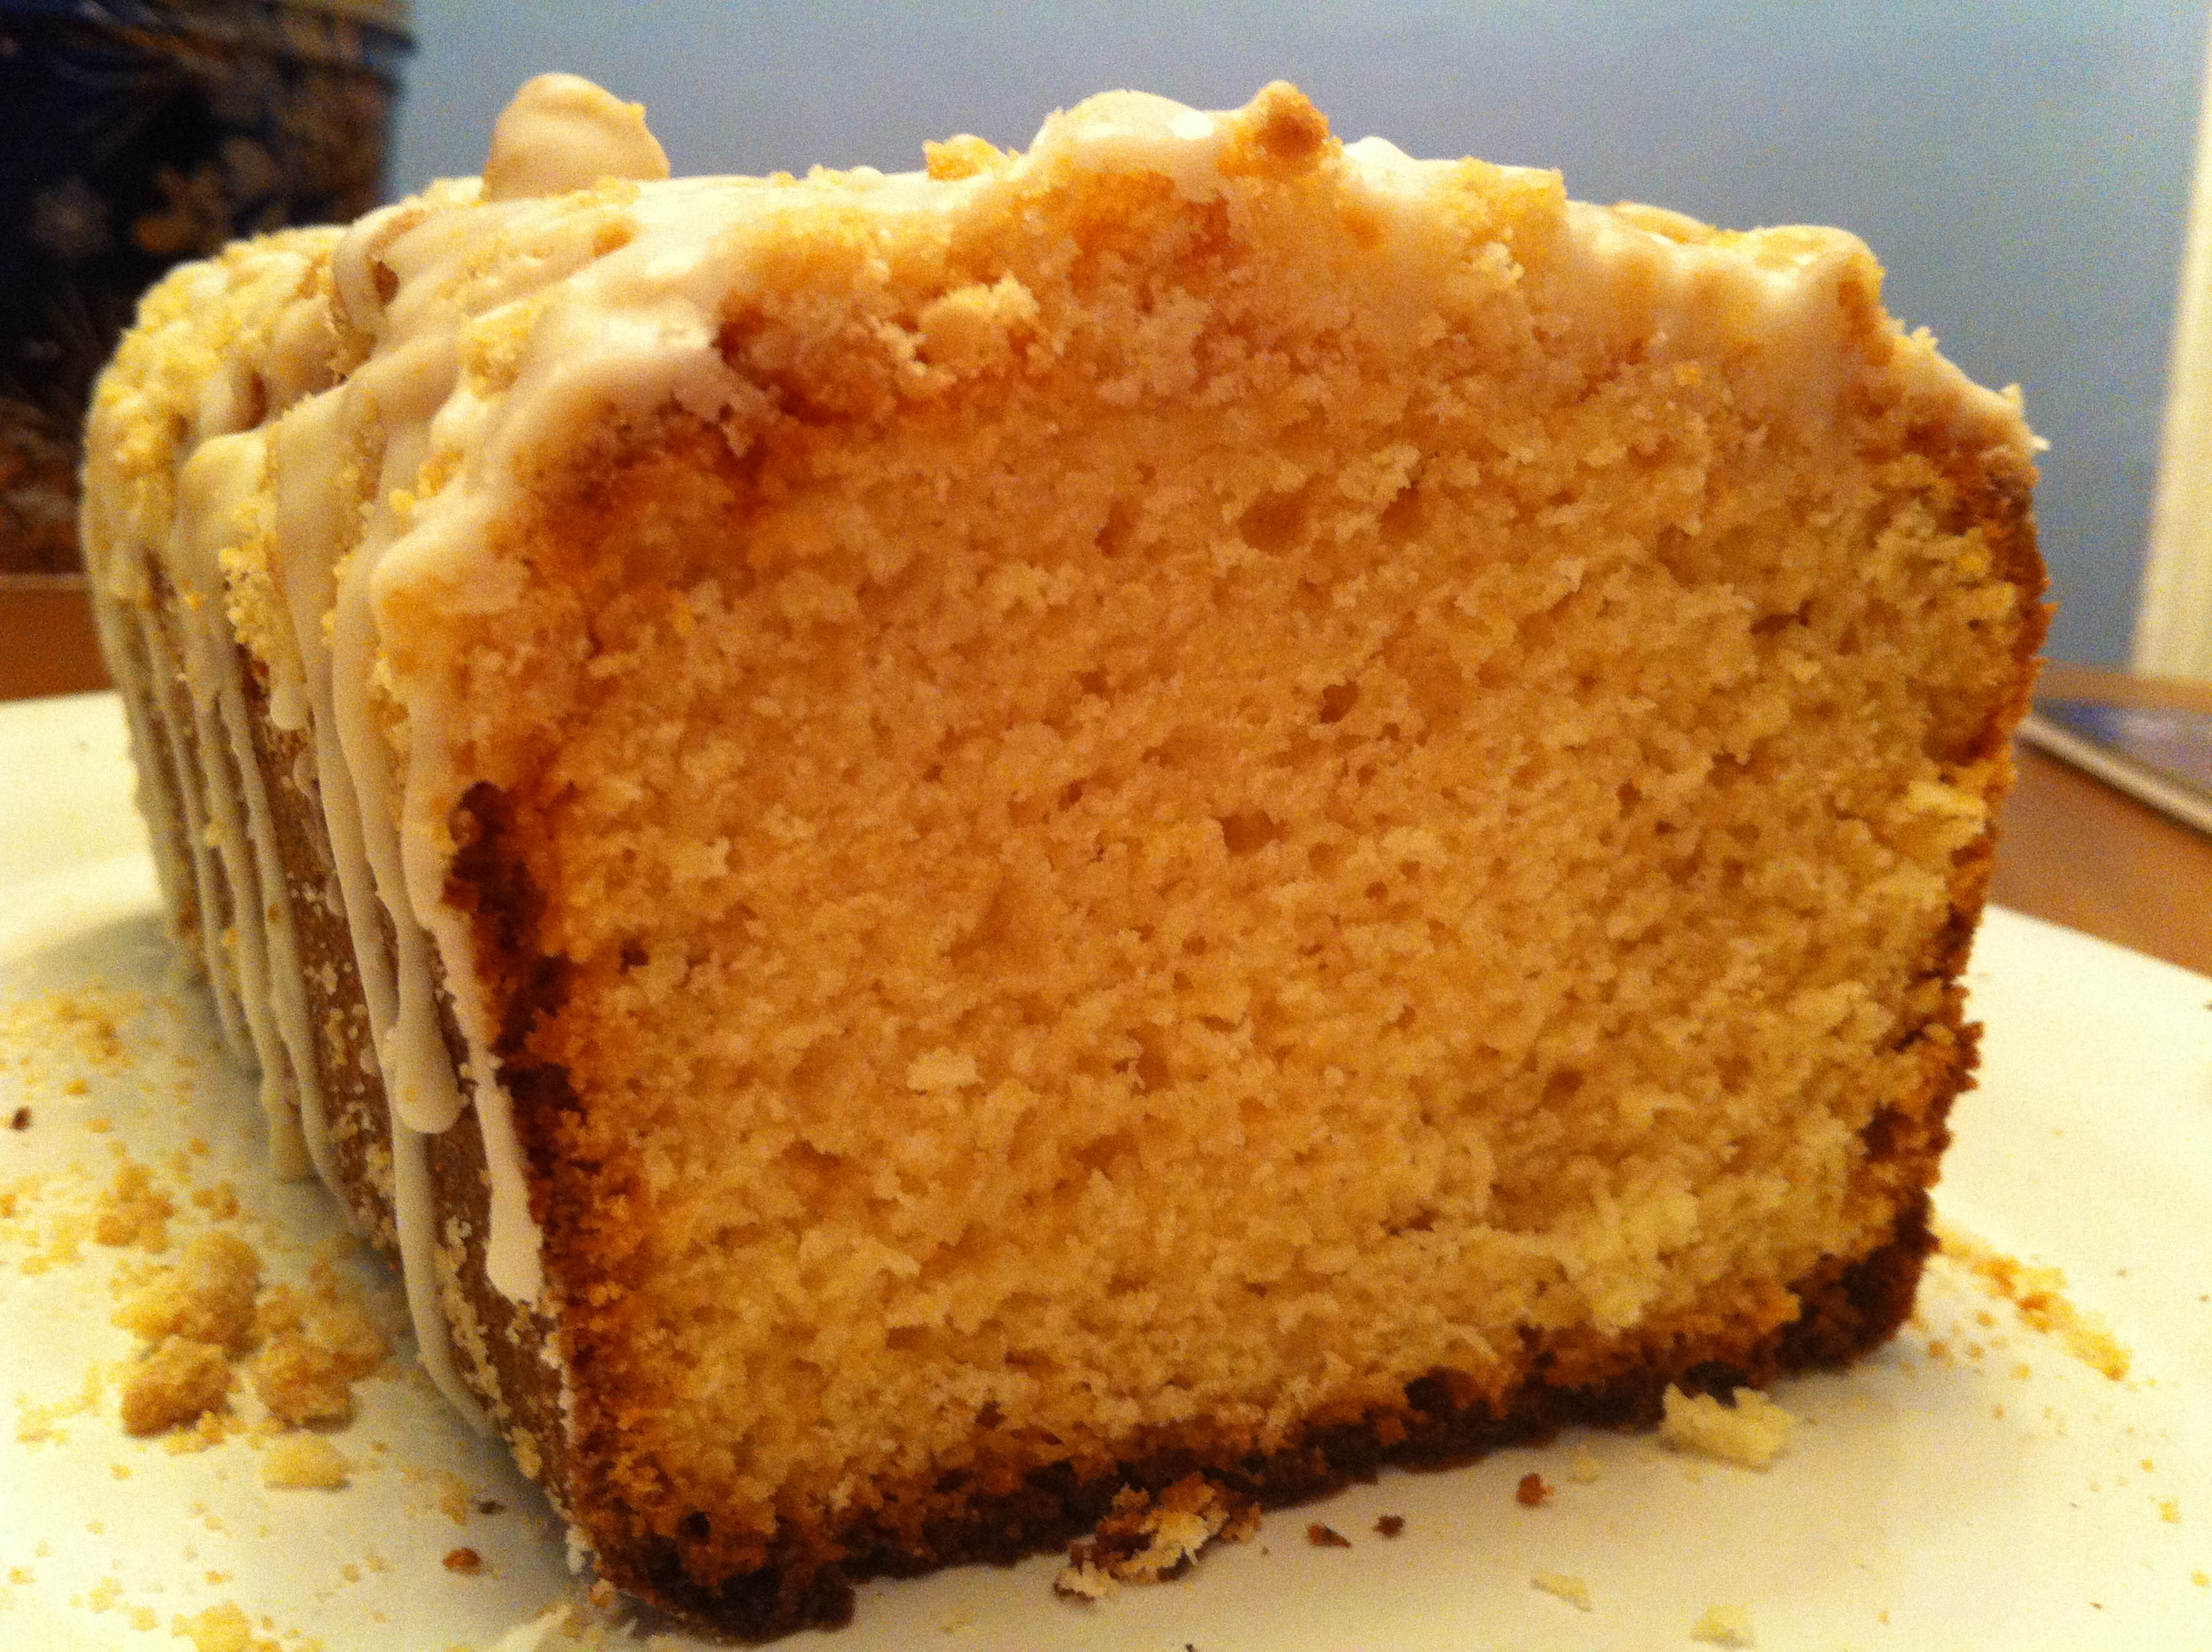
Moral of the story: grease your pan with shortening, flour your pan, and wait until your cake cools completely before you remove it from the pan so you can avoid the torn Bundt situation that I experienced in the photo below. Despite its less-than-perfect appearance, the cake itself is quite delicious.
Ingredients
Buttermilk Pound Cake
- 3 cups flour
- 1/4 teaspoon baking soda
- 1 cup butter, softened
- 2 1/2 cups sugar
- 4 eggs
- 1 cup buttermilk
- 2 teaspoons vanilla
Almond Drizzle
- 1 1/2 cups powdered sugar
- 1 teaspoon almond extract
- About 1 tablespoon water
Preparation
Preheat oven to 325 degrees. Grease and flour a 10-cup capacity Bundt pan.
In a small bowl, combine flour and baking soda; set aside.
In a mixing bowl, cream together butter and sugar until light and fluffy. Add eggs, one at a time, mixing well after each addition.
Add buttermilk and flour mixture alternatively, beating until just combined. Pour batter into prepared pan and bake for 70 minutes, until a cake tester comes out clean.
Allow cake to cool completely in pan; remove and invert on a cake plate before drizzling.
For the drizzle: in a large glass measuring cup combine powdered sugar and almond extract. Add water slowly, about 1 teaspoon at a time, to reach a thick drizzling consistency. Pour over top of cake and allow to drip down the sides.
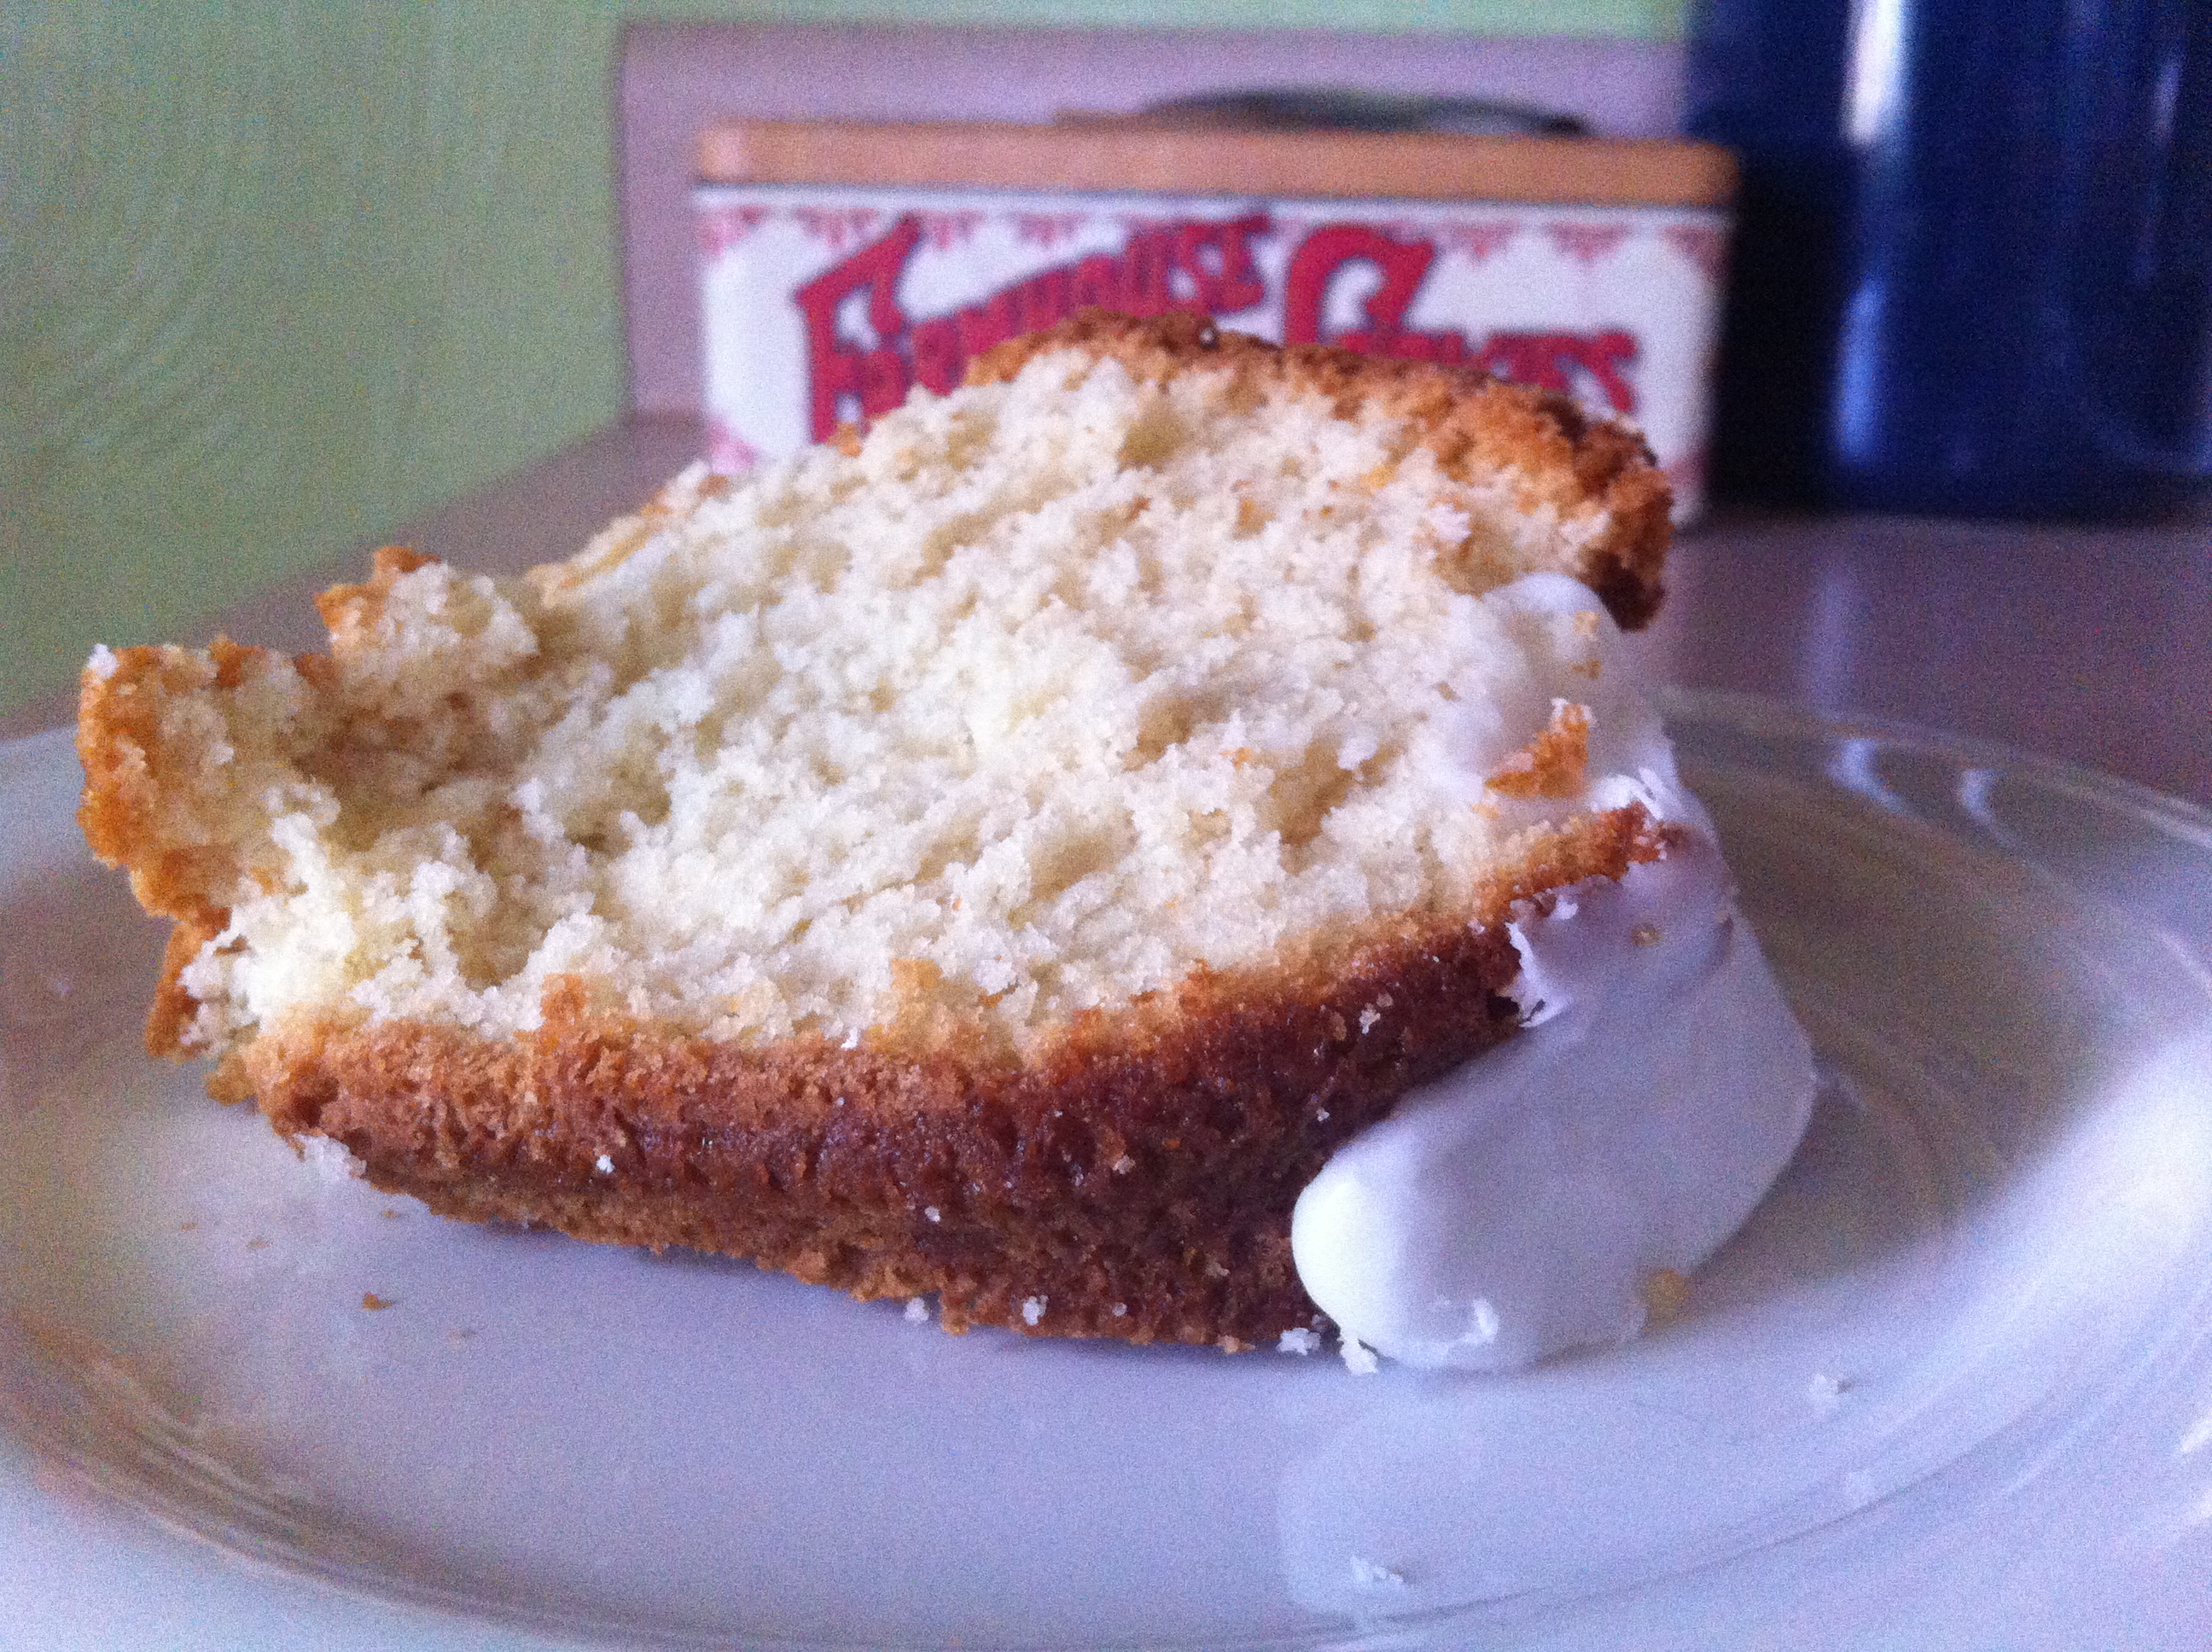
Below, the evidence of my faulty pan-greasing and haste of removal is clearly observed. At least it tastes good.