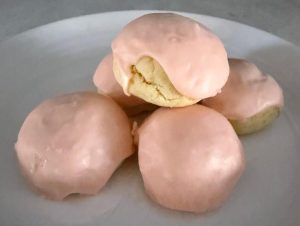
I’ve made many lemon raspberry cupcake combinations in the past, including lemon cupcakes with raspberry filling, and a previous version of the cupcake below that had a slightly different flavor balance in which the raspberry overpowered the lemon. A small recipe tweak, in which I added more lemon zest to the cupcake batter and less raspberry jam to the buttercream, yielded a wonderful treat that I prepared alongside some creamsicle cupcakes for my gentleman friend’s swim club party this weekend. The cupcake tower in the photo below is a $6 cardboard version I bought at Target, and it might be one of the prettiest displays I’ve ever done.
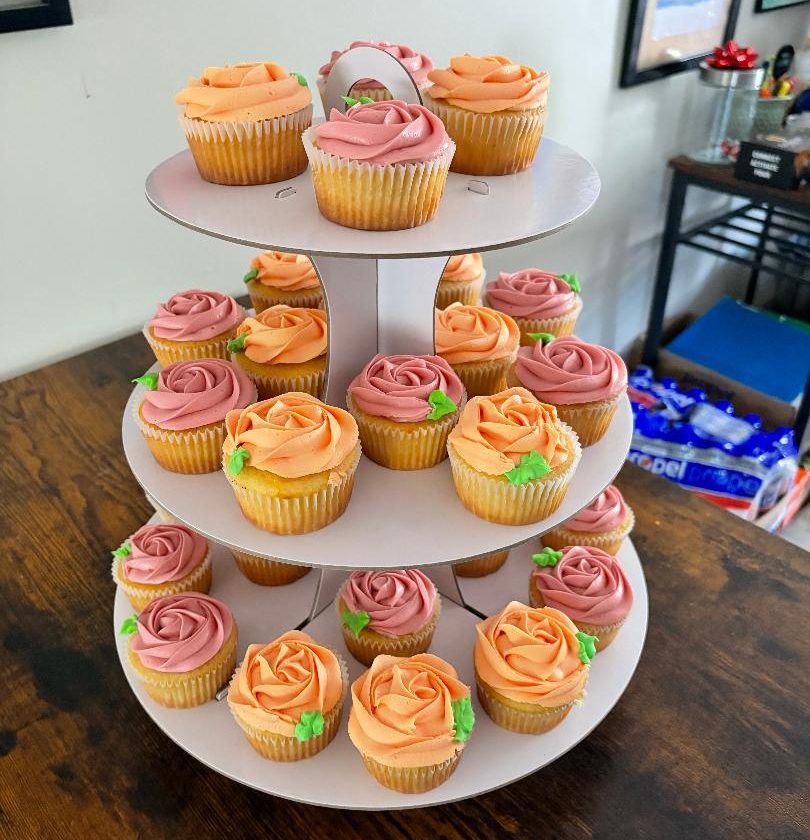
Obviously, the creamsicles are the orange cupcakes and the lemon raspberry are the pink ones, but they’re both made from the same base recipe, just with different flavorings. One of the best things about the recipe is that you can adapt it into many different flavors, and it always comes out tender and fluffy, thanks in great part to the vanilla yogurt in the batter. One thing I strongly recommend is baking your cupcakes for the least amount of time listed in the recipe, then continuing to bake for about 30-60 seconds at a time until the cupcakes stop sounding bubbly. I’ve learned many things from the Great British Baking Show, and the best tip might have been that cakes make a bubbling sound while they’re still baking, but once they stop “singing” they’re done.
Ingredients
For the cupcakes
- 1 2/3 cups flour (spooned and leveled; this is also 209 grams, for those baking by weight)
- 1/2 teaspoon baking powder
- 1/4 teaspoon baking soda
- 1/2 teaspoon salt
- 1/2 cup unsalted butter, melted
- 1 cup sugar
- 1 egg, at room temperature
- 1/4 cup vanilla yogurt
- 3/4 cup milk
- 1 teaspoon vanilla extract
- 1 teaspoon lemon extract
- Zest of 3 medium lemons
For the frosting
- 10 tablespoons unsalted butter, at room temperature
- 3 tablespoons seedless raspberry jam
- 3 1/2 cups powdered sugar
- Red food coloring
- Green food coloring
Preparation
Preheat oven to 350 degrees. Line two cupcake tins with paper liners; my batch made 17 cupcakes.
In a large bowl, combine flour, baking powder, baking soda, and salt; set aside. In a microwave-safe bowl, melt butter, then add sugar and stir to combine; mixture will be grainy. Refrigerate for 1 minute, then remove and add egg, yogurt, milk, vanilla extract, lemon extract, and lemon zest. Whisk into the flour mixture until no lumps remain.
Using a 2-inch cookie scoop, scoop batter into tins and fill about 2/3 to 3/4 full. Bake for 16-18 minutes, or until the cupcakes stop sounding bubbly and/or a cake tester comes out clean. Remove from oven and place cupcakes on wire racks to cool completely.
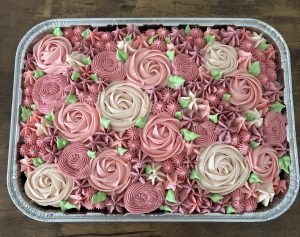
To make frosting, beat butter and powdered sugar on low speed until the sugar is fully incorporated into the butter. Add raspberry jam and beat to combine completely; reserve just a few tablespoons frosting and tint green for leaves, then add as much red food coloring to the remaining frosting as you desire; I went with just a few drops for a darker pink hue but you can go as red as you like. Fit a large piping bag with a large star tip (I used the Wilton 2D, having recently switched from the M1) and pipe swirls of pink frosting onto cupcakes, then fit a small piping bag with a 352 leaf tip and add the green frosting, then pipe on leaves. Store in an airtight container at room temperature for 2-3 days.


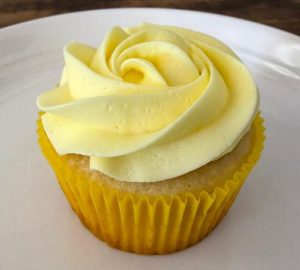 Lemon is one of my favorite flavors to bake with, and these double lemon cupcakes are a simple combination of lemon cupcakes with lemon buttercream. They’re very bright in flavor, thanks to lemon zest in the cupcakes (but not the frosting – zest can give frosting a weird texture).