 Everyone I know is going the beach this summer. Ocean City, Sandbridge, Nags Head, Rehoboth…you name it, someone I know has recently been to it, is currently on it, or will soon be visiting it. Alas, there is no beach vacation in my summer plans. But I do hope to get a little lakeside beach time at Deep Creek this summer, so we’ll see.
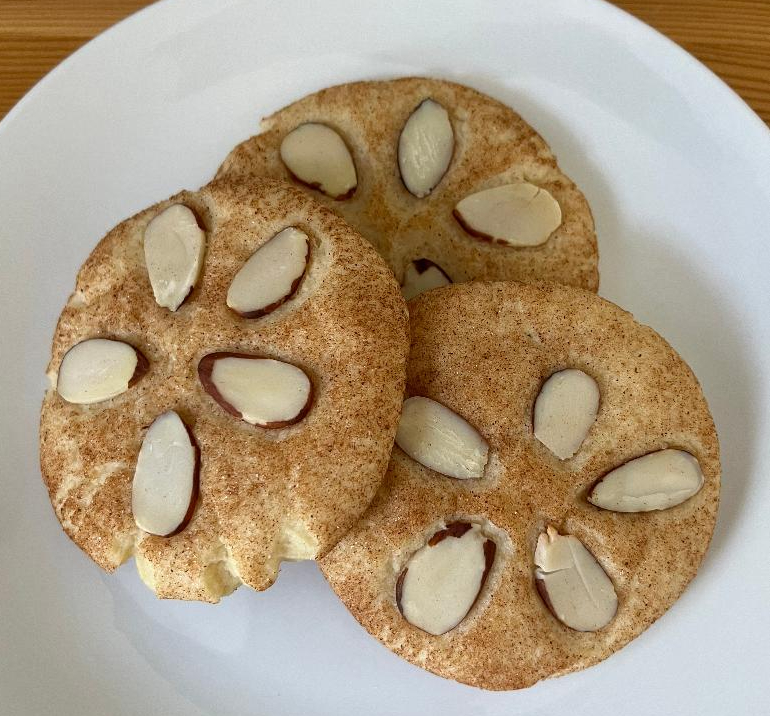
Sand dollars – which I didn’t know until today are a type of sea urchin – are also called sea cookies in New Zealand and Spanish-speaking parts of the Americas, and I love that. These sand dollar cookies were very easy to make; I found my recipe over at Krazy Kitchen Mom, though there are several options for sand dollar cookies out there. This is the snickerdoodle-topped-with-almonds variety, rather than the sugar-cookie-cutout-topped-with-almonds variety. I might try those sometime soon, though.
Ingredients
For the dough
- 2 3/4 cups flour
- 1 1/2 teaspoons cream of tartar
- 1/2 teaspoon baking powder
- 1 teaspoon salt
- 1 cup butter, at room temperature
- 1 1/2 cups sugar
- 2 eggs, at room temperature
- 1 tablespoon vanilla extract
For the topping
- 1/3 cup sugar
- 1 tablespoon cinnamon
- Flaked almonds
Preparation
In a large bowl, whisk together flour, cream of tartar, baking powder, and salt; set aside. In mixer with a paddle attachment, cream butter and sugar until fluffy. Add eggs, one at a time, beating well after each; mix in vanilla. Add about half the flour mixture and beat to combine, then beat in remaining flour. Cover and chill dough for about 1 hour.
Preheat oven to 350 degrees. Line several baking sheets with foil. Combine 1/3 cup sugar and 1 tablespoon cinnamon in a small bowl; set aside.
Using a 2-inch cookie scoop, scoop dough and roll into balls. Dip in cinnamon sugar, then place on the baking sheets and flatten; top with 5 flaked almonds, pressing the almonds in just slightly. I put six cookies on each baking sheet, as they spread.
Bake for 10-12 minutes, until set. Remove from oven and cool on baking sheets for about 10 minutes, then place on a wire rack to cool completely. Makes 28.
 Nutter Butter cookies are my second favorite store-bought cookie, right behind the Double Stuf Oreo. For some reason I always have them on road trips, and honestly don’t know why. A homemade, copycat version came across my Pinterest feed from
  I don’t know what makes these cookies Italian, but according to
 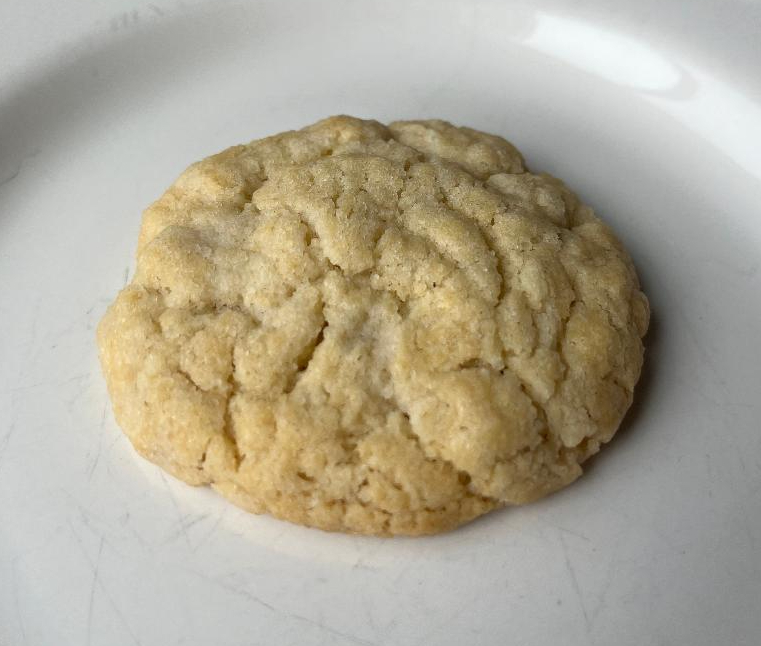 Confession: Asian food isn’t really my jam. No offense, Asia – I know your various cuisines are popular with many, many folks. And while I enjoy some fried rice now and then, I haven’t spent must time in Chinese restaurants in my life. I’ve certainly not encountered these cookies there, either. But they do seem familiar to me.
 The King Arthur Flour Cookie Companion bills these treats as spiked coffee cookies – but really, I couldn’t taste anything but chocolate and espresso. Hence, a rebrand. No offense, King Arthur.
 There are a lot of different sugar cookies out there. Frosted cut-out cookies in various shapes and designs, enormous bakery-style ones with crispy edges and soft middles that probably have 600 calories, and those weird Lofthouse ones that basically taste like…well, nothing. No offense if you’re a Lofthouse fan. I just don’t get it.
 Admit it: You have a favorite Little Debbie snack cake. The Swiss roll, maybe? Or the Christmas tree cake? If you’re a star crunch person, I really don’t get it, but I’m not here to judge. Anyway, the oatmeal cream pie was one of my favorites as a kid, and today I made a mini version.
 I first heard about brown butter on the Great British Baking Show several years ago, and now I see recipes using it everywhere. To make it, you melt butter then continue cooking it to “toast” the milk solids, bringing out a different flavor.
 Do you need to chill cookie dough? Sometimes yes, sometimes no – it depends on the ingredients, and what the end result of the cookie is meant to be. When you chill dough, it allows the butter (or other fat) to solidify, preventing the cookies from spreading too much as they bake.
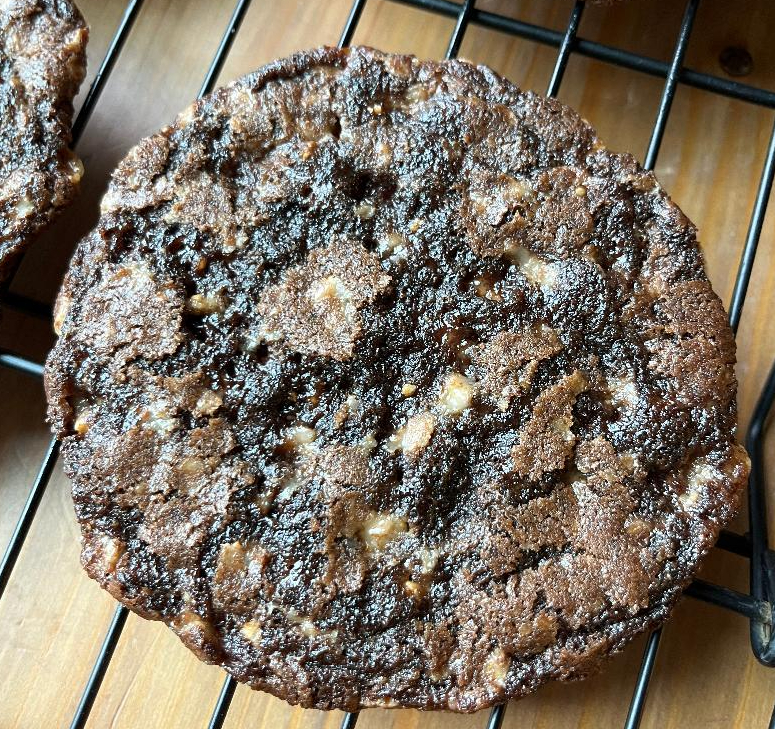 What exactly is toffee? It’s a cousin of caramel, cooked longer so it hardens and becomes brittle. Think Heath bar, but without the chocolate – that’s toffee.