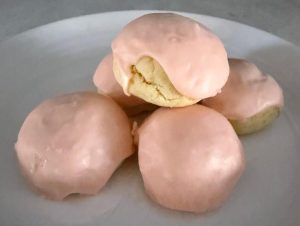
 The Italian sugar cookie is one of my favorite simple recipes, and it’s easy to adapt with various flavors. I like that it uses shortening, so you don’t need to wait for butter to soften to toss the dough together. I’ve made these in vanilla, almond, and lemon varieties before, and this orange version is absolutely delicious.
Full disclosure on the icing – it looked like a nice pale orange in the bowl, but turned out to be an odd peachy color as the icing set. Next time, I’ll go for a much more vibrant shade, or just leave the icing white and add some orange colored sugar or something to make them look more appetizing. Despite their less-than-desirable shade, they were a big hit flavor-wise, and they’re definitely a cookie I’ll make again.
For the cookies
- 3 cups flour
- 1/8 teaspoon salt
- 3 teaspoons baking powder
- 3/4 cup shortening
- 3/4 cup sugar
- 3 eggs
- 1 teaspoon vanilla extract
- 1/4 teaspoon orange extract
- Zest of 2 medium Cara Cara oranges (or 1 large navel orange)
For the icing
- About 2 3/4 cups powdered sugar
- 1/4 cup milk
- 2 tablespoons butter, melted
- 1/2 teaspoon vanilla extract
- Scant 1/4 teaspoon orange extract
- 2 teaspoons orange juice
- Food coloring, if desired
Preparation
Preheat oven to 400 degrees. Line several baking sheets with parchment paper; this recipe yields about 34 cookies.
In a medium bowl, combine flour, baking powder, and salt; set aside.
In a mixing bowl, cream shortening and sugar until light and fluffy. Beat in eggs, vanilla extract, orange extract, and orange zest.
Add flour mixture in three batches, mixing between each. Dough will pull away from the sides of the bowl when it is the right consistency.
Using a 1-inch cookie scoop, scoop dough and roll into balls. Place dough on parchment-lined baking sheets about 1 inch apart; they don’t spread very much when baking, but you don’t want to crowd the baking sheet.
Bake for 8-10 minutes, until cookies are set and the bottoms are a light golden brown. Remove to wire racks to cool before dipping in icing.
To make the icing, in a small bowl, combine 2 cups powdered sugar, milk, melted butter, vanilla extract, orange extract, and orange juice. Stir until smooth; add remaining 3/4 cup powdered sugar to reach a consistency that’s suitable for dipping – you don’t want the icing to be too runny, though it will flow down the sides of the cookies a bit. Tint if desired, or just leave the icing plain.
Dip the tops of the cookies in icing; place on wire racks set over waxed paper to catch any drips. Let stand until set, then store in an airtight container at room temperature.


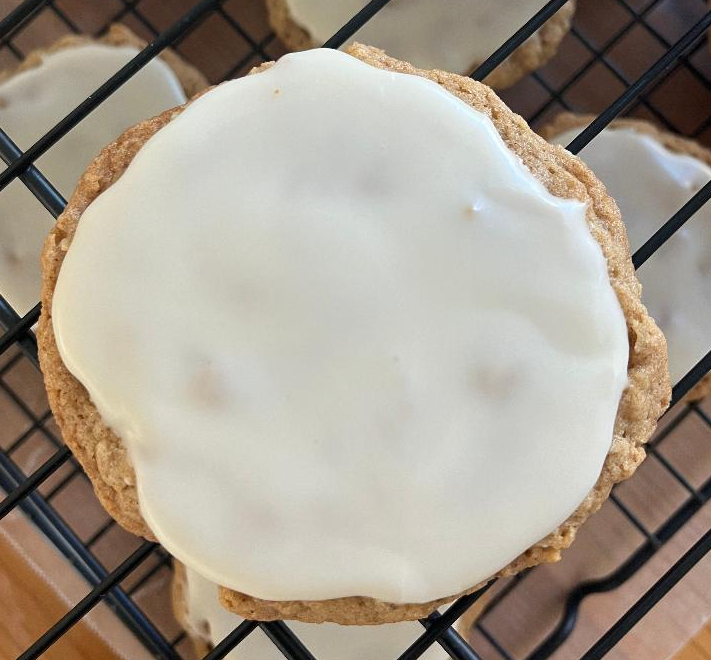 Everyone my age (let’s say young Generation X) ate store-bought iced oatmeal cookies as a kid. There were several brands, from (what seemed like fancy) Archway to generic, but they all had a similar flavor and crunchy texture.
 Sugar cookies can be whatever flavor you want them to be, from vanilla to
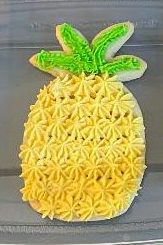
 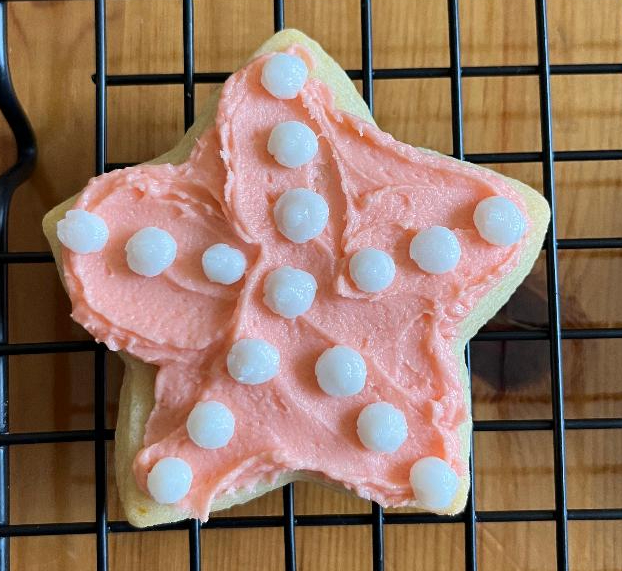 My last bit of beach-themed baking included these creamsicle starfish cut-out cookies, using orange zest and an awesome ingredient called fiori di sicilia. It’s a potent citrus-vanilla type of extract, which I always buy from