 It’s fall, yeah? So that means flavors like maple and cinnamon – though I admit that these maple snickerdoodles are more cinnamon than anything.
I found this recipe at A Latte Food, and I think if I make them again I’ll adapt them a few ways. First, I’ll substitute the granulated sugar for maple sugar, because the maple flavor is pretty subtle. Second, I won’t use quite as much cinnamon in my sugar/cinnamon mixture for rolling. In any case, they’re a decent fall cookie.
Ingredients
- 2 1/4 cups flour
- 2 teaspoons baking soda
- 1 1/2 teaspoons cinnamon
- 1 teaspoon cream of tartar
- 1/2 teaspoon salt
- 12 tablespoons butter, at room temperature
- 3/4 cup granulated sugar
- 1/4 cup brown sugar
- 1/4 cup pure maple syrup
- 2 teaspoons vanilla extract
- 1 egg
- Additional 1/4 cup granulated sugar and 1 tablespoon cinnamon, for rolling
Preparation
In a medium bowl, sift together flour, baking soda, cinnamon, cream of tartar, and salt. Set aside.
In a mixing bowl, cream together butter, granulated sugar, and brown sugar. Add maple syrup, vanilla, and egg and mix well. Add flour mixture and beat to combine. Chill your dough for at least 1 hour, until easy to handle.
Preheat oven to 375 degrees. Line several baking sheets with parchment paper. Combine remaining 1/4 cup sugar and 1 tablespoon cinnamon in a small bowl; set aside.
Using a 2-inch cookie scoop, scoop balls of dough and roll in the cinnamon/sugar mixture. Place on baking sheets; I baked six cookies at a time. Bake for 8-10 minutes, until centers are puffed and edges are set. Remove from oven; cool on the baking sheets for a few minutes, then remove to a wire rack to cool completely. Makes 24.
 Chocolate + caramel + pecans = one of my favorite things ever. Earlier this summer I baked
  Mutant cookies! Check out the Millennium Falcon on at the top.
 So, all the benefits of a brownie in cookie form? Yeah, sign me up. I don’t know who thought of this, but they’re a genius and deserve some type of Nobel Prize. Wouldn’t it be awesome if there were a Nobel Prize for baking? Anyway…
 I’ve baked for most of my life and blogged recipes for more than 10 years now. But never until today have I made monster cookies, one of those staple recipes that you find in almost any baking book. And let me tell you: I have been missing out. These things are delicious.
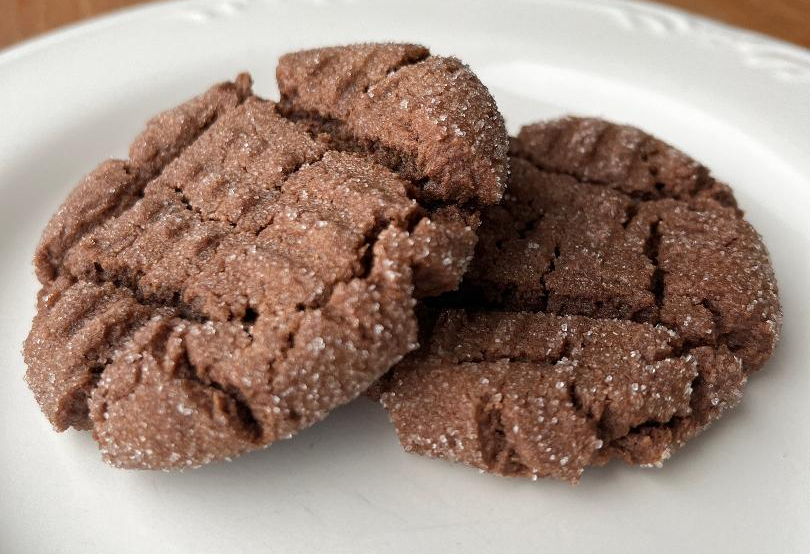 So, peanut butter cookies. Delicious, yeah? How about adding some cocoa powder to them? I’ve seen a bunch of chocolate peanut butter cookie recipes on Pinterest lately and took it as a sign from the universe to bake some myself.
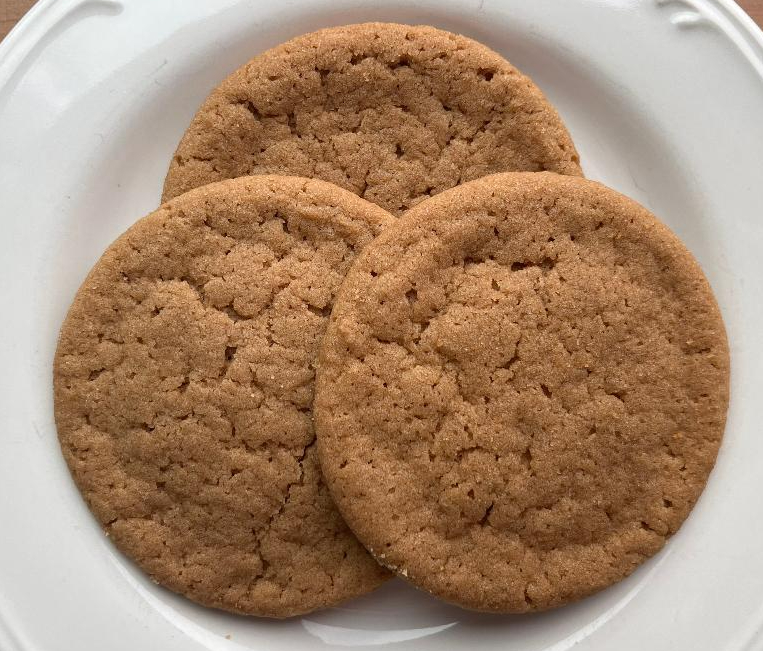 What happens when you make sugar cookies with dark brown sugar? Magic, that’s what.
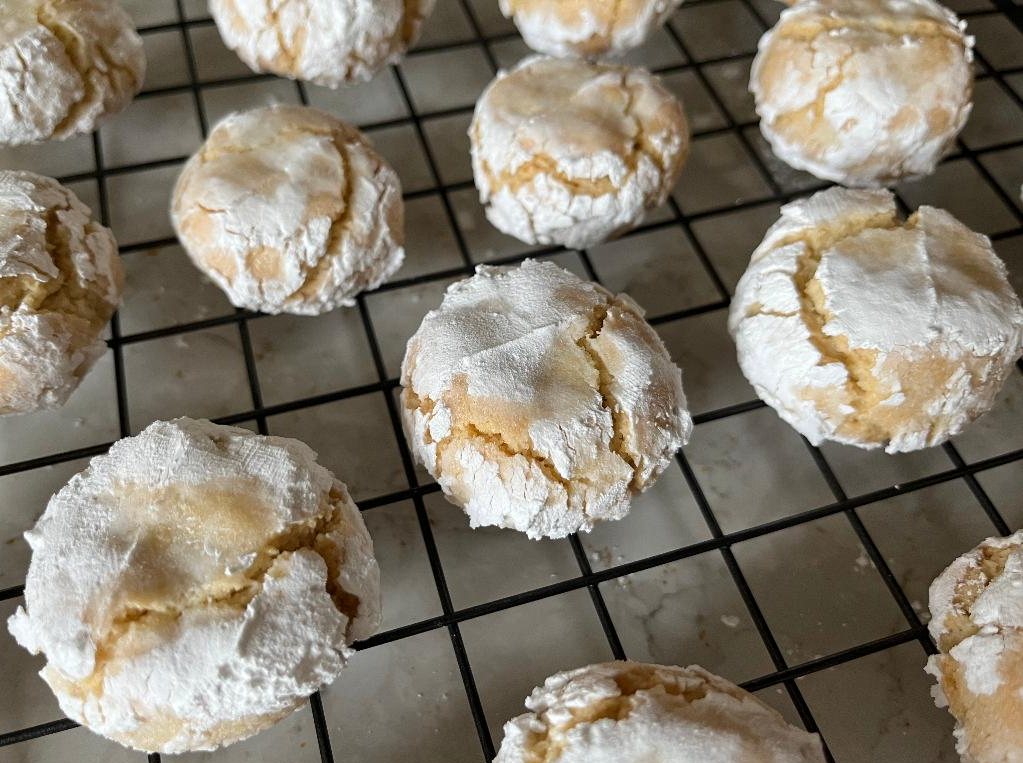 Are amaretti the OG gluten-free cookies? Maybe. According to a random internet source, they apparently go all the way back to the 17th or 18th century. Regardless of how long they’ve been around, these little nuggets of Italian cookie goodness are like a rustic version of the macaron, and they are way, waaaay less work.
 Here’s a classic: the sugar cookie. But not one of those way-too-sweet, only-take-a-few-bites sugar cookies you can find at almost any bakery. These (admittedly enormous, at four inches wide) sugar cookies have nutmeg and vanilla bean paste in them, which means they’re just delicious without being too sugary and have a more mellow flavor. These treats also have great texture, with a crispy edge and soft middle.
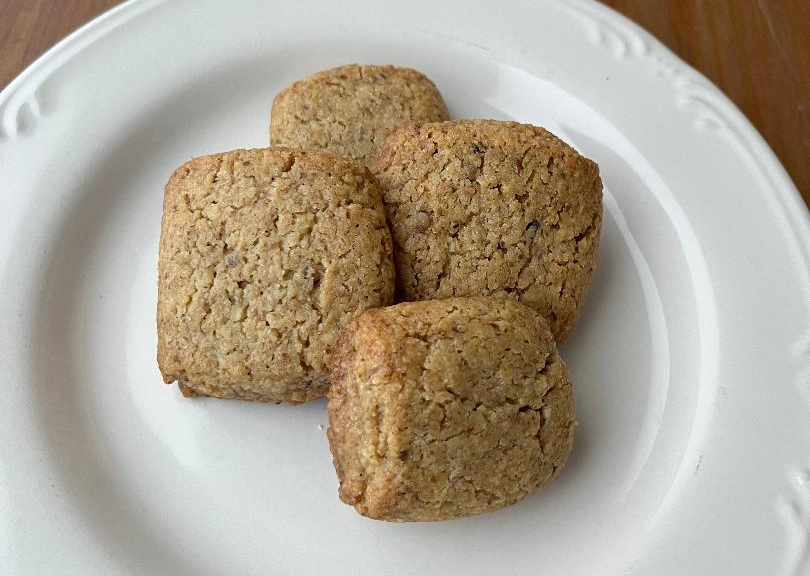 Despite not being Italian, I always end up baking Italian treats at Easter. So here we are with some dolci di noci, walnut cookies made with just three basic ingredients. They’re easy to make, and also gluten-free if that’s your thing.