Italian Butter Cookies

italianbuttercookies
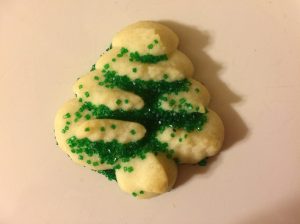
The butter cookie is a simple yet amazingly delicious creation. You know them well – there are Danish varieties, Italian varieties, British varieties, and more, all made with simple ingredients and either formed or piped into fun shapes. I desperately wanted those beautiful cookies with defined ridges in them…but alas, my dough was too soft and the cookies spread significantly when they baked.

The challenge with a piped butter cookie is that the dough needs to be soft enough to fit through your piping bag nozzle, but sturdy enough to keep its shape when baked without spreading into things that look like, well, goodness knows what. My dough certainly wasn’t sturdy enough, but these cookies are beyond delicious. I found the recipe below at Cucina By Elena and Mike has proclaimed it one of the best things I’ve ever made.

Ingredients

  • 2 cups flour
  • 1/2 teaspoon salt
  • 1 cup butter, softened
  • 2/3 cup sugar
  • 1 teaspoon vanilla extract
  • 2 eggs, at room temperature
  • Ghirardelli dark chocolate melting wafers
  • Multicolored sprinkles

Preparation

In a medium bowl, combine flour and salt; set aside. In a mixer fitted with the paddle attachment, cream butter, sugar, and vanilla until very light and fluffy. Add eggs, one at a time, beating well after each. Slowly add flour mixture until the dough comes together.

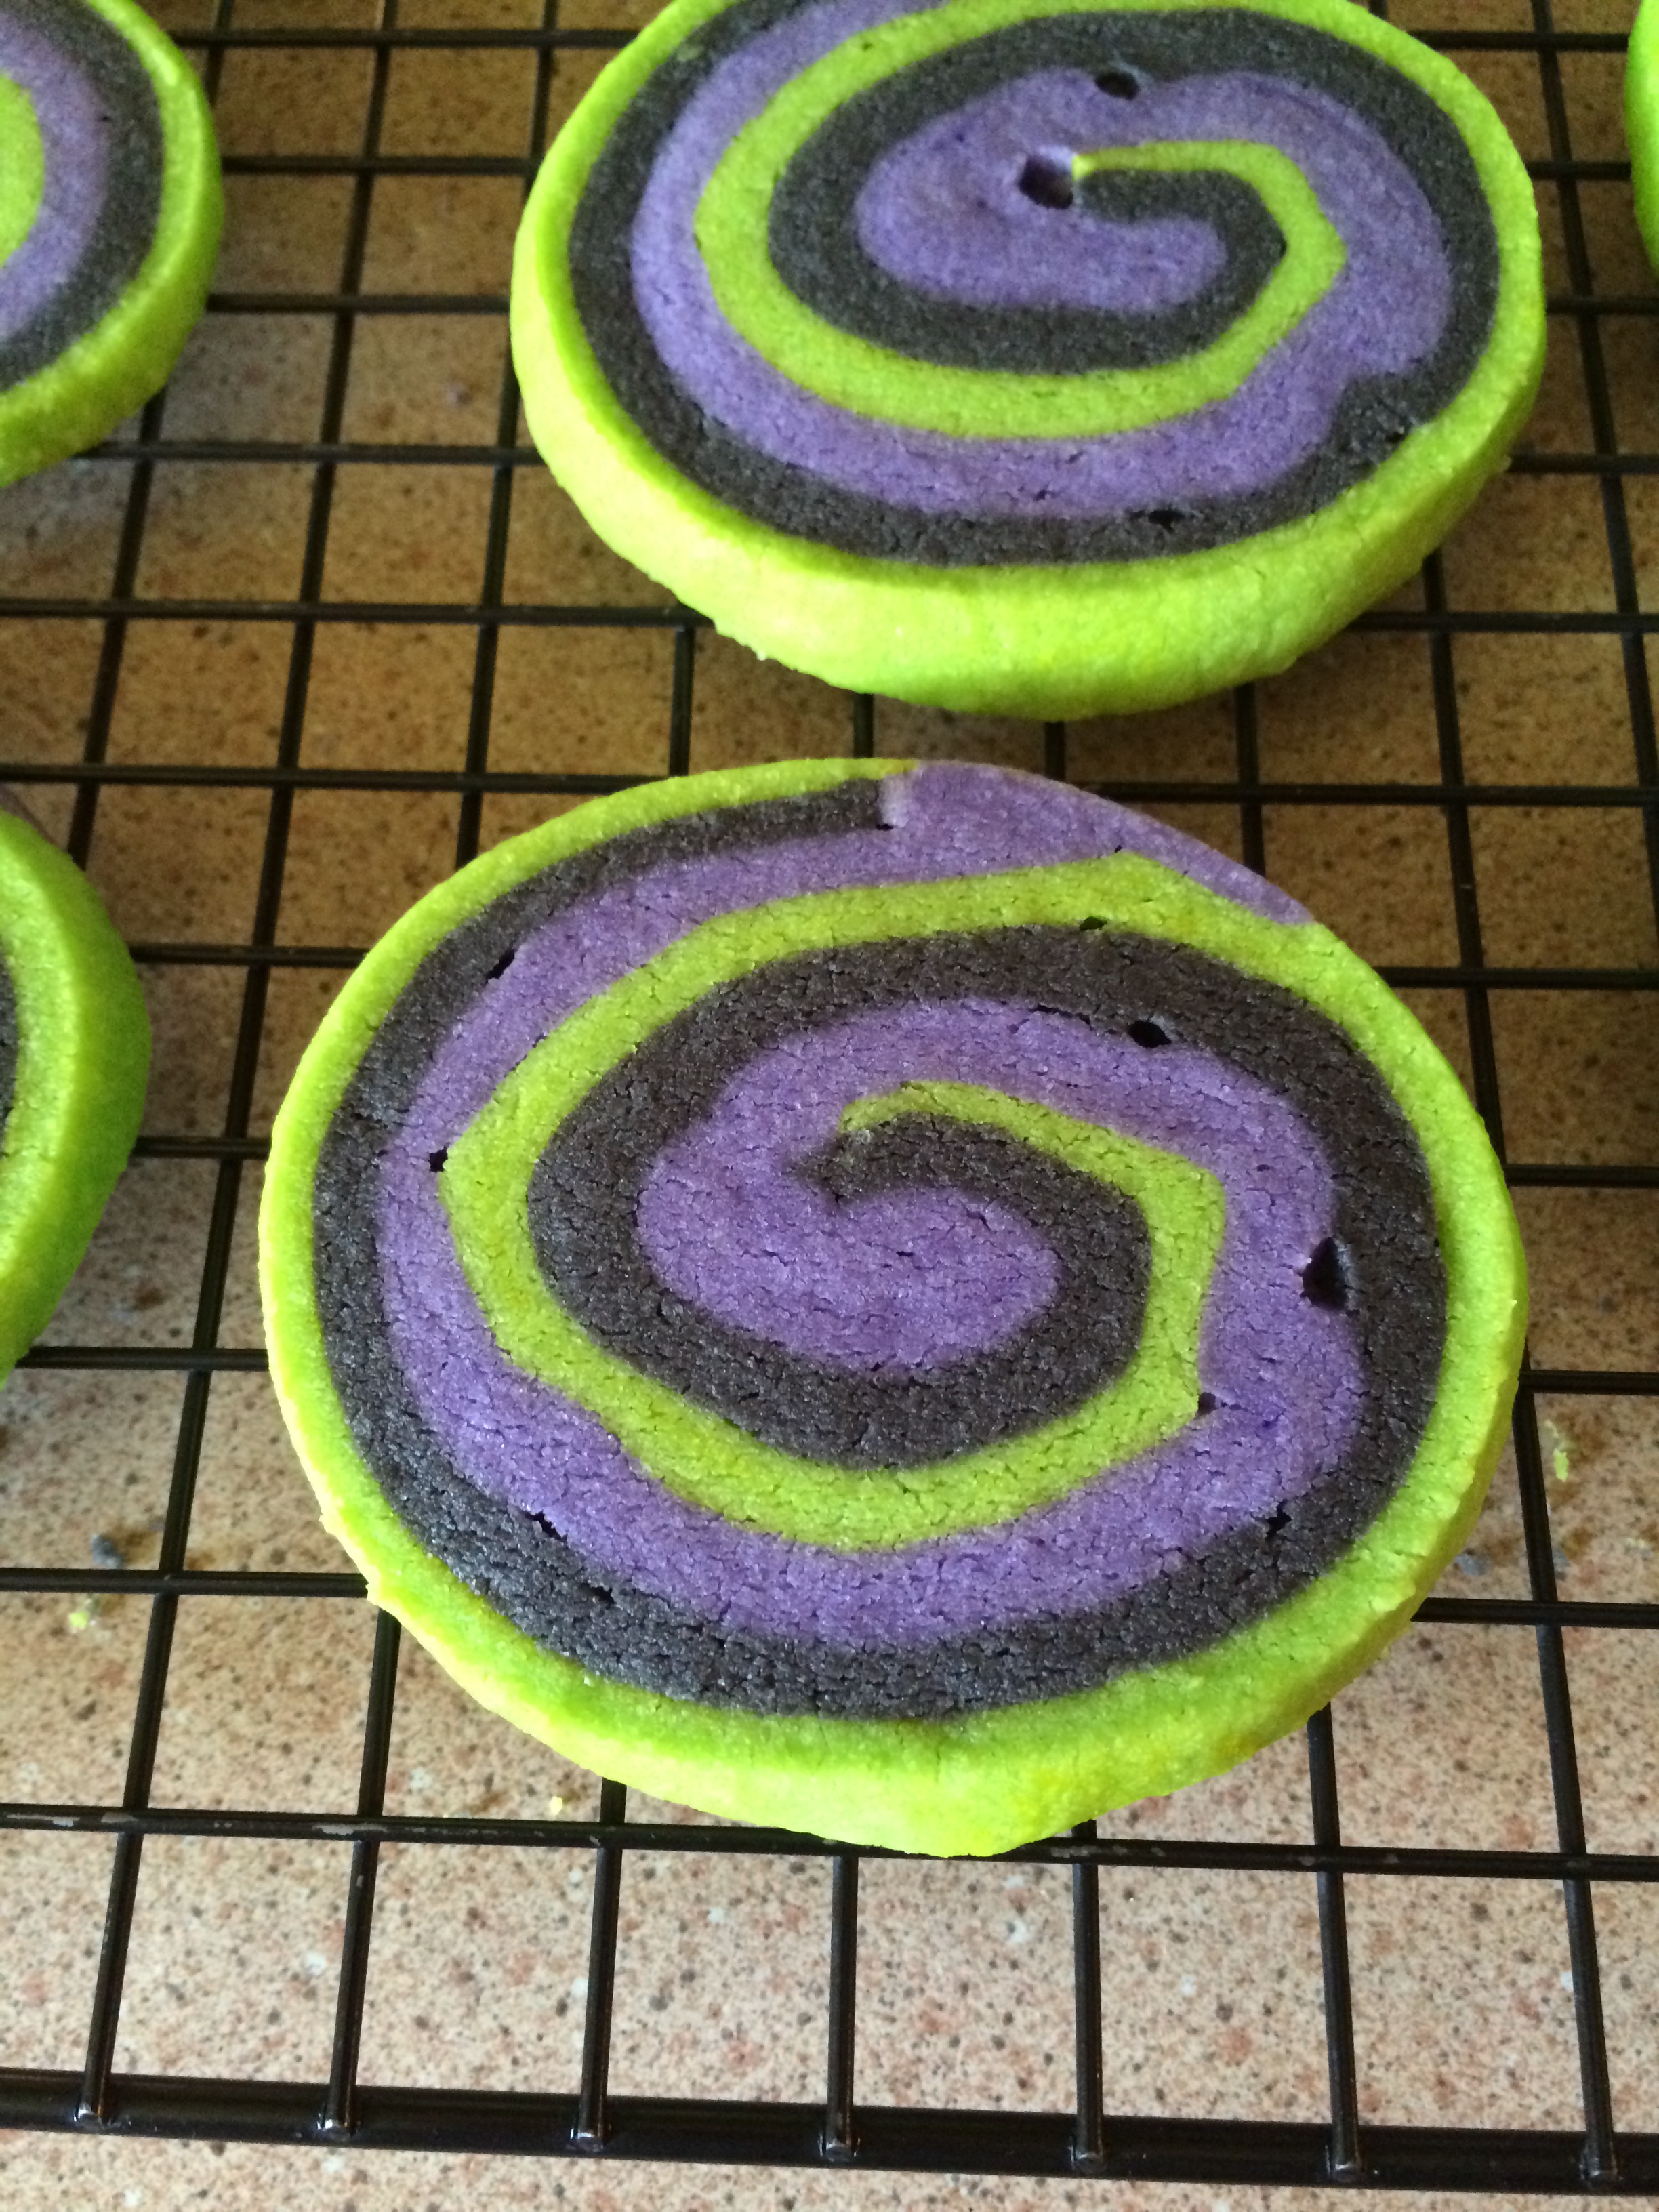
Fit a piping bag with a large tip; I used both the Wilton M1 and 4B for different textures. Line several baking sheets with parchment paper; I clip mine to the baking sheets with small binder clips to hold it in place. Pipe desired shapes; I did wreaths, swirls, S-shapes, and finger-type shapes. Freeze piped cookies for 30 minutes.

Preheat oven to 350 degrees. Bake cookies one sheet at a time for 10-12 minutes, until edges are just turning golden. Remove from oven and cool on the baking sheets for a few minutes, then place on a wire rack to cool completely.

To decorate, melt chocolate wafers and dip cookies as desired; I also created sandwiches with my finger-style cookies, kind of like a Milano cookie. Store in an airtight container and room temperature for 2-3 days. Makes about three dozen, depending on the size of your cookies.

Advertisement

Danish Butter Cookies

buttercookieMy grandma Zella, an excellent cook and baker, taught me most of the foundational aspects of baking when I was growing up. But she also appreciated the convenience of certain store-bought treats, including Little Debbie snack cakes and that iconic blue tin of Royal Dansk butter cookies. You know them well – your grandma had them, too. The cookies were a lovely mix of shapes; swirled like a wreath, round, rectangular, and my personal favorite, the pretzel. 

There are several copycat recipes out there; some use cake flour, while others use all-purpose. I went the all-purpose route and appreciated how simple they were to prepare. A note about the dough: nearly every recipe I found claimed that you could pipe this dough through a star tip, but I’m here to tell you that unless you’re a power lifter, you’re unlikely to be able to do so. I tried, and I failed…so I decided to go the easy route and just scoop out dough, roll it into balls, flatten them, and sprinkle them with sugar. They are absolutely, positively one of the best cookies I’ve ever made. Now if only I had a blue tin around here somewhere…

Ingredients

  • 1 cup butter, at room temperature
  • 1/2 cup sugar
  • 1/4 teaspoon salt
  • 1 egg, at room temperature 
  • 1 1/2 teaspoons vanilla extract
  • 2 cups flour
  • Coarse sugar, for topping

Preparation

Preheat oven to 350 degrees. Line two baking sheets with parchment paper.

In a mixer, beat butter and sugar together until very light and fluffy, about 3-4 minutes. Add salt, egg, and vanilla extract and beat to combine. Add flour a few tablespoons at a time, mixing well, scraping the bowl often. Once all the flour is added, stir with your spatula a few times to ensure that the flour is fully incorporated into the dough.

Using a 2-inch cookie scoop, scoop portions of dough and roll into balls; place on the baking sheets and flatten with your hand. Sprinkle with coarse sugar and bake for 15-20 minutes, until edges are just golden brown. Remove from oven and cool on baking sheets for a few minutes, then remove to a wire rack to cool completely. Store in an airtight container at room temperature for up to one week. Makes 26.

Spritz

spritz-iWhen I was a kid, my mom and my grandma Zella both made almond cookies using a cookie press. How easily the dough popped out, shaped like trees and wreaths and pinwheels. Tinted green at Christmas, topped with sprinkles or colored sugar, these cookies were a staple in our holidays.

I have never had such luck with the cookie press.

I tried valiantly this time with a spritz recipe I found at Land O’Lakes, and while I did manage one good batch of trees (pictured here), I admit that my dough softened too much and refused to cooperate for the wreaths and pinwheels. Instead of fighting my dough (or chilling it a second time, which I should have done), I rolled it into balls, flattened them with my hand, and baked them as buttons. Since spritz are so named for the German word “spritzen,” which means “to squirt,” I can’t say the buttons were true spritz cookies…more like absolutely delicious butter cookies. Either way, the results of this recipe are supremely tasty.

Ingredients

  • 1 cup unsalted butter, softened
  • 2/3 cups sugar
  • 1 egg
  • 1/2 teaspoon salt
  • 2 1/4 cups flour
  • Colored sugar, if desired

Preparation

In a mixing bowl fitted with the paddle attachment, combine butter, sugar, egg, and salt. Cream together until fluffy, about 2-3 minutes.

Add flour and beat at low speed until well-combined. Cover dough and chill for about 30-45 minutes.

Preheat oven to 400 degrees. Line three baking sheets with foil.

Fit a cookie press with your desired shape and fill with dough; press onto cookie sheets about 1 inch apart. Sprinkle with colored sugar, if desired. Alternatively, roll dough into 1-inch balls and flatten with your hand, then sprinkle with sugar.

Bake for 6-9 minutes, until edges are lightly browned. Remove from oven and cool for a few minutes on the cookie sheets, then remove to a wire rack to cool completely.

Store in an airtight container for 4-5 days.

Note: the recipe will yield different amounts depending on the shapes you choose; my recipe made about 3 dozen.

Witch Brew Cookies

witchbrewcookies

With just a few weeks to go until Halloween, these fun witch brew cookies are on their way to my goddaughter Mo and her little sister Margo, whose birthday also happens to fall on Halloween. Does this cookie look like something from a witch’s cauldron? I certainly hope so.

A word about spiral cookies: it’s very important to press your layers together firmly as you roll your dough log to avoid the small gaps you can see in the cookie here. This dough is very soft when rolled out, so waxed paper helps in handling a great deal. I found the original recipe for these over at Lady Behind the Curtain and chose not to roll the dough log in sprinkles before I sliced them, but that would definitely add an extra spooky kick (and some nice crunch) to these treats.

Ingredients

  • 2 cups plus 6 tablespoons all purpose flour, divided
  • 1/2 teaspoon baking powder
  • 1/4 teaspoon salt
  • 2/3 cup powdered sugar
  • 1/4 cup sugar
  • 1 1/4 cups butter, cut into cubes and softened
  • 1 1/2 teaspoons vanilla extract
  • Leaf green, lemon yellow, violet, and black gel food coloring

Preparation

In a mixing bowl, combine 2 cups flour with the baking powder, salt, powdered sugar, and sugar. Mix to combine.

Add butter a few cubes at a time, mixing until the texture has the consistency of sand.

Add the vanilla and mix just until a ball forms.

Divide dough into thirds; dough will be very soft.

Add food coloring and 2 tablespoons of flour to each ball, kneading with your hands to combine until you have even coloring. For the electric green color, use leaf green and lemon yellow.

Begin with the green ball; tape a sheet of waxed paper to your counter top and roll the dough ball between it and another sheet of waxed paper. Set aside; repeat this process with the black and violet layers.

Place the green layer, still on its waxed paper, on your counter top and remove the top sheet of waxed paper. Carefully remove the black and violet layers from their waxed paper and place them on top of the green layer.

Roll your layers into a log, pressing firmly as you go and using the bottom layer of waxed paper to help with rolling.

Wrap the log tightly and refrigerate for 2 hours.

Preheat oven to 325 degrees. Line 2 baking sheets with foil or parchment.

Remove dough log from the refrigerator and slice into 1/4 inch cookies.

Bake for 15-17 minutes, until cookies are no longer shiny on top.

Remove from oven and allow to cool for a few minutes on cookie sheets, then remove to a wire rack to cool completely.

Butter Cookies with Chocolate Drizzle

butter cookies with chocolate


My grandmother used to buy tins of Royal Dansk Danish butter cookies, and their signature blue tin meant one thing to me as a child: the pretzel-shaped cookie sprinkled with enormous granules of sugar. It was my favorite, followed closely by the one with the tiny chocolate chips in it. This recipe reminds me a bit of the Royal Dansk cookies; it is simple, with few ingredients, and easily adapted into various shapes. Before today, I’ve baked these as twists and pretzels, both dipped in chocolate. Because chocolate makes everything better, especially sturdy butter cookies like these.

The chocolate drizzle is incredibly easy to make and convenient for both drizzling or dipping, depending on what you prefer. Next time, I might coat each cookie entirely in chocolate.

Ingredients

For the cookies

  • 8 tablespoons butter, at room temperature
  • 1/2 cup sugar
  • 1 teaspoon vanilla
  • 1 egg white
  • 1/2 teaspoon coarse salt
  • 1 1/2 cups plus 2 tablespoons flour

For the chocolate drizzle

  • 1/2 cup milk chocolate chips
  • 1 tablespoon shortening

Preparation

Preheat oven to 350 degrees.

Line two baking sheets with parchment paper.

In a mixing bowl, combine butter and sugar and cream together until combined.

Add vanilla and egg white and mix until combined.

Add salt and one-half cup flour; mix until incorporated. Add remaining flour slowly, mixing until well incorporated.

Using a one-inch cookie scoop, scoop out dough and roll into balls. Place a few inches apart on prepared cookie sheets and flatted into discs using the bottom of a glass.

Bake for 14-16 minutes, until cookies are light golden brown.

Allow to cool completely before drizzling or dipping.

Once cookies are cool, combine chocolate chips and shortening in a small saucepan. Melt on low heat, stirring frequently.

Drizzle chocolate over cookies, or dip half of each cookie into chocolate and allow to set on waxed paper.


Butter Biscuits with Apricot Preserves

apricot jam biscuits 2


Some bakers are loyal to kitchen scales, relying on grams and ounces rather than tablespoons and cups. I’ve never used a kitchen scale, though one is certainly on my dream-kitchen-supply wish list. Today, one would have come in very handy, because I found this recipe on the BBC’s website, and its ingredient volumes were listed in grams and ounces.

Using an internet conversion program, I translated the ounces into more familiar measurements—several tablespoons here, a cup plus a few tablespoons there. This made me think about how the rest of the world uses the metric system and Americans don’t, but that’s another story for another day. This recipe turned out to be a very quick and easy way to use up the two egg yolks I didn’t need in this morning’s icing for my Easter sugar cut-outs.

Ingredients

  • 1 cup plus 4-5 tablespoons flour
  • 7 tablespoons powdered sugar
  • 14 tablespoons butter, cut into cubes
  • 2 egg yolks
  • About 8 tablespoons apricot preserves

Preparations

In a large bowl, combine 1 cup flour and the powdered sugar.

Add butter and, using your hands, rub together until the mixture resembles coarse crumbs.

Add egg yolks and stir with a fork to make a soft dough; add one tablespoon of flour at a time until the dough is firm enough to handle, but still very pliable.

On a lightly floured counter top, roll out dough to about 1/8 inch thickness.

Cut with desired cookie cutters (heart or flower shapes probably work best); cut a small hole in the center of half of the shapes for the top of the sandwich, through which the jam will show once the cookies are assembled.

Bake for about 14 minutes, until cookies are firm and just golden brown.

Cool completely on a wire rack.

Flip each whole cookie over and spread about one teaspoon of jam on each.

Top each cookie with a cut-out cookie to create the sandwich.