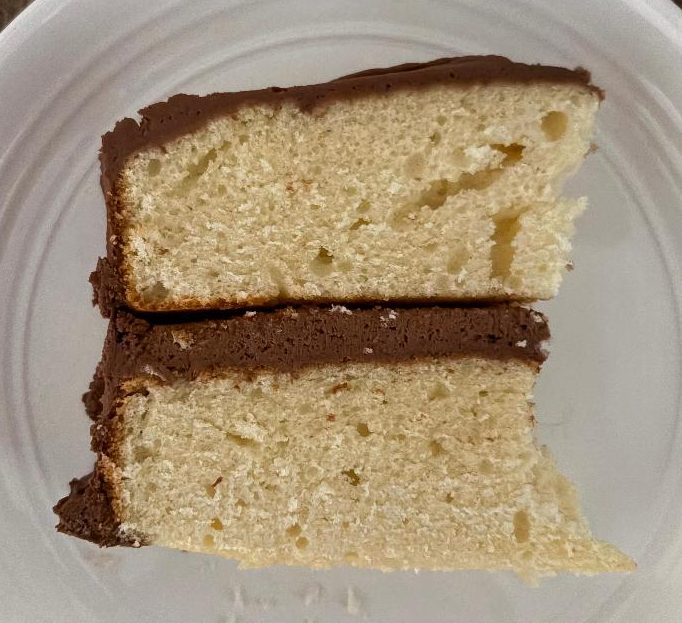
Everyone knows this classic birthday cake combination – two layers of yellow cake covered in chocolate frosting. It’s timeless, and there are many recipes for it out there. This one is a hybrid from a cake I found at Shugary Sweets and my own chocolate buttercream frosting. I added more vanilla extract to the original cake recipe, as I always do. Measure vanilla extract with your heart, bakers. If you feel a recipe needs more, follow your instincts.
This recipe includes both buttermilk and sour cream for a lovely spongy, springy texture. My cake had a few air pockets in it as you can see from the photo, so next time I want to take greater with my mixing for less of a chance of that. I’ll also add more frosting on the tops and sides; I had a great layer of frosting in the middle, but not as much coverage on the tops and sides of the cake as I would have liked. It was a hit regardless though, which is one of the great joys of baking. Even when it’s not perfect, you can still please a crowd with whatever you’ve made.
Ingredients
For the cake
- 1 3/4 cups flour
- 1 3/4 cups cake flour
- 1 tablespoon baking powder
- 1/2 teaspoon salt
- 12 tablespoons butter
- 2 cups sugar
- 1 1/2 tablespoons vanilla extract
- 3 eggs, plus one egg yolk
- 1/2 cup sour cream
- 1 1/2 cups buttermilk
For the frosting
- 1 1/2 cups (3 sticks, 24 tablespoons) butter, at room temperature
- 5 cups powdered sugar
- 3/4 cup cocoa powder
- 1 1/2 tablespoons vanilla extract
- 2-3 tablespoons heavy cream
- Dash of salt
Preparation
Preheat oven to 350 degrees. Grease and flour two 9 x 2 round cake tins.
In a large bowl, combine flour, cake flour, baking powder, and salt; set aside. In a mixer fitted with the paddle attachment, beat butter for 2 minutes. Add sugar and vanilla extract, then add eggs and egg yolk, one at a time, beating well after each. Scrape down your bowl, then beat in the sour cream.
Add flour mixture and buttermilk alternatively, beating for about 30 seconds after each; once everything is added, beat on medium speed for about 2 minutes.
Divide batter evenly between the two cake tins; bake for 32-38 minutes, until a cake tester inserted in the center comes out clean. Cool in the tins for about 10-15 minutes, then remove to a wire rack to cool completely; I place parchment paper on my racks to avoid grid lines in the the cakes.
Once the cakes are completely cool, make your frosting. In a mixer fitted with the paddle attachment, beat butter on medium speed for 1-2 minutes. Sift in powdered sugar and cocoa powder, then cover your mixer with a kitchen towel and beat the mixture on low until all the sugar and cocoa is incorporated into the butter; this takes several minutes. Add salt, vanilla extract, and 2 tablespoons heavy cream; beat for 1-2 minutes. Check your texture; you want your buttercream to be smooth and easy to spread, so add more cream if you need to, but so so sparingly. You can always add more liquid, but you can’t take it back out.
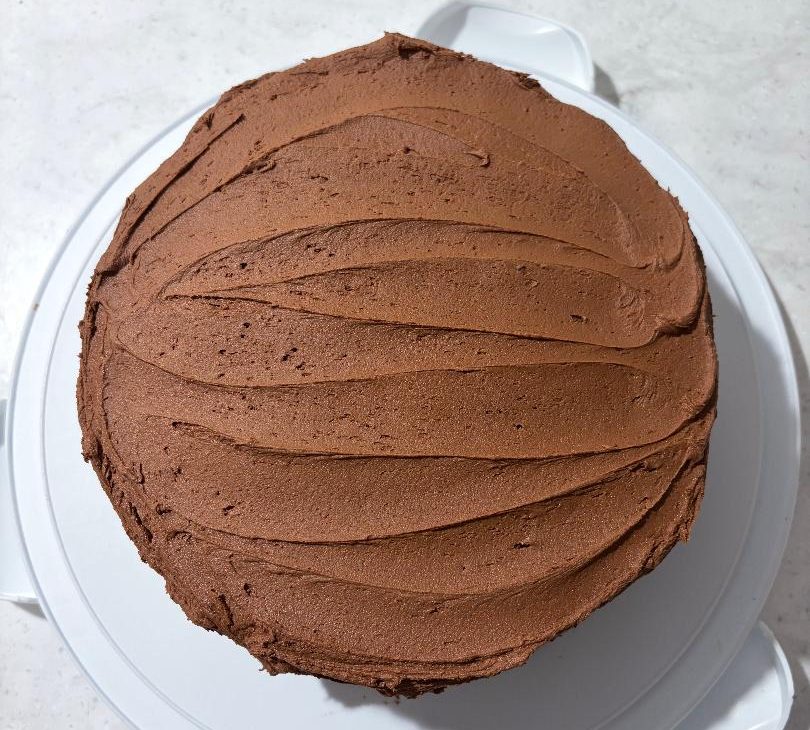
To frost your cake, place one cake on your cake stand and spread about 1 cup frosting over the top; place the second cake on top and frost the top and sides with remaining buttercream, creating whatever pattern you like. My cake was fairly basic-looking, as you can see below. Store tightly covered at at room temperature for 2-3 days; makes about 12 slices.


 The
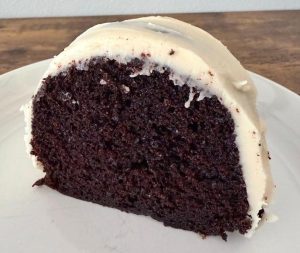
The 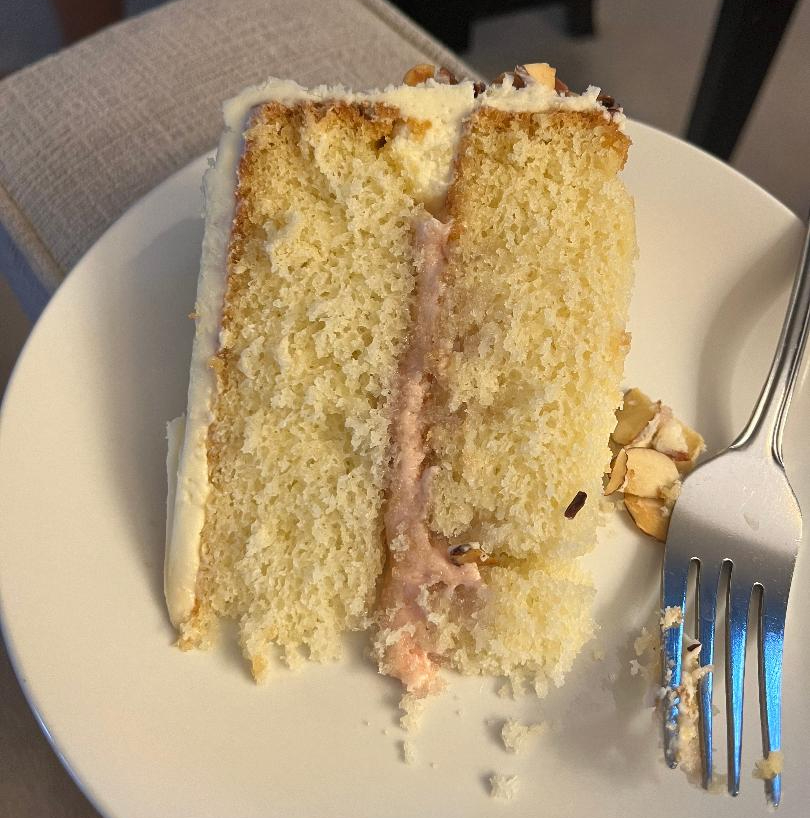 White almond cake is a classic, but many of the recipes I found online were the three-layer variety. As a person who doesn’t have three round cake tins (why exactly, I don’t know), I wanted a simple two-layer option and found
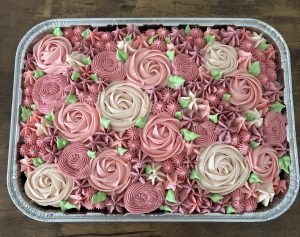
  A view from the side, with toasted flaked almonds on display.