Watching the Great British Baking Show will make you want to build something spectacular out of gingerbread. As I’m a gingerbread structure amateur, I decided to forego the Taj Mahal and Hogwarts Castle for a cute little dog house.
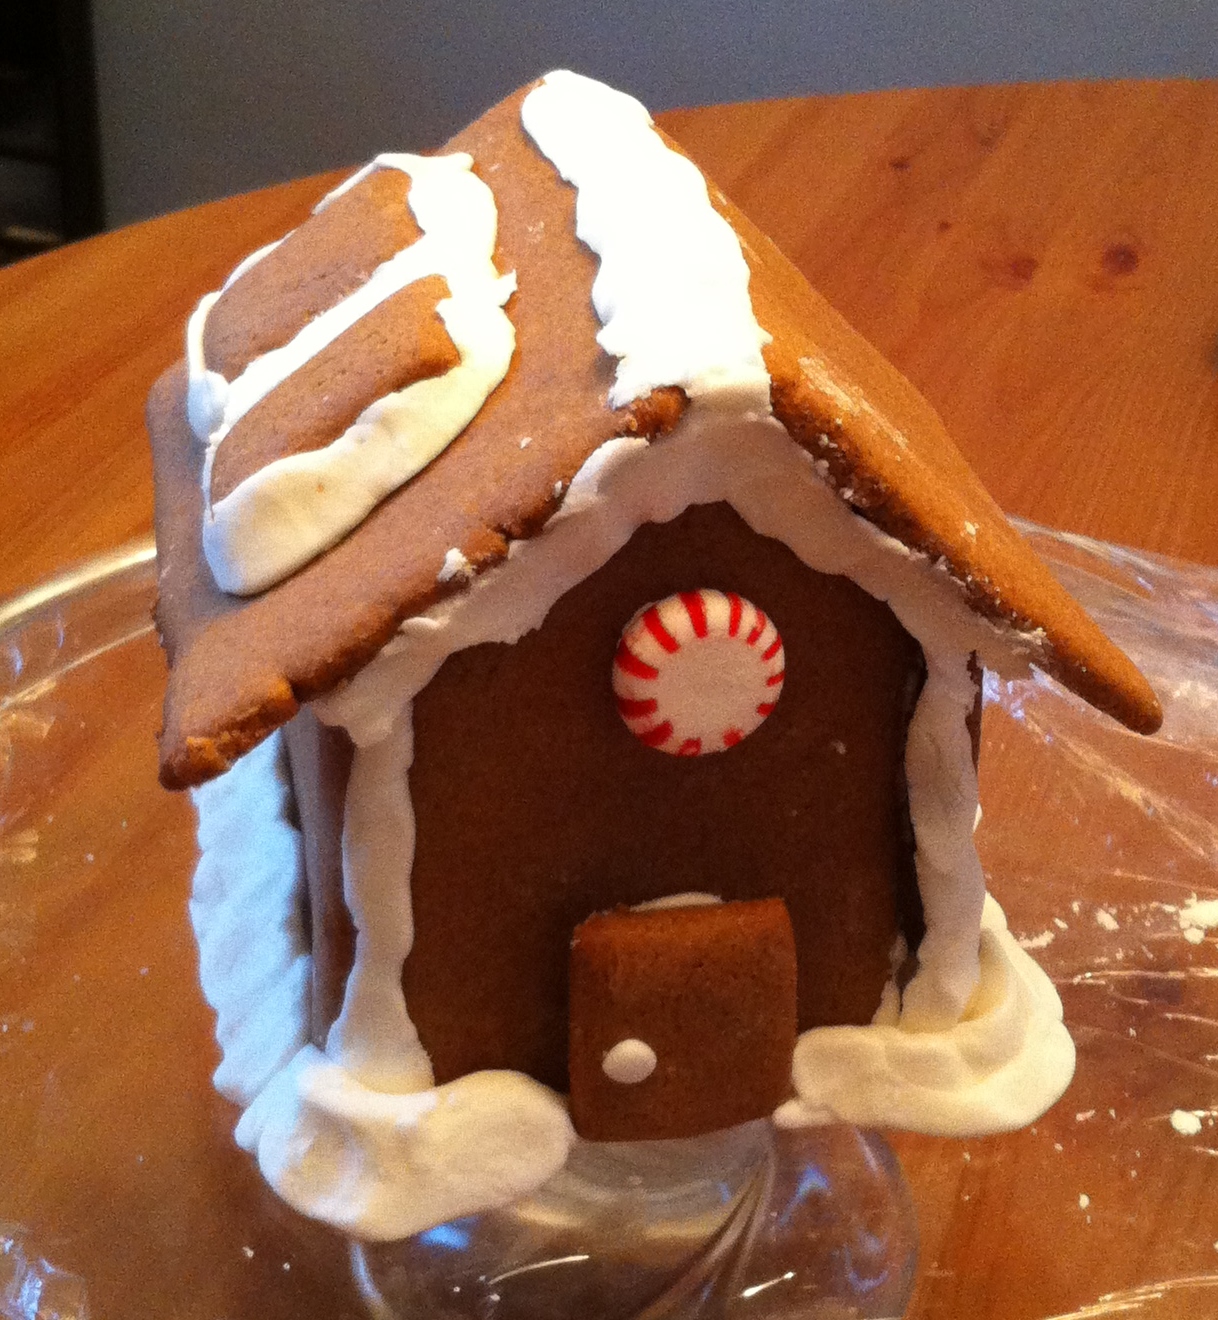
I recently bought the Wilton three-piece gingerbread house cutter set at the craft store and yesterday I tried it out. While it’s a very convenient tool, I wish I’d had a larger quantity of gingerbread from the recipe I used. Next time, I’ll either make smaller templates out of cardboard, or choose a larger-quantity recipe. Either way, this was a fun project. While I’d made a gingerbread house before, I wanted a better-tasting recipe this time, and I found this one at Food Network.I deviated from their instructions for baking a bit, but it turned out very well.
Ingredients
For the house
- 1/2 cup butter, at room temperature
- 1/2 cup dark brown sugar
- 1/4 cup light molasses
- 1 tablespoon cinnamon
- 1 tablespoon ground ginger
- 1 1/2 teaspoons ground cloves
- 1 teaspoon baking soda
- 2 cups all-purpose flour
- 2 tablespoons water
For the royal icing
- 3 3/4 cups powdered sugar, sifted
- 1/2 teaspoon cream of tartar
- 3 egg whites, at room temperature
Preparation
In a mixing bowl, cream the butter, brown sugar, molasses, cinnamon, ginger, cloves and baking soda together until the mixture is smooth. Blend in the flour and water to make a stiff dough. Chill at least 30 minutes or until firm.
Preheat oven to 375 degrees. On a very lightly floured surface, roll out dough to about 1/4 inch thickness. Using the cutter set (or your own templates), cut sides, roof panels, and front/back panels.
Place panels on a baking sheet lined with parchment paper a few inches apart; cookies will spread when baking. Bake for 12-15 minutes, until the dough feels firm – the cookies can burn, so keep a close eye on them.
Remove from oven and immediately trim off any uneven sides; you’ll want your sides as straight as possible for construction. Place cookies on a wire rack and allow to cool completely.
To make royal icing, place sifted powdered sugar and cream of tartar in a mixing bowl fitted with the whisk attachment. Add egg whiles and beat on low for a few seconds to combine, scraping the sides of your bowl to get all the powdered sugar evenly incorporated. Whip on high speed for 7-10 minutes; you want the icing to hold peaks.
Working quickly, place icing in a piping bag; cover any unused icing with plastic wrap to prevent it from drying out. Beginning with one of the side panels, pipe a line of icing on the bottom and side, then press it gently onto your platter or cake plate. It helps to have someone hold the panels for you so they stay upright during construction. Repeat with the front panel, then add another side, the back panel, and your roof. Decorate as you like; I added very simple doors and windows, along with some snow on the roof. And of course, the resident dog.
Store at room temperature; royal icing will harden as it dries, keeping your house upright (at least we hope so).