What to Do with Leftover Canned Pumpkin

I bake with pumpkin year-round, so canned pumpkin is a pantry staple. It’s rare for me to find a recipe that uses a whole 15-ounce can (let alone the 29-ounce cans I buy during the fall), so I’m always on the hunt for ways to use up the leftovers.

Canned pumpkin will last for about 5-7 days in the refrigerator once it’s opened, so I usually end up baking two pumpkin-themed recipes back-to-back. If you don’t need both recipes for yourself, you can always share with your colleagues or neighbors; it’s rare for me to encounter someone who doesn’t like pumpkin, but I guess you never know!

As I find more recipes, I’ll add them here, but this is a good place to start! Happy baking!

1/2 cup (4 ounces)

2/3 cup (5 1/3 ounces)

3/4 cup (6 ounces)

7.5 ounces (half a 15-ounce can)

1 cup (8 ounces)

1 1/2 cups (12 ounces)

15 ounces


Advertisement

Softened Butter

softenedbutterMany recipes call for softened, or room temperature, butter. The easiest way to bring butter to room temperature is to let it sit at room temperature for about a half-hour to an hour, but I usually quick-soften my butter by cutting it into cubes, then letting it sit out for about 15-30 minutes.

Softened butter should look like the photo here – you should be able to indent it with your finger, but not press all the way through. Think of the consistency of ice cream, rather than the consistency of whipped cream, when judging whether your butter is soft enough, but not too soft.

In many cases, butter must be softened so that it can blend more easily with certain ingredients, like sugar, for example. In other cases, your butter will need to remain cold – like if you’re working with pastry dough – so be sure to check your recipe before you start. If you’re incredibly short of time, cut your butter into very small cubes, then place it in your mixing bowl. Beat it on high speed for about 3-4 minutes, scraping the bowl every minute or so, to soften it.

Recipe Basics

spice cupcakesRecipes are the foundation of baking; follow them, and most of the time, you’ll have success. Below are some tips to keep in mind when facing even the most complicated recipes.

Read your recipe.

Before you begin, read your recipe. Read it a few times, in fact. Make sure you have all of the ingredients and equipment you need, and that you have enough time in your day or evening to make what you intend to make.

Fresh ingredients are the best, but you don’t have to buy the most expensive ones. I bake with store-brand flour, sugar, eggs, and butter, McCormick extracts, and a few higher-end spices from Penzey’s or King Arthur Flour. While some bakers believe the highest-grade flours make better treats, I’ve never had any complaints about the cookies, cakes, and pies I’ve created from the store-brand.

And yes, you can substitute…sometimes. Some ingredients can be swapped out for others, but not all are interchangeable. Check out my substitutions page for more info.

Then, follow it.

Much like your chemistry experiments from high school, it takes the right ratios of the right kinds of ingredients to yield certain results. For the best outcomes:

  • Be sure you’re using ingredients at the right temperature. For example, if you need to soften butter or keep it cold, do so. There’s a reason for it, likely relating to texture, and you’ll get the best results if you follow your recipe.
  • Use the right type of measuring cup for the ingredient. Dry and liquid measures are not interchangeable, so if you’re measuring flour, use a dry measuring cup, and if you’re measuring milk, use a liquid measuring cup.
  • When adding wet ingredients – like when adding milk to buttercream frosting – do so in small increments. You can always add more, but you can’t take liquid back out.
  • If your batter or dough seems too runny, you might have to add a bit more flour to stabilize it. This can happen for many reasons; maybe your large eggs were a bit larger than the recipe author’s. If you’re adding more flour, do so slowly, one tablespoon at a time. As with liquid, you can always add more, but you can’t take it back out.

But, don’t be afraid to be creative. 

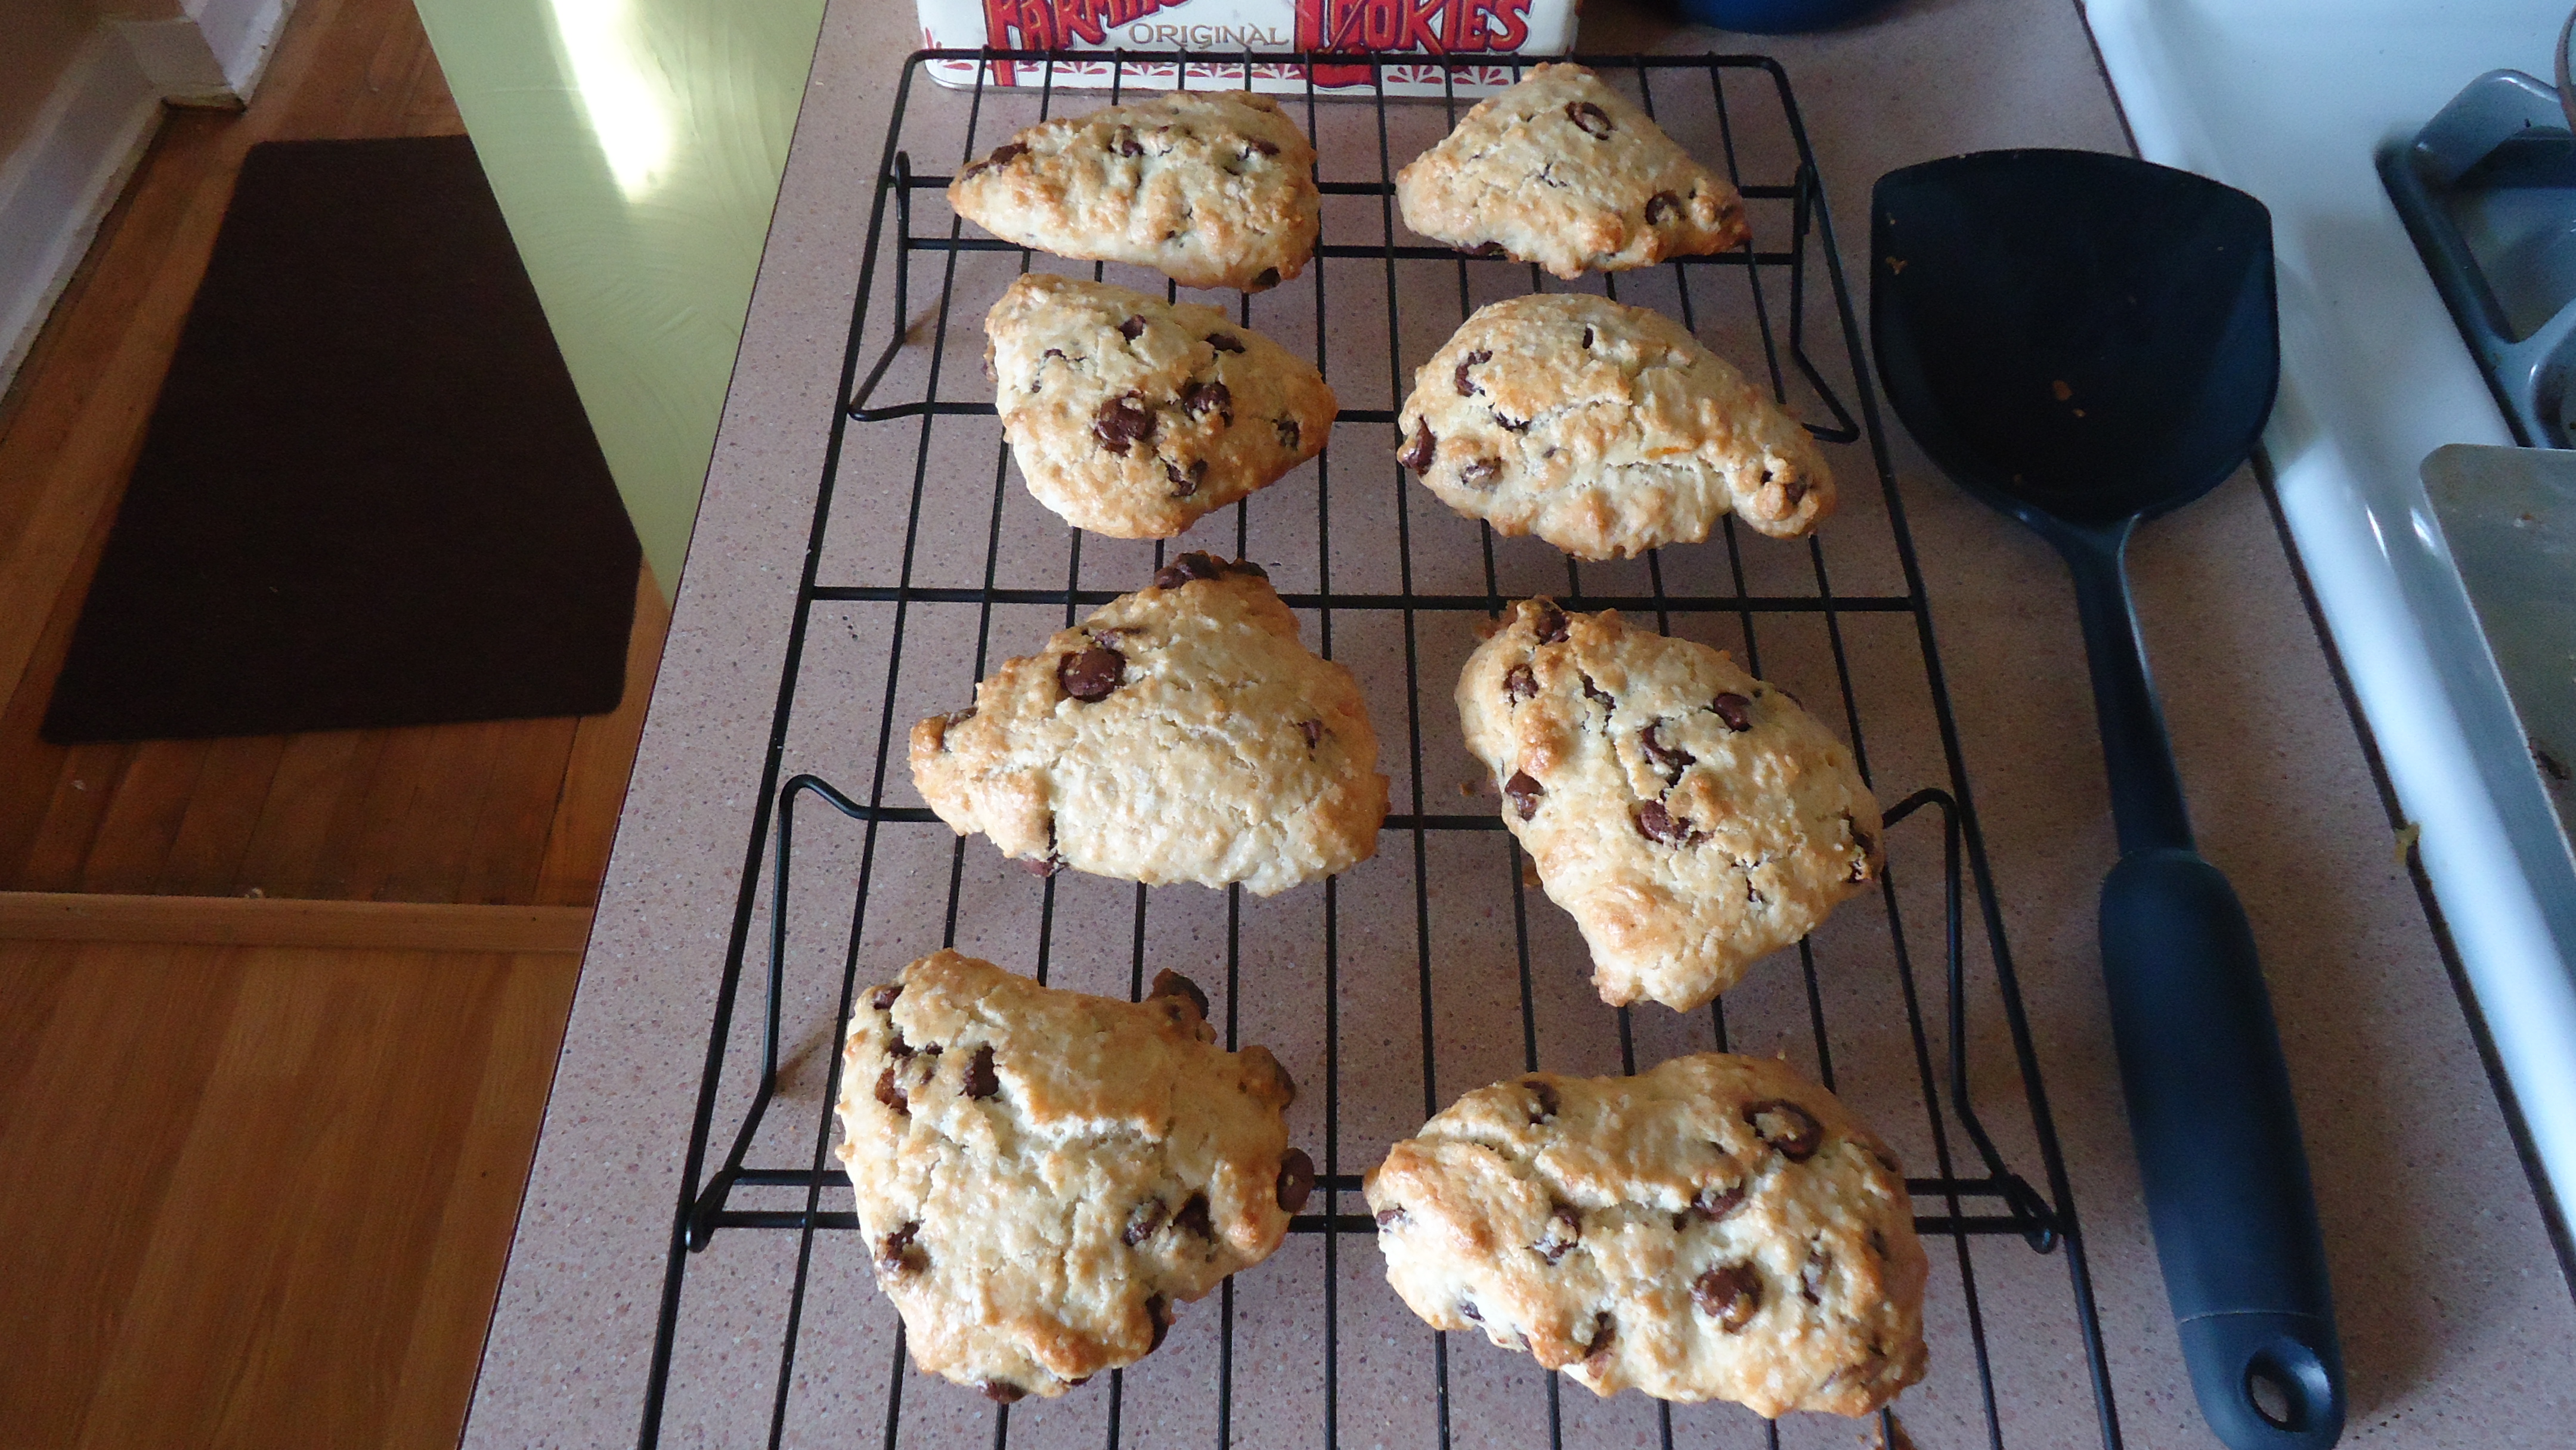
If your suspect your recipe could use more vanilla, or a different kind of extract, or chopped nuts, go for it. If you think your scones could use a drizzle of powdered sugar glaze, by all means, drizzle away. Disasters rarely result from this manner of creativity, and you never know – you might just invent a new favorite.


Stocking Your Pantry

cocoaI don’t have an actual pantry, but my dream kitchen would have one the size of my current kitchen. I can see it now: shelf upon shelf of jars, containers, bags of chocolate chips, cans of pumpkin, bottles of molasses…well, maybe someday.

In the meantime, I’ve commandeered one cabinet for nearly all of my baking stuff, though I do keep my spices in a separate place. I tend to have everything on the following lists in my pantry cabinet and spice cabinet at any given time.

Pantry Items 

Basics

  • White flour
  • White sugar
  • Light brown sugar
  • Baking soda
  • Baking powder
  • Cream of tartar
  • Cocoa powder
  • Unsweetened baking chocolate
  • Semi-sweet chocolate chips
  • Milk chocolate chips
  • Walnuts
  • Old-fashioned oats
  • Molasses
  • Light corn syrup

What I also usually have

  • Active dry yeast
  • Wheat flour
  • Cake flour
  • Dark brown sugar
  • Bittersweet chocolate chips
  • Toffee pieces
  • Pecans
  • Blanched almonds
  • Canned pumpkin
  • Maple syrup

Spices & Extracts

Basics

  • Vanilla extract
  • Almond extract
  • Cinnamon
  • Ginger
  • Nutmeg
  • Cloves

What I also usually have

  • Vanilla beans
  • Maple flavoring
  • Lemon extract
  • Orange extract
  • Peppermint extract
  • Allspice
  • Mace

Bakeware + Tools

chocolate chip sconesMost people think my kitchen is enormous because I bake all the time, but I promise, it’s very average. On the small side, even. I’ve gotten pretty creative with my storage solutions, because I do have an array of baking pans, prep bowls, and baking tools.

No matter what fancy shops and catalogs will tell you, you really only need a handful of tools for successful baking. In addition to a stand mixer (more on my mixer coming soon!), I recommend the following as a place to start – you can always add in other pans and tools as you go along, and of course you can choose other tools that suit what you bake more often to help you along the way. For example, I do a lot of cookie baking, so I have a few different sizes of cookie scoops.

Bakeware

  • 9 x 13 pan
  • Two 9-inch round pans
  • 10-inch fluted (or Bundt) pan
  • 8-inch (or 9-inch) loaf pan
  • 9-inch pie dish
  • Cookie sheets (I prefer ones without sides)
  • Cooling racks

Baking Tools

  • Dry measuring cups
  • Liquid measuring cups
  • Measuring spoons
  • Rubber spatulas
  • Turner spatula (like a pancake turner)
  • Offset spatula (for frosting cakes)
  • Rolling pin
  • Whisk
  • Cookie scoops
  • Fine-mesh sieve
  • Chef’s knife
  • Pastry bag, coupler, and piping tips
  • Pastry blender
  • Cookie cutters

Fun & Useful Things to Have

  • Microplane grater, for zesting
  • Citrus reamer, for juicing
  • Melon baller, for coring cupcakes
  • Food scale
  • Food processor