Loaded Peanut Butter Cookies

loaded pb cookiesTexture can make or break your baked goods, and for me, great texture is about balance. You don’t want a cookie that is too soft or too crisp, and striking that balance takes patience, attention to detail, and a bit of intuition.

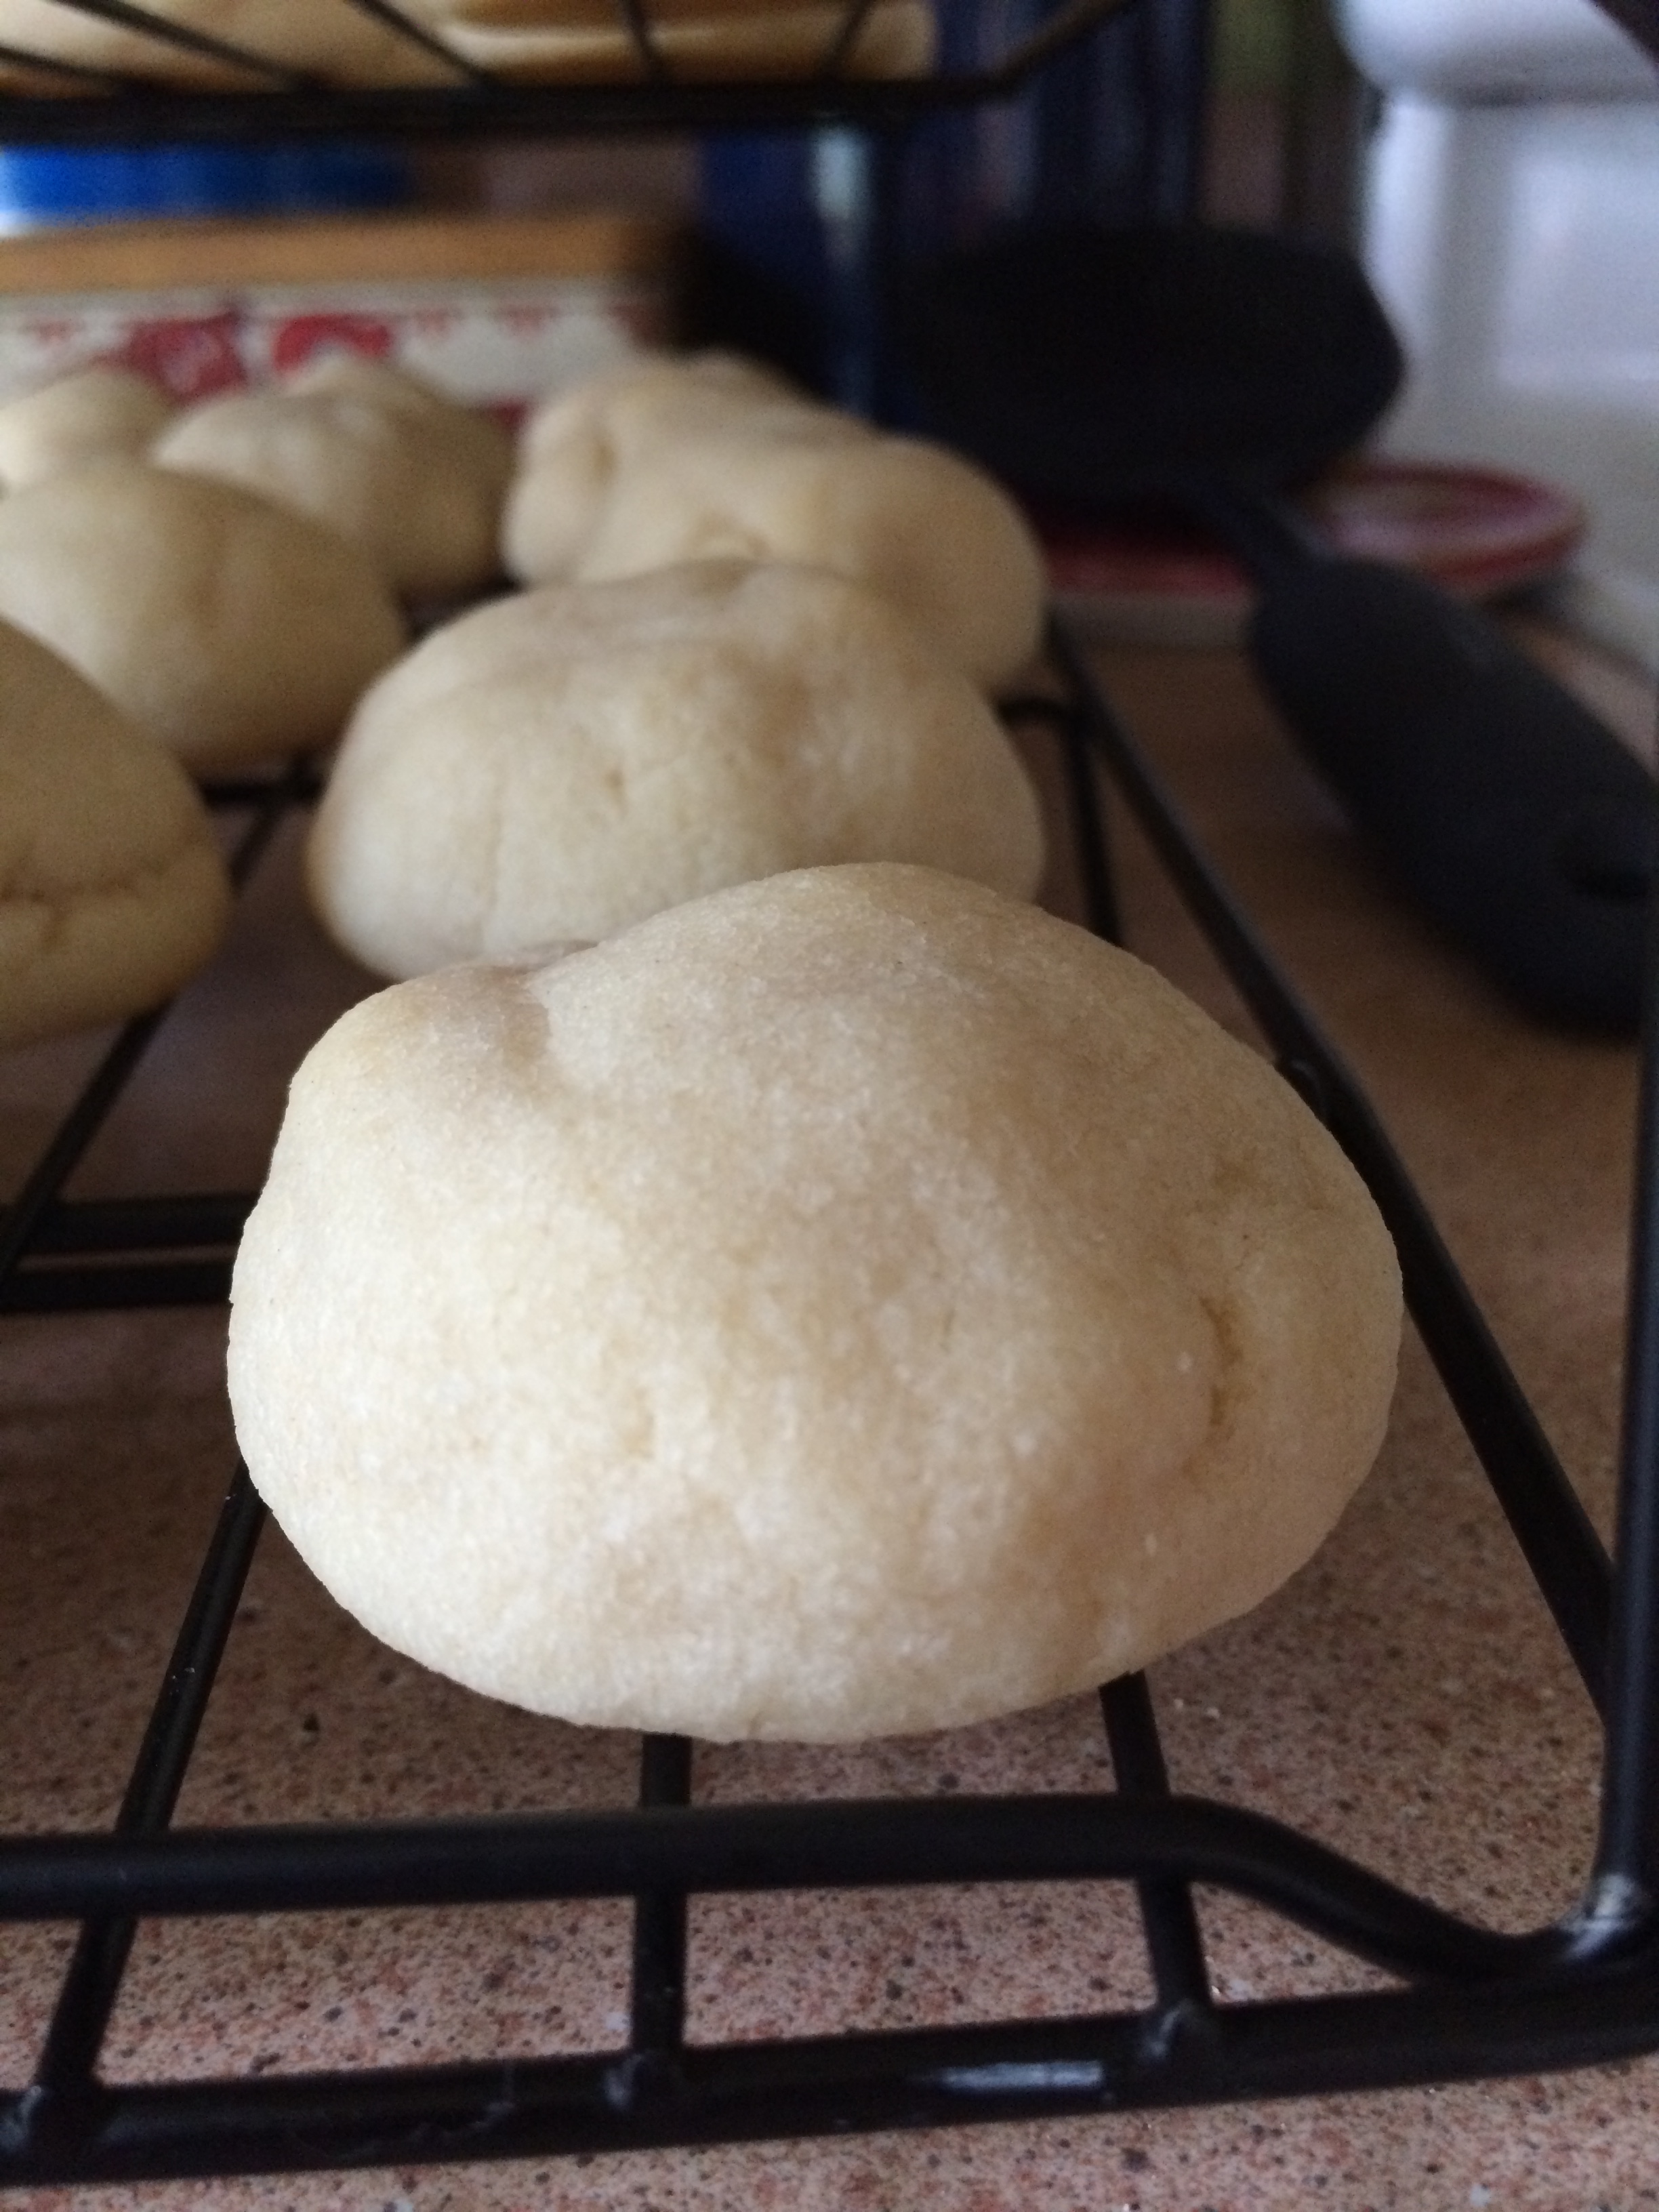
I always (seriously, always) under-bake peanut butter cookies by a minute or two, pulling them from the oven when they still look puffy in the middle. Once you remove cookies from the oven, they keep baking for a few minutes while they cool on the baking sheets. So if you under-bake them by just a minute or two, they’ll reach the perfect level of done-ness while they’re cooling on your baking sheets, and they won’t end up too crispy.

These cookies have a great texture, being both soft and chewy and studded with crunchy Reese’s Pieces. I found this original recipe on Six Sisters’ Stuff, where they are billed as triple peanut butter cookies and use peanut butter chips instead of chocolate. I thought that might be a bit too peanut buttery, so I opted for chocolate chips with great results.

Ingredients

  • 1 cup butter, softened
  • 1 1/2 cups peanut butter
  • 1 cup packed light brown sugar
  • 1 cup white sugar
  • 2 eggs
  • 1 teaspoon vanilla
  • 1 teaspoon baking soda
  • 3 cups flour
  • 1 cup Reese’s Pieces
  • 1 cup milk chocolate chips

Preparation

Preheat oven to 350 degrees. Line several baking sheets with parchment paper. Note: this makes a very, very large batch of cookies; mine made almost 5 dozen.

In a mixing bowl, cream together butter, peanut butter, brown sugar, and white sugar until well-combined and fluffy, scraping the sides of your bowl often.

Add eggs and vanilla, beating well to combine. Add baking soda, then 1 cup of flour, beating to combine. Add remaining flour 1 cup at a time, mixing between each addition, to form a soft dough that pulls away from the sides of your mixer.

Add Reese’s Pieces and chocolate chips; I used my hands to mix them into the dough.

Roll dough into 1 1/2 inch balls and place about 1 1/2 inches apart on prepared baking sheets; they do not spread that much when baking, but you don’t want them too close together.

Bake for 10 minutes, until cookies are still puffy in the middle but brown on the bottom (just use your spatula to gently lift one cookie up to check the bottom). Remove from oven and cool on baking sheets for about 3 minutes, then remove to a wire rack to cool completely.

Cream Cheese Shortbread

creamcheeseshortbreadMy mission to find that delicious, albeit nameless, bakery cookie from my childhood continues with today’s cream cheese shortbread. And while this recipe yields a delicious treat, it does not, unfortunately, produce that delicious nameless bakery cookie from my childhood.

Someday, when I finally find the right recipe, I think I’m going to call it the white whale. For now, though, experiments continue. Fortunately, the experiments are quite tasty.

I found this recipe on Pinterest, from another food blog called Mama Likes to Cook. The end result is a great twist on a classic shortbread, and the addition of the cream cheese yields a lighter texture than you’d expect.  Although I’ve left these plain, you could definitely dress them up with a chocolate drizzle, tint them for holidays, or turn them into sandwiches with some chocolate or vanilla filling.

Ingredients

  • 1 cup butter, at room temperature
  • 4 ounces cream cheese, at room temperature
  • 1/2 cup sugar
  • 1 teaspoon vanilla extract
  • 2 cups flour

Preparation

Preheat oven to 375 degrees. Line several baking sheets with parchment or foil.

In a mixing bowl, beat butter and cream cheese on medium speed until well-combined, about 2 minutes. Add sugar and cream until light and fluffy, for another 2-3 minutes.

Scrape down the sides of your bowl well, then add vanilla extract and beat to combine.

Add flour, about 1/2 cup at a time, mixing until very well combined.

On a lightly floured surface, turn out dough and knead just slightly; you will have a very soft, flexible dough.

Roll out to 1/4 inch thickness and cut with desired cutters; I used a square cutter with fluted edges. Scraps are very easy to re-roll; just add a dash of flour to keep your dough stable.

Place on prepared cookie sheets about 1 inch apart and bake for 8-10 minutes, until edges are firm. Remove from oven and allow to cool for a few minutes on the baking sheets, then remove to a wire rack to cool completely.


Patriotic Whoopie Pies

patriotic whoopiesHappy Independence Day, Americans! Let’s celebrate with some star-spangled sweets. These patriotic whoopie pies take a classic red velvet recipe and add a bit of a twist, using both red and blue food coloring for red, white, and blue treats.

The Brown Eyed Baker (another Pittsburgh-based, self-taught baker and blogger) has a great recipe for red velvet whoopie pies, which I used as the base for these treats. Instead of adding the food coloring with the vanilla during mixing, I made the batter first without any food coloring, then divided it and tinted half red and half blue. I also chose a marshmallow creme-based filling, instead of the original recipe’s cream cheese filling so I didn’t need to refrigerate them.

Ingredients

For the red and blue velvet whoopie pies

  • 3 cups all-purpose flour
  • 1/3 cup cocoa powder
  • 1 teaspoon baking powder
  • 1/2 teaspoon baking soda
  • 1/2 teaspoon salt
  • 1/2 cup unsalted butter, at room temperature
  • 1/2 cup vegetable shortening
  • 1/2 cup light brown sugar
  • 1 cup granulated sugar
  • 2 eggs
  • 2 teaspoons vanilla extract
  • 1 cup buttermilk
  • 3 teaspoons red liquid food coloring
  • 3 teaspoons blue liquid food coloring

For the fluffy white filling

  • 8 tablespoons unsalted butter, at room temperature
  • 1 7-ounce jar marshmallow creme
  • 2 1/2 teaspoons vanilla extract
  • 2 3/4 cups powdered sugar

Preparation

Preheat oven to 350 degrees. Line several baking sheets with parchment paper.

In a large bowl, combine flour, cocoa powder, baking powder, baking soda, and salt; set aside.

In a mixing bowl, cream butter, shortening, brown sugar, and white sugar until very light and fluffy, about 5 minutes, scraping the sides of the bowl a few times.

Add eggs, one at a time, mixing well after each. Add vanilla extract and beat until combined.

Add the flour and buttermilk alternatively in two batches, beating until just combined after each.

Divide batter into two bowls; you’ll have about 3 1/2 cups of batter in each. Add red food coloring to the first bowl and mix until well-combined; add blue food coloring to the second bowl and mix until very well-combined.

Using a two-inch cookie scoop, drop scoops of batter at least 2 inches apart onto prepared baking sheets; you’ll have 6 cookies per sheet.

Bake for 10-11 minutes, until tops spring back just slightly when touched. Remove from oven and cool on baking sheets for 5 minutes, then remove to wire racks to cool completely before filling.

To make the filling, place butter in a mixing bowl fitted with a paddle attachment and beat on medium speed for 1-2 minutes. Add marshmallow creme and vanilla and beat until very well-combined.

Add powdered sugar about 1 cup at a time, beating well between each addition and scraping the sides of your bowl frequently. You want a firm but spreadable consistency so that your filling doesn’t ooze out the sides.

Flip cookies over and match up one blue and one red per whoopie pie. Using a 1-inch cookie scoop, drop generous scoops of filling onto each blue cookie. Using a small offset spatula, spread filling slightly, then place a red cookie on top.

Wrap each whoopie pie in plastic wrap for easy serving and storage. Since they are so large, it’s nice to be able to eat half of one and save the other half for later.


Watermelon Cookies

watermelon cookiesMy baking board on Pinterest has 870 pins. The expression “down the rabbit hole” doesn’t even begin to come close, especially when I scroll through it and can see the progression of recipes from one starting point (like “summer cookie ideas”) to an entirely different place altogether. My board looks a bit like this:

Summer cookie ideas…summer sugar cookies…watermelon cookies…watermelon cake…watermelon cupcakes…Fourth of July desserts…red, white, and blue trifle…trifles…lemon raspberry trifle…lemon raspberry cake…raspberry donuts…and so on, and so on, for 870 pins.

These adorable watermelon cookies appeared in my Pinterest feed a few days ago, and I just had to try them. The original recipe can be found at Taste of Home, and I tweaked it just slightly to add more almond extract into my dough and to chill the dough for less time. The end result is a cheerful, summery treat with a very subtle almond flavor; next time, I might add more almond extract to kick the flavor up a bit.

Ingredients

  • 2 cups flour
  • 1/4 teaspoon baking powder
  • 1/8 teaspoon salt
  • 3/4 cup butter, softened
  • 3/4 cup sugar
  • 1 egg
  • 1 teaspoon almond extract
  • Red and green gel food coloring
  • Miniature semisweet chocolate chips, if desired

Preparation

In a medium bowl, combine flour, baking powder, and salt; set aside.

In a mixing bowl, cream butter and sugar until light and fluffy. Add egg and almond extract and beat until well-combined, scraping the sides of your bowl frequently.

Add flour in three batches, mixing well after each until a soft dough forms.

Scoop out 1 cup of dough and set aside; tint remaining dough red. Roll into a 3 1/2 inch long log. Note: I rolled my dough into a much longer log and didn’t have quite enough green dough to cover it, so be sure you keep your red log on the smaller side.

Take 1/3 of your reserved dough and tint it green.

Wrap each portion of dough in plastic wrap and chill for at least 2 hours.

Roll plain dough into an 8 1/2 by 3 1/2 inch rectangle. Wrap around the red log, pressing gently to adhere; I also rolled my log a few times to get the plain dough to stick better.

Roll green dough into a 10 by 3 1/2 inch rectangle, then wrap around your red/plain log, pressing gently to adhere. Again, I also rolled my log a few times to get the green dough to stick better.

Chill for about 1 hour; you can also chill overnight if you prefer.

Slice your log into 1/4 inch slices, turning slightly as you go for even circles. Per the original recipe, you can leave your circle intact for baking; I cut mine in half before I baked them.

Gently press miniature chocolate chips into each cookie for seeds; if you prefer, you can leave your slices seedless, but I think the chocolate chips add a nice whimsical touch.

Bake for 9-11 minutes; remove from oven and allow to cool on baking sheets for 1-2 minutes, then remove to a wire rack to cool completely.

Cream Cheese Cookies

creamcheesecookiesI’m on a mission to find a recipe, with one very basic challenge: I have no idea what the cookie I seek might be called.

When I was a kid, my grandma occasionally brought home cookies from a bakery several miles north up the Allegheny River, in New Kensington or Natrona Heights, I can’t recall exactly. Whenever she went, she returned home with a specific kind of cookie; scalloped at its edges, flavored with vanilla, not as sweet as a regular sugar cookie, decorated with one teardrop-shaped dollop of icing.

A few weeks ago, someone from another department at work brought in cookies from a local bakery. I know neither the name of the person who brought the cookies, nor the bakery from whence they came. Square, edged with walnuts, with a dollop of icing; they tasted so similar to the mystery bakery cookies of my youth, I could hardly believe it. But what, on earth, are they called? I have no idea.

I’ve scoured the internet with no luck yet, but suspect that they might be cream cheese-based. My friend Carrie sent me a cream cheese cookie recipe long ago, which I decided to bake today. Although they’re not the mystery cookies of my youth, they are absolutely delicious. According to Carrie’s recipe, you can tint them different colors for holidays, or just leave them plain. Many thanks for this recipe, Carrie – they are amazing.

Ingredients

  • 2 1/2 cups flour
  • 1/2 teaspoon salt
  • 3 ounces cream cheese, softened
  • 1 cup shortening
  • 1 cup sugar
  • 1 egg yolk
  • 1 teaspoon vanilla extract

Preparation

Preheat oven to 350 degrees. Line baking sheets with parchment paper.

In a medium bowl, combine flour and salt; set aside.

In a mixing bowl, cream together the cream cheese and shortening. Scrape down the sides of your bowl, then add the sugar and cream until well-combined.

Add egg yolk and vanilla and mix until combined. Add flour, mixing until a soft dough forms; I waited until mine pulled away from the sides of the bowl to stop mixing.

Using a small (one-inch) cookie scoop, scoop dough and roll into balls. Place on prepared baking sheets about 1 inch apart.

Bake for 12-15 minutes; cookies will crack just slightly, and that’s okay. Remove from oven and cool on baking sheets for a few minutes, then remove to a wire rack to cool completely.


Chocolate Whoopie Pies

chocolatewhoopiesThe whoopie pie: cake, cookie, or pie? To me, certainly not a pie; more of a cross between a cake and a cookie.

Whatever you call them, they come in many varieties. I’ve tried several, and have personally made chocolate peanut butter whoopie pies, lemon raspberry whoopie pies, and vanilla whoopie pies with chocolate filling. Despite this, nothing quite compares to the classic chocolate-cookie-with-fluffy-white-filling whoopie pie. This is my first attempt at the classic version, and I have to say: they are delicious. And enormous. And definitely not heart-healthy. But it’s not like you’ll eat them every day, right?

The recipe below is adapted from Cinnamon-Spice & Everything Nice, incorporating more powdered sugar into the filling to mellow out the sweetness of the marshmallow creme. That probably sounds impossible, but it’s true; a bit more powdered sugar cuts the sticky sweetness of the creme very well, and also stabilizes the filling a bit. Don’t skip the step where you let your filling chill in the refrigerator for just a few minutes; it sets up very nicely and yields a fluffy texture that complements the tender cookies very well.

Ingredients

For the chocolate cookies

  • 2 cups all-purpose flour
  • 1/2 cup unsweetened cocoa powder
  • 1 1/4 teaspoons baking soda
  • 1 teaspoon salt
  • 1 cup buttermilk
  • 1 teaspoon vanilla extract
  • 8 tablespoons butter, softened
  • 1 cup firmly packed brown sugar
  • 1 egg, at room temperature

For the fluffy white filling

  • 8 tablespoons butter, softened
  • 2 1/4 cups powdered sugar
  • 1 7-ounce jar marshmallow creme
  • 2 teaspoons vanilla extract

Preparation

Preheat oven to 350 degrees. Line three baking sheets with parchment paper; my recipe yielded 20 individual cookies for 10 complete whoopie pies.

In a medium bowl, combine flour, cocoa powder, baking soda, and salt; set aside.

In a medium glass measuring cup, combine buttermilk and vanilla; mix and set aside.

In a mixing bowl, beat butter on medium speed for 1 minute. Add brown sugar and cream until light and fluffy, about 2-3 minutes.

Scrape down your bowl very well and add the egg, then beat until well-combined.

Add flour mixture and buttermilk mixture alternatively, beginning and ending with the flour, mixing until combined after each.

Using a 2-inch cookie scoop, scoop very generous, heaping scoops of batter onto prepared sheets; you should have 6 cookies per sheet and need to leave a few inches of space between them, as they’ll spread as the bake.

Bake for 10-12 minutes, until tops are set and spring back lightly when touched. Remove from oven and cool on baking sheets for a few minutes before removing to a wire rack to cool completely before filling.

To make the fluffy white filling, beat butter on medium speed for 2 minutes, until light and fluffy. Add vanilla and marshmallow creme, beating for about 2 minutes to combine. Add powdered sugar 1 cup at a time, beating well to combine.

Chill filling for about 5 minutes in your refrigerator; this will allow it to set up slightly and provides a sturdier texture.

Flip cookies over and divide filling evenly among half of them; using a small offset spatula, spread filling slightly, then place another cookie on top.

Wrap each whoopie pie in plastic wrap for easy serving and storage. Since they are so large, it’s nice to be able to eat half of one and save the other half for later.


Vanilla Whoopie Pies

vanilla whoopieThe whoopie pie comes in many varieties. I wanted to make classic chocolate cake/vanilla filling whoopies today, but I lacked buttermilk and didn’t think a sour milk substitution would do the trick. And so, I opted for a reverse on the classic: vanilla cake/chocolate filling whoopies.  (And how fun is it to say whoopie pie, by the way? A lot of fun.)

The vanilla cake part of this recipe is an adaptation from King Arthur Flour’s Double-Vanilla Whoopie Pie, and the chocolate filling is slightly adapted from a version I used in my homemade fudge rounds. I’ll admit: the flavors need a bit of tweaking, and next time I’ll probably add some more vanilla to both, and I’ll likely add more cocoa powder for the filling to ramp up the chocolateyness.

Ingredients

Vanilla Cakes

  • 1 cup sugar
  • 11 tablespoons butter, at room temperature
  • 2 teaspoons baking powder
  • 1 teaspoon salt
  • 1 tablespoon vanilla extract
  • 1/2 teaspoon almond extract
  • 2 eggs
  • 3 cups flour
  • 2/3 cup milk

Chocolate filling

  • 1/2 cup shortening
  • 1/2 cup salted butter, softened
  • 1 1/2 teaspoons vanilla extract
  • 1/2 teaspoon almond extract
  • 1/4 cup cocoa powder
  • 3 to 3 1/2 cups powdered sugar

Preparation

Preheat oven to 400 degrees. Line three baking sheets with parchment paper.

In a mixing bowl, cream together sugar and butter for about 2-3 minutes, until very light and fluffy.

Add baking powder, salt, vanilla extract, and almond extract, and beat well.

Add eggs, one at a time, beating well and scraping the bowl between each.

Add flour and milk alternatively, beginning and ending with the flour and mixing until batter is just combined. Batter will be thick and fluffy.

Using a 2-inch cookie scoop, scoop dough onto prepared sheets, placing about 2 inches apart; you should have 6 scoops on each sheet.

Bake for 8-9 minutes, until edges are set and tops are just slightly springy. Remove from oven and cool on baking sheets for a few minutes before removing to a wire rack to cool completely.

To make the filling, beat shortening and butter on medium speed for about 2 minutes. Add vanilla and almond extracts and beat until combined.

Add cocoa powder and 1 cup powdered sugar and beat until combined. Slowly add 2 additional cups powdered sugar, about 1/2 cup at a time, beating well between each addition. Beat on medium speed for about 2 minutes; if your filling is thin, add another 1/2 cup powdered sugar and beat again until the consistency is fluffy.

To fill, flip cakes over and, using a 1-inch cookie scoop, drop scoops of filling onto half of the cakes. Spread with an offset spatula and top with another cake.

Wrap whoopie pies in plastic wrap and store in an airtight container at room temperature. You could probably refrigerate these, but they might dry out a bit.

Baseball Sugar Cut-Outs

baseballsOnce upon a time, I loathed making sugar cookies. I had a sketchy recipe that never seemed to come together and make for easy rolling, frosting them could take a while depending on the shape, and in the end, they just never seemed to be worth the trouble.

One autumn in DC, I discovered a new recipe, then added a few extra teaspoons of vanilla. From that dough, I created a platter of fall-themed treats – turkeys (complete with sprinkled-on plumage), acorns, pumpkins, and colorful leaves – and took it to my Aunt Liz’s house for Thanksgiving dinner. It was a huge hit, to say the least.

Since then, I’ve used that same recipe to make treats for many seasons and reasons, including a fun batch of steamed crab cut-outs that my cousin-in-law Robb absolutely loved. Now, sugar cut-outs are among my favorite cookies to make.

These baseballs are for my nephew Roman, who turns 8 this week. Happy birthday, kiddo.

You will need:

Preparation

Bake cookies and allow them to cool completely before frosting.

Prepare frosting, reserving about 1/4 for red stitch details. I use flavorless red gel food coloring and added about 1/4 teaspoon to achieve a dark red.

Frost cookies with the white frosting, smoothing out each as much as you can.

Fit a pastry bag with a small plain tip. Pipe curved lines first, then add stitch details. Allow frosting to set before storing; store cookies between layers of waxed paper in an airtight container for up to three days.


Italian Sugar Cookies

IMG_4140Pennsylvania Macaroni Company is my favorite shop in Pittsburgh’s Strip District. If you’ve never been, you simply must go and marvel at the bins of almonds, the shelves of pasta and olive oil and sauces, the room with the cheese counter that rivals any I’ve ever seen.

In the room with the bread and fresh pasta, there are boxes of mixed bakery-style cookies, and in those boxes are cookies like these. Tender, vanilla-scented, covered in just the right amount of icing. The kind of cookies your grandmother made, and you never forgot.

I enjoy recipes with lots of ingredients and advanced techniques for the fun challenge they present, but there is also great comfort in baking something simple. These cookies are easy to prepare and could take on any color icing, making them ideal for holidays and celebrations.

Ingredients

For the cookies

  • 3 cups flour
  • 1/8 teaspoon salt
  • 3 teaspoons baking powder
  • 3/4 cup shortening
  • 3/4 cup sugar
  • 3 eggs
  • 1 1/2 teaspoons vanilla extract

For the icing

  • 1/4 cup milk
  • 2 tablespoons butter, melted
  • 1/2 teaspoon vanilla extract
  • 2 1/2 cups powdered sugar
  • food coloring, if desired

Preparation

Preheat oven to 400 degrees. Line several baking sheets with parchment paper.

In a medium bowl, combine flour, baking powder, and salt; set aside.

In a mixing bowl, cream shortening and sugar until light and fluffy.

Beat in eggs and vanilla.

Add flour mixture in three batches, mixing between each. Dough will pull away from the sides of the bowl when it is the right consistency.

Using a 2-inch cookie scoop, scoop dough and roll into balls. (You can use a smaller scoop if you like; next time, I’ll probably use a 1-inch scoop.) Place dough on parchment-lined baking sheets about 1 inch apart.

Bake for 8-10 minutes, until lightly browned. Remove to wire racks to cool before dipping in icing.

To make the icing, in a small bowl, combine milk, butter, vanilla, and powdered sugar until smooth. Tint with food coloring if desired.

Dip the tops of the cookies in icing; place on wire racks and allow excess to drip off. Let stand until set, then store in an airtight container at room temperature.

Shortbread Spiral Cookies

shortbread spiralsAlthough I’ve seen many a spiral cookie in my baking travels, I’ve never made them until today. This easy recipe will make a handy addition to my arsenal, as I can see tinting the dough all manner of colors for various holidays or incorporating cocoa into the dough for a chocolate and vanilla spiral.

I’d also love to experiment with shapes, like the amazing baker at Eugenie Kitchen did with this remarkable heart cookie. Perhaps next year for St. Patrick’s Day, I’ll create a clover cookie not unlike the rainbow heart, with different shades of green – but that will take some practice.

These treats are destined for my goddaughter, Maureen, and her family for St. Patrick’s Day.

Ingredients

  • 2 1/2 cups flour
  • 1 teaspoon salt
  • 1/4 teaspoon baking soda
  • 1 cup butter, softened
  • 1 cup powdered sugar
  • 1 egg
  • 1 teaspoon vanilla
  • 1 1/2 teaspoons almond extract
  • green food coloring

Preparation

In a medium bowl, sift together flour, salt, and baking soda; set aside.

In a mixing bowl, beat butter on medium speed for 2-3 minutes, until light and fluffy. Add powdered sugar and beat until fluffy.

Add egg, vanilla, and almond and beat well – your batter will become slightly clumpy, but once you add the flour mixture, the texture will even out.

Add flour mixture in three batches, beating well between each.

Divide dough in half and tint one half green. Wrap each half in plastic wrap and chill for about 1 hour.

Remove dough from refrigerator and allow to sit at room temperature for just a few minutes.

Lightly dust your counter top with flour and roll out the plain half of the dough first; you will want to create a square that is about 8 x 8. Roll out your green dough next, then place it on top of your plain dough. If your dough isn’t completely square, that’s okay; you can cut the edges to make a square and roll the scraps together to make marble cookies*.

Gently press the two layers together by lightly rolling with your rolling pin. Carefully roll up your dough to create a log, pressing gently to tighten the roll as you go. Wrap the log in plastic wrap and chill for about 10-15 minutes.

Preheat oven to 375 degrees. Line three baking sheets with parchment or foil.

Remove the log from the fridge and unwrap. Slice into 1/2 inch cookies, turning the log every few slices to keep it round. Place cookies about 2 inches apart on the baking sheets.

Bake 10-12 minutes, until edges are just beginning to turn golden. Remove from oven and cool on baking sheets for 1-2 minutes, then remove to a wire rack to cool completely.

*If you had to trim your dough to make a square, take your scraps and knead them together gently, creating a marbled ball of dough. Roll into a log, then chill, slice, and bake as above.