Streamer Cake

streamer cake
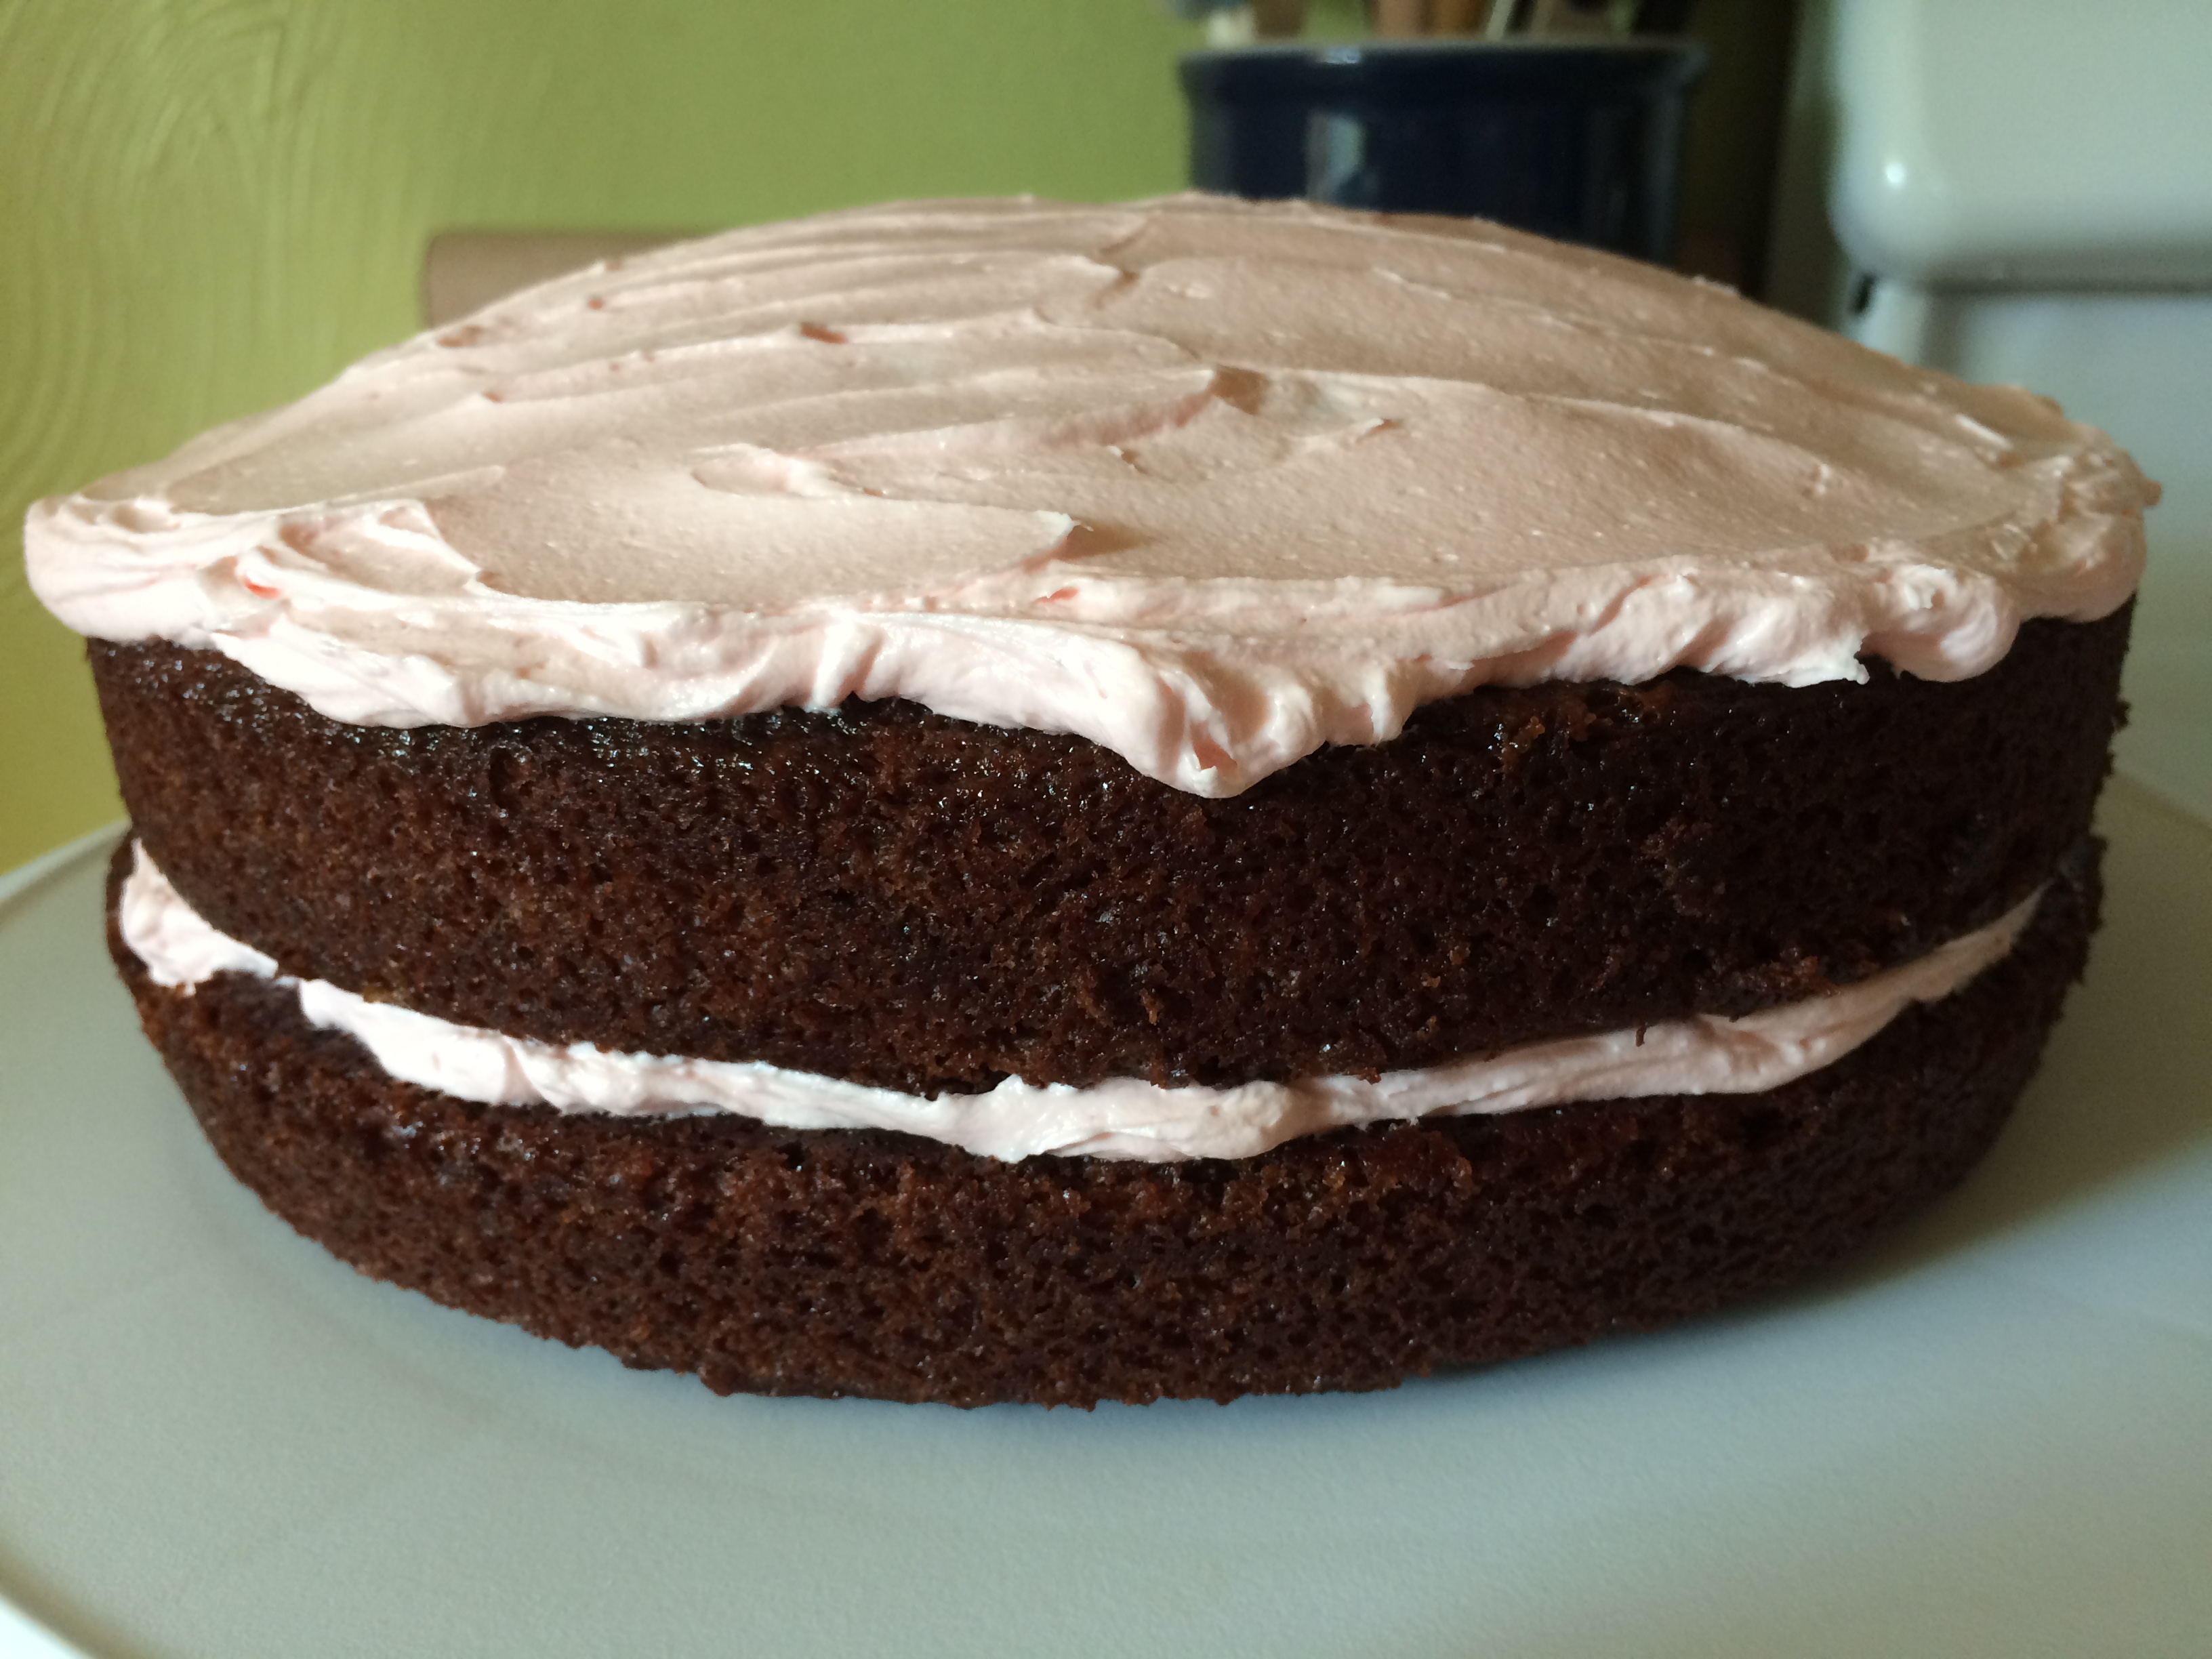
My mom, Genny, just turned 70. I intended to make a butterscotch cake for her party this weekend, but it turned out to be a disaster: burnt on the edges and gooey in the middle. I blame the recipe, of course, so I’ll go in search of another one. In the meantime, I baked this yellow cake and paired it with vanilla almond buttercream for a classic, birthday-cake type of cake.

Frosting-wise, I took inspiration from the Better Homes & Gardens Baking book, which featured a similar cake with different colors of icing as “streamers.” I’ve been practicing my piping skills for the past few months, though to make this cake you need very basic ones. A ribbon tip is helpful for the bottom piping, but you could use a plain one and make a bead design if you preferred. Color-wise, you can choose whatever you like to match your party theme; I went with colors that remind me of my mom and her love of the outdoors: yellow for sunshine, green for grass, and blue for the sky.

Yellow Cake

Ingredients

  • 2 1/2 cups flour
  • 2 1/2 teaspoons baking powder
  • 1/2 teaspoon salt
  • 10 2/3 tablespoons butter, slightly softened
  • 1 3/4 cups sugar
  • 1 1/2 teaspoons vanilla
  • 2 eggs
  • 1 1/4 cups milk

Preparation

Preheat oven to 375 degrees. Grease two 9-inch round cake pans, then line with parchment and grease the parchment. Lightly dust with flour.

In a medium bowl, combine flour, baking powder, and salt; set aside.

In a mixing bowl, beat butter on medium speed for one minute.

Add sugar and vanilla and beat until well combined.

Add eggs, one at a time, beating for one minute after each.

Add flour mixture and milk alternatively, beating until combined.

Divide batter evenly between pans and bake for 25-30 minutes, until a cake tester comes out clean. Cool in pans for about 5 minutes, then remove to wire racks to cool completely before frosting.

Vanilla Almond Buttercream

Ingredients

  • 1 1/2 cups unsalted butter, softened
  • 5 cups powdered sugar
  • 1 1/2 tablespoons vanilla extract
  • 1 1/2 tablespoons almond extract
  • Yellow, green, and blue food coloring

Preparation

In a mixing bowl, beat butter for about 1 minute.

Add powdered sugar and beat on low speed until all of the sugar is fully incorporated into the butter; this will take a few minutes.

Add vanilla extract and almond extract, beating well to combine. Taste; add more extract if desired.

Reserve about 3/4 cup of frosting for tinting; leave the remainder of the frosting white.

Place the bottom layer of cake on platter and frost the top, then place the second layer on top and frost the top and sides, creating as even a surface as you can.

Fit a piping bag with a ribbon tip and pipe a ribbon around the bottom edge of the cake.

Divide reserved frosting into three bowls and tint to your desired shade. Fit three piping bags with small plain tips and place one color in each bag.

Pipe colors, one at a time, to resemble birthday streamers.

Store cake at room temperature for up to three days.


Valentine Cake

Valentine CakeWith Valentine’s Day just around the corner, I wanted to whip up a cake for two, something that would be just enough for dessert for Mike and me this weekend. This recipe, which I adapted from Taste of Home, looks like it’ll be the perfect serving size for a few generous slices each.

To frost this lovely cake, I used a pink to red ombré design for Valentine’s Day. I do wish I’d extended the lightest pink down the sides just slightly, so the next time I make a cake like this I’ll definitely do so. Also, this time, I used a crumb layer when frosting; I don’t usually do that, but it seemed like a good idea for this cake. For more info on the importance of the crumb layer, check out this post from the experts at Wilton.

Ingredients

For the cake

  • 1 cup plus 2 tablespoons cake flour
  • 1 1/2 teaspoons baking powder
  • 1/4 teaspoon salt
  • 4 tablespoons butter, softened
  • 3/4 cup sugar
  • 2 egg whites*
  • 1 teaspoon vanilla extract
  • 1/2 cup milk

*Reserve your egg yolks and whip up some lemon curd, which could make a tasty filling for this cake and would look great with yellow ombré frosting!

For the vanilla almond buttercream

  • 12 tablespoons butter, softened
  • pinch of salt
  • 3 cups powdered sugar
  • 1 tablespoon vanilla extract
  • 1/2 tablespoon almond extract
  • 3-4 teaspoons milk
  • Red liquid and gel food coloring**

**I used red liquid for the light pink layer and red gel for the dark pink and red layers, but you could just use gel for all three.

Preparation

Preheat oven to 350 degrees. Lightly spray two 6-inch round baking pans with baking spray.

In a medium bowl, combine cake flour, baking powder, and salt; set aside.

In a mixing bowl, cream butter and sugar until light and fluffy. Add egg whites, one at a time, beating well after each. Beat in vanilla.

Add flour mixture and milk alternatively, beginning and ending with the flour, until combined. Scrape the sides and bottom of your bowl very well to make sure you get any dry bits.

Pour batter into prepared pans and bake for 18 to 20 minutes, until a cake tester comes out clean; cakes will turn a nice golden brown. Remove from oven and immediately remove from cake pans, cooling completely on a wire rack.

To make the frosting, in a mixing bowl, beat butter for about 1 minute, then add salt and beat another minute.

Add 2 1/2 cups powdered sugar and beat on low speed until all of the sugar is fully incorporated into the butter; this will take a few minutes.

Add vanilla extract and almond extract, beating well to combine. Add milk, 1 teaspoon at a time, to reach a fluffy, spreadable consistency.

Divide frosting into four portions; a small portion of white for the filling and crumb layer (or, you could use pale pink for this – I didn’t think of that until after I was done!) then three equal portions for the light pink, dark pink, and red.

Place a small blob of frosting on your cake stand and place the bottom cake layer on it; this will help your cake stay in place during frosting. Spread the top with an even layer of white frosting, then top with second layer and frost with remaining white frosting, creating a crumb layer.

Tint your remaining frosting; I used two drops of red liquid food coloring for my light pink layer, then used red gel for my dark pink and red layers. Mix your color in a little bit at a time; you can always make it darker, but you can’t make it lighter.

Fit three piping bags with large plain tips and fill each bag with a different color. Beginning with the dark red, pipe bands around the bottom 1 1/2 inches of the cake, then continue with the dark pink and finish with the light pink on the top. Using a small offset spatula, smooth out each color band, starting from the light pink and working your way down. The colors will blend into one another, and that’s exactly what you want.

Store at room temperature for up to 3 days.

Cat Cake

cat cakeMy goddaughter Maureen turned five this weekend, and Mike and I made our annual trip to southern Maryland for a visit with her family. Her party was dog and cat themed, complete with this adorable cat cake. Before you worry about having some spectacular Pinterest fail, read the recipe below; this cake and its frosting/decorating are very simple. And while I deferred to my cousin Barb for the piping of the face – she’s Mo’s mom and an amazing artist – I suspect that amateur decorators could handle this one.

The cake was a big hit, with not a slice left at the end of the party. My cousin-in-law Robb, Mo’s dad, remarked that he’d never been to a birthday party where only cake crumbs remained. I take this as a major compliment and am glad everyone enjoyed not only the cake, but celebrating with the birthday girl.

White Cake

Ingredients

  • 3 cups flour
  • 1 tablespoon baking powder
  • 2 cup sugar
  • 1/2 teaspoon salt
  • 1/2 cup shortening
  • 2 eggs
  • 1 teaspoon vanilla
  • 1 1/2 cups milk

Preparation

Preheat oven to 375 degrees. Spray two 9-inch round cake pans with baking spray; line each with a parchment circle and spray the parchment.

In a medium bowl, combine flour and baking powder; set aside.

In a mixing bowl, cream together sugar, shortening, and salt until fluffy.

Add eggs and vanilla; beat until combined.

Add flour mixture and milk in alternating batches, starting and ending with the flour and beating until just combined.

Pour batter into prepared pans; bake for 25 minutes, until tops are golden and a cake tester comes out clean.

Cool cake completely before frosting.

Vanilla Buttercream & Decorations

Ingredients

  • 1 1/2 cups butter, softened
  • 5 to 5 1/2 cups powdered sugar, sifted
  • 1/2 teaspoon salt
  • 2 to 3 tablespoons vanilla extract
  • Black gel food coloring
  • Pink gel food coloring
  • Index cards, cut into triangles for ears
  • Lollipop sticks, for ears

Preparation

Place butter in a mixing bowl and beat for a few minutes using the paddle attachment.

Add 5 cups powdered sugar.  With your mixer on low, incorporate the powdered sugar into the butter.  (Hint: I find that placing a kitchen towel over the mixer during this stage prevents a powdered sugar blizzard.)

Increase speed and add 2 tablespoons vanilla and salt.

Beat for 3 minutes, then taste.  If you’d like a stronger vanilla flavor, add the second tablespoon of vanilla, along with the additional 1/2 cup of powdered sugar.  Beat until combined; you want a fluffy texture that is easy to spread.

To assemble the cake:

Reserve two small portions of frosting; tint one black and the other pink. Set aside.

Flip one cake onto a cake stand and frost the top with a generous layer of buttercream. Top with the second layer and frost the top and sides completely, swirling the frosting to look like fur.

To make the ears, tape your index card triangles to the lollipop sticks and press into the top of the cake.

Fit a piping bag with a large plain tip and fill with pink frosting; pipe the nose.

Fit a piping bag with another large plain tip with plain frosting; pipe the cheeks.

Fit a piping bag with a small plain tip; pipe the eyes, mouth, and whiskers.

Line the edges and bottom of the ears with plain buttercream, then fill in the ears with the pink buttercream.

IMG_5936Here, Mike and I celebrate with Mo. Barb offered face painting for the kids, and this feisty girl sported a cupcake on one cheek and a snake on the other. 


Cherry Cola Cake

cherry cola cakeBakers and artists have a lot in common. We share creativity, a dedication to our craft, and the desire to share the results of our talent and a set of carefully honed skills with others. While one artist might use paint, another might choose clay. Bakers are like this, specializing in bread, or pastries, or cookies.

When people ask me what I bake, I usually tell them that I bake classic comfort treats – the kind of cookies and cupcakes and pies their favorite aunt used to make, or that you’d find at a bake sale. Treats like oatmeal cookies and chocolate cupcakes and banana bread and apple pie. Nothing fancy, more focused on flavor than on decoration.

Cherry cola cake seems like a classic comfort treat to me; I imagine it being served as church picnics and family reunions and at the homes of aunts to welcome visitors on Sunday afternoons.  The cherry cola flavor is rather faint, and the end result is more of a super-moist chocolate cake than what I was expecting…but it’s still definitely delicious.

Ingredients

Cherry Cola Cake

  • 1 1/2 cups miniature marshmallows
  • 2 cups flour
  • 2 cups sugar
  • 1 teaspoon baking soda
  • 1/2 cup buttermilk
  • 2 eggs
  • 1 teaspoon vanilla
  • 1 cup butter, cut into cubes
  • 1 cup cherry cola
  • 3 tablespoons cocoa powder

Marshmallow Creme Frosting

  • 12 tablespoons butter, softened
  • 1 cup powdered sugar
  • 1 7-ounce jar marshmallow creme
  • Red liquid food coloring, if desired

Note: this frosts the tops of each layer only; if you want to frost the sides as well, double the ingredients. 

Preparation

Preheat oven to 350 degrees. Grease two 9-inch round cake pans, line the bottom of each with a circle of parchment paper, and grease the parchment.

Place 3/4 cup miniature marshmallows in the bottom of each cake pan; set aside.

In a large bowl, combine flour, sugar, and baking soda; set aside.

In a large glass measuring cup, combine buttermilk, eggs, and vanilla; whisk together, then set aside.

In a medium saucepan, combine butter, cherry cola, and cocoa powder. Stir occasionally until mixture boils.

Remove cherry cola mixture from heat and pour into flour mixture. Stir just to combine, then whisk in buttermilk mixture until batter is completely smooth.

Pour into prepared pans, dividing evenly. Marshmallows will float to the top.

Bake for 25-30 minutes, until a cake tester inserted in the center comes out clean. Remove from oven and cool in pans for 10 minutes, then remove to wire racks, peel off paper, and cool completely.

For the frosting, beat butter and powdered sugar until completely combined. Add marshmallow creme and beat until well-combined. Add food coloring for a pink tint if desired.

Place one layer of cake on a cake plate and top with 1 cup frosting. Place second layer on top and use the remaining frosting to frost the top only.

Store at room temperature.


Rainbow Cake

rainbowI bake for many reasons. To create, and to experiment. To comfort, and to cheer. To celebrate, for sure; birthdays and holidays and important rites of passage.

Today, I celebrate the Supreme Court’s decision to make same-sex marriage a nationwide right. I celebrate dear friends, whose commitment inspire me. I celebrate equality, while also recognizing that we still have a long way to go in our country, to guarantee not only legal rights but tolerance and acceptance in the hearts and minds of all citizens.

This is, perhaps, my favorite cake I’ve ever baked. It takes quite some time and requires a great deal of patience, but like all good things, it is well worth it.

Ingredients

Rainbow Cake (also known as Marriage Equality Cake or Pride Cake)

  • 3 cups flour
  • 1 tablespoon baking powder
  • 2 cups sugar
  • 1/2 cup shortening
  • 1/2 teaspoon salt
  • 2 eggs
  • 1 teaspoon vanilla
  • 1 1/2 cups milk
  • Red, orange, yellow, green, blue, and violet gel food coloring

Vanilla Almond Buttercream

  • 1 1/2 cups unsalted butter, softened
  • dash of salt
  • 5 cups powdered sugar
  • 1 tablespoon vanilla extract
  • 1 tablespoon almond extract

Preparation

Preheat oven to 375 degrees. Spray two 6-inch round cake pans with baking spray; line each with a parchment circle and spray the parchment. Note: if you’re fortunate enough to have 6 pans, you don’t have to worry about doing this in three stages, like I did. If you only have 2 pans, you’ll need to follow the instructions below on baking, cleaning your pans, and re-lining them for each batch.

In a large bowl, combine flour and baking powder; set aside.

In a mixing bowl, cream together sugar, shortening, and salt until fluffy.

Add eggs and vanilla; beat until combined.

Add flour mixture and milk in alternating batches, starting and ending with the flour and beating until just combined.

Set out 6 bowls; using your dry measuring cups, scoop 3/4 cup of batter into each bowl to divide batter evenly. Tint each portion a different rainbow color.

Pour red batter into one pan and orange into another; bake for 10-11 minutes, until a cake tester comes out clean. Remove from oven and immediately flip cakes onto a cooling rack. Wash pans and repeat the spraying, lining, filling, and baking process with your yellow and green layers, then again for your blue and violet layers.

Cool cakes completely before frosting.

To make the frosting, place butter in a mixing bowl and beat with the paddle attachment for 2-3 minutes. Scrape down the bowl, add the salt, and beat for another minute.

Add powdered sugar all at once, then cover your mixer with a towel and beat on low speed until powdered sugar is completely incorporated into the butter. Scrape the sides of the bowl and add vanilla and almond extracts; beat for another 2-3 minutes, until very fluffy.

If desired, reserve a small portion of the frosting to tint red; I piped a heart on the top of my cake, but you could cover it with sprinkles or leave it plain or frost it in whatever way you like.

To assemble, level out your layers if necessary; I trimmed mine just slightly to even them out. Begin with the violet layer; place it on your cake plate and cover the top with a thin layer of the buttercream. Repeat with the blue, green, yellow, orange, and red layers; frost the top, then the sides.

Store at room temperature.

Below are a few photos of the process; be ready to use lots of bowls and do several rounds of dishes!

IMG_4802


IMG_4804


IMG_4805

Honey Cake

honey cakeSometimes, you encounter a treat that becomes your nemesis. Until last year, honey cake was mine.

I first read about honey cake in Miriam’s Kitchen, an excellent book by Elizabeth Ehrlich that explores the connection between food and family, history, and tradition. The author described her Great-Aunt Dora’s honey cake as a rich, aromatic confection that was baked to celebrate Rosh Hoshannah in the hope of a sweet new year, and it sounded exactly like something I’d love to add to our holiday table.

Great-Aunt Dora’s recipe was included in the book, but when I baked it the outside burned, while the inside remained gooey and inedible. Years of honey cake experiments ensued, during which I tried different recipes each time, all with similar results. Last year, I scoured the internet for a new recipe, and I found this one, which yields a very successful, spicy orange honey cake.

Honey cake is still a bit tricky because of the amount of liquid and sugar (from both the honey and the white sugar in the recipe), so I recommend the following tips for baking:

  • Bake your cake at 340 degrees; the slightly lower temperature allows the cake to bake through without burning.
  • Check your cake for the first time at 33 minutes; the center will likely still look very wobbly, so continue baking for 3 minutes at a time, checking frequently, until a cake tester comes out clean. My cake bakes for about 43-45 minutes.

Ingredients

  • 2 1/2 cups flour
  • 3 teaspoons baking powder
  • 1/2 teaspoon baking soda
  • 1/2 teaspoon salt
  • 1 teaspoon cinnamon
  • 1 cup sugar
  • 1 cup honey
  • 1/2 cup vegetable oil
  • 4 eggs
  • zest of 1 medium orange
  • 1 cup orange juice

Preparation

Preheat oven to 340 degrees.

Grease and flour a 9 x 13 sheet cake pan.

In a medium bowl, sift together flour, baking soda, salt, and cinnamon; set aside.

In a mixing bowl, combine sugar, honey, vegetable oil, eggs, and orange zest. Beat until combined.

Add flour mixture and orange juice alternatively, beginning and ending with the flour and beating until just combined. Batter will be very runny.

Pour into prepared pan and bake for 33-43 minutes, until a cake tester inserted in the center comes out clean.

Cool completely before serving. This cake can be served as-is or dressed up with whipped cream, powdered sugar, or my favorite, a drizzly icing made of powdered sugar and orange juice.