Maple Walnut Fudge

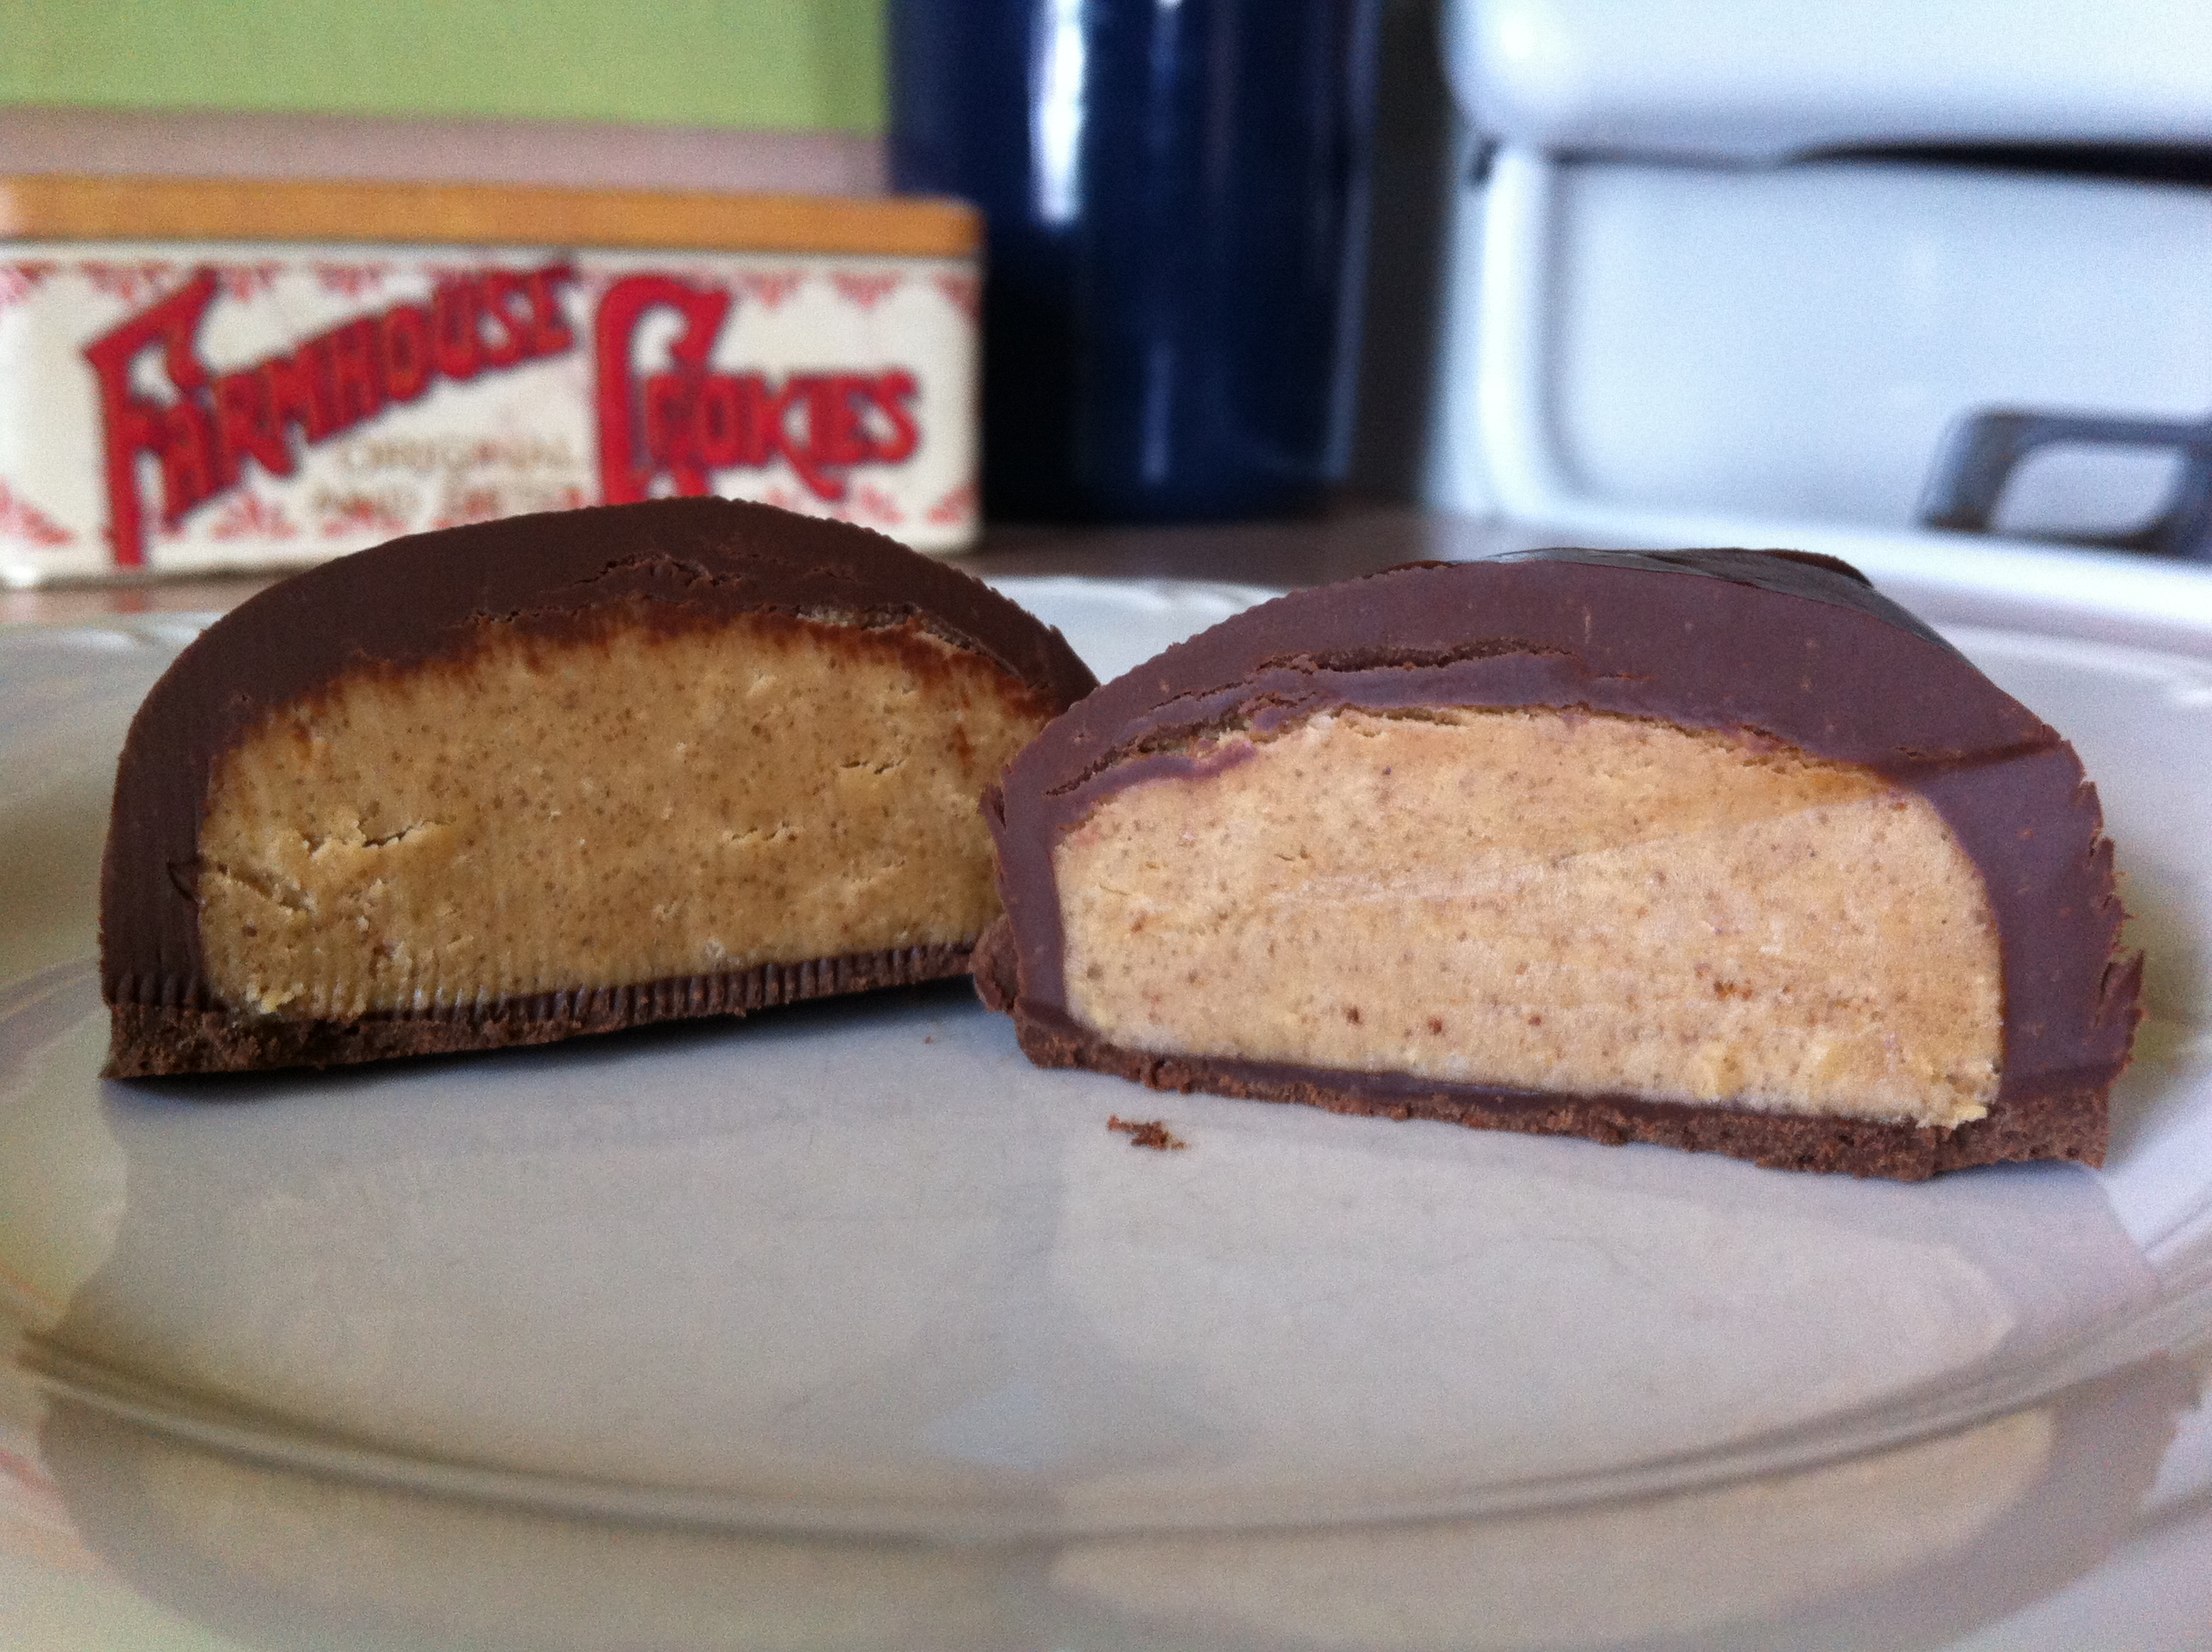
Fudge making is a delicate business, requiring a precise balance of ingredients, time, and temperature. I’ve made fudge the shortcut way, using marshmallow creme or baking chips. While it certainly yields a delicious treat, there’s a big textural difference between real fudge – the kind made from sugar,butter, milk, and extracts, all cooked to a perfect temperature – and the kind made with marshmallow creme and/or baking chips.

This recipe, adapted from one by Eagle Brand sweetened condensed milk, yields what I’d called candy, but not exactly fudge. It’s smooth and tasty, and I certainly liked it, but it doesn’t have the texture I want in fudge. My only solution to this problem is to try, perhaps sometime soon, to make maple walnut fudge the old-fashioned, clip-a-candy-thermometer-to-a-heavy-saucepan way. Stay tuned!

Ingredients

  • 4 tablespoons butter, cut into small cubes
  • 3 cups white baking chips
  • 14 ounce can sweetened condensed milk
  • 3 teaspoons maple extract
  • 1 1/2 cups chopped walnuts, divided

Preparation

Line an 8 x 8 baking pan with foil.

In a medium, microwave-safe bowl, combine butter, baking chips, and sweetened condensed milk. Microwave in 2-minute intervals, stirring about every 30-60 seconds, until melted and completely smooth; it took me about 5 1/2 minutes.

Remove from microwave and add maple extract, stirring to completely combine. Add half of the walnuts and stir to combine, then pour into prepared pan. Sprinkle with remaining walnuts.

Chill until set, about 2 hours. Cut into squares and store in the refrigerator; bring to room temperature before serving.

Makes 24 medium-sized pieces of fudge; pieces can be cut smaller though, as this is a rich treat.

Advertisement

Coconut Almond Candy Bars

coconut-almond-candy-barsMy colleague Scott and I were talking about coconut this week, and he mentioned how great a hybrid Almond Joy/Mounds bar would be. This hybrid would involve the coconut and almond middle of an Almond Joy, but the dark chocolate coating of a Mounds.

“But it doesn’t exist,” Scott said.

And then, I had an idea. I’d seen homemade Mounds bar recipes before, so why couldn’t I just take one of those and add almonds to it? The answer is: I could. And I did. This recipe is a hybrid of a few homemade Almond Joy/Mounds bar recipes I found online. According to Mike, they taste exactly like a combined Almond Joy/Mounds, but with a gooier (yes, that’s a word) texture. Next time, I might add more powdered sugar to stabilize the coconut center a bit more, probably another quarter-cup or so.

Ingredients

  • 3 cups shredded coconut
  • 1/2 cup powdered sugar
  • 1 cup sweetened condensed milk
  • 24 whole unsalted almonds, toasted and cooled
  • 1 1/2 cups dark chocolate chips
  • 3 tablespoons shortening

Preparation

Line a large baking sheet with parchment or waxed paper.

In a large bowl, combine coconut, powdered sugar, and sweetened condensed milk. Stir to form a thick paste.

Using a tablespoon from your flatware, scoop coconut mixture and shape into rectangles, pressing tightly to help the mixture come together as best you can. The mixture will be very sticky and quite difficult to form into rectangles, but if you work with it a bit, you can get general rectangle shapes. You’ll need to rinse your hands after every few rectangles; don’t dry them completely after rinsing, which will help the mixture keep from sticking to your hands.

Place rectangles on your baking sheet, then press two almonds into the top of each one. Freeze for 30 minutes, until fairly firm.

While your bars are chilling, place dark chocolate chips and shortening in a microwave-safe bowl and microwave in 30-second intervals until melted, stirring after each interval.

Place a fresh sheet of parchment or waxed paper on another baking sheet.

Remove bars from freezer and using two forks, dip in the chocolate, coating completely. Place dipped bars onto your fresh baking sheet and allow chocolate to set. Store in an airtight container at room temperature for up to 5 days.

Makes 12.

Peanut Butter Snowballs

peabut-butter-snowballsA few weeks ago at work, my friend Kristin and I talked about whether you could make buckeyes with vanilla candy coating instead of chocolate. Later that day, Taste of Home shared this recipe for peanut butter snowballs on Facebook. They are the exact treats we’d discussed: a combination of peanut butter, butter, and powdered sugar coated in vanilla. I took it as a sign, and of course, had to make them.

You see, I can’t eat chocolate anymore. This delicious and magical food can be, for some people, a migraine trigger…and boy, do I have migraine issues. Not just the headache kind, but also a type called vestibular migraines, which cause dizziness, vertigo, and anxiety. Preventing them takes a combination of vitamins, medicine, daily exercise, meditation, physical therapy, and a diet low in sodium and devoid of caffeine (hence no chocolate), alcohol, and various other trigger foods.

The good news is that I’ve always loved vanilla, so I can still enjoy all manner of treats, including these peanut butter snowballs. They are a delightful alternative to the classic buckeye; smooth in texture and in flavor, with a nice crunch from the candy coating. This recipe makes 18 snowballs, but could be easily doubled for a larger batch.

Ingredients

  • 3 tablespoons butter, at room temperature
  • 1/2 cup smooth peanut butter
  • 1 cup powdered sugar
  • 1 pound vanilla candy coating, chopped*

*I used Log House Candiquick Vanilla Candy Coating, which I found in the baking aisle at Target. While it comes in a microwave-safe tray, I chopped mine and put it in a large glass bowl for melting. You’ll have plenty left over, which you can pour out onto a parchment-lined baking sheet, allow to set, break into pieces, and store in an airtight container for a future use. It sets up incredibly well, with no need to refrigerate. 

Preparation

Line a baking sheet with parchment or waxed paper.

In a mixing bowl fitted with the paddle attachment, combine butter and peanut butter. Beat on medium speed for about 1 minute, until well-blended.

Add powdered sugar and beat until completely combined and smooth.

Shape into 1-inch balls (I used a 1-inch cookie scoop) and place on the baking sheet, then chill for 30 minutes.

Place vanilla candy coating in a microwave-safe bowl and microwave in 30-second intervals until completely melted; you’ll want to stir the coating between each interval to distribute the heat.

Dip peanut butter balls in candy coating and return them to the baking sheet to set.

Store in an airtight container at room temperature.

Peanut Butter Fudge

IMG_3598There’s a scene in Julie & Julia where Simone Beck, flipping through an American cookbook, asks in her awesome French accent: “what eez marshmallow fluff?” 

“Fluff” is actually the brand of marshmallow creme made by Durkee-Mower, Inc., one of three North American companies to manufacture this confectionery concoction of corn syrup, sugar syrup, vanilla flavoring, and egg whites. Often employed in the fluffernutter sandwich alongside peanut butter, marshmallow creme is also used in baking and candy making and is a frequently-found ingredient in fudge.

This recipe is very simple, requiring just 6 ingredients that you’re likely to have on hand (except perhaps for the evaporated milk). As a Jif loyalist, I highly recommend using Jif peanut butter in this fudge; the end result is a smooth, very sweet and peanut buttery treat.

Ingredients

  • 8 tablespoons butter, cut into small cubes
  • 2/3 cup evaporated milk
  • 3 cups sugar
  • 1 2/3 cup peanut butter
  • 1 7-ounce jar marshmallow creme
  • 1 teaspoon vanilla extract

Preparation

Line a 13 x 9 baking pan with foil and spray lightly with cooking spray. Set aside, close to your stove top, for easy access once fudge is ready to be poured.

In a large pot, combine butter, evaporated milk, and sugar and cook over medium heat, stirring constantly, until the mixture boils. Reduce heat to a simmer and continue to cook for 5 minutes, stirring constantly.

Remove from heat and add peanut butter, stirring very well to combine. Add marshmallow creme and vanilla, stirring vigorously to combine ingredients completely.

Pour into prepared pan and allow to cool completely at room temperature. Cut into small squares (trust me, this fudge is very sweet and you don’t need large pieces) and store in an airtight container at room temperature. Note: refrigerating fudge can dry it out, so refrigeration is not recommended.

Peanut Butter Eggs

peanut butter egg 2The Reese’s Peanut Butter egg is my favorite Easter treat, edging out the Cadbury Egg by the slightest of margins. My sister-in-law Kristin and I agree that the best Reese’s holiday offerings are the peanut butter egg at Easter and the peanut butter pumpkin at Halloween because they each yield a maximum amount of peanut butter; the peanut butter tree at Christmas, for example, isn’t really enough.

Many blogs feature homemade peanut butter egg recipes and they’re all relatively the same, involving melted peanut butter, butter, brown sugar, salt, and a yummy chocolate coating made of either semisweet or milk chocolate chips melted with shortening. I’ve used semisweet below, but you could easily use milk chocolate if you prefer. Though I haven’t tried one yet, I suspect they’ll taste like a cross between a buckeye and a peanut butter egg. Time will tell; fortunately, Easter is tomorrow!

The chocolate coating makes way more than enough for all of your eggs; my peanut butter filling yielded 11 eggs but you could easily make them slightly smaller to yield a dozen or more. You’ll definitely have coating left over, which would be great for drizzling on biscotti, butter cookies, or over cupcakes.

Ingredients

  • 1 cup smooth peanut butter
  • 4 tablespoons butter
  • 1/4 packed dark brown sugar
  • 1/4 teaspoon salt
  • 1 1/4 cups powdered sugar, sifted
  • 16 ounces semisweet chocolate chips
  • 2 tablespoons shortening

Preparation

In a medium saucepan, combine peanut butter, butter, brown sugar, and salt. Cook on medium heat until entirely melted and slightly bubbly, stirring frequently.

Remove from heat and add powdered sugar about 1/2 cup at a time, mixing well after each addition to fully incorporate the powdered sugar into the peanut butter mixture. Your end result will be very thick, and this is what you want.

Set filling aside to cool at room temperature until easy to handle; I set mine aside for about an hour.

Using a 2-inch cookie scoop, scoop balls of filling and shape into eggs. Place on a parchment-lined baking sheet and refrigerate for at least 30 minutes to 1 hour to allow filling to harden.

In a medium microwave-safe bowl, combine chocolate chips and shortening; microwave in 30-second intervals until completely melted, stirring after each interval; this takes about 2 minutes or so.

Dip eggs into the chocolate coating and cover completely; I use two forks to pass them back and forth, then shake off the excess. Return to the parchment-covered sheet and place back in the refrigerator to harden. Store in an airtight container in the refrigerator.


Truffles

trufflesI am now a chocolatier. An amateur one for sure, but that still counts, right?

Yesterday, I chopped up an enormous block of bittersweet chocolate with my big scary chef’s knife and made my first-ever batch of real truffles, using only chocolate and heavy cream and butter and flavorings. I had the music from the movie “Chocolat” in my head the whole time and tried my best to channel my inner Vianne Rocher.

Here’s what I’ve learned about working with ganache: once you try to roll it in your hands, all bets for cleanliness are off. It melts immediately, turning one’s hands into a chocolate-coated sticky mess. The end result is worth it, though: according to Mike, these truffles are “like taking a bite out of hot chocolate.” They are super-chocolaty and could of course be flavored and coated with any number of things, but I chose a simple orange extract and cocoa powder enhancement.

Ingredients

  • 12 ounces bittersweet chocolate, chopped
  • 1 cup heavy cream
  • 1 tablespoon butter
  • pinch of salt
  • 1/2 teaspoon vanilla extract
  • 1/2 teaspoon orange extract
  • about 1/4 cup cocoa powder, sifted

Preparation

Place chopped chocolate in a medium heat proof bowl; set aside.

In a medium saucepan, bring heavy cream, butter, and salt to a simmer. Immediately pour over chocolate and let set until chocolate is melted, about 10 minutes. Stir with a spatula until smooth.

Whisk in vanilla extract and orange extract (or just use 1 teaspoon vanilla extract if you don’t have orange), then continue stirring until chocolate is shiny and smooth. Pour into a shallow baking dish and let set overnight.

Line a baking sheet with parchment. Using a one-inch scoop, scoop out chocolate and roll into balls. Beware, this is a messy endeavor: I kept paper towels nearby and wiped my hands several times during the process. Coat each truffle in cocoa powder then place on the parchment-lined baking sheet. Cover with plastic wrap and chill at least 1 hour; once truffles are chilled, place in an airtight container and store in the refrigerator.

Toffee Chocolate Matzoh

matzoh brittleMost people call this “matzoh crack” for its highly addictive quality. Some call it matzoh brittle, or just chocolate-covered matzoh. Apparently, whatever you call it, it’s delicious, and enough to make a sugar-fasting gal break her fast (although I haven’t done so).

This treat is incredibly easy to make; I’ve seen it with regular saltine crackers as well as matzah, and I wonder how graham crackers would fare. My Aunt Liz makes a wonderful cracker/toffee/pecan creation at Christmas that I would swear uses graham crackers, so I’d like to give that a try.

Like many other treats, you can dress this one up as much as you like, or leave it plain and simple. Some recipes call for chopped walnuts or pecans to be sprinkled on after the chocolate chips melt, while others encourage a sprinkling of sea salt. Mike requested this plain version and declared it very tasty.

Ingredients

  • 4-6 sheets matzoh (the Passover kind, not regular)
  • 1 cup butter
  • 1 cup packed light brown sugar
  • 1/2 teaspoon vanilla extract
  • pinch of salt
  • 1 1/2 cups semisweet chocolate chips

Preparation

Preheat oven to 350 degrees. Line an 11 x 17 rimmed baking sheet with foil, extending well over and completely covering each side. Line the bottom of the sheet with parchment paper, cutting the parchment to fit.

Place matzoh in a single layer in the bottom of the baking sheet; you’ll need to break some of the matzoh into pieces to fit in one single layer.

In a medium saucepan, combine butter and brown sugar and cook until bubbly, stirring frequently. Once the mixture begins to boil, continue boiling for three minutes, stirring well; the mixture will thicken slightly as it cooks.

Remove from heat and stir in vanilla extract and salt, then immediately pour over matzoh. Use an offset spatula to spread toffee evenly over the crackers, as it will begin to set quickly.

Bake for 15 minutes, checking frequently to make sure the toffee doesn’t begin to burn. Remove from the oven and cover with chocolate chips; allow the chips to melt for a few minutes, then spread the melted chips in an even layer over the matzoh.

Allow to cool completely, then break into pieces. Store in an airtight container; we put ours in the fridge to keep the chocolate from re-melting.

Oreo Truffles

oreo trufflesCould crushed-up Oreo cookies mixed with cream cheese possibly taste like real chocolate truffles? I wasn’t so sure until last night, when I whipped up a batch of these treats. I do enjoy a good truffle now and then, so I was a bit skeptical…but the answer is yes, they really do taste like real chocolate truffles.

If the truth be told, these treats are almost too chocolately for my taste…one certainly goes a very long way. Next time, I’ll use vanilla candy coating to mellow out the flavor a bit. You could also use white chocolate chips instead of semisweet for the coating, but I’m not a white chocolate fan. And, some recipes call for reserving a bit of the crushed-up cookies to sprinkle on the tops of the truffles once they’re dipped for added texture, but I chose to omit that step.

These treats are incredibly easy to make, so I’d recommend them for anyone who wants to whip up fancy-looking candies for a party or those looking to make something fun with their kids. Be sure to keep the finished product in the fridge, though, and only set them out right before they’ll be eaten…they do contain cream cheese, after all. And, it’s important to note that I only made a half-batch of these…you can easily double the recipe for a full batch.

Ingredients

  • 18 Oreo cookies, crushed to find crumbs
  • 4 ounces cream cheese, cut into chunks and softened
  • 1/2 cup semisweet chocolate chips
  • 1 tablespoon shortening

Preparation

Line a baking sheet with waxed paper; set aside.

In a mixing bowl, combine Oreo crumbs and cream cheese; mix with your hands (a spoon just doesn’t seem to blend the ingredients as thoroughly as necessary) until cream cheese is fully incorporated.

Using a 1-inch cookie scoop, scoop out dough and roll into balls. Place on the prepared baking sheet and refrigerate for 1-2 hours, until very firm.

In a small saucepan, melt chocolate chips and shortening together on low heat, stirring constantly to combine until fully melted.

Working quickly, dip each truffle into the chocolate and coat completely; return to waxed paper-lined baking sheet and chill until chocolate is firm. Store in an airtight container in the refrigerator.

Buckeyes

buckeye


Reese’s Peanut Butter Cups are my favorite commercial candy, and this recipe reminds me of a slightly sweeter version of the classic cup. If you search the internet, you’ll find dozens of recipes for buckeyes, all different, from the ingredients to the process to the preference for dipping partway or dipping completely. Whichever one you choose, you can’t go wrong. My recipe is very simple, using three ingredients for the filling and Baker’s dipping chocolate, which you can find in the baking aisle at the supermarket, for the coating. Someday, I plan to make buckeyes that are coated in chocolate mixed with paraffin wax, like my brave friend Mysty, but I’m not quite there yet.

Full disclosure: I made these buckeyes as a Christmas gift for myself. And no, I am not sharing.

Ingredients

  • 3 tablespoons butter, softened
  • 1/2 cup peanut butter
  • 1 cup powdered sugar, sifted
  • 1 7-ounce cup Baker’s dipping chocolate candy coating

Preparation

In a medium bowl, stir together butter and peanut butter until very well blended.

Add powdered sugar a quarter-cup at a time, mixing until very well combined. I use my hands to make sure the ingredients are completely incorporated and smooth.

Using a one-inch cookie scoop, scoop out peanut butter filling and roll into balls. Let stand on a parchment or waxed paper-lined baking sheet until dry, about 30 minutes.

Melt candy coating according to the package directions. Dip peanut butter balls into candy coating and return to baking sheet, then let stand until coating has hardened. I place my baking sheet in the fridge to help the coating set, then store the finished buckeyes in the fridge.

Milk Chocolate Fudge


I will admit it: I am cheap. And I don’t like to waste, so when I found myself with half a can of evaporated milk left over from pumpkin pie last Thanksgiving, I surely didn’t want to pour it down the drain. A quick online search led me to this recipe, an easy one especially if you’re a rookie candy maker.

Remember, on this blog, we have no fear. Candy making needn’t intimidate anyone if they follow their recipe and choose a dry day to experiment (because sugar attracts water and behaves differently in humidity and rain). Essentially, candy making is about how sugar is transformed when heated, if it forms small crystals or large crystals based on what temperature it reaches and whether the molecules are agitated by stirring.

This particular recipe requires extensive and vigorous stirring, so be prepared to get a bit of a workout. It also helps to have an assistant for the step when you remove the mixture from the heat and add the marshmallows, chocolate chips, and vanilla, so you can continue to stir constantly.

Ingredients

  • 1 1/2 cups sugar
  • 2/3 cup evaporated milk
  • 2 tablespoons butter
  • 1/4 teaspoon salt
  • 1 1/2 cups milk chocolate chips
  • 2 cups miniature marshmallows
  • 2 teaspoons vanilla extract

Preparation

Line an 8×8 baking dish with foil, extending foil over the sides.

In a medium bowl, combine chocolate chips and marshmallows; set aside.

In a medium saucepan, combine sugar, evaporated milk, butter, and salt; stirring constantly, bring to a rolling boil over medium heat and cook for 5 minutes. Note: you must continue to stir the mixture while it boils for 5 minutes.

Remove from heat and add chocolate chips, marshmallows, and vanilla extract. Vigorously stir until the mixture is smooth, about 3-4 more minutes. Pour into baking dish and place in the fridge to cool completely.

Cut into squares and store in the fridge.