Apricot Thumbprints

apricot thumbprintsThumbprint cookies: you know you love them. But do you prefer thumbprints with a blob of icing in the middle, or jam? For me, it depends on the day. And yesterday I decided that an apricot thumbprint would be a great idea, thanks to the jar of apricot preserves I had on hand. Fortunately I found this recipe from Knead Some Sweets, and it is absolutely delicious; I adapted it slightly because I didn’t have salted butter on hand, but you can always just add some salt to your dough to make up for that.

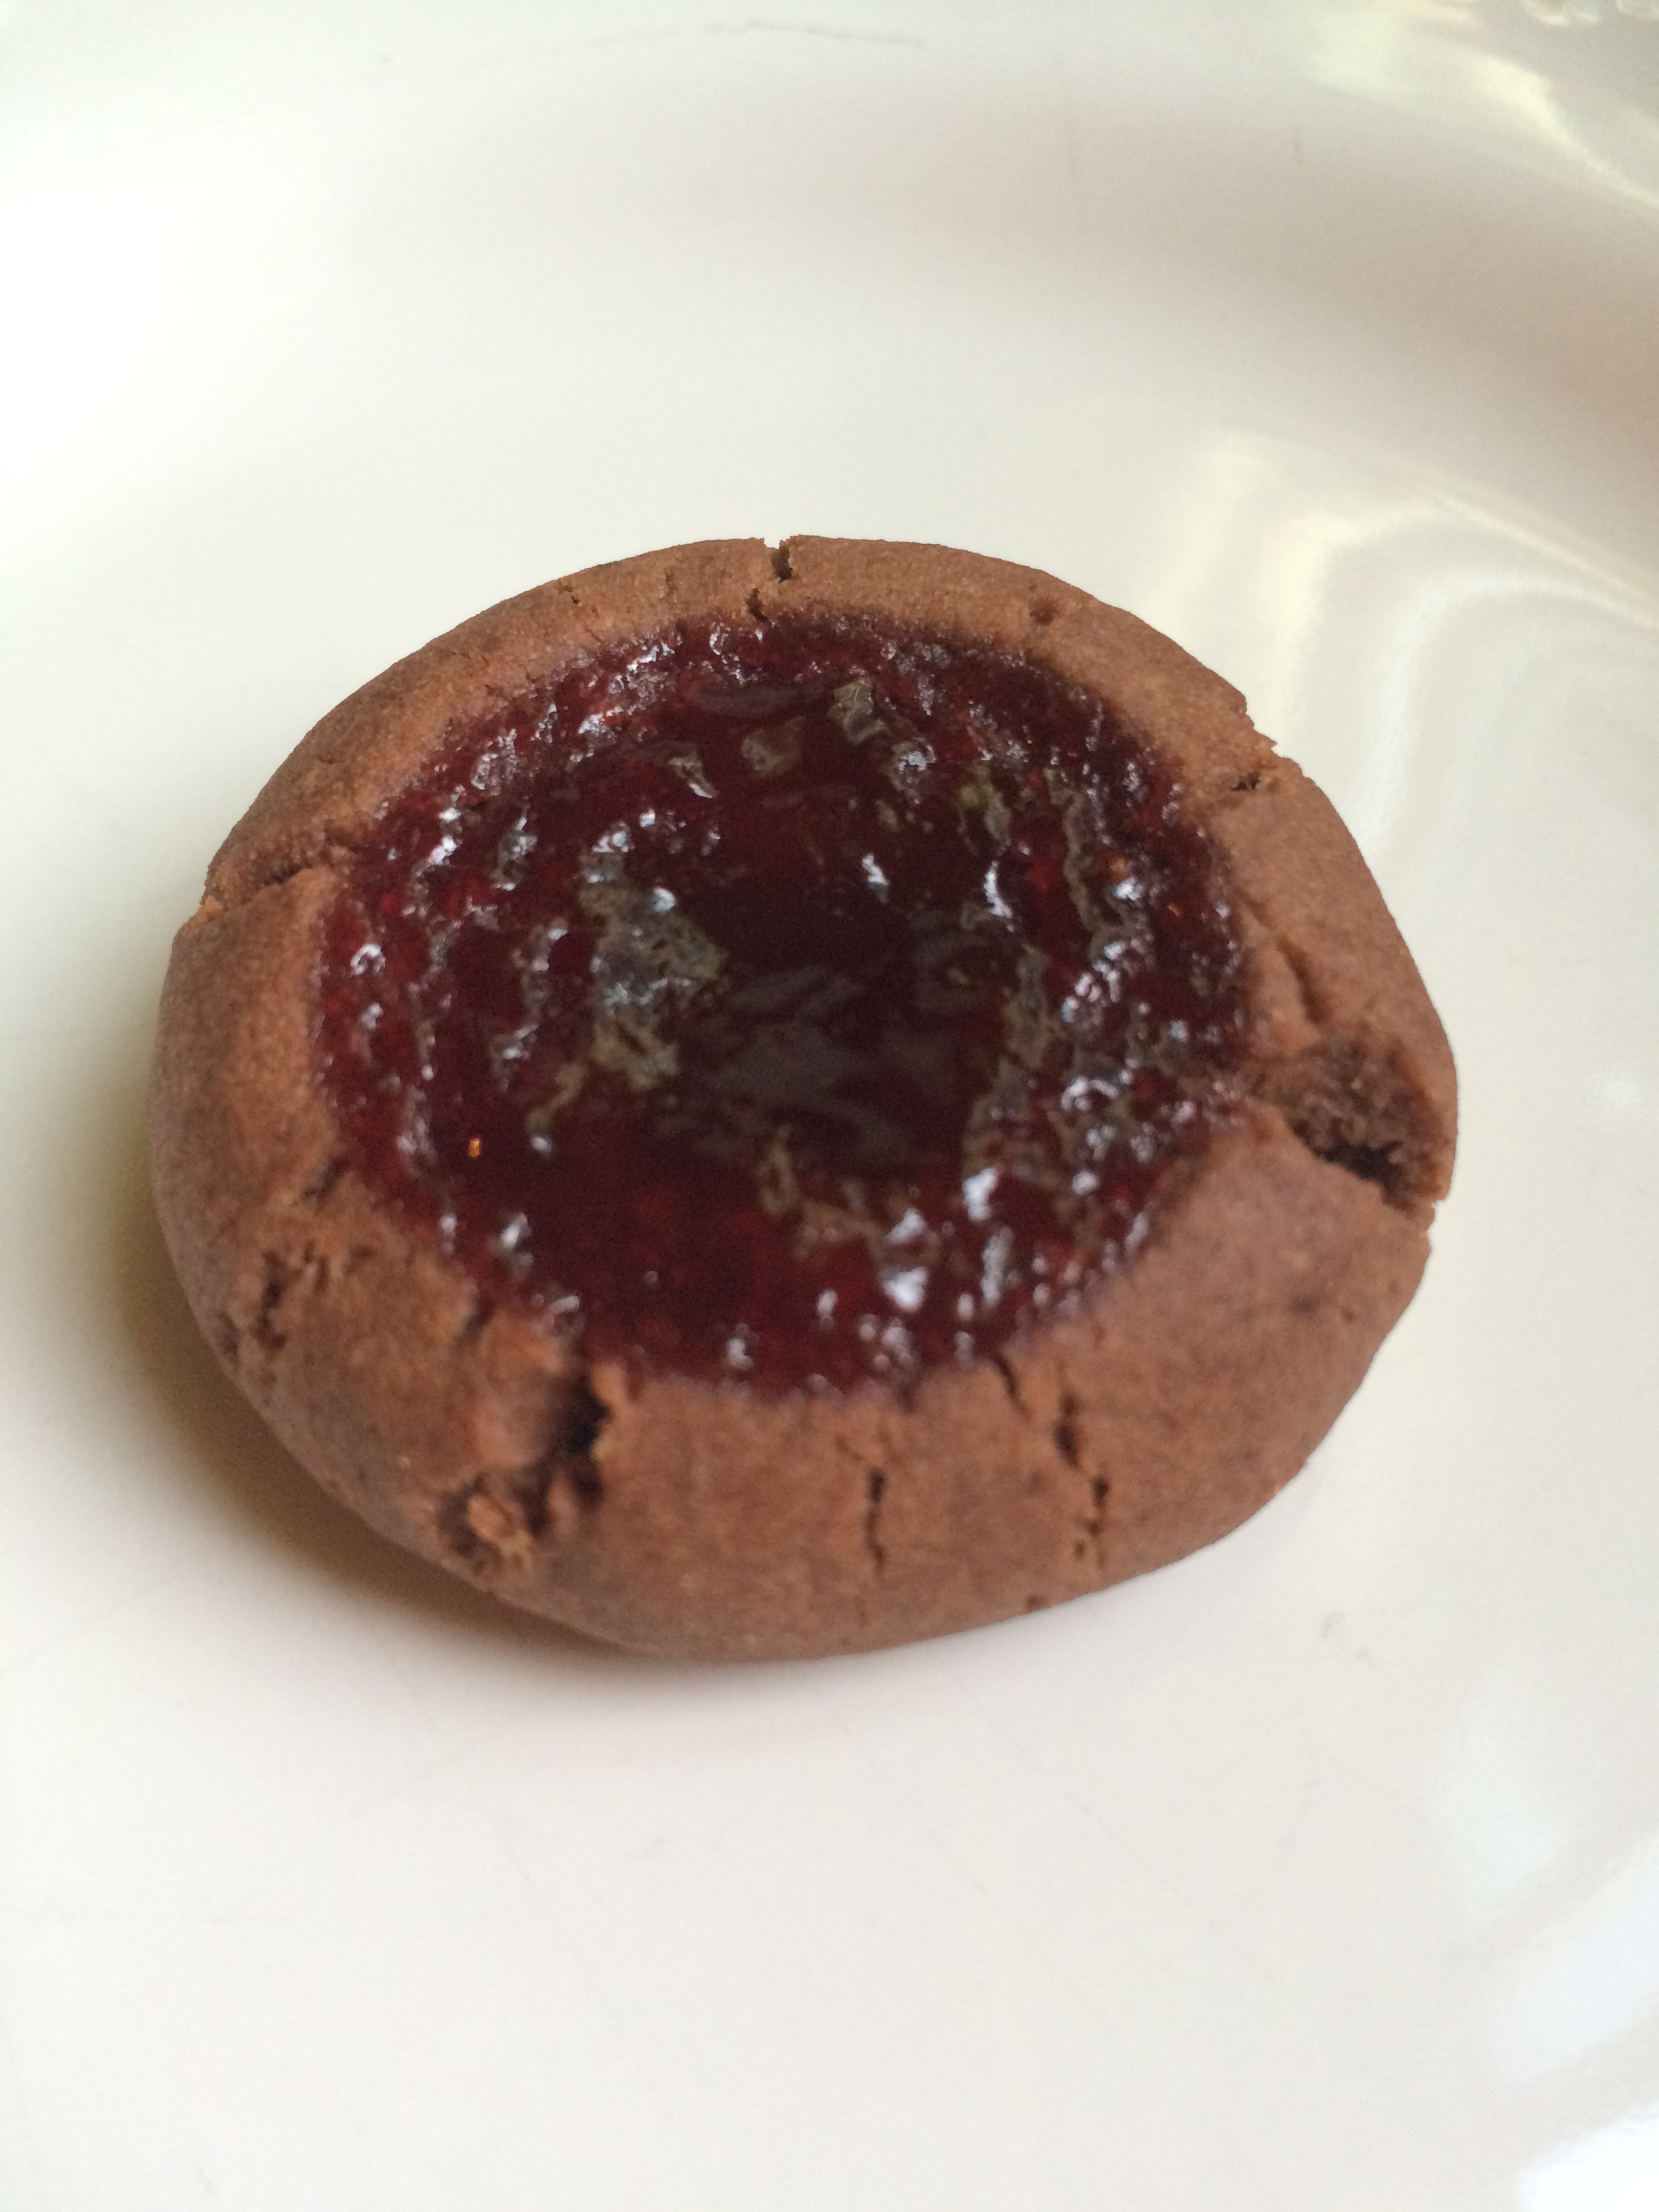
This dough is incredibly buttery – and honestly would make a great cookie on its own, without any thumbprinting. You could certainly substitute a different jam if you like, but I think the sharper apricot flavor balances the buttery flavor of the dough really well. These would be great with raspberry or blackberry jam, too.

Ingredients

  • 1 cup butter, at room temperature
  • 1/2 cup granulated sugar
  • 1/4 cup packed light brown sugar
  • 1/2 teaspoon salt
  • 1 egg yolk
  • 1 teaspoon vanilla extract
  • 2 cups flour
  • About 1/2 cup apricot preserves

Preparation

Preheat oven to 350 degrees. Line three baking sheets with parchment paper.

In a mixer fitted with paddle attachment, cream butter, sugars, and salt until light and fluffy. Add egg yolk and vanilla and beat to combine, then add flour and mix on low to combine completely.

Using a 1-inch cookie scoop, scoop generous portions of dough and roll into balls – you want the portions to be about the size of a gumball, or walnut. Place on the baking sheets and use a 1/2 teaspoon measuring spoon to make the thumbprint indentation. Spoon (or pipe from a piping bag, as I did) apricot preserves into the thumbprints. You can be a little more generous with your preserves, as these cookies spread a bit when baking and you’ll want the preserves to fill out the thumbprint.

Bake for 10-12 minutes, until edges are golden. Remove from oven and cool on the baking sheets for a few minutes, then remove to a wire rack to cool completely. Store in an airtight container at room temperature for 2-3 days. Makes 27.

Advertisement

Lemon Raspberry Thumbprints

lemonraspthumbprintMost lemon raspberry thumbprints rely on raspberry jam – which is certainly delicious – but for these treats, I wanted a more traditional thumbprint icing. While I adapted a recipe from King Arthur Flour for the cookie itself, the icing is one of my own creation, a simple blend of powdered sugar, raspberry jam, and lemon juice. I hope the icing sets up as well as traditional thumbprint icing, but if not, these cookies will still be delicious.

You can create a perfectly round indentation in your thumbprint cookies by using a teaspoon from your measuring set. I did both the teaspoon method and the literal thumbprint method in this batch of cookies, and have to admit that I prefer the way the teaspoon ones look.

Ingredients

For the cookies

  • 1 cup unsalted butter
  • 1 cup sugar
  • 1 teaspoon vanilla extract
  • 1/2 teaspoon lemon extract
  • 1 teaspoon lemon zest
  • 1/2 teaspoon salt
  • 1 egg
  • 2 3/4 cups flour

For the raspberry icing*

  • 1/3 cup raspberry jam
  • 1 1/2 cups powdered sugar
  • 3/4 teaspoon lemon juice

*These measurements are my best guess – I just kept mixing jam and powdered sugar until I got the flavor that I wanted. 

Preparation

Preheat oven to 350 degrees. Line three baking sheets with parchment paper.

In a mixing bowl, cream together butter, sugar, vanilla, lemon extract, lemon zest, and salt until light and fluffy, about 2-3 minutes. Add egg and beat well to combine.

Add flour in three batches, beating well to combine between each.

Using a 2-inch cookie scoop, scoop dough and roll into balls. Place about 2 inches apart on baking sheets and use a teaspoon measuring spoon or your thumb to create a deep indentation in the center of each cookie.

Bake for 12-24 minutes, until bottoms are very light golden brown. Remove from oven and cool completely before icing.

To make the icing, combine jam and powdered sugar in a small bowl and mix well to fully combine; add lemon juice about 1/4 teaspoon at a time to thin out slightly. You want a thick drizzle consistency.

Spoon icing into thumbprints and allow to set before serving. Store in an airtight container between sheets of waxed paper for up to 3 days.

Makes 27 cookies.

Chocolate Raspberry Thumbprints

chocolateraspberrythumbprintLaura, my cube wall-mate, accepted a new job in our company and is moving to a new office. In case you’re not familiar with the cube wall-mate (CWM), this is the person who sits on the other side of the wall that separates one section of office cubes from another, who you can hear but not see, as opposed to your cube mates, who are in the same cube row as you. Laura has been an awesome CWM; she’s very good at selective eavesdropping, always willing to say “hey, I wasn’t trying to listen in but I couldn’t help hearing and you actually need to talk to so-and-so about that,” has a top-notch sense of humor, and shares my fondness of kooky sayings like “those cookies are the bee’s knees.”

Laura and I have talked extensively about baking – she makes a mean chocolate pots de creme – and she requested a chocolate raspberry combo as her celebratory farewell cookies. And so, we have these chocolate raspberry thumbprints. The original recipe from Good Housekeeping neglected one very important note in preparation…you have to melt your 2 ounces of baking chocolate before you incorporate it into the dough. Which makes me wonder…how many people tried to make this recipe without melting their chocolate?

Farewell, Laura! We shall meet again on social media and in outside-work-life!

Ingredients

  • 2 3/4 cups flour
  • 1/4 teaspoon baking soda
  • 1/4 teaspoon salt
  • 1 cup butter, slightly softened
  • 3/4 cup sugar
  • 1 egg
  • 1 teaspoon vanilla extract
  • 2 ounces unsweetened baking chocolate, melted and slightly cooled
  • 1/4 cup cocoa powder
  • About 1/2 cup seedless raspberry jam

Preparation

Preheat oven to 350 degrees. Line three baking sheets with parchment paper.

In a large bowl, combine flour, baking soda, and salt; set aside.

In a mixing bowl, beat butter on medium speed for 1 minute. Scrape down the sides of the bowl and add sugar; beat until well-combined and fluffy, about 2-3 minutes. Add egg, vanilla, chocolate, and cocoa powder mixing well, scraping the sides of the bowl a few times.

Slowly add flour mixture, beating until fully incorporated.

Using a 1-inch cookie scoop, scoop dough and roll into balls. Place about 2 inches apart on baking sheets.

Using your 1/4 teaspoon measuring spoon, press a thumbprint well into the center of each cookie. Fill with 1/4 teaspoon raspberry jam.

Bake for 14 minutes, until jam is bubbly at the edges. Remove from oven and cool for 1-2 minutes on the baking sheets, then remove to a wire rack to cool completely.

Store in an airtight container at room temperature; if stacking, place waxed paper between the layers.

Thumbprints

thumbprintRecipes are often handed down through the generations, and this is something that I really love about baking. Think of your favorite recipe, and think about where it may have come from – whether across the world or across the street – and how it connects you to the person who first shared it with you. That’s a pretty amazing thing, no?

I got this recipe from my dear friend Tara, who got it from her grandmother-in-law Midge. I can just imagine Midge in her kitchen, making these for her family, maybe tinting the icing a special color for a birthday or holiday. My own grandmother gave me hundreds of recipes over the years, some of which originated in her childhood home in Budapest, and others that she pioneered – or perfected – in the kitchen of the home where she raised my dad. I think about Midge and Zella and all the women like them, who took great pleasure in chopping up walnuts or whisking up drizzle icing, and I’m grateful to be a part of their legacy.

My only adjustment to Midge’s recipe is another 1/4 cup walnuts for the cookies, and 1/2 cup less powdered sugar for the icing. I coated my cookies very generously with walnuts and needed a bit more than her original 3/4 cup, and because my batch yielded 16 cookies, I realized that 1 full cup of powdered sugar would be too much.

Ingredients

For the cookies

  • 8 tablespoons margarine
  • 1/4 cup brown sugar
  • 1 egg, yolk separated from white (keep the white cold until ready to use)
  • 1/2 teaspoon vanilla
  • 1 cup sifted flour
  • 1/4 teaspoon salt
  • 1 cup finely chopped walnuts

For the icing

  • 1/2 cup sifted powdered sugar
  • 1/4 teaspoon vanilla
  • About 1 tablespoon milk

Preparation

In a mixing bowl, cream together margarine, brown sugar, egg yolk, and vanilla.

Blend salt into sifted flour and add to creamed mixture until well-combined.

Chill dough for about 1 hour, until firm and easy to handle. Dough will still be slightly sticky after 1 hour but that’s okay.

Preheat oven to 375 degrees.

Lightly beat the egg white.

Using a one-inch cookie scoop, scoop out dough and roll into balls. Dip each ball into egg white, then walnuts.

Place on a cookie sheet about 1 inch apart.

Bake for 5 minutes, then quickly press a thumbprint in the center of each using the back of a half teaspoon from your measuring spoons to create the thumbprint. I chose not to use my actual thumb because, naturally, the cookies are very hot! Continue baking another 8 minutes.

Remove from oven; press half teaspoon in each indentation again if necessary to reinforce your thumbprint.

Once cookies are cool, whisk together powdered sugar, vanilla, and about 1/2 teaspoon of milk. Add additional milk slowly to reach your desired consistency; you want it to be a thick drizzle so it will set easily.

Allow icing to set and store cookies in an airtight container.

S’mores Thumbprint Cookies


Happy National S’more Day!  When I think of s’mores, I think of camping.  And though I’ve never been camping (because I’m a woman who appreciates electricity, plumbing, and a barrier between myself and bugs) I certainly enjoy campfires, because campfires provide the perfect opportunity to make s’mores.

The first printed recipe for s’mores can be found in a Girl Scout publication from the 1920s.  I consider the forward-thinking individual who thought to combine graham crackers, toasted marshmallows, and chocolate to be a genius on par with the likes of H.B. Reese, pioneer of the Reese’s Peanut Butter Cup, and Milton Hershey, creator of the iconic Hershey’s chocolate bar.

Just a few tips for preparation here: you’ll need about 8 full sheets of graham crackers to make one cup of crumbs.  I processed mine in a food processor, but you could easily produce crumbs by placing the crackers in a large zip-top bag and crushing them with a rolling pin or mallet.  The dough is very stiff, so you’ll want to scrape the sides of your mixing bowl several times to make sure all of the crumbs are incorporated.

Ingredients

  • 1 cup graham cracker crumbs
  • 1/8 teaspoon salt
  • 1 1/3 cups flour
  • 1 cup butter, softened
  • 1/2 cup brown sugar
  • 1 egg
  • 1 teaspoon vanilla extract
  • About 1 1/4 cup miniature marshmallows
  • 3 to 4 full-size Hershey’s bars, broken into individual rectangles

Preparation  

Preheat oven to 325 degrees.

Line several baking sheets with foil or parchment paper.

In a medium bowl, combine graham cracker crumbs, salt, and flour; set aside.

In a mixing bowl, cream butter and brown sugar.

Add egg and vanilla and beat well.

Add flour mixture and beat until a stiff dough forms.

Using a one-inch cookie scoop, scoop dough and roll into balls.  Place about two inches apart on cookie sheets and press a thumbprint in the center of each.

Bake for 10 minutes, remove from oven, and place two or three miniature marshmallows in each indentation.

Return to the oven and bake two more minutes; remove from oven and immediately press one Hershey’s rectangle on top.

Allow chocolate to sit for a few minutes, then spread chocolate with the tip of a knife.

Allow to cool completely and for chocolate to harden before storing.