St. Patrick’s Day Cupcakes

st. pattys cupcakes
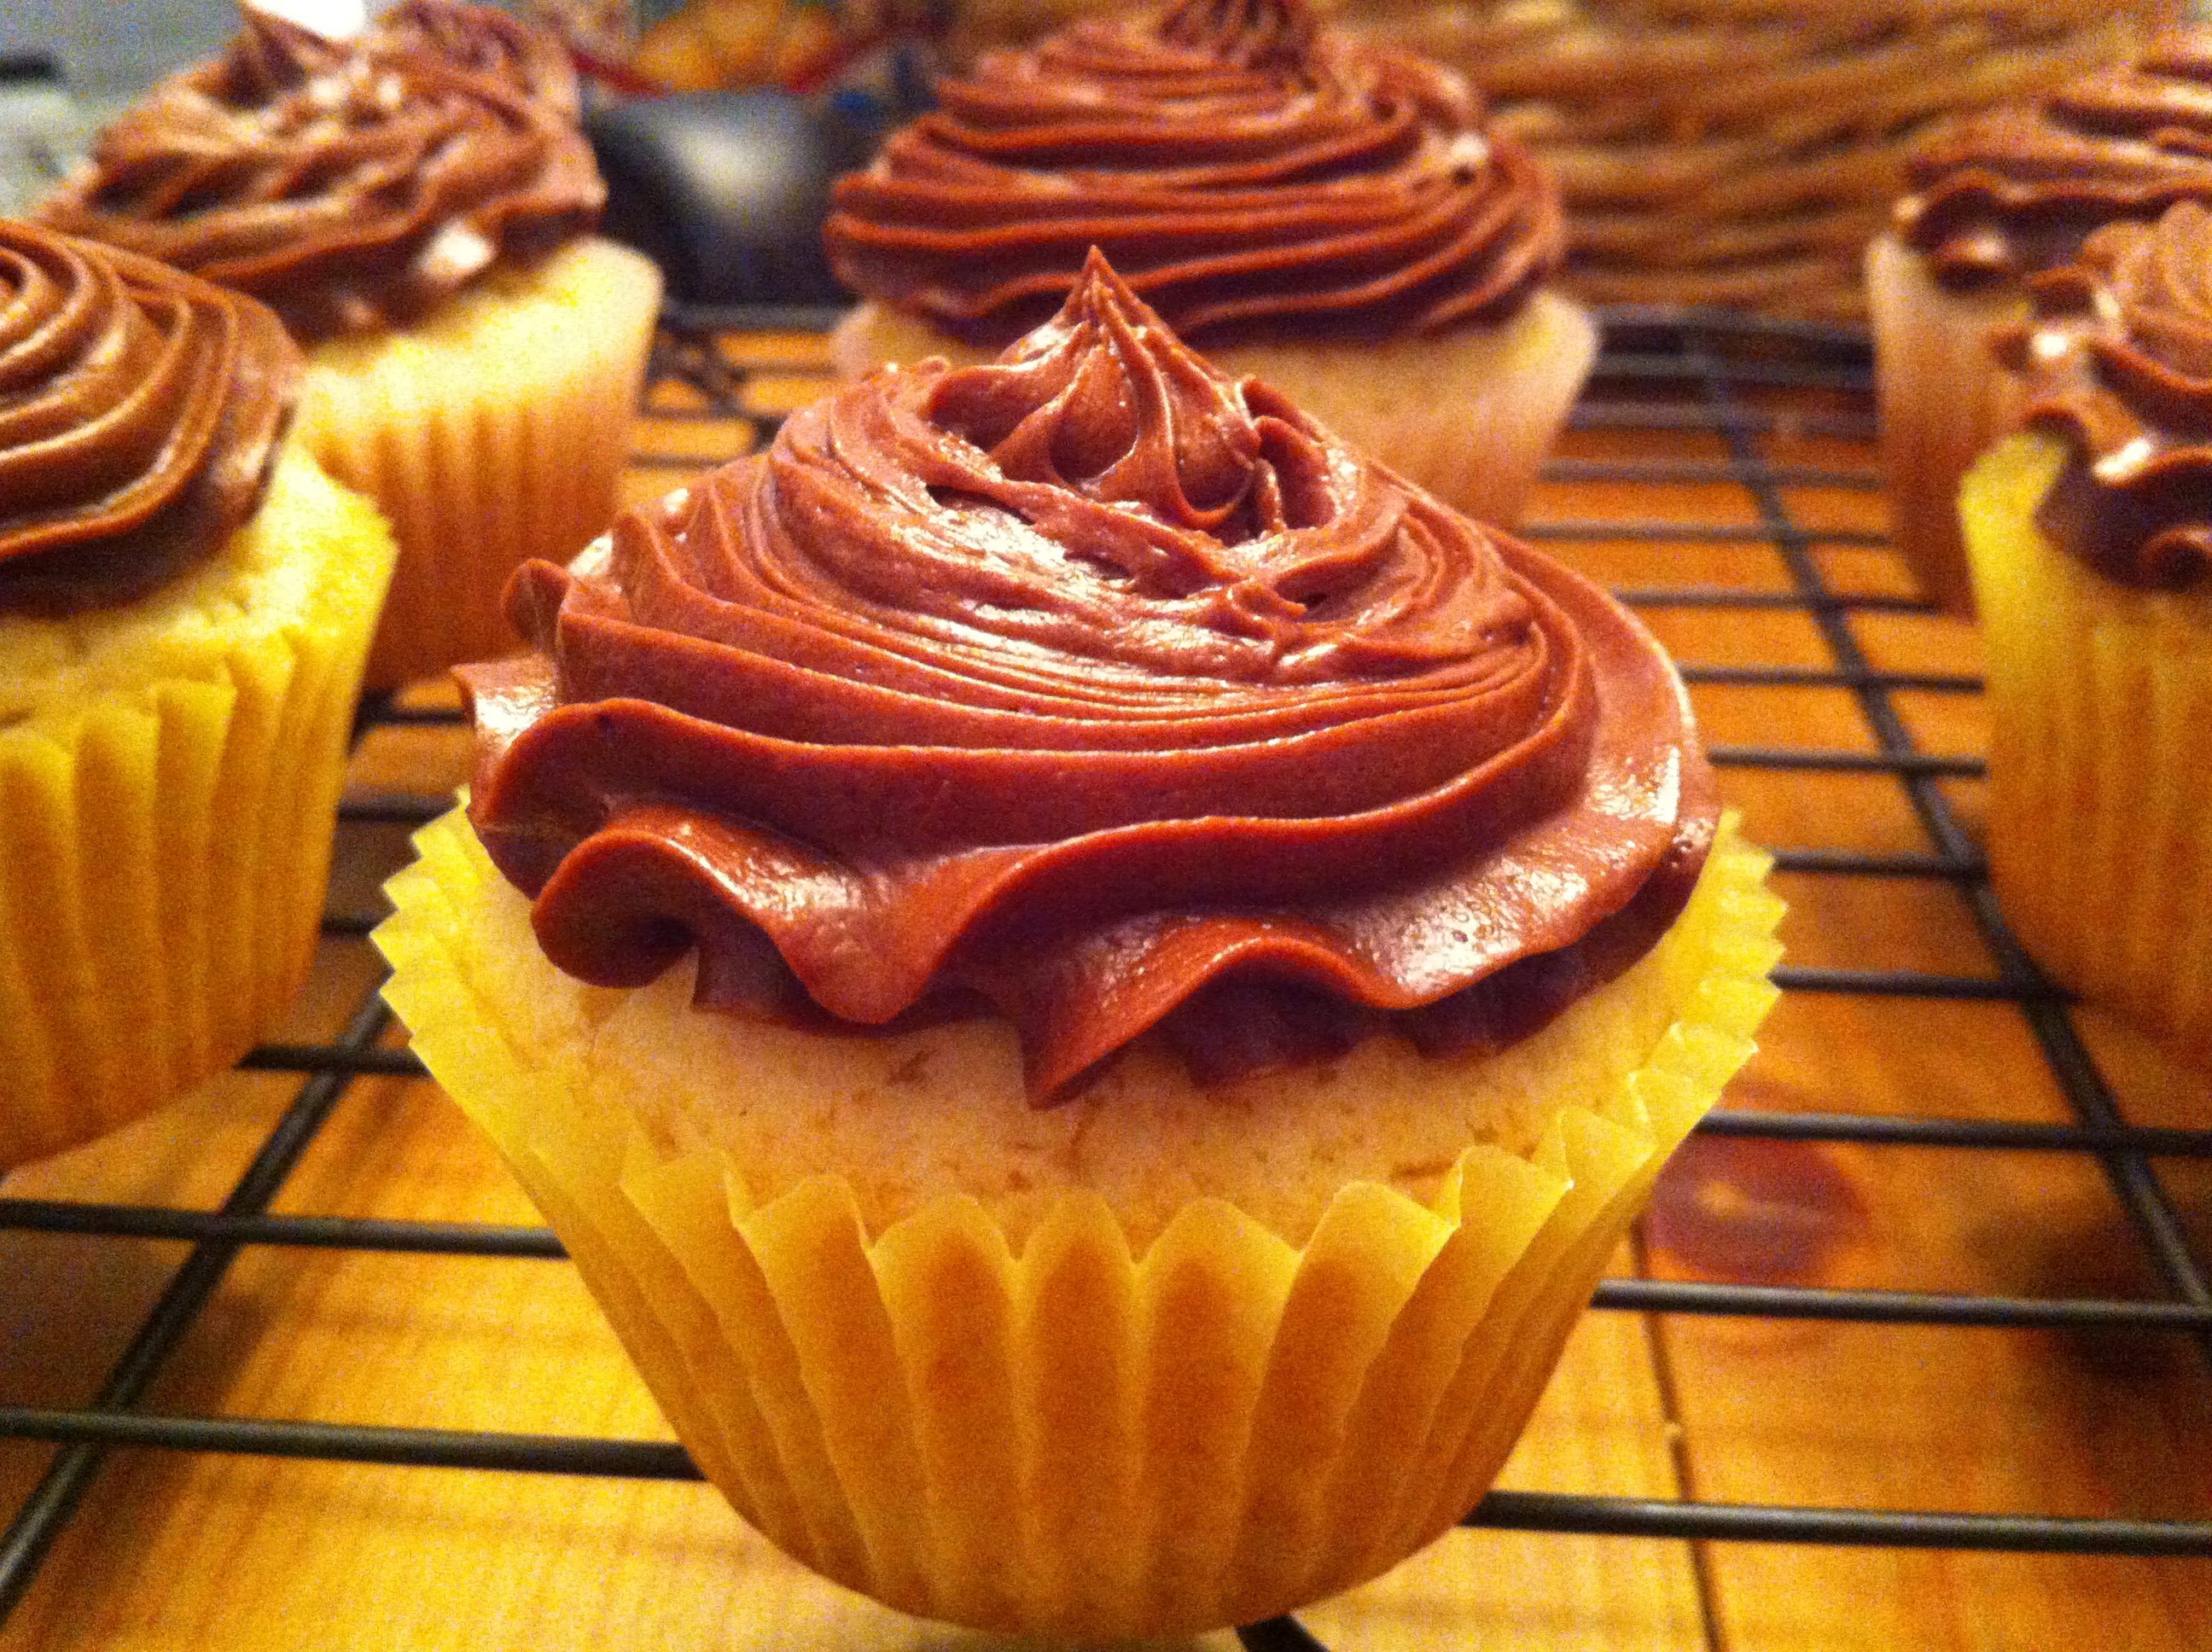
Happy (actual) St. Patrick’s Day! Yes, the baking extravaganza continued throughout this past weekend in my kitchen, and these were my final project. I like to think that St. Patrick would be proud of them…if he liked cupcakes, that is. 

The two things I love most about baking are that it is both creative and apt to make someone really, really happy. These cupcakes enabled me to be both creative, and the bringer of sugar joy to the family of one of my lovely colleagues from work, whose kids love this holiday.

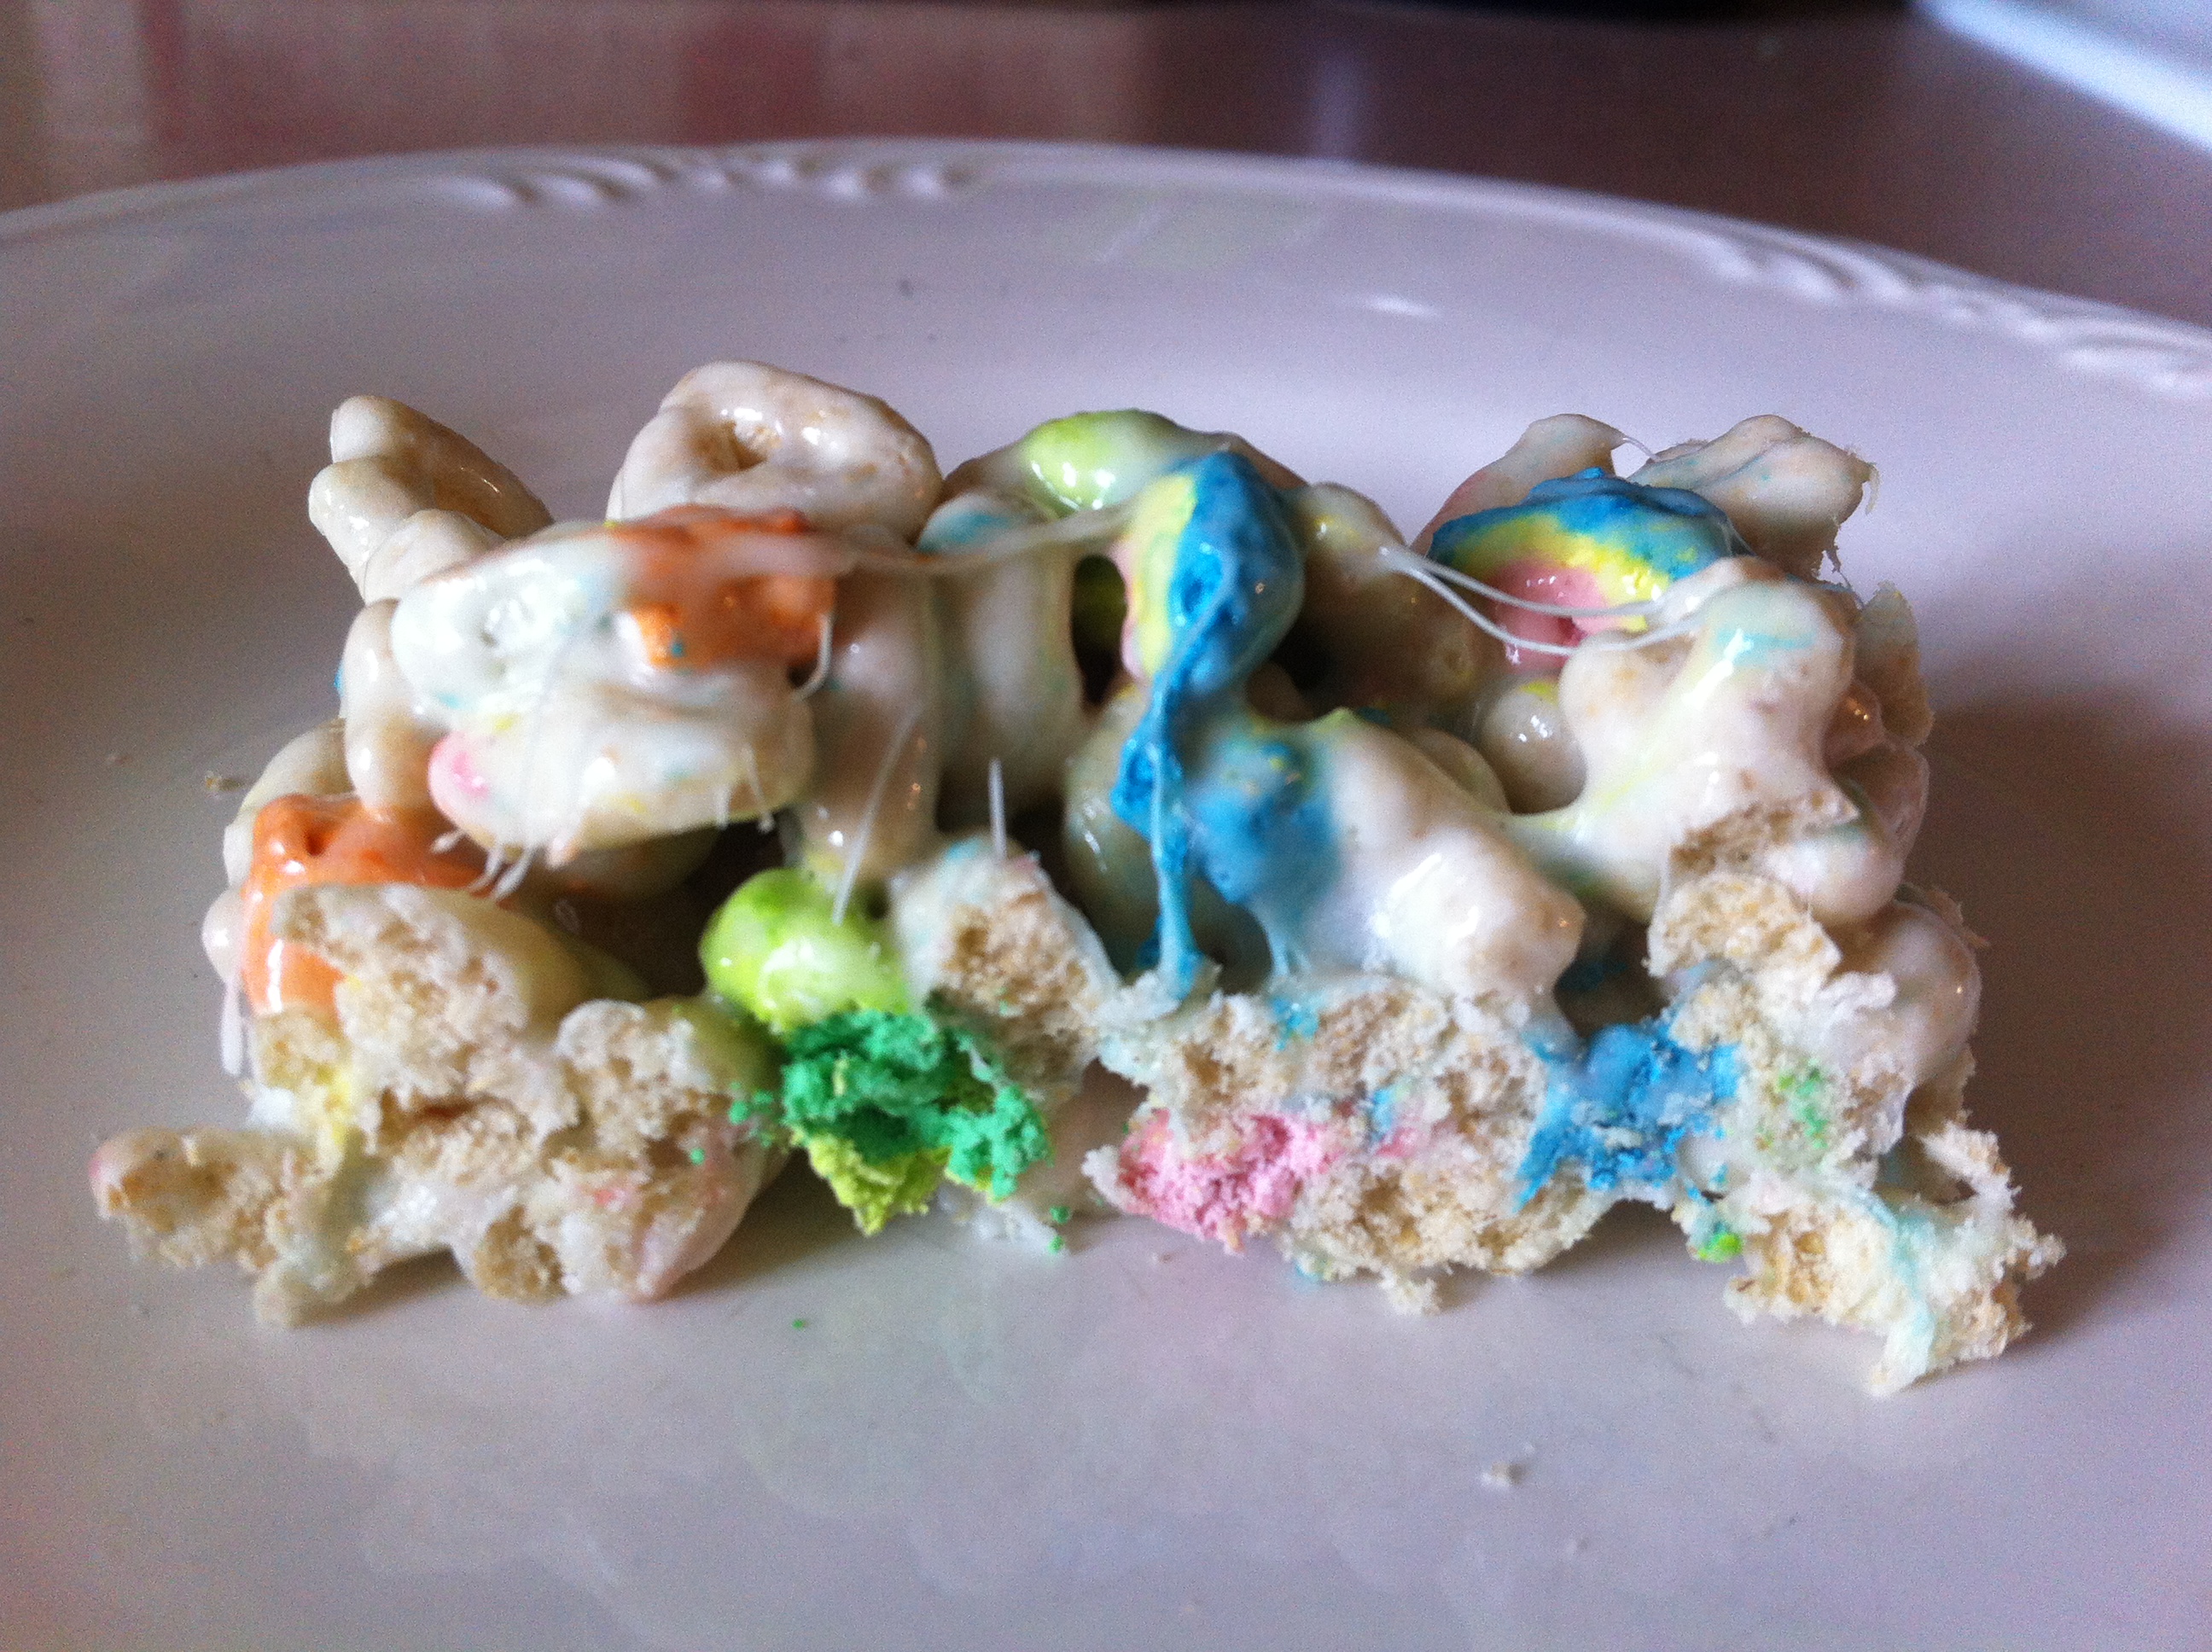
Apparently, the cupcakes went over big…as you can see in the “aftermath” photo below. And yes, that is my laptop in this photo…a blogger needs her resources close by, after all! 

Ingredients

  • 1 1/4 cups cake flour
  • 1 1/4 teaspoons baking powder
  • 1/2 teaspoon baking soda
  • 1/2 teaspoon salt
  • 2 eggs
  • 3/4 cup sugar
  • 2 tablespoons vanilla extract
  • 1/2 cup canola oil
  • 1/2 cup buttermilk
  • 1 recipe vanilla buttercream
  • green liquid food coloring
  • leaf green and kelly green gel paste food coloring
  • green sparkling sugar, if desired

Preparation

Preheat oven to 350 degrees. Line one regular-sized cupcake pan and one miniature cupcake pan with paper liners.

In a medium bowl, whisk together cake flour, baking powder, baking soda, and salt; set aside.

Place eggs in the bowl of a stand mixer fitted with the whisk attachment and beat on medium speed for 30 seconds. Add sugar and continue to beat for another 30 seconds.

Add vanilla and canola oil and beat on medium speed for 1 minute.

Add flour mixture and buttermilk alternatively in three batches, beginning and ending with the flour, scraping the sides of the bowl frequently. Batter will be very thin.

Using a quarter-cup measuring cup, scoop batter into prepared regular-sized cupcake liners, filling half full. Use a teaspoon measuring spoon to fill miniature cupcake liners.

Bake regular-sized cupcakes for 12-13 minutes and miniature cupcakes for 7-9 minutes, until a cake tester comes out clean. Cool on a wire rack before frosting.

To frost:

Prepare vanilla buttercream. Add a few drops of green liquid food coloring to the frosting with your mixer running on low to medium speed to achieve a light green color.

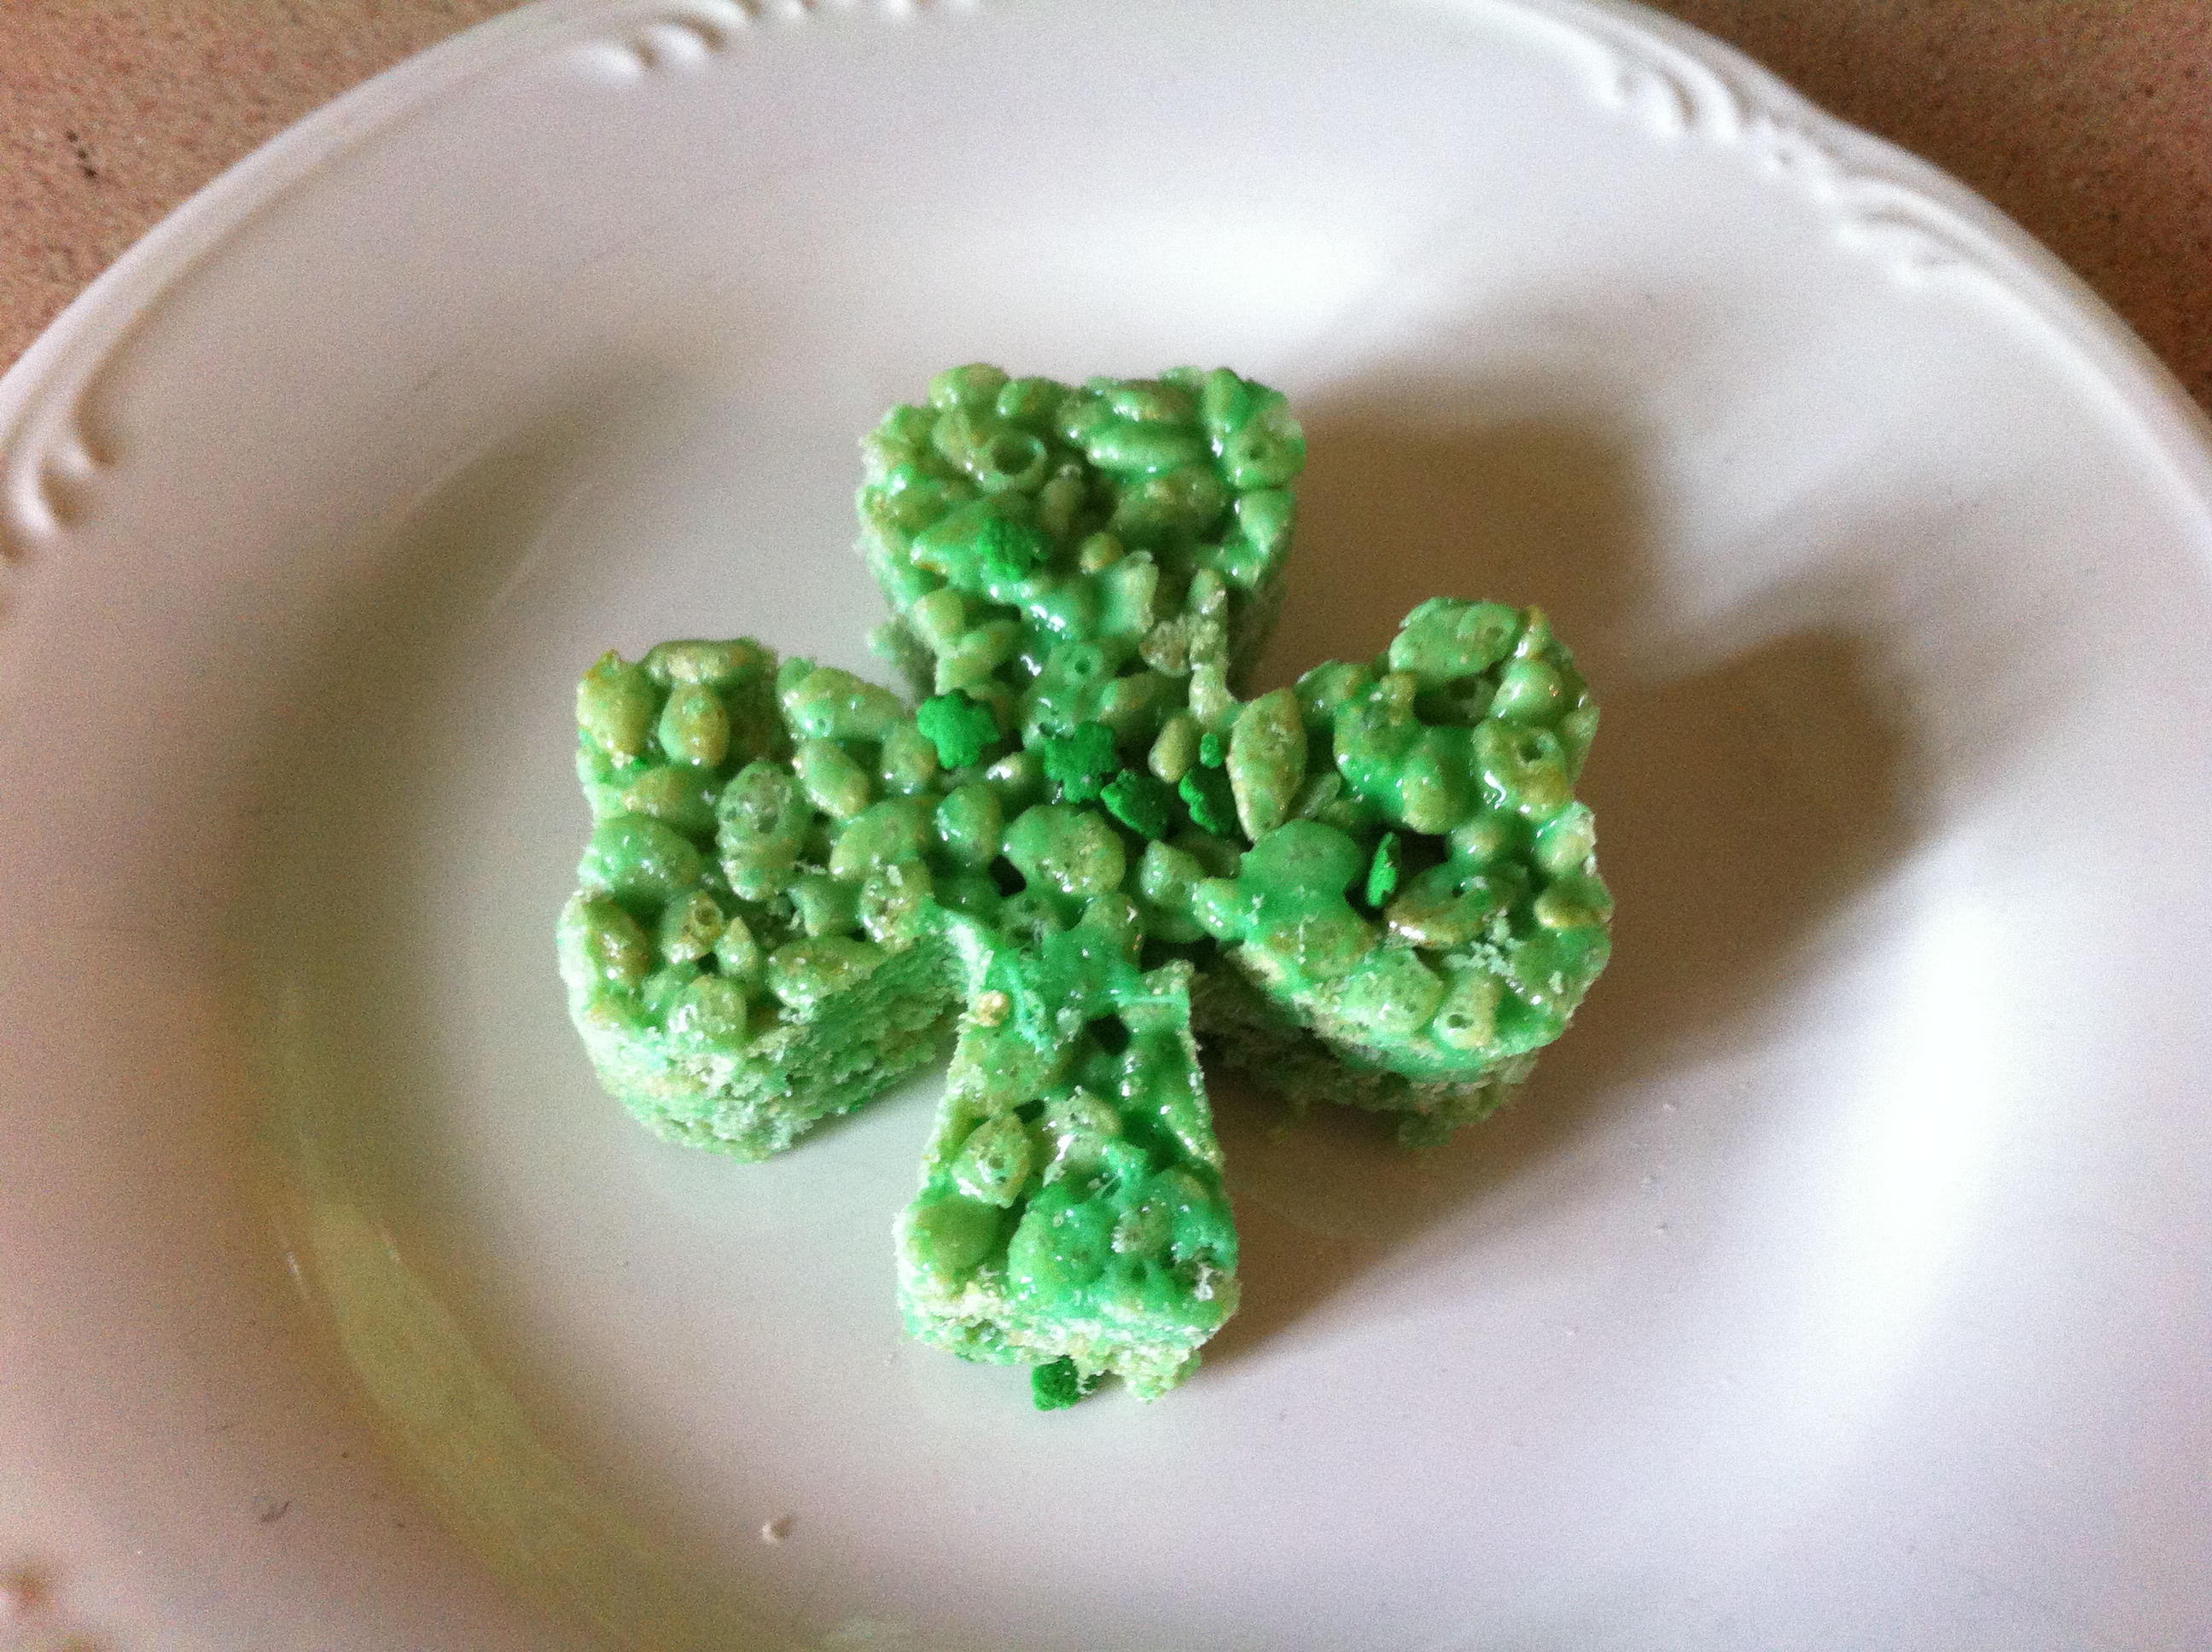
Remove about 1 to 1 1/2 cups of the frosting and tint darker green; I used a combination of leaf green and kelly green to create my shamrock color. Fit a piping bag with a small to medium-sized plain tip (I used a Wilton #5 tip) and place dark green frosting inside; set aside.

Frost regular-sized cupcakes first; using a 1-inch cookie scoop, scoop light green frosting onto each cupcake and frost in a smooth layer. Pipe shamrock shapes onto each cupcake; make three heart-like shapes then add the stem.

Frost miniature cupcakes next; replace your dark green piping bag with a large plain tip (I used Wilton 12) and pipe in swirls.

Fit another piping bag with a large star tip (I used Wilton 21) and fill with light green frosting. Pipe in swirls.

Dip half of each shade of the miniature cupcakes into the green sparkling sugar. Store at room temperature in an airtight container for 2-3 days (or store in the fridge to extend the life of your buttercream).

The aftermath at the Houser family St. Patrick’s Day celebration is as follows:

IMG_2262


Lucky Charms Treats

lucky charmsI didn’t eat Lucky Charms cereal until I was 16 years old. My mom didn’t stock sugary cereals in our house, claiming that my brother and I would eat one bowl and lose interest. While that might be true, I also suspect that she, a physical education and health teacher, just didn’t believe that anything involving a marshmallow could be suitable for breakfast.

I remember when red balloons joined the marshmallow cast of pink hearts, yellow moons, orange stars, green clovers, blue diamonds, and purple horseshoes in 1989, but not one bite of Lucky Charms passed my lips until I was a teenager. And as an adult, despite my penchant for sugar consumption, I rarely eat this magically delicious cereal. Perhaps my mom was right about my preference for “regular” cereals like Cheerios and Wheaties.

Much like their Rice Krispies Treat cousins, these treats are easy to make and require only a few ingredients. It is important to work quickly once the cereal joins the butter/marshmallow mixture though, to prevent the marshmallows in the Lucky Charms from melting.

Ingredients

  • 3 tablespoons butter
  • 4 cups miniature marshmallows
  • 6 cups Lucky Charms cereal

Preparation

Spray a 9 x 13 pan with nonstick spray; set aside.

In a large pot, melt butter and marshmallows over medium heat, stirring until completely combined.

Add Lucky Charms and stir until completely coated with marshmallow mixture; immediately pour into your prepared pan and smooth out using a spatula.

Allow to cool completely, then cut into squares. Store in an airtight container.

Rice Krispie Shamrocks

rice krispie shamrockNearly every American child has probably had, at one time or another, a Rice Krispies Treat. I have distinct memories of standing next to the stove with my mom, waiting to pour in cup after cup of Rice Krispies as she stirred the marshmallow mixture. My grandmother was also fond of making these, and she employed a range of cereals, from Cocoa Krispies to Frosted Flakes, to create her own versions.

According to Wikipedia, the original recipe for Rice Krispies Treats was pioneered in 1927 by Malitta Jensen and Mildred Day, two employees in the Kellogg Company home economics department, as a fundraiser for the Camp Fire Girls. Later, these treats were popular additions to care packages for soldiers stationed abroad during the 1940s. And while they are currently available in store-bought varieties, I think the best treats are still the kind you make on your own stove, waiting for that melted marshmallow smell to waft out of the pot.

The recipe below is an adaptation of the original, using one fewer cup of cereal to yield a more pliable, marshmallowy texture.

Ingredients

  • 3 tablespoons margarine
  • 4 cups miniature marshmallows
  • green liquid food coloring
  • 5 cups Rice Krispies
  • shamrock sprinkles, optional

Preparation

Spray a 9 x 13 pan with nonstick spray; set aside.

In a large pot, melt margarine over medium heat. Add marshmallows and stir until completely melted; add as much green liquid food coloring as desired to achieve the shade of green you’d like.

Add Rice Krispies and stir until completely coated with marshmallow mixture; immediately pour into your prepared pan and smooth out using a spatula. Sprinkle with shamrocks, if desired, using the spatula to press sprinkles into the Krispies.

Allow to cool completely, then turn out onto a sheet of parchment. Spray a shamrock cookie cutter with nonstick spray and cut into shamrocks; reserve the scraps for snacking.

Sweet Lemon Frosting

white cake with lemonThe Sweet Lemon was, at one time, one of my preferred names for a bakery. Alas, there is already a Sweet Lemon Bakery in London, so I’ll just have to figure out another name for the bakery that I’ll open someday.

This frosting is a creation very similar to lemon cream cheese frosting, but with far more sweetness because of the ratio of lemon curd and powdered sugar to the cream cheese. You can certainly adjust based on your own taste preferences, adding more or less lemon curd to round out your flavors. I originally paired this with a white cake that was filled with lemon curd, but you could use it on lemon, strawberry, or raspberry cupcakes for delicious results. I hope to try out a raspberry cupcake with this frosting over the summer, when raspberries are in season.

The recipe below frosted the top of one 8-inch round cake; you could easily increase it to frost an entire two-layer cake, 24 cupcakes, or a sheet cake if necessary.

Ingredients

  • 4 tablespoons butter
  • 2 ounces cream cheese
  • 2 tablespoons lemon curd
  • About 2 1/4 cups powdered sugar

Preparation

In a mixing bowl, beat butter and cream cheese until very well blended, about 3 minutes.

Add 1 cup powdered sugar and 1 tablespoon lemon curd; beat on low to begin, then increase speed and beat on medium until well-blended. Add additional cup powdered sugar and additional tablespoon lemon curd; beat on low to begin, then increase speed to medium and beat until very well-blended. Taste; add another 1/4 cup powdered sugar if desired.

Fresh Strawberry Buttercream

strawberry lemonade cupcakesThis is prize-winning frosting, my friends. Literally. I used it on strawberry lemonade cupcakes last summer and won first prize in the baking contest at the Soergel Orchards strawberry festival.

Unlike my raspberry buttercream, this recipe requires fresh strawberries that are pureed and incorporated into the mixture. Farmer’s market strawberries, which are usually small and more pink than red, are preferable to the super market kind that are vibrant red, large, and definitely not as flavorful.

Bring all of your ingredients to room temperature before preparing this frosting; it yields the best results. The recipe below frosted 24 cupcakes.

Ingredients

  • 8 tablespoons butter, at room temperature
  • 1 teaspoon fresh lemon juice, at room temperature
  • 2 cups powdered sugar, sifted
  • Scant ¼ cup strawberry puree, at room temperature

Preparation

In a stand mixer fitted with the paddle attachment, beat butter and lemon juice on low speed until smooth and creamy, about 2 minutes.

Gradually add powdered sugar, in half-cup increments, beating until fully incorporated.

Add strawberry puree, mixing until completely incorporated, about 1-2 minutes.

Using a small cookie scoop, scoop frosting onto tops of cupcakes and spread with an offset spatula. Frosting can be stored in an airtight container at room temperature for up to 2 days; refrigerate cupcakes after they are filled and frosted for up to 3 days.

Note: you can adjust the sweetness or tartness of this frosting very easily by adding more lemon juice or puree; you’ll just need to add more sifted powdered sugar so the frosting isn’t too runny.

Peppermint Buttercream

peppermint pattie cakeSo, it was Christmas, and I wanted to make a dark chocolate yule log with peppermint frosting. While the yule log didn’t quite work out, I did end up making a dark chocolate cake and frosting it with the recipe below…and it was delicious.

Peppermint buttercream could pair with vanilla, white, or peppermint cake or cupcakes, but my preference would certainly be dark chocolate cake or cupcakes, reminiscent of a York Peppermint Pattie.

The crushed-up peppermint candies are certainly optional; some peppermint buttercream recipes call for mixing crushed candies right into the frosting, rather than using them as a garnish, so you could do that if you prefer. Peppermint Patties might make a fun addition to this frosting if you cut them into wedges and placed them along the outside of your cake, or just on top of each cupcake.

This recipe yields enough for one 9 x 13 sheet cake.

Ingredients

  • 8 tablespoons butter, softened
  • 2 1/2 cups powdered sugar, sifted
  • 2 teaspoons peppermint extract
  • 1/2 teaspoon vanilla extract
  • 2 tablespoons heavy cream
  • red and white peppermint candies, crushed (optional)

Preparation

Place butter in a mixing bowl and beat on medium speed for 1 minute using a paddle attachment. Add powdered sugar and beat on low speed until the sugar is fully incorporated; this will take several minutes. I cover my mixer with a kitchen towel to prevent a powdered sugar storm.

Scrape the sides of the bowl and add peppermint extract, vanilla extract, and 1 tablespoon heavy cream. Beat until well combined, scraping sides of the bowl frequently; beat in additional tablespoon of heavy cream and continue beating for 1-2 minutes for a smooth, even consistency.

Frost the cake and sprinkle the edges with crushed peppermint candies if desired.

Vegan Vanilla Frosting

mo cupcakesVegan frosting? Yes, it does exist. And this version is delicious.

Okay, so most folks who are vegan are probably more health-conscious than I am and might be appalled to see one full cup of vegetable shortening in this recipe, but trust me, it’s the only way to go. I got this recipe from my cousin Barb, who has a friend whose children have various food allergies, including dairy and egg allergies. The friend actually got this recipe from her grandmother, who called it something like “Depression frosting,” likely because during the Depression dairy and eggs were scarce. It remind me a great deal of my grandma Zella’s frosting, which includes egg whites.

Just a caveat: you really do need to take the full 10 minutes to whip this frosting, or the ingredients won’t come together properly. You could also certainly cut the recipe in half for a smaller yield; this frosted 36 cupcakes very generously, with just a bit left over.

Ingredients

  • 1 cup shortening
  • 3 teaspoons vanilla extract
  • 1/2 cup water
  • 8 cups powdered sugar

Preparation

In a mixing bowl, combine shortening, 1 teaspoon vanilla, water, and 4 cups powdered sugar. Mix on low speed, then increase to medium-high and beat for 10 minutes, until smooth. Add remaining powdered sugar and additional teaspoons of vanilla extract, beating until smooth.

Frost cupcakes as desired; you can add food coloring for tint if you like, once frosting is fully mixed.

Maple Cream Cheese Frosting

spice cupcakesThis frosting is one of my favorites ever. It has a smooth texture and delightful maple flavor that can, I promise, only be achieved if you’re using real maple syrup. Please, please, please don’t use maple flavoring or, heaven forbid, pancake syrup…it will just not be the same. Trust me.

I originally created this frosting based on a few other recipes that I saw online, then tweaked it reach the consistency and flavor that I wanted. It is an excellent complement to spice cupcakes, but could also pair well with pumpkin or cinnamon cake or cupcakes; I can also imagine it as a nice pairing with brown sugar bundt or pound cake.

The recipe below yields a fairly large quantity, enough for 24 regular-sized cupcakes and 16 miniature cupcakes.

Ingredients

  • 8 tablespoons butter, at room temperature
  • 4 ounces cream cheese, at room temperature
  • 3 cups powdered sugar, sifted
  • 5 tablespoons pure maple syrup

Preparation

In a mixing bowl fitted with the paddle attachment, beat butter and cream cheese for 2-3 minutes, until very smooth and well-blended.

Add one cup powdered sugar, beating until combined, followed by 2 tablespoons maple syrup, again beating until well-combined. Add additional cups powdered sugar and remaining tablespoons of maple syrup alternatively, beating until frosting is very smooth.

Transfer frosting to a pastry bag fitted with a large plain tip and pipe frosting onto cupcakes. Store in the refrigerator, but bring to room temperature before serving.

Raspberry Buttercream

dark choc with rasp buttercreamThere are many recipes out there for raspberry buttercream that require fresh raspberries. Since it’s winter and raspberries aren’t in season, I searched out a recipe that could use raspberry jam instead and found one very similar to the recipe below, which I adapted in quantities to reach both the consistency and flavor I wanted.

The great thing about this frosting is that it is so easy to make, with just three ingredients; just be sure you use seedless raspberry jam. Pairing-wise, this frosting is a great match for dark chocolate, but it would also complement regular chocolate, white, almond, or lemon cake or cupcakes very well.

If you’re after a more brilliant pink shade, just add a few drops of red food coloring or a bit of pink gel paste food coloring to help it along; just be careful not to thin the frosting too much with liquid food coloring or it’ll be too thin to pipe well.

The recipe below frosted 24 miniature and 10 regular-sized cupcakes, so it would probably be enough for 24 regular-sized cupcakes, depending on how much frosting you like per treat.

Ingredients

  • 8 tablespoons butter, room temperature
  • 1/4 cup seedless raspberry jam
  • 3 cups powdered sugar, sifted

Preparation

In a mixing bowl, beat butter and jam until very well-combined, about two minutes; the mixture will be lumpy, but that’s okay.

Add powdered sugar, one cup at a time, beating for about 2 minutes between each addition and scraping the sides of the bowl frequently. Continue to beat until frosting is very smooth.

Transfer frosting to a pastry bag fitted with a plain tip and pipe onto cupcakes. Store frosted cupcakes in the refrigerator, but bring to room temperature before serving.

Cocoa Frosting

vanilla with cocoa frostingRecently, I searched for a chocolate frosting that wasn’t buttercream, but rather a richer, more complex flavor. I found this recipe on the Hershey’s website and adapted it slightly to incorporate a greater amount of vanilla extract (as always) and a bit more powdered sugar for texture purposes.

This frosting smells delicious, very like a cup of hot cocoa. I paired it with vanilla cupcakes but I can see it as a good match for almond, white, chocolate, or strawberry cupcakes. It is very easy to pipe and has a smooth texture, so you can use star tips or plain tips, whatever your decorative sensibilities may be.

The recipe below yielded enough frosting for 12 miniature cupcakes and 11 regular-sized cupcakes, so I’d recommend increasing the ingredients by half to accommodate 24 cupcakes.

Ingredients

  • 8 tablespoons butter, melted
  • 2/3 cup cocoa powder
  • 3 3/4 cups powdered sugar
  • 1/3 cup milk
  • 2 teaspoons vanilla extract

Preparation

In the bowl of a stand mixer fitted with the paddle attachment, combine melted butter and cocoa powder. Beat on low speed for about 1 minute, then increase speed to medium and beat for 2 minutes more.

Add 1 cup powdered sugar and beat on low speed, then add about half of the milk, continuing to beat on low speed, until combined. Follow with another cup powdered sugar and remainder of milk, beating on low until combined. Add remaining powdered sugar, then vanilla, beating until frosting is creamy and spreadable, but not too thin. You may need to add just a bit more powdered sugar if your frosting is too thin to be piped easily through a piping bag.

Fit a piping bag with a medium star tip and pipe frosting onto cupcakes. Store in the refrigerator, but bring to room temperature before serving.