Pastel Sugar Cookies

pastel sugar cookiesBetty Crocker wasn’t a real person, but I like to think there’s a bit of Betty in all bakers. General Mills now owns the Betty Crocker brand, which was created by another company back in 1921. The marketing folks who came up with the name thought “Betty” sounded all-American and cheerful, and I quite agree.

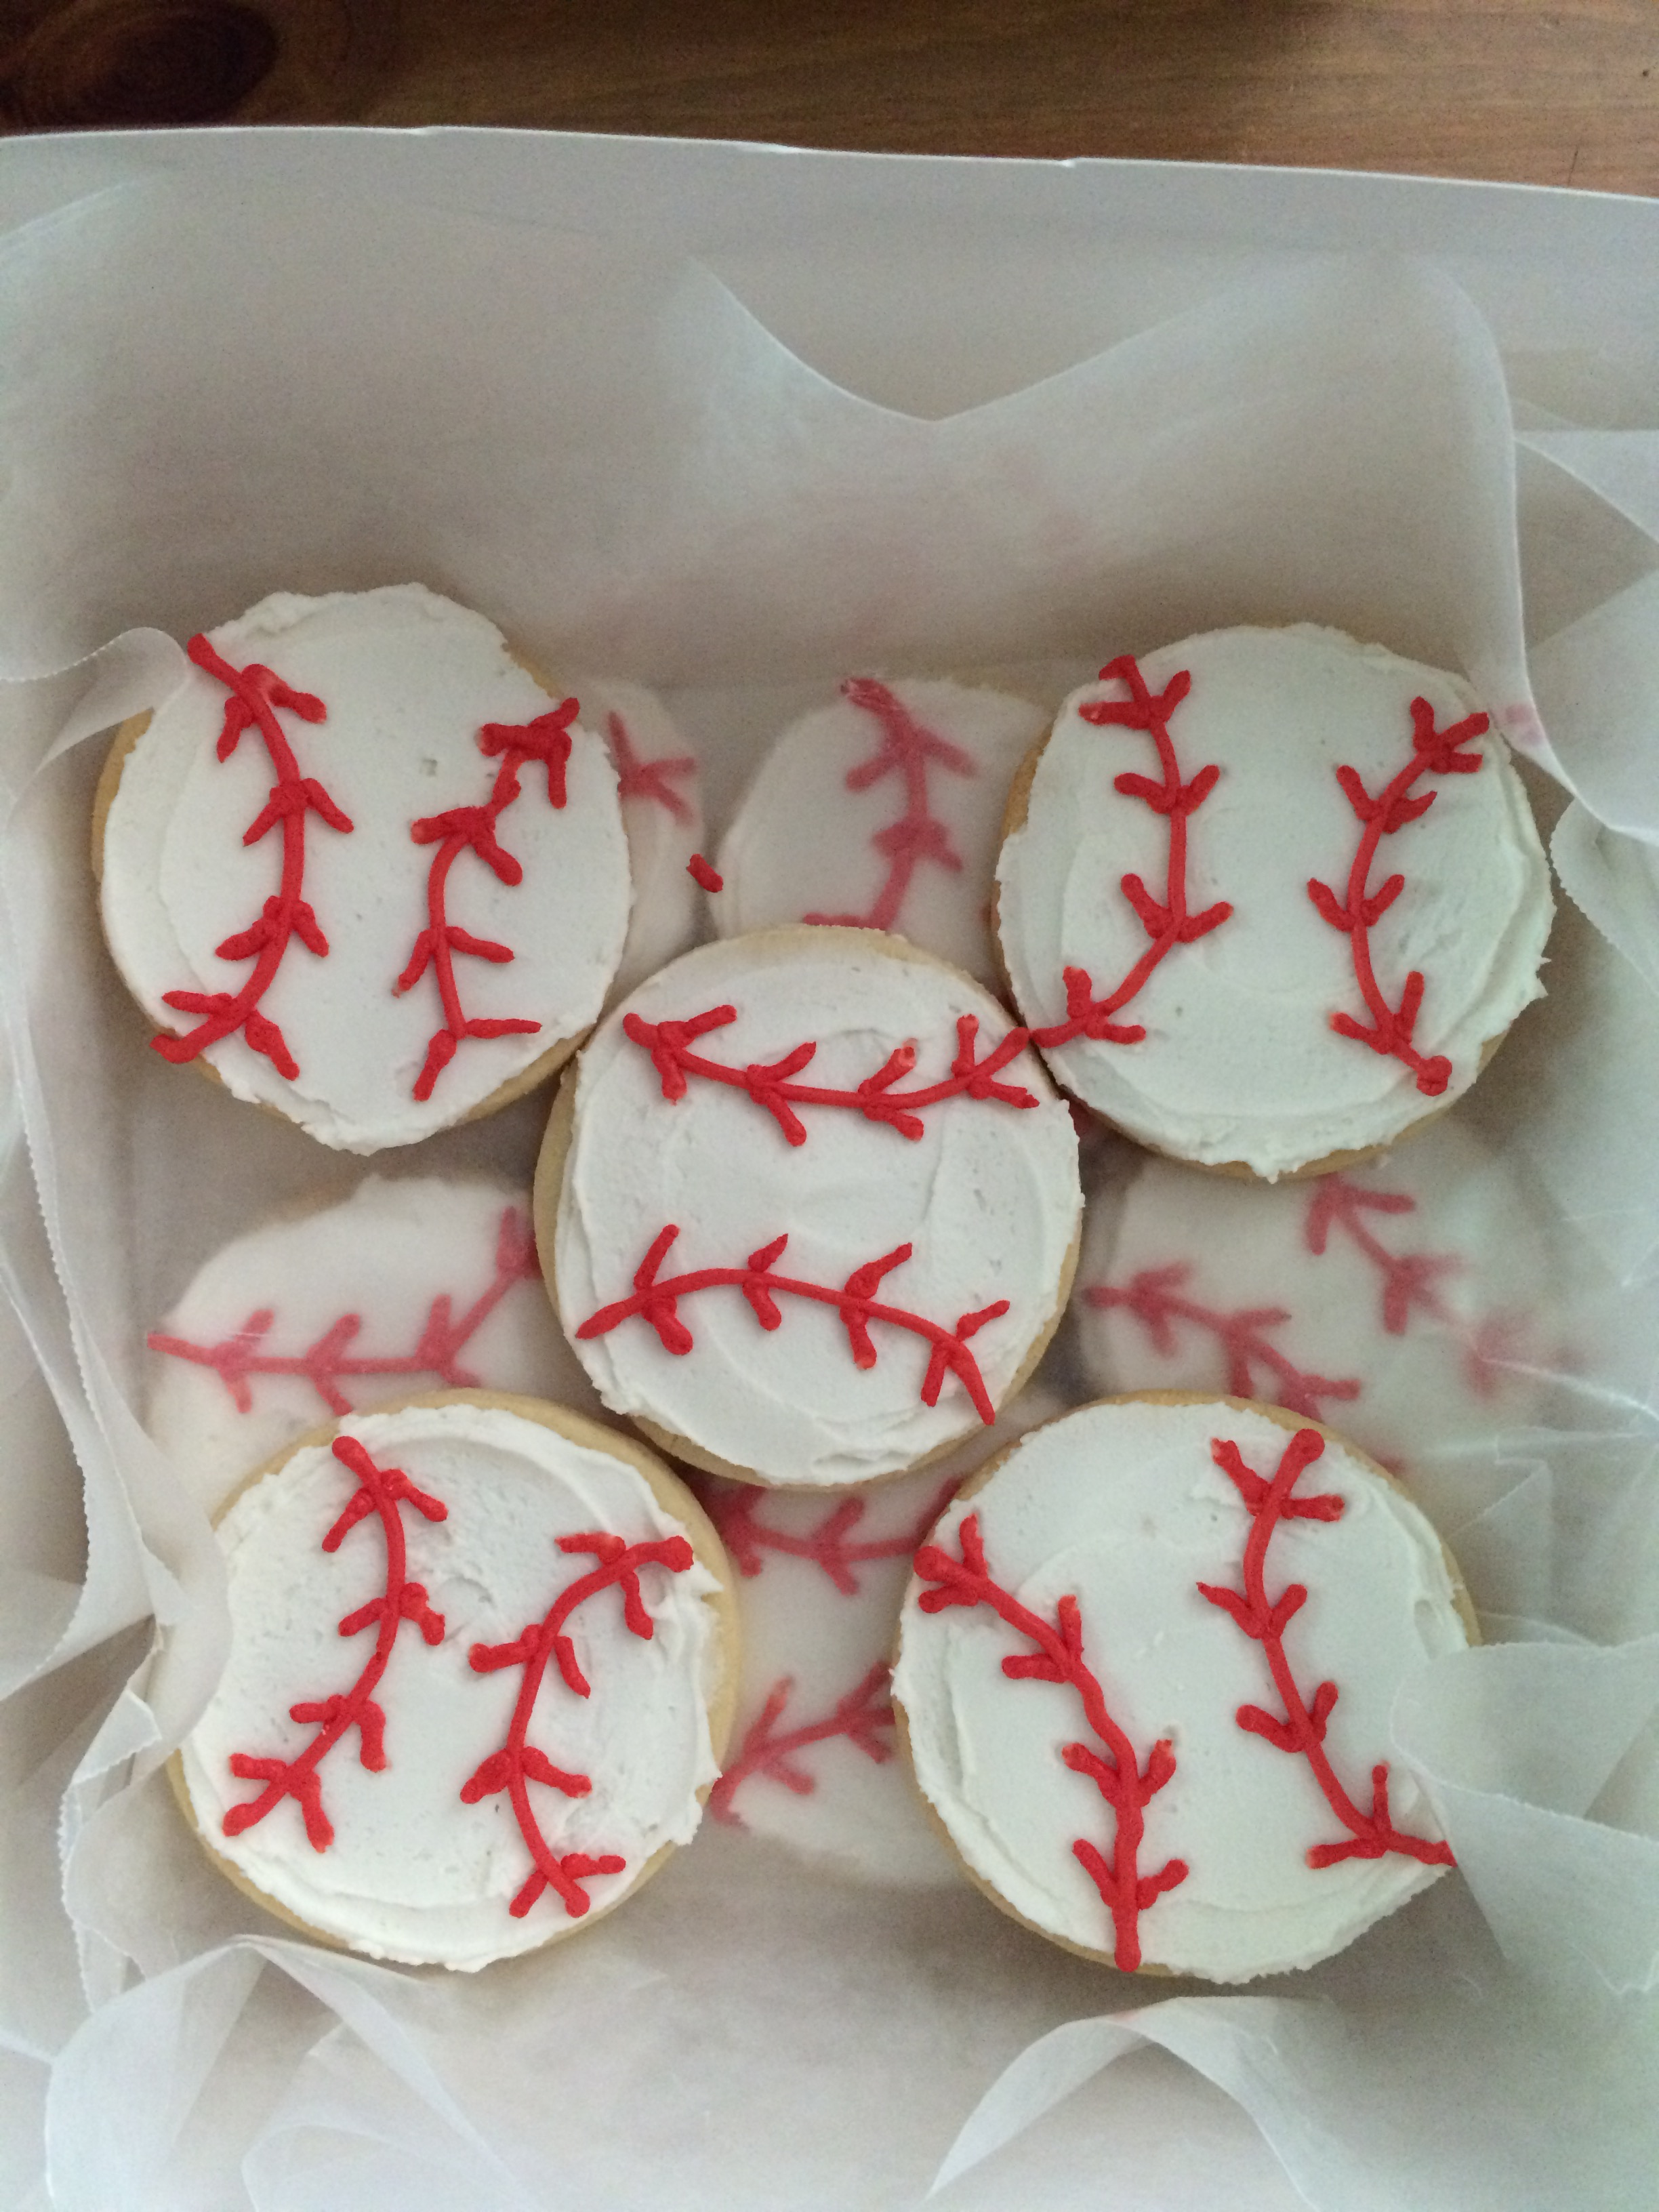
Throughout my childhood, my mom used both Betty Crocker and Duncan Hines (who was a real person, by the way) mixes to save time in baking. She gave me some Betty Crocker sugar cookie mix recently – probably purchased with holiday baking in mind – and I decided to use it as the base for some creative Easter sugar cookies. I don’t often bake with mixes, but they’re a great way to save time. These treats will be on their way to my darling goddaughter Maureen and her family in just a few days.

Ingredients

  • 1 17.5-ounce package Betty Crocker Sugar Cookie mix
  • 8 tablespoons butter, cut into cubes and softened
  • 1 egg
  • 1/2 teaspoon vanilla extract
  • 1/2 teaspoon almond extract
  • Pink and green colored sugar

Preparation

Preheat oven to 375 degrees. Line several baking sheets with foil or parchment. Place colored sugars into separate bowls.

Place cookie mix and softened butter into a stand mixer fitted with the paddle attachment. Beat on low speed for about 2 minutes, then add egg, increasing the speed to medium, and beat for another minute.

Add vanilla extract and almond extract; return to medium speed and beat until a soft dough forms.

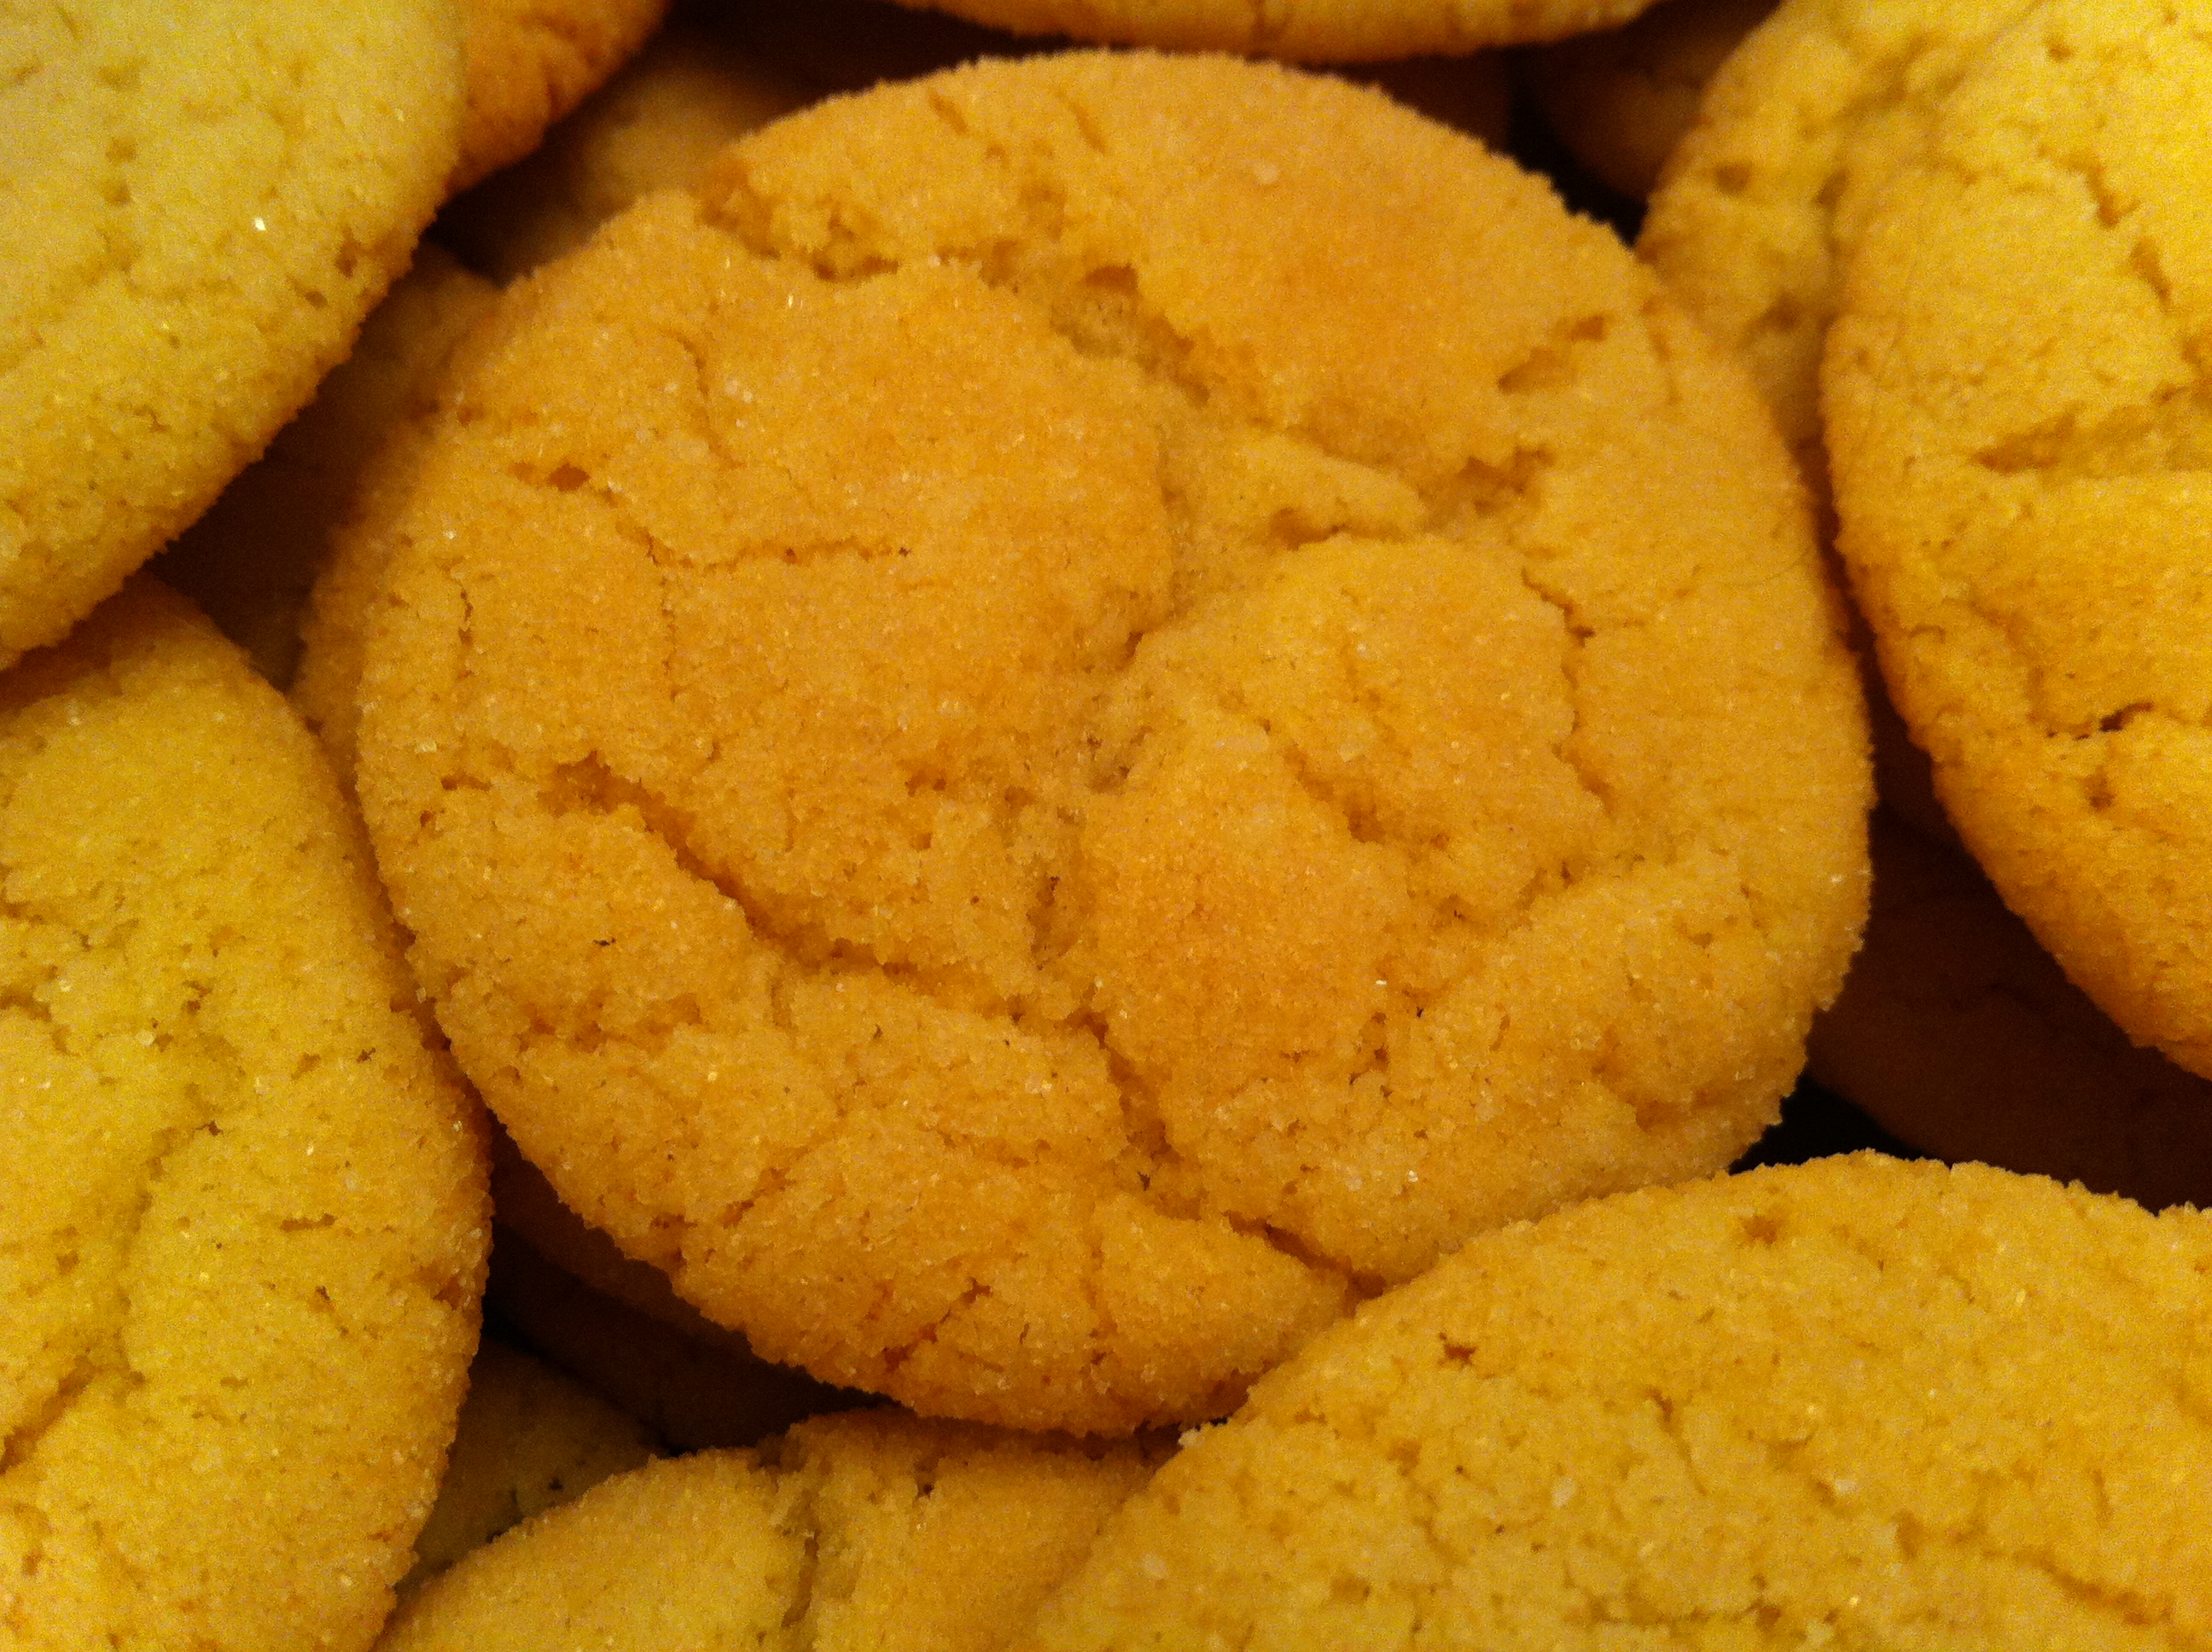
Using a 1-inch cookie scoop, scoop out dough and roll into balls, then roll in colored sugar. Place about 2 inches apart on prepared baking sheets.

Bake for 8-10 minutes, until edges are just golden. Remove from oven and allow to cool on cookie sheets for a few minutes; remove to a wire rack to cool completely.

Makes 30 cookies.

Baseball Sugar Cut-Outs

baseballsOnce upon a time, I loathed making sugar cookies. I had a sketchy recipe that never seemed to come together and make for easy rolling, frosting them could take a while depending on the shape, and in the end, they just never seemed to be worth the trouble.

One autumn in DC, I discovered a new recipe, then added a few extra teaspoons of vanilla. From that dough, I created a platter of fall-themed treats – turkeys (complete with sprinkled-on plumage), acorns, pumpkins, and colorful leaves – and took it to my Aunt Liz’s house for Thanksgiving dinner. It was a huge hit, to say the least.

Since then, I’ve used that same recipe to make treats for many seasons and reasons, including a fun batch of steamed crab cut-outs that my cousin-in-law Robb absolutely loved. Now, sugar cut-outs are among my favorite cookies to make.

These baseballs are for my nephew Roman, who turns 8 this week. Happy birthday, kiddo.

You will need:

Preparation

Bake cookies and allow them to cool completely before frosting.

Prepare frosting, reserving about 1/4 for red stitch details. I use flavorless red gel food coloring and added about 1/4 teaspoon to achieve a dark red.

Frost cookies with the white frosting, smoothing out each as much as you can.

Fit a pastry bag with a small plain tip. Pipe curved lines first, then add stitch details. Allow frosting to set before storing; store cookies between layers of waxed paper in an airtight container for up to three days.


Italian Sugar Cookies

IMG_4140Pennsylvania Macaroni Company is my favorite shop in Pittsburgh’s Strip District. If you’ve never been, you simply must go and marvel at the bins of almonds, the shelves of pasta and olive oil and sauces, the room with the cheese counter that rivals any I’ve ever seen.

In the room with the bread and fresh pasta, there are boxes of mixed bakery-style cookies, and in those boxes are cookies like these. Tender, vanilla-scented, covered in just the right amount of icing. The kind of cookies your grandmother made, and you never forgot.

I enjoy recipes with lots of ingredients and advanced techniques for the fun challenge they present, but there is also great comfort in baking something simple. These cookies are easy to prepare and could take on any color icing, making them ideal for holidays and celebrations.

Ingredients

For the cookies

  • 3 cups flour
  • 1/8 teaspoon salt
  • 3 teaspoons baking powder
  • 3/4 cup shortening
  • 3/4 cup sugar
  • 3 eggs
  • 1 1/2 teaspoons vanilla extract

For the icing

  • 1/4 cup milk
  • 2 tablespoons butter, melted
  • 1/2 teaspoon vanilla extract
  • 2 1/2 cups powdered sugar
  • food coloring, if desired

Preparation

Preheat oven to 400 degrees. Line several baking sheets with parchment paper.

In a medium bowl, combine flour, baking powder, and salt; set aside.

In a mixing bowl, cream shortening and sugar until light and fluffy.

Beat in eggs and vanilla.

Add flour mixture in three batches, mixing between each. Dough will pull away from the sides of the bowl when it is the right consistency.

Using a 2-inch cookie scoop, scoop dough and roll into balls. (You can use a smaller scoop if you like; next time, I’ll probably use a 1-inch scoop.) Place dough on parchment-lined baking sheets about 1 inch apart.

Bake for 8-10 minutes, until lightly browned. Remove to wire racks to cool before dipping in icing.

To make the icing, in a small bowl, combine milk, butter, vanilla, and powdered sugar until smooth. Tint with food coloring if desired.

Dip the tops of the cookies in icing; place on wire racks and allow excess to drip off. Let stand until set, then store in an airtight container at room temperature.

Heart Sugar Cut-Outs

heartEvery baker needs a simple, tasty sugar cut-out in her arsenal. I think of sugar cookies as a perennial treat, good for any occasion or no occasion at all. Cookie cutters are available in so many shapes and sizes, and you can make them as simple or as elaborate as you like. I find that keeping a range of food colorings, both the gel and liquid kind, is very helpful for sugar cut-out decoration.

The recipe below includes simple ingredients that you probably have in your fridge and pantry. It’s a modification of my earlier sugar cut-out post, because when I baked these yesterday I used a lot more vanilla than my original post included and I liked both the texture and the flavor of this dough better.

For the frosting, you can go as simple or as fancy as you wish. I tinted mine pink and red, to keep it simple, but you can add sprinkles or colored sugar or piped elements – whatever your heart desires.

Sugar Cookies

Ingredients

  • 2 cups flour
  • 2 teaspoons baking powder
  • 1/2 teaspoon salt
  • 8 tablespoons butter, softened
  • 1 cup sugar
  • 1 egg
  • 4 teaspoons vanilla extract
  • 1 recipe Zella’s icing, plus red gel and red liquid food coloring

Preparation

In a small bowl, combine flour, baking powder, and salt; set aside.

In a mixing bowl fitted with the paddle attachment, beat butter on medium speed for about 1 minute. Add sugar and beat until light and fluffy.

Add egg and 2 teaspoons vanilla, then beat until well-combined.

Add flour mixture in two batches, beating well between each addition.

Add remaining vanilla and beat until dough comes together; it may be a bit crumbly, but that’s okay.

Turn out onto a lightly floured counter top and knead very gently to bring the dough together. Divide in half; shape into balls, then flatten into discs. Refrigerate for about 20-30 minutes.

Preheat oven to 375 degrees. Line several baking sheets with foil.

Remove dough from fridge and allow to sit at room temperature for a few minutes.

On a lightly floured counter top, roll dough to about 1/8 inch thickness. Cut into heart shapes and place on prepared baking sheets about 2 inches apart.

Bake for 9 minutes, until edges are just golden. Remove from oven and cool on baking sheets for a few minutes, then remove to a wire rack to cool completely.

When cookies are completely cool, prepare icing.

Divide in half; use a few drops of red liquid food coloring for pink icing and red gel for red icing.

Frost cookies as desired; you can add sprinkles, chocolate chips, or piped elements for decoration if you like, but I just left mine plain.

Allow frosting to set before storing cookies; store between sheets of waxed paper in an airtight container.


Chocolate Bats

chocolate batsIt’s Halloween Eve, also known as Devil’s Night. As a big fan of the city of Detroit, I was disheartened to learn that this term is primarily associated with major vandalism and arson in the Motor City. I’m hoping that Detroit is peaceful tonight, for many reasons.

Anyway…it’s also National Bat Week, and I dig bats. I’ve been wanting to make bat-themed sugar cookies for a while, and I found this very easy recipe on Betty Crocker’s website. As usual, Betty knows her stuff.

This dough is incredibly easy to work with, not too soft and not too firm, just the right texture for rolling and cutting. I usually don’t enjoy making sugar cookies because they’re quite labor-intensive, but this recipe was really simple. I used two different bat cutters and intended to pipe on some icing eyes and fangs, but once these treats were done I decided I liked them better just as they were. Happy Halloween!

Ingredients

  • 1 1/2 cups flour
  • 3/4 cup cocoa powder
  • 1/8 teaspoon salt
  • 12 tablespoons butter, softened
  • 1 1/3 cup sugar
  • 1 egg
  • 1 teaspoon vanilla extract

Preparation 

In a medium bowl, combine flour, cocoa powder, and salt; set aside.

In a mixing bowl, cream together butter and sugar until fluffy. Add egg and vanilla extract, beating until well-combined.

Slowly add flour mixture, scraping the sides of the bowl often and beating until a very well-combined, soft dough forms.

Gently knead the dough a few times to make sure it comes together; roll dough into a ball and flatten into a disc. Wrap in plastic and chill for 1 hour.

Preheat oven to 375 degrees; line three baking sheets with parchment or foil.

On a lightly floured surface, roll dough to 1/8 inch thickness. Cut with a bat-shaped cookie cutter; if using different shapes, be sure to bake the same shape on one cookie sheet. Baking different-sized or differently-shaped cookies on the same sheet can lead to uneven results; some of your cookies might be underdone while others will be overdone.

Bake for 8-10 minutes, until edges are set. Remove from oven and cool on cookie sheets for 1-2 minutes, then remove to wire racks to cool completely.


Old-Fashioned Sugar Cookies

old-fashioned sugarsWhy do we leave out cookies and milk for Santa? Well, if you’re flying all around the world leaving gifts for all the good girls and boys, you’re probably in need of a bit of refreshment. Maybe one year, someone left Santa a note asking what he preferred, and he responded with a request for cookies and milk.

I bet Santa loves to visit the homes of bakers, where all manner of treats await. I also wonder what his favorite cookie is; there are so many to choose from, both store-bought and homemade. Does he like Oreos? Or Nutter Butters? Perhaps he prefers shortbread, or oatmeal raisin?

I like to think that Santa is an excellent judge of good cookies, and I bet he’d like this classic, old-fashioned sugar cookie. It is at once crunchy and soft, the kind of cookie that you’ll find in any bakery, the kind of cookie that needs no frosting to enhance its flavor…the kind of cookie that is perfect to leave on a plate next to your Christmas tree, in gratitude to Saint Nick and his kindness.

Ingredients

  • 1 cup butter, softenend
  • 1 1/2 cups sugar
  • 2 eggs
  • 1 teaspoon cream of tartar
  • 1 teaspoon baking soda
  • 1 teaspoon vanilla
  • 1/4 teaspoon salt
  • 2 3/4 cups flour
  • 1/2 cup sugar, for rolling

Preparation

In a mixing bowl, cream together butter and sugar until very well-combined.

Add eggs, cream of tartar, baking soda, vanilla, and salt; beat on medium speed until well-combined, scraping the sides of the bowl as necessary.

Gradually beat in flour, scraping the sides of the bowl to ensure that all flour is well-incorporated. Cover dough with plastic wrap and chill for about 1 1/2 hours, until dough is firm and easy to handle.

Preheat oven to 375 degrees. Line several baking sheets with parchment or foil.

Place 1/2 cup sugar in a small bowl.

Using a 1-inch cookie scoop, scoop out dough and roll into balls. Roll balls in sugar and place about 2 inches apart on prepared baking sheets.

Bake for 9-11 minutes, until tops are cracked and cookies are just golden. Cool on cookie sheets for about 5 minutes before placing on wire racks to cool completely.

Sugar Cut-Out Tips


For a long time, sugar cookies were my nemesis. I loved how they looked, but didn’t really love to make them, because I always had trouble getting the right consistency in my dough. The following tips may help you reach sugar cookie nirvana:

  • Softened/room temperature butter should be the texture of ice cream, not peanut butter. It should hold some of its shape, but not be too soft.
  • Flour incorporation takes a few minutes. The dough will go through a crumb-like stage and then change to a more cohesive dough that pulls away from the side of the mixer. When it pulls away, it’s done.
  • If your dough is too crumbly, even after a few minutes of mixing, go ahead and add another teaspoon of vanilla extract or water. Take care not to add too much water; your dough needs to be stiff enough to roll out, so if you end up adding more liquid (or your butter was really, really soft) add another tablespoon of flour to help stabilize the dough.
  • Place your dough in large  Ziploc bags or between sheets of waxed paper and roll it slightly before chilling.
  • Chill your dough for about 30 minutes; I’ve found that this gives enough time to make rolling easier, but isn’t so long that your dough is hard.
  • Remove your dough from the fridge and let it sit out for a few minutes before you roll it.
  • If you have trouble with breakage when transferring your cut cookies to the baking sheet, keep the cookie cutter in place once you’ve cut your shape, then slide an offset spatula beneath the cookie and move the whole thing, cutter and all, to the baking sheet and then remove the cutter.
  • Chill your cut-outs for 5-10 minutes before baking.
  • Different shapes = different baking times, so bake one shape at a time. For example, if you’re baking moons and stars, bake all of the moons on one sheet and all of the stars on another to ensure even baking.

Turkey Sugar Cut-Outs


Several Thanksgivings ago, in our tiny kitchen in DC, I made sugar cut-outs in the shape of turkeys, pumpkins, maple leaves, and acorns. Rolling out sugar cookie dough in a galley-style kitchen is next to impossible, but the little dining table we had in our living room worked very well. Decorating sugar cookies is a fun endeavor, and because I had colored sugar that year, I decided to embellish the turkeys so that both toms and hens were on the platter.

When the cookies arrived at Aunt Liz’s house, they were a big hit. My cousin-in-law, Robb, first called the turkeys “anatomically correct,” but we later agreed that “gender specific” was a more appropriate term. Either way, I now make these turkeys every year.

Ingredients

  • 1 recipe sugar cut-outs
  • 1 recipe Zella’s icing
  • Brown gel food coloring
  • Miniature chocolate chips, for turkey eyes
  • Colored sugar sprinkles, for tom feathers

Preparation

Bake and cool sugar cut-outs.

Prepare icing; add enough brown food coloring to reach your desired turkey color.

Frost turkeys with a small offset spatula or butter knife, using a swirling motion to make feather patterns.

Press a miniature chocolate chip onto each turkey for the eye.

For the toms: starting on the outside of the feather end, use a teaspoon to sprinkle on a generous amount of colored sugar; repeat with two additional colors. Gently press the sugar into the icing with your finger, then lift the cookie and shake off any excess.

Allow icing to set before storing; store between sheets of parchment or waxed paper.

Great Pumpkin Sugar Cut-Outs


One of my favorite things about Halloween is “It’s the Great Pumpkin, Charlie Brown!” I admire Linus for his dedication, waiting all night in the pumpkin patch, even if all that came was a beagle.

The Great Pumpkin inspired me to bake these rather large sugar cut-outs, and that’s one of the things that I love about sugar cookies–the endless creative possibilities. Pick your cutter, whip up your icing, and you’re making edible art.

To make these cookies, you will need:

  • 1 recipe sugar cut-outs
  • 1 recipe Zella’s icing
  • Yellow, red, and green liquid food coloring (or orange and green gel food coloring)
  • 1 large pumpkin cookie cutter (mine is 3 3/4 inches)

Preparation

Bake and cool sugar cut-outs.

Prepare icing; reserve a small portion of icing to tint green for pumpkin stems.

Combine yellow and red food coloring until you reach the desired orange tint.

Frost with orange first, using a small offset spatula or butter knife and a back-and-forth vertical swirling motion to create the pumpkin ridges.

Frost stems, using a small dab of green frosting.

Allow frosting to harden before storing; store at room temperature in an airtight container between layers of waxed paper for up to four days.

Steamed Crab Sugar Cookie Cut-Outs with Vanilla Icing


The Great State of Maryland has played a huge role in my life.  My mom was born and raised there, and I chose Frostburg State University for college, married a Maryland boy, and lived there for a while before moving to DC.

Marylanders are proud of the Chesapeake Bay, its history, and its industry.  Mike can tell you, in great detail, about the pollution that led to a serious reduction in the crab and oyster populations in the 1980s, precipitating the “Save the Bay” initiative. Fortunately, Marylanders are environmentally-minded, and the bay is now a healthy source of tasty seafood, the most famous of which is the blue crab.

Crab feasts are social events, involving iced tea, beer, Old Bay, newspaper-covered picnic tables, and epic storytelling.   They last for hours and hours.  I had never eaten a crab until I met Mike, and his dad taught me how to whack the shell open with a mallet and extract the meat with a knife.  I admit that I had the patience for one crab-whacking only; to this day, I prefer my crab in cake form.

These crab cookies are dedicated to all of my favorite Marylanders.

You will need:

  • A crab-shaped cookie cutter
  • One double batch of Sugar Cut-Outs
  • One batch vanilla icing (see below)
  • Red and brown gel paste food coloring

Vanilla Icing

Ingredients

  • 6 tablespoons shortening
  • 2 egg whites
  • Pinch of salt
  • 4 cups powdered sugar
  • 2 teaspoons vanilla extract
  • 1-2 teaspoons water

Preparation

Combine shortening, egg whites, salt, and 1 cup powdered sugar in a mixing bowl.  Beat well on medium speed for about one minute.

Add one cup of powdered sugar at a time, beating well on medium, then high speed for about one minute after each.

Add vanilla extract and beat well; if you want a thinner consistency, add one to two teaspoons of water and beat very well.

To create cookies:

Reserve a small portion of the icing to tint brown for eyes; tint remaining icing red.

Frost crab bodies red, then pipe on eyes.

Let icing harden for a few hours before storing; store between sheets of waxed paper in an airtight container.