 Starbucks has these adorable octopus cut-out sugar cookies right now. I posted a picture of one on Facebook a few weeks back, and a friend of mine commented that I should make them. And so, I did.
I have a set of beach/sea life cookie cutters, and they just happen to include an octopus. The next time I make these, I may pipe their little eyes further down on their heads so they look more like real octopuses (much to my surprise, the plural of octopus is not octopi), but I think these turned out really well. I used a combination of piping/hand frosting for these, as it’s much easier to pipe the frosting onto the tentacles and up onto the body than it is to frost the whole cookie by hand.
Ingredients
For the cookies
- 4 cups flour
- 4 teaspoons baking powder
- 1 teaspoon salt
- 1 cup unsalted butter, at room temperature
- 2 cups sugar
- 2 eggs
- 2 teaspoons vanilla extract
For the frosting
- 6 tablespoons vegetable shortening
- dash of salt
- 2 egg whites
- 4 cups powdered sugar
- 1 1/2 teaspoons vanilla extract
- 1 1/2 teaspoons almond extract
- Blue food coloring
- Green food coloring
- Black food coloring
Preparation
Stir together flour, baking powder, and salt in a medium bowl; set aside.
Cream together butter and sugar until fluffy; add eggs and beat well.
Add vanilla and about half the flour mixture, beating until combined; beat in remaining flour.
Note: if your dough is too crumbly, you can add just a bit of water or another ¼ teaspoon of vanilla.
Divide dough in three portions and knead each just slightly until dough sticks together. Form each portion into a disc and wrap in plastic.
Refrigerate until just barely firm, about 20-30 minutes.
Preheat oven to 375 degrees. Line several baking sheets with foil or parchment.
Roll dough to 1/8 inch thickness and cut with an octopus cookie cutter, placing cookies a few inches apart on your baking sheets; I fit 6 cookies on each sheet.
Bake for 8-10 minutes, until just golden.
Cool on a wire rack before frosting.
To make the frosting:
Combine shortening, egg whites, salt, and one cup powdered sugar in a mixing bowl. Beat on low speed until combined, then increase speed to medium, then high, and beat for one minute.
Add additional cup powdered sugar and beat on low speed until combined, then on high speed for one minute.
Add vanilla and almond extracts. Beat on high speed for one or two minutes, until very well combined.
Check the frosting’s texture; it should be like very, very soft peanut butter and very easily spreadable. If necessary, add one to two teaspoons of water to thin the frosting and beat well to combine.
Reserve a small portion (about 1/4 cup) of white frosting for eyes and suction cups; set aside.
Reserve a very small portion (just a few tablespoons) of frosting for pupils; tint black and set aside.
Tint remaining frosting using blue and green food coloring for a blue/green shade. Fit a large piping bag with a large plain tip and pipe frosting onto each cookie, filling in the tentacles first and piping up onto the rest of the body; use a small offset spatula to spread the frosting.
Fit a small piping bag with a small plain tip and fill with white frosting. Pipe on eyes, then pipe suction cups on tentacles.
Fit a small piping bag with a small plain tip and fill with black frosting. Pipe on pupils.
Allow frosting to set before storing; store cookies in an airtight container between sheets of waxed paper at room temperature for up to 3 days. The eyes and suction cups may flatten a bit, but that’s okay.
Makes about 36.
 It’s finally spring – though in Pittsburgh, spring can mean 70 degrees or 30 degrees from day to day. Despite this, birds are chirping and trees and flowers are blooming, so even the colder days are more bearable. And the days are getting longer, so I’ll take it.
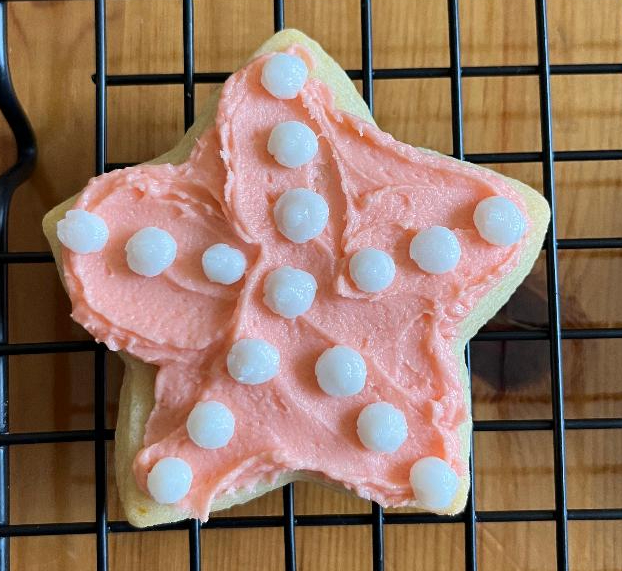 My last bit of beach-themed baking included these creamsicle starfish cut-out cookies, using orange zest and an awesome ingredient called fiori di sicilia. It’s a potent citrus-vanilla type of extract, which I always buy from
  For some, Valentine’s Day brings the opportunity to go all out with romantic gestures and elaborate plans, while others grumble that it’s a made-up holiday meant to sell cards, candy, and flowers. For me, Valentine’s Day usually means baking something heart-themed, and this time it was a simple batch of sugar cut-out cookies coated in sparkling red sugar for my favorite Maryland girls, Maureen and Margaret.
 Aquarium-inspired baking continues with these under the sea treats. Mike’s coworkers actually asked if there would be treats this week, and indeed, there will. A variety of whales, octopuses, crabs, sand dollars, starfish, and sea life motifs that feature kelp, anemones, and jellyfish will join Mike in the office tomorrow.


