For a woman who doesn’t drink coffee, I love coffee-flavored desserts. I also love hazelnut and chocolate, which fortunately I’ve worked back into my diet without migraine consequences. Coffee, chocolate, and hazelnut combine incredibly well, so I decided to bake them into these cupcakes.
I’m actually quite impressed with how these look; they remind me of something you’d see in a real bakery. The dominant flavor in these treats is coffee, with very subtle chocolate and hazelnut. Next time I’ll ramp up the other flavors by adding cocoa powder to my buttercream and maybe using hazelnut liqueur instead of the Nutella. They still taste delicious, though, and are bound for Mike’s office tomorrow. I hope his coworkers enjoy them.
Ingredients
For the cupcakes
- 1/2 cup coffee, at room temperature
- 1 1/2 teaspoons espresso powder
- 1/2 cup milk*
- 1 teaspoon vanilla extract
- 1 1/3 cups flour
- 1/3 cup cocoa powder
- 1 teaspoon baking powder
- 1/2 teaspoon baking soda
- 1/4 teaspoon salt
- 8 tablespoons unsalted butter, at room temperature
- 1/2 cup granulated sugar
- 1/2 cup light brown sugar
- 1 egg, at room temperature
*The original recipe recommends whole milk, but I almost never have whole milk in my fridge. I usually have skim milk and heavy cream though, and used in a 7/8 skim, 1/8 heavy cream ratio, you’ve basically got whole milk.
For the frosting
- 12 tablespoons butter, at room temperature
- 1/4 cup plus 2 tablespoons Nutella spread
- 3 cups powdered sugar
- 2 1/2 teaspoons espresso powder
- 2 1/2 teaspoons heavy cream
- About 1/3 cup chopped toasted hazelnuts
- 19 whole toasted hazelnuts
Preparation
Preheat oven to 350 degrees. Line two 12-cup muffin tins with paper liners; my recipe yielded 19 cupcakes.
In a medium-sized glass measuring cup, whisk together coffee and espresso powder until the powder is completely dissolved. Add milk and vanilla and stir to combine, then set aside.
In a medium bowl, stir together flour, cocoa powder, baking powder, baking soda, and salt; set aside.
In a mixer fitted with the paddle attachment, cream the butter and sugars until light and fluffy, about 3 minutes. Add egg and mix to combine, scraping down your bowl at least once. Add flour mixture and coffee/milk mixture in alternate batches, starting and ending with the flour and mixing just to combine between each. Stir with a spatula to ensure that all the flour mixture is incorporated.
Using a two-inch cookie scoop, drop scoops of batter into the cupcake wells, filling each about two-thirds full. Bake for 17-20 minutes, until a cake tester inserted in the center comes out clean. Remove from oven, then remove cupcakes from tin and cool completely on a wire rack.
While cupcakes are cooling, toast your hazelnuts; place on a baking sheet with rimmed sides and toast at 350 degrees for 5-10 minutes, until they smell nutty. Remove from oven and place in a kitchen towel, then carefully roll them around to remove their skins. Place skinned hazelnuts on a platter or plate to cool completely before chopping.
To make the frosting, combine espresso powder, vanilla extract, and heavy cream in a small bowl and stir to completely dissolve the espresso powder. Beat butter and Nutella on medium speed for about 2 minutes, then add powdered sugar all at once and beat until the sugar is fully incorporated. Add espresso mixture and beat 2-3 minutes until completely combined; you’ll want to scrape your bowl a few times in the process.
Fit a large piping bag with a Wilton 1A tip and pipe blobs of frosting on each cupcake. Gently press half of the frosting blob into the chopped hazelnuts, then press a whole hazelnut in the center. Store in an airtight container at room temperature for 2-3 days.
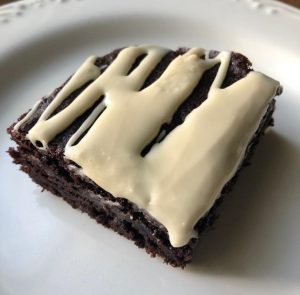
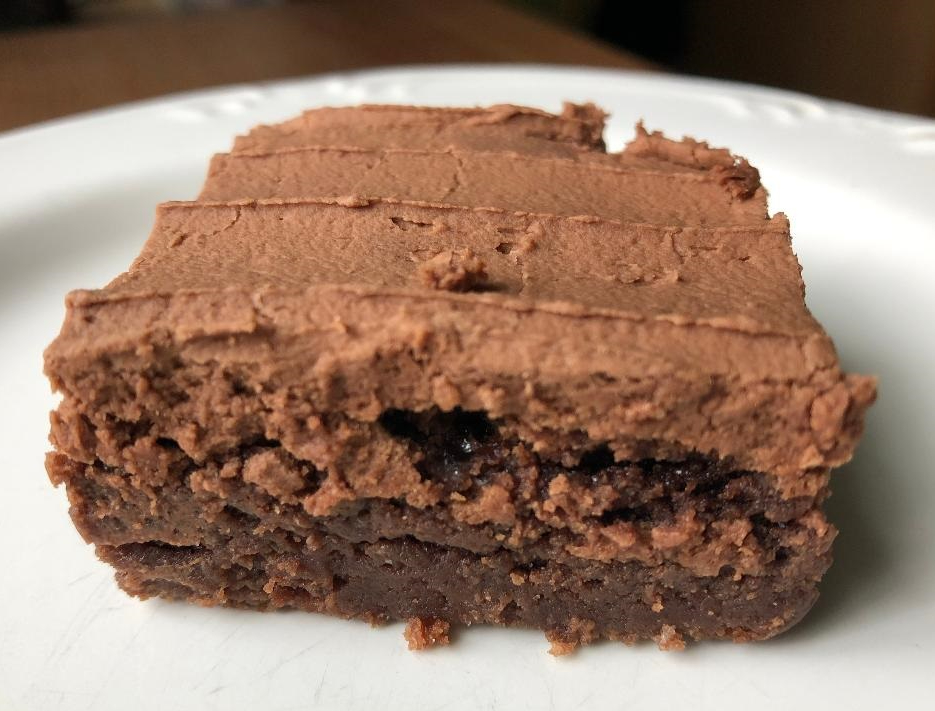 Brownies are probably one of my favorite things to bake, because they’re so versatile. You can make them plain, add different flavors, put frosting on them…whatever you like. In this case, I chose to mix in some orange zest and a few drops of orange extract, then add a chocolate buttercream frosting. The end result is probably one of the best treats I’ve ever made. Or at least, it’s among my favorites.
 A few years ago I saw a beautiful speckled egg cake, probably on Pinterest or in an issue of Real Simple magazine. Since then, I’ve intended to make something like it each spring, and I finally made a cupcake version this week.
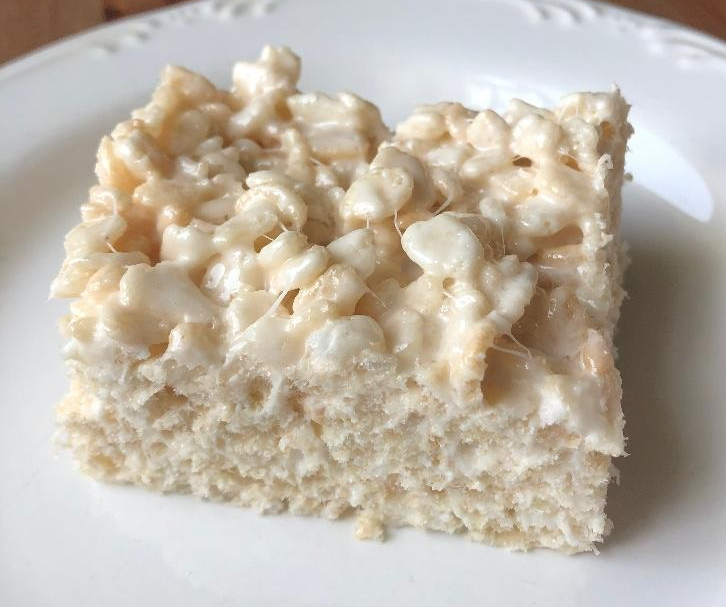 We all remember that person from our childhood who made Rice Krispies Treats without enough marshmallows. In my childhood, that person was my beloved Grandma Zella. Despite being a stellar baker, her Treats were always far too dry. Like scratch-the-roof-of-your-mouth, practically-drawing-blood dry. And nobody wants that.
 Maureen and Margo, our goddaughters, love unicorns. I don’t remember unicorns being such a big deal when I was a girl, but then again, I was a girl in the 1980s. Back then we had icons like the Care Bears, Strawberry Shortcake, and Rainbow Brite. Now that I think about it, Rainbow Brite seems like the kind of gal who would have hung out with unicorns. Maybe she did? I honestly can’t remember.