Classic Coffee Cake

classic coffee cakeRemember when people actually visited one another, instead of just interacting online? When they put on nice clothes and went to the home of a friend, relative, or neighbor with the sole purpose of simply spending time with them, catching up, maybe playing a card game or just enjoying a cup of coffee together? This practice may be long gone, but I surely hope it makes a comeback someday.

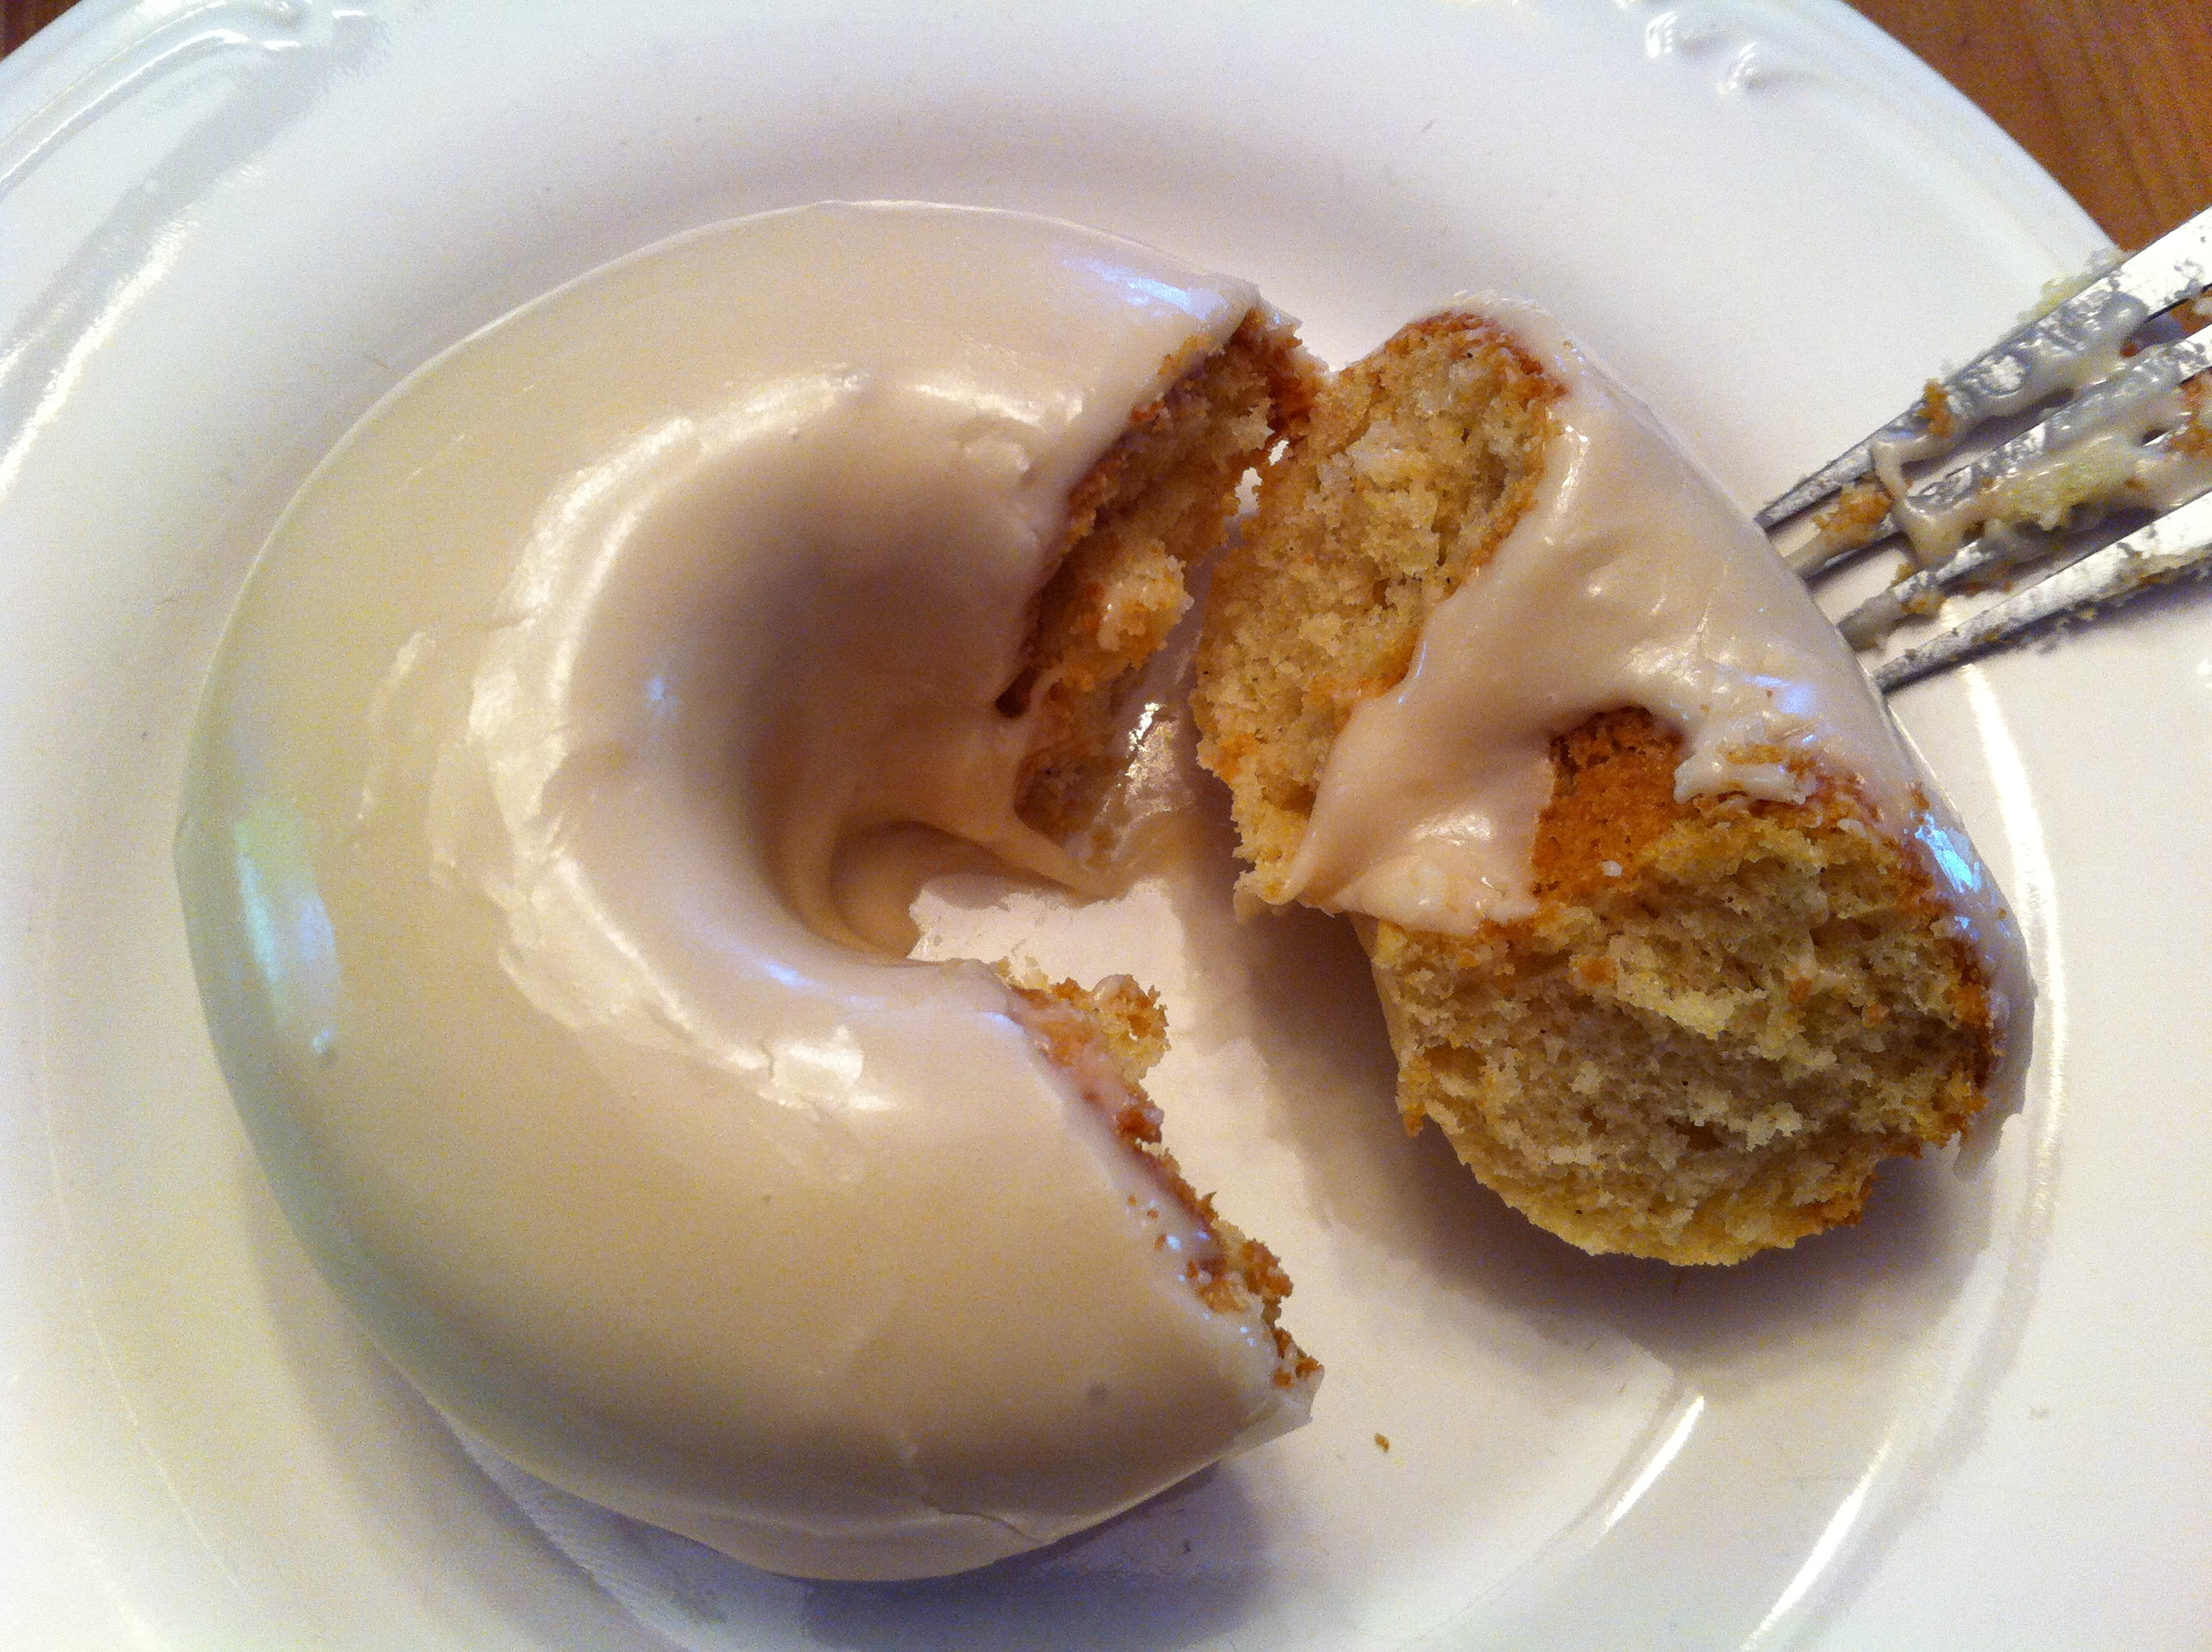
Whenever I think of such visits, I think of coffee cake, the go-to treat that a savvy hostess would have either already have on hand in case someone stopped by or could whip up at a moment’s notice. I imagine that my grandmothers would have had recipes for coffee cake, though I honestly can’t recall either of them actually baking one.

This coffee cake is a slight adaptation from the Better Homes & Gardens Cookbook buttermilk coffee cake recipe; I adjusted the spices and added some drizzle icing for a sincerely delicious treat. This coffee cake went into the office with me earlier in the week and was devoured within about 24 hours. It has a wonderful texture, just crumbly enough but not too crumbly; you could use walnuts instead of pecans if you like, but being a pecan fan, they’re my preferred baked-good nut and are a great match for the cinnamon and nutmeg in this cake.

Ingredients

  • 2 1/2 cups flour
  • 1 1/2 cups packed light brown sugar
  • 1/2 teaspoon salt
  • 10 2/3 tablespoons butter, cold, cut into small cubes
  • 2 teaspoons baking powder
  • 1/2 teaspoon baking soda
  • 3/4 teaspoon cinnamon
  • 3/4 teaspoon nutmeg
  • 1 1/3 cups buttermilk (or sour milk, see note below)
  • 2 beaten eggs
  • 1/2 cup chopped pecans
  • 1 cup powdered sugar
  • 1 teaspoon vanilla extract
  • 1/2 – 1 tablespoons water

Note: if you don’t have buttermilk, you can make sour milk and substitute it for the same amount of buttermilk that you need. For each cup of sour milk needed, place 1 tablespoon of lemon juice or white vinegar in a glass measuring cup and add enough milk to make 1 cup total of liquid. Stir together and then let stand for 5 minutes before using.

Preparation

Preheat oven to 350 degrees. Grease bottom and 1/2 inch up the sides of a 13 x 9 pan.

In a large mixing bowl, combine flour, brown sugar, and salt; add butter and rub in with your hands, until the mixture resembles coarse crumbs. Reserve 1/2 cup of crumb mixture and combine it with chopped pecans for topping.

Stir in baking powder, baking soda, cinnamon, and nutmeg.

In a large glass measuring cup, combine buttermilk and beaten eggs, then add to the dry mixture all at once and stir until well-combined.

Pour batter into prepared pan and sprinkle with crumb/pecan mixture.

Bake for 35-40 minutes, until a cake tester comes out clean. Cool completely before drizzling, or simply serve warm, right out of the oven, without drizzle.

To make drizzle, place powdered sugar and vanilla in a small bowl and stir together. Add water, a small amount at a time, to make a drizzly consistency; you may need to add more water, then a bit more powdered sugar, to get the consistency you’d like.

Drizzle over cooled cake and allow to set for about 15 minutes before serving.

Sugar & Spice Scones

sugar & spice sconesMy pantry cabinet is a place of wonder. A cache of ingredients both practical and diverse, it contains just about every staple a baker could ever need, plus fun things like cans of pumpkin, bags of nuts, containers of cocoa powder, bricks of baking chocolate, and bottles of molasses and Lyle’s Golden Syrup. On the top shelf lives a canister of rolled oats so large it must lay on its side to fit.

Sometimes, what I bake is determined by what lives in the pantry cabinet; I may open it one afternoon and realize I have a surplus of pecans, or some dark brown sugar that I’d like to use up. Today, after trolling online and finding a very simple yet delicious-sounding scone recipe, I was delighted to find that I had everything I needed right in the pantry cabinet, and that no trips to the market would be necessary.

These scones are adapted from a brown sugar cinnamon scone recipe I found on another blog called Kitchen Treaty, which adapted its recipe from Alton Brown’s scone recipe. The result is heavenly, both in aroma while baking and in flavor while eating. I chose to make small scones that are about two bites each, but you could certainly just cut them into 8 wedges like traditional scones if you prefer.

Ingredients

  • 2 cups flour
  • 1/2 cup light brown sugar
  • 2 teaspoons cinnamon
  • 1/2 teaspoon nutmeg
  • 3/4 teaspoon kosher salt
  • 6 tablespoons butter, cold, cut into small cubes
  • 3/4 cup plus 1 tablespoon heavy cream
  • 2 teaspoons vanilla extract
  • 1 egg

Preparation

Preheat oven to 350 degrees. Line two baking sheets with parchment paper.

In a large mixing bowl, stir together flour, brown sugar, cinnamon, nutmeg, and salt until well-blended.

Add butter and rub into dry mixture until the mixture looks like coarse crumbs.

Make a well in the center and add 3/4 cup heavy cream, vanilla extract, and egg; stir with a wooden spoon until a soft dough forms, adding the additional tablespoon of heavy cream once your dough has almost come together.

Turn dough onto a lightly floured surface and knead gently to bring together. Shape dough into a circle and flatted to about 1-inch thickness.

Slice into 8 wedges, then slice those wedges into smaller, more bite-sized wedges. You’ll have varying shapes; some will be longer and thinner while others will be more traditional wedge shapes. This is totally fine.

Place on parchment-lined baking sheets and bake for 13-16 minutes; when done, scones will be firm on the top and just golden at the edges.

Serve warm, or cool on a wire rack.

Pecan Drops

pecan dropsBaking is both a science and an art, given that it requires both precision and creativity. Once you’ve baked your fair share of treats, you realize that just because the recipe in the book says to use a cup of this and a teaspoon of that, you sometimes need to improvise.

Why is this necessary? It all depends on the conditions under which a recipe has been tested, and the conditions under which you’re baking, which might be very different. Perhaps the test kitchen is in New York City, and you’re baking in New Orleans. Maybe the recipe was tested on a day in the middle of November, and you’re baking in the middle of July. Perhaps the test kitchen baker didn’t let her butter soften as much as yours, or she used a different kind of baking sheet.

Whatever the reason, you’ll usually know if you need to improvise as soon as you’ve finished mixing it according to the source’s instructions, and you’ll most definitely know after your first batch has baked. I suspected that I’d need to add more flour right after I finished mixing my dough, but I baked one test batch just to be sure, and I was proven right. This recipe includes more flour than Martha’s original, but I also fully acknowledge that it’s 88 degrees in Pittsburgh and very humid today, so the next time I make these, I might not need it.

Ingredients

  • 1 cup plus 2 tablespoons flour
  • 1/2 teaspoon kosher salt
  • 1 cup butter, softened
  • 3/4 cup dark brown sugar
  • 1 egg yolk
  • 2/3 cup pecan bits, toasted and cooled
  • 32 pecan halves

Preparation

Preheat oven to 325 degrees. Line four baking sheets with parchment.

In a small bowl, sift flour and kosher salt together; set aside.

In a mixing bowl, cream together butter and brown sugar, scraping the sides of the bowl as necessary.

Add egg yolk and mix well.

With the mixer running on low, slowly beat in flour mixture until just combined.

Stir in pecan bits.

Using a 1-inch cookie scoop, scoop dough onto prepared baking sheets, spacing about 2 inches apart (you should have 9 cookies per sheet for optimal baking). Press a pecan half into the top of each cookie.

Bake for 12-15 minutes, until edges are just golden. Cool on cookie sheets for 2-3 minutes, then place on a wire rack to cool completely.


Vanilla Donuts

vanilla donutsDonuts (or doughnuts, if you prefer) are present in cultures throughout the world, on nearly every continent. Some are strongly associated with holidays, like the pre-Lenten Polish paczki or the Hanukkah sufganiyot, while others, like the beignet of New Orleans, are hallmarks of regional cuisine. Whether baked for fried, glazed or filled, these treats are incredibly popular.

This recipe is slightly adapted from one that I found on the Semisweet Sisters blog, and I incorporated more vanilla than the original and changed the glaze. If you’re curious about the incorporation of nutmeg, fear not: the recipe really does need it, as it adds interesting dimension to the vanilla flavor.

These treats could certainly be glazed with any variety of glaze or icing, but I chose to present two simple options, including a vanilla icing and a maple icing, which appear below. Next time, I’ll thin these out and make them very drizzly, as literal glazes, instead of putting them on thickly like I did here. The donuts themselves have a great flavor that really doesn’t need much enhancement!

Vanilla Donuts

Ingredients

  • 1/2 cup sour cream
  • 1 egg
  • 1/4 cup canola oil
  • 1/2 cup sugar
  • 1 teaspoon vanilla
  • 1 cup flour
  • 1/2 teaspoon baking soda
  • 1/4 teaspoon salt
  • 1/8 teaspoon nutmeg

Preparation

Preheat oven to 350 degrees.

Spray a 6-well donut pan with baking spray.

In a medium bowl, combine sour cream, egg, canola oil, sugar, and vanilla. Whisk together with a fork, then add flour, baking soda, salt, and nutmeg and stir well until completely combined.

Fill a pastry bag with batter and pipe into prepared donut pan, filling about 3/4 full; you will have enough batter for 6 generously-portioned donuts.

Bake for 14 minutes, until tops spring back when touched and a cake tester comes out clean.

Remove donuts from pan immediately and place on a wire rack to cool completely before glazing.

Vanilla Icing

Ingredients

  • 1 cup powdered sugar
  • 2 teaspoons vanilla extract
  • About 1 1/2 tablespoons milk

Preparation

Combine powdered sugar and vanilla in a small bowl; slowly add milk, mixing well to achieve a thick glaze. Dip donuts in glaze and allow to set slightly before serving.

Maple Icing

Ingredients

  • 1 cup powdered sugar
  • 1 teaspoons vanilla extract
  • 2 tablespoons maple syrup
  • About 1 tablespoon milk

Preparation

Combine powdered sugar, vanilla, and maple syrup in a small bowl; slowly add milk, mixing well to achieve a thick glaze. Dip donuts in glaze and allow to set slightly before serving.


Thumbprints

thumbprintRecipes are often handed down through the generations, and this is something that I really love about baking. Think of your favorite recipe, and think about where it may have come from – whether across the world or across the street – and how it connects you to the person who first shared it with you. That’s a pretty amazing thing, no?

I got this recipe from my dear friend Tara, who got it from her grandmother-in-law Midge. I can just imagine Midge in her kitchen, making these for her family, maybe tinting the icing a special color for a birthday or holiday. My own grandmother gave me hundreds of recipes over the years, some of which originated in her childhood home in Budapest, and others that she pioneered – or perfected – in the kitchen of the home where she raised my dad. I think about Midge and Zella and all the women like them, who took great pleasure in chopping up walnuts or whisking up drizzle icing, and I’m grateful to be a part of their legacy.

My only adjustment to Midge’s recipe is another 1/4 cup walnuts for the cookies, and 1/2 cup less powdered sugar for the icing. I coated my cookies very generously with walnuts and needed a bit more than her original 3/4 cup, and because my batch yielded 16 cookies, I realized that 1 full cup of powdered sugar would be too much.

Ingredients

For the cookies

  • 8 tablespoons margarine
  • 1/4 cup brown sugar
  • 1 egg, yolk separated from white (keep the white cold until ready to use)
  • 1/2 teaspoon vanilla
  • 1 cup sifted flour
  • 1/4 teaspoon salt
  • 1 cup finely chopped walnuts

For the icing

  • 1/2 cup sifted powdered sugar
  • 1/4 teaspoon vanilla
  • About 1 tablespoon milk

Preparation

In a mixing bowl, cream together margarine, brown sugar, egg yolk, and vanilla.

Blend salt into sifted flour and add to creamed mixture until well-combined.

Chill dough for about 1 hour, until firm and easy to handle. Dough will still be slightly sticky after 1 hour but that’s okay.

Preheat oven to 375 degrees.

Lightly beat the egg white.

Using a one-inch cookie scoop, scoop out dough and roll into balls. Dip each ball into egg white, then walnuts.

Place on a cookie sheet about 1 inch apart.

Bake for 5 minutes, then quickly press a thumbprint in the center of each using the back of a half teaspoon from your measuring spoons to create the thumbprint. I chose not to use my actual thumb because, naturally, the cookies are very hot! Continue baking another 8 minutes.

Remove from oven; press half teaspoon in each indentation again if necessary to reinforce your thumbprint.

Once cookies are cool, whisk together powdered sugar, vanilla, and about 1/2 teaspoon of milk. Add additional milk slowly to reach your desired consistency; you want it to be a thick drizzle so it will set easily.

Allow icing to set and store cookies in an airtight container.

Custard Pie

custard pieEvery now and then, you’ll have a mishap in your kitchen. Such was my experience with today’s custard pie.

This was my first experience with custard pie and boy, when they say to carefully pour the filling into the shell, they’re really not kidding. Armed with my large measuring glass filled with the most liquid pie filling I’ve ever encountered, I placed my pie dish on a rimmed baking sheet on my oven rack. Not giving much thought to the fact that my oven rack rarely slides back into the oven perfectly, I poured in my filling and gently pushed the rack back into the oven, only to hit an invisible snag and watch in horror as a miniature tsunami of filling soared over the edge of the pie dish and onto the baking sheet, then splash into the bottom of my oven.

For a moment, I may have sounded a bit like Yosemite Sam. Amid a stream of incomprehensible expressions of frustration, I whisked my baking sheet from the oven and mopped up the mess thereon while the filling in the bottom of my oven burnt to a crisp and filled the first floor of my house with a light film of smoke. Not to be deterred, I wiped down my baking sheet and the bottom of the pie plate (very carefully, of course) and returned them both to the oven, with the rack already in place.

At present, this pie is chilling in my fridge waiting for Mike to get home from his lodge meeting and try a slice. After today’s adventures, I sincerely hope it tastes good.

Ingredients

  • 1 unbaked pie crust
  • 4 eggs
  • 1/2 cup sugar
  • 1 1/2 teaspoons vanilla
  • 1/8 teaspoon salt
  • 2 1/2 cups milk
  • nutmeg

Preparation

Preheat oven to 450 degrees.

Prepare pie crust; line the bottom of a 9-inch pie dish with crust, then line the crust with two layers of foil and fill with pie weights or dried beans. Note: the original recipe did not call for pricking the bottom and sides of the crust with a fork during blind baking, but in hindsight, I’d recommend doing so because once I removed the beans in the next step, my crust puffed up quite a bit.

Bake for 8 minutes, then remove beans and foil and continue baking for another 5 minutes. Remove from oven for filling.

In a large, 4-cup glass measuring cup, beat eggs with a fork, then add sugar, vanilla, and salt and mix well.

Slowly add milk, blending well.

Place pie dish on a rimmed baking sheet and pour in filling, then sprinkle with nutmeg. Cover the edge of the pie with a guard or foil to prevent over-browning.

Very, very carefully transfer the baking sheet to your oven; I found it best to keep my oven rack all the way in the oven and gently slide the sheet onto it after the tsunami incident.

Reduce oven temperature to 350 degrees and bake for 25 minutes. Remove guard and bake another 20 minutes, until a knife inserted in the center of the pie comes out clean. The edges may look a bit wobbly, but that’s okay.

Cool on a wire rack; refrigerate after two hours.


Blueberry Pie

blueberry pieSummer began yesterday, and summer solstice is one of my favorite days of the year. People have been celebrating the sun since the beginning of time, so why not join in?

One of summer’s great fruits is the blueberry, a delicious superfood packed with manganese, vitamin C, vitamin K, and fiber. I’ll concede that blueberries are probably better eaten when not in pie form, but Mike requested a blueberry pie this weekend, so there you have it. I sought a recipe that used his preferred whole berries, not a pureed-type recipe, and found one that I have to admit has some flaws.

Here’s the problem, from what I can tell: blueberries have a high water content, and this recipe calls for 6 cups of them.There’s also sugar and cornstarch in the filling, but I suspect the cornstarch quantity is well below what it should be because no thickening occurred during baking. Although Mike had a piece and really enjoyed it, I’m afraid that the bottom crust will be a soggy mess today. I’ve never needed a pie dam, but I really could have used one for this.

If anyone out there has a good blueberry pie recipe, please do share it with me. I’d love to try again!

Ingredients

  • 2 pie crusts
  • 6 cups fresh blueberries, rinsed and dried
  • 3/4 cup sugar
  • 1/4 cup cornstarch
  • Zest of 1/2 of a medium lemon
  • 1/4 teaspoon cinnamon
  • 1/8 teaspoon nutmeg
  • 1/8 teaspoon cloves
  • 1/8 teaspoon salt
  • 1 tablespoon butter, cut into small squares
  • 1 egg yolk
  • 1 tablespoon milk

Preparation

Prepare pie crusts; line the bottom of an 8-inch pie pan with one and reserve the other for lattice top.

In a large bowl, combine sugar, cornstarch, lemon zest, cinnamon, nutmeg, cloves, and salt. Add blueberries and toss to coat, stirring gently.

Pour filling mixture into crust and dot with butter.

Create the lattice top crust, sealing the edges well, and refrigerate the pie for 20 minutes before baking.

Preheat oven to 400 degrees; place the oven rack in the lower third of the oven.

Place pie pan on a rimmed baking sheet to catch any drips.

Whisk together egg yolk and milk, then brush on the lattice and crust edges.

Bake for 20 minutes, then turn temperature down to 350 degrees and bake for another 35-40 minutes, until the crust is golden brown and the filling is bubbly.

Cool for 2-3 hours before serving.


Peanut Butter Cup Oreo Brownies

pb cup oreo browniesMy sister-in-law Kristin and I share a sincere appreciation for baked goods, particularly those involving chocolate and peanut butter. Recently, we both heard of a limited-time-only Oreo cookie on the market: the Reese’s Peanut Butter Cup Oreo. At first, they were only available at Wal-Mart, and my mom tracked some down for us. Fortunately they’re now available at our local grocery store, and I snapped up a few packages the other day.

Kristin suggested that I bake something with these Oreos, so here you have it: peanut butter cup Oreo brownies. I will admit that, not knowing how well they’d turn out, I used a boxed brownie mix for this recipe, but next time I’ll definitely work from scratch. I might also chop up more Oreos and put them in the center of the batter, rather than leaving the cookies whole, like I did for this trial run. While you definitely get the Oreo flavor, they do dissolve somewhat when baking.

Ingredients

  • 1 box dark chocolate brownie mix
  • 9 Reese’s Peanut Butter Cup Oreo cookies

Preparation

Preheat oven to 325 degrees. Spray the bottom of an 8 x 8 glass baking dish with baking spray and sprinkle with sugar, just to coat; this gives the bottom of the brownies a nice crunch.

Prepare the brownie mix according to the package directions and spread about half of the batter in the bottom of the pan.

Place Oreo cookies, spacing evenly, over the bottom layer of batter, then pour the remaining batter over the top. The Oreos will float up a bit; just make sure you’ve covered them completely with batter. I had to use a small offset spatula to get the best coverage.

Bake for 50 minutes or until a cake tester inserted in the center comes out clean. Cool completely before cutting.

Double Chocolate Cupcakes

double chocolate cupcakesHave you ever ordered an ultra-chocolatey dessert and regretted it after a few bites, completely overwhelmed by chocolateness? I certainly have. Most restaurants have some manner of “death by chocolate” dessert on their menus, usually involving layers of chocolate cake, mousse, cheesecake, ganache, and so on, and they’re all too overpoweringly chocolatey for me.

One of my lovely coworkers asked if I could bake for her son’s 13th birthday this weekend, and the guest of honor requested chocolate cupcakes with chocolate frosting. While there are many cupcake and frosting recipes to choose from, I decided to go with a light and dark combination to prevent chocolate overload. The cupcakes themselves are my dark chocolate recipe, while the frosting is chocolate buttercream, light and fluffy and a great complement for a darker cake. Happy Birthday, Theo!

Ingredients

Preparation

Bake cupcakes in full-size cupcake pans; the recipe will yield 24 regular-sized cupcakes and 12 miniature cupcakes, or about 30 regular-sized cupcakes. Allow to cool completely before frosting.

Using a one-inch cookie scoop, drop scoops of frosting onto cupcakes. Frost with a small offset spatula. If storing in the refrigerator, bring cupcakes to room temperature before serving; these do not need to be refrigerated, but I’m chilling mine because it’s quite humid in Pittsburgh tonight.


Strawberry Donuts

IMG_2860Last year, I won the Soergel Orchards Strawberry Festival baking competition with strawberry lemonade cupcakes. Although this year’s festival, which is being held today, doesn’t include a baking competition I wanted to make something strawberry-themed anyway.

The strawberries in this recipe actually came from the strawberry patch in our backyard. When you read the ingredients below, you may be surprised to find cinnamon in the recipe; I certainly was, but I completely understand what fellow food blogger Mary at Mary Quite Contrary Bakes was going for when she added it in. Trust me, the cinnamon is an important component for this recipe, giving the donuts a slight spice in good contrast to the sweetness of the strawberry flavor.

I adapted the recipe below from Mary’s original, changing the glaze to a strawberry puree and powdered sugar one instead of a plain glaze. These donuts would also be delicious with a chocolate glaze, so maybe I’ll try that next time. Note: the original recipe was supposed to yield 10 donuts, but mine only made 8.

Ingredients

  • 1/2 cup strawberries
  • 2 tablespoons strawberry jelly
  • 1 cup flour
  • 1/3 cup sugar
  • 1 teaspoon baking powder
  • 1/2 teaspoon salt
  • 1/4 teaspoon cinnamon
  • 1/3 cup milk
  • 1 tablespoon melted butter
  • 1 egg
  • 1 tablespoon pure maple syrup
  • 1 cup powdered sugar

Preparation

Preheat oven to 425 degrees. Spray two 6-well donut pans with baking spray; set aside.

In a blender, puree strawberries and strawberry jelly until completely smooth. You should have about 1/2 cup.

In a large bowl, combine flour, sugar, baking powder, salt, and cinnamon. Make a well in the center and add milk, melted butter, egg, and maple syrup. Slowly mix in about half of the strawberry puree, mixing to combine, ensuring that your batter is not too runny.

Fill a pastry bag with batter and pipe into donut wells, filling about half-full.

Bake for 7-9 minutes, until a cake tester comes out clean. Cool completely on a wire rack before glazing.

To make the glaze, combine 1 cup powdered sugar and remaining strawberry puree in a small bowl. Dip the top of each donut into the glaze and swirl to coat. Allow to set before serving.