 Mmm, Nutella. This delicious hazelnut spread isn’t something I eat very often, but I’ve become very interested in baking with it recently and have pinned many a Nutella-based recipe on my Pinterest baking board. Pinterest is quite a playground for food bloggers, and I found this recipe there from fellow blogger Maya at Alaska from Scratch; I just tweaked very slightly (including a bit more vanilla and Nutella) in the recipe below.
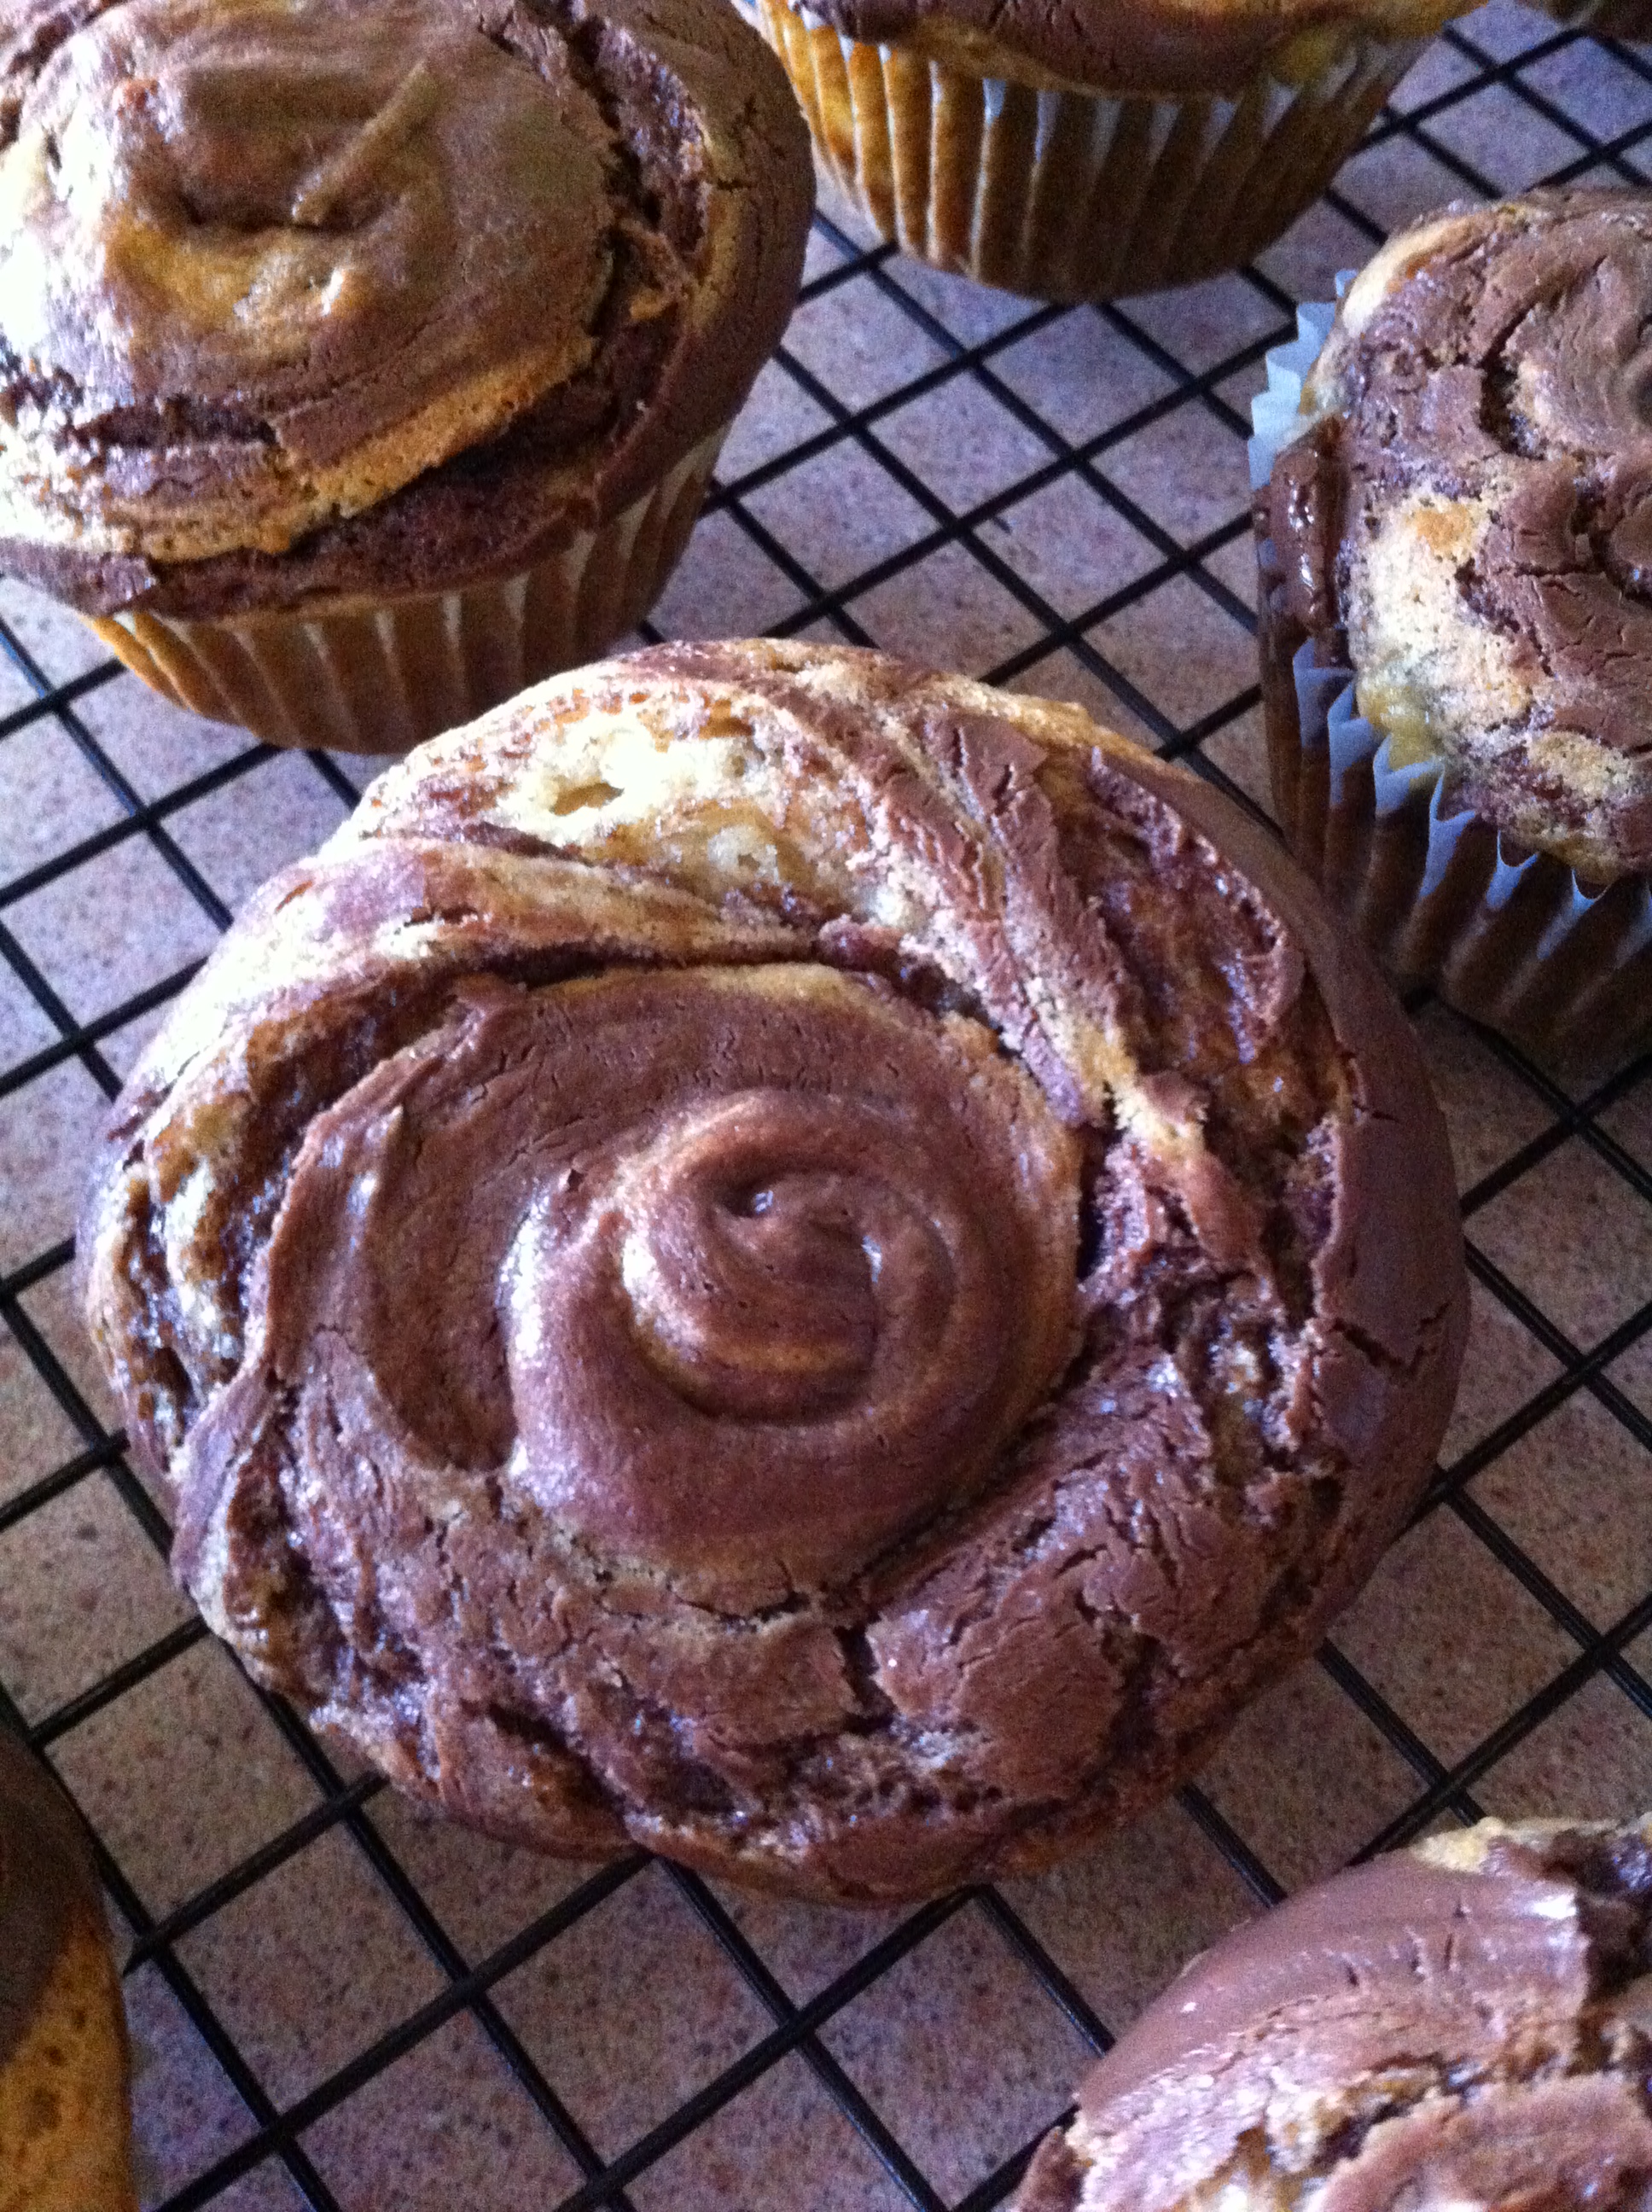
Banana muffins are a great base for many additions, including nuts or chocolate chips (or both). This Nutella-swirled version looks amazing when finished, and I imagine that serving them with Nutella for spreading would be a great idea. I also think this could make a wonderful quick bread and would like to experiment with baking it on loaf form sometime in the future, perhaps with some nuts mixed into the batter.
Since I’m still fasting from sugar (and baked goods in particular) for Lent, it’s quite a challenge for me to not crack open one of these, slather it with some Nutella, and chow down. I will refrain for a few more weeks though, and will have to rely on Mike’s assessment of these muffins to learn whether they’re tasty or not. Sometime tells me they’ll be delicious!
Ingredients
- 2 cups flour
- 1 teaspoon baking soda
- 1 teaspoon baking powder
- 1/2 teaspoon salt
- 4 very ripe bananas, mashed
- 1/2 cup sugar
- 1/2 cup packed brown sugar
- 1/4 cup vegetable oil
- 1/4 cup buttermilk
- 1 egg
- 3 teaspoons vanilla extract
- heaping 1/2 cup Nutella
Preparation
Preheat oven to 350 degrees. Line two muffin tins with paper liners; my batch yielded 20 muffins.
In a large bowl, combine flour, baking soda, baking powder, and salt; set aside.
In another large bowl, combine mashed bananas, sugar, brown sugar, vegetable oil, buttermilk, egg, and vanilla extract. Stir together to combine, then add all at once to the flour mixture and stir to combine. Batter will be lumpy.
In a microwave-safe bowl, microwave Nutella in 15-second intervals until thinned and easy to stir. Using a tablespoon from your flatware, drop dollops of Nutella onto the top of each muffin and swirl with a toothpick to spread; I used about 1 tablespoon on each.
Bake for 15-18 minutes, until a cake tester comes out clean. Cool in pans for about 5 minutes, then remove and cool completely on wire racks.