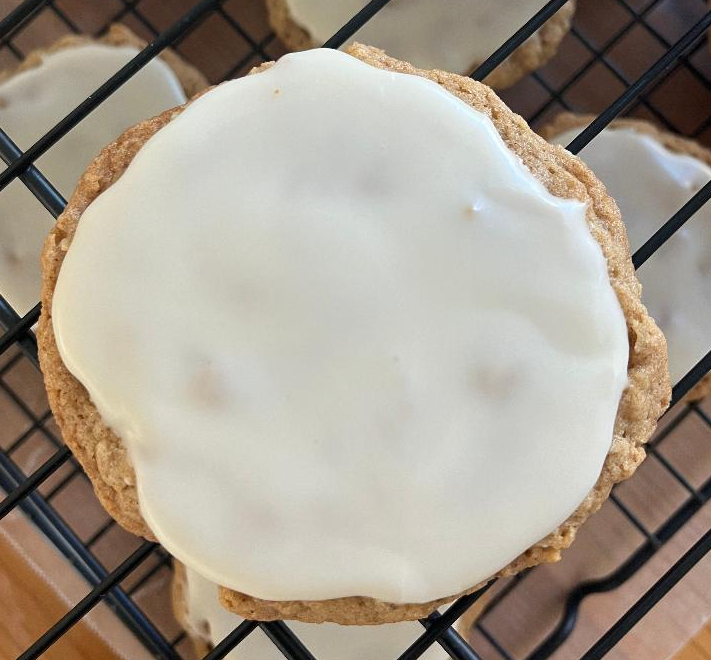
 Everyone my age (let’s say young Generation X) ate store-bought iced oatmeal cookies as a kid. There were several brands, from (what seemed like fancy) Archway to generic, but they all had a similar flavor and crunchy texture.
These aren’t nearly as crunchy, but they’re pretty delicious; I added nutmeg to my dough to give it a little extra flavor. You could easily double the recipe; I cut the original one down, but used a generous 1-inch scoop of dough for each cookie to get 22 treats.
Ingredients
For the cookies
- 1 cup flour
- 1/4 teaspoon baking powder
- 1/4 teaspoon baking soda
- 1 teaspoon cinnamon
- 1/4 teaspoon salt
- 1/8 teaspoon nutmeg
- 8 tablespoons butter, at room temperature but still cool
- 1/2 cup brown sugar
- 1/4 cup white sugar
- 1 egg
- 1 teaspoon vanilla
- 1 cup plus 2 tablespoons old-fashioned oats
For the icing
- 1 1/2 cups powdered sugar
- 2 tablespoons water
- 1 teaspoon vanilla extract
Preparation
Preheat oven to 375 degrees. Line several baking sheets with parchment paper.
In a small bowl, combine flour, baking powder, baking soda, cinnamon, salt, and nutmeg; set aside. Cream together butter and sugars until light and fluffy; add egg and vanilla and beat to combine. Add flour and beat until just combined, then stir in oats.
Scoop generous 1-inch balls of dough and place about 2 inches apart on the baking sheets; I baked six cookies per sheet. Bake for 10-11 minutes, until edges are golden brown. Remove from oven and cool on the baking sheets for about 5 minutes; place on a wire rack to cool completely.
To make the icing, combine powdered sugar, water, and vanilla extract in a small bowl and stir until smooth. Place about 1 teaspoon of icing on each cookie and spread with a spoon or small spatula; I covered my cookies a bit more than the store-bough versions were covered, but you can leave them a little more bare (or use thinner icing by adding a bit more water to your mixture) if you prefer. Allow icing to set; store between sheets of waxed paper at room temperature for 2-3 days. Makes 22.
 Brownies are one of my favorite things to bake (and to eat). Start with a reliable recipe as your base and add whatever flavors you want – mix in toasted nuts or chocolate chips, frost them, drizzle them, whatever you want.
 Sugar cookies can be whatever flavor you want them to be, from vanilla to
  The importance of properly greasing and flouring your Bundt pan cannot be overstated. When you do, you get a lovely cake that pops right out. When you don’t, you get…well, the disaster below. See that fault line of sorts on the right side? It’s a chunk of cake that stuck to the pan and I had to scrape out and then stick back together. Good times.
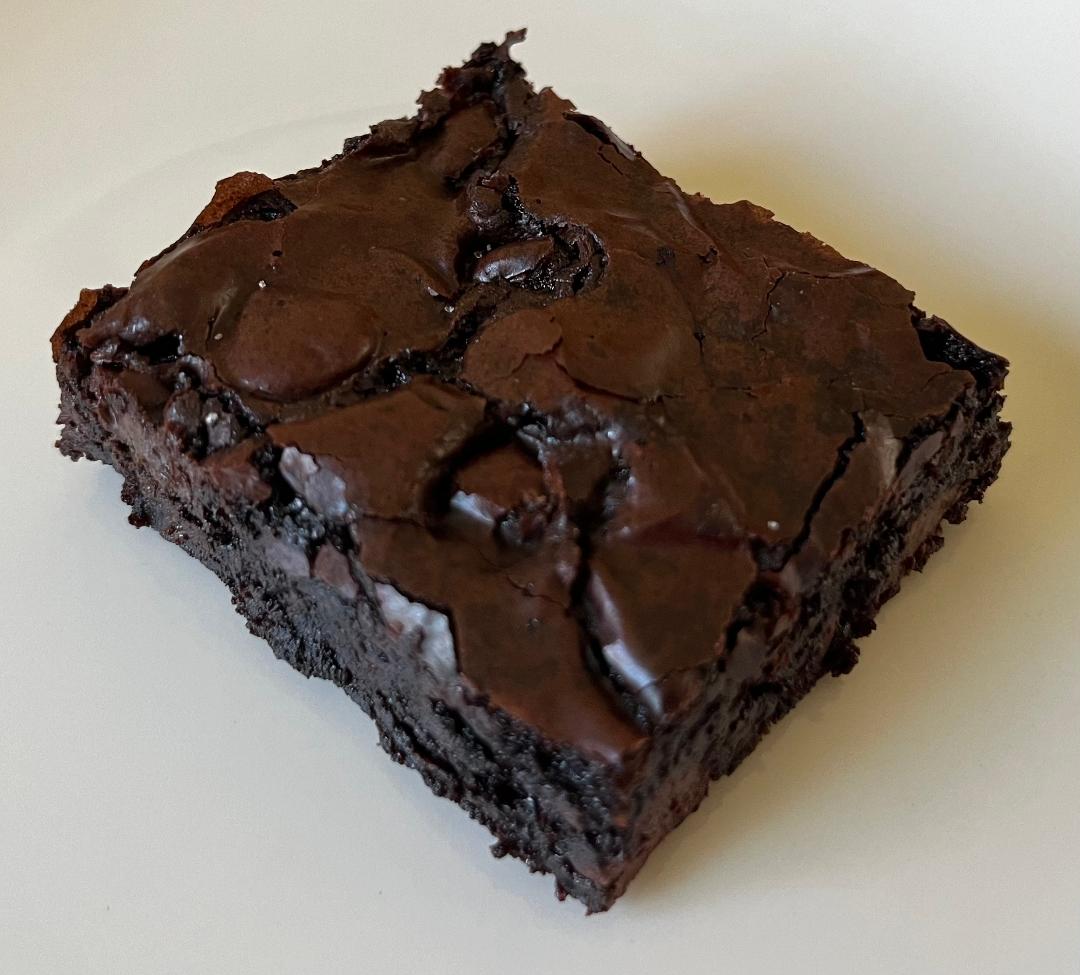 What makes something a “Mexican chocolate” treat is subjective. Some recipes just use cinnamon, while others use cinnamon and cayenne pepper. Cayenne is one bridge too far for me baking-wise, so these Mexican chocolate brownies are just a combination of fudgy dark chocolate and cinnamon.
 Brownies can be made with cocoa powder or various types of baking chocolate, usually the unsweetened kind. Unsweetened chocolate is essentially chocolate in its purest form after cacao beans have been roasted and the cocoa butter and cacao solids have been separated from their pods. You wouldn’t want to eat it because of the bitterness level, but when you mix it with butter, sugar, eggs, and other flavorings, you can get very tasty brownies.
 It’s August, the height of summer. And with August comes Leo season, the zodiac sign of my birth. Technically Leo season begins in July, but that’s okay. My friend and colleague Melissa and I always mark the beginning of August by saying “it’s Leo season” and agreeing that everything should go right for us during our birth month. That has never happened, but there’s a first time for everything, so we’ll see how this Leo season goes.
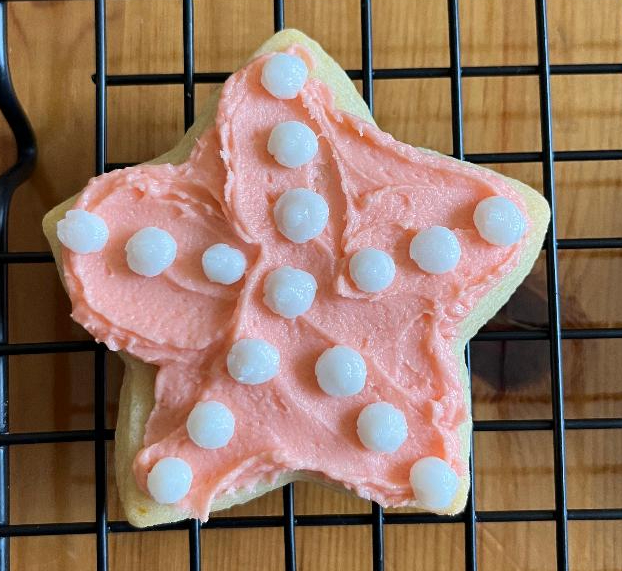 My last bit of beach-themed baking included these creamsicle starfish cut-out cookies, using orange zest and an awesome ingredient called fiori di sicilia. It’s a potent citrus-vanilla type of extract, which I always buy from
  Beach-themed baking continues, since once again, almost everyone I know is taking, has taken, or is currently on a beach vacation. I feel like these treats need something else design-wise but I can’t figure out what. A mermaid tail? Shells? An oyster made of miniature vanilla wafers with a sugar pearl inside? Or perhaps my favorite, a teddy graham laying out wearing a bikini? Maybe next time.
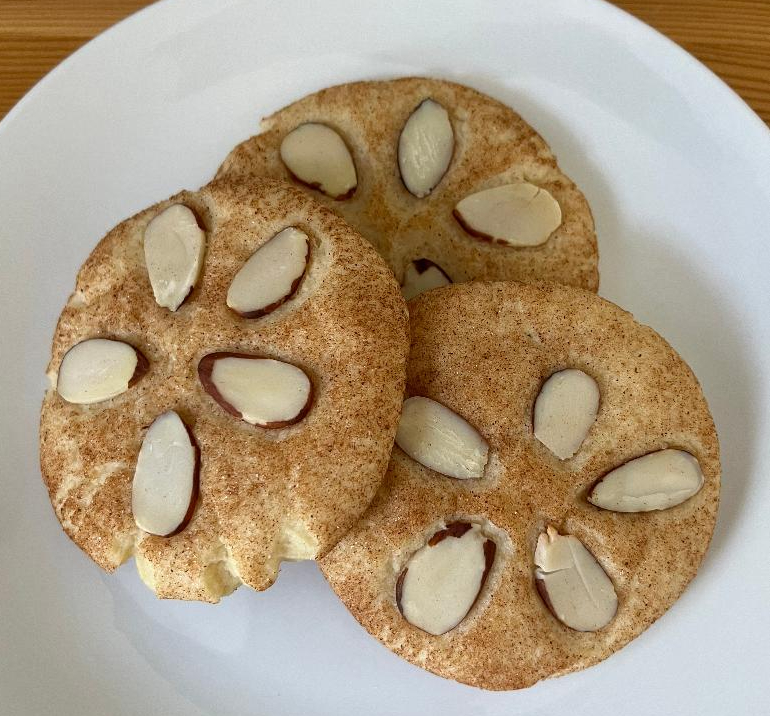 Everyone I know is going the beach this summer. Ocean City, Sandbridge, Nags Head, Rehoboth…you name it, someone I know has recently been to it, is currently on it, or will soon be visiting it. Alas, there is no beach vacation in my summer plans. But I do hope to get a little lakeside beach time at Deep Creek this summer, so we’ll see.