 I possess fairly highly evolved baking skills, whipping up tangy lemon curds, creating airy cupcakes, producing flaky pie crusts, and turning out tender cookies without batting an eye. But decorating? Let’s just say it’s not exactly my strong suit.
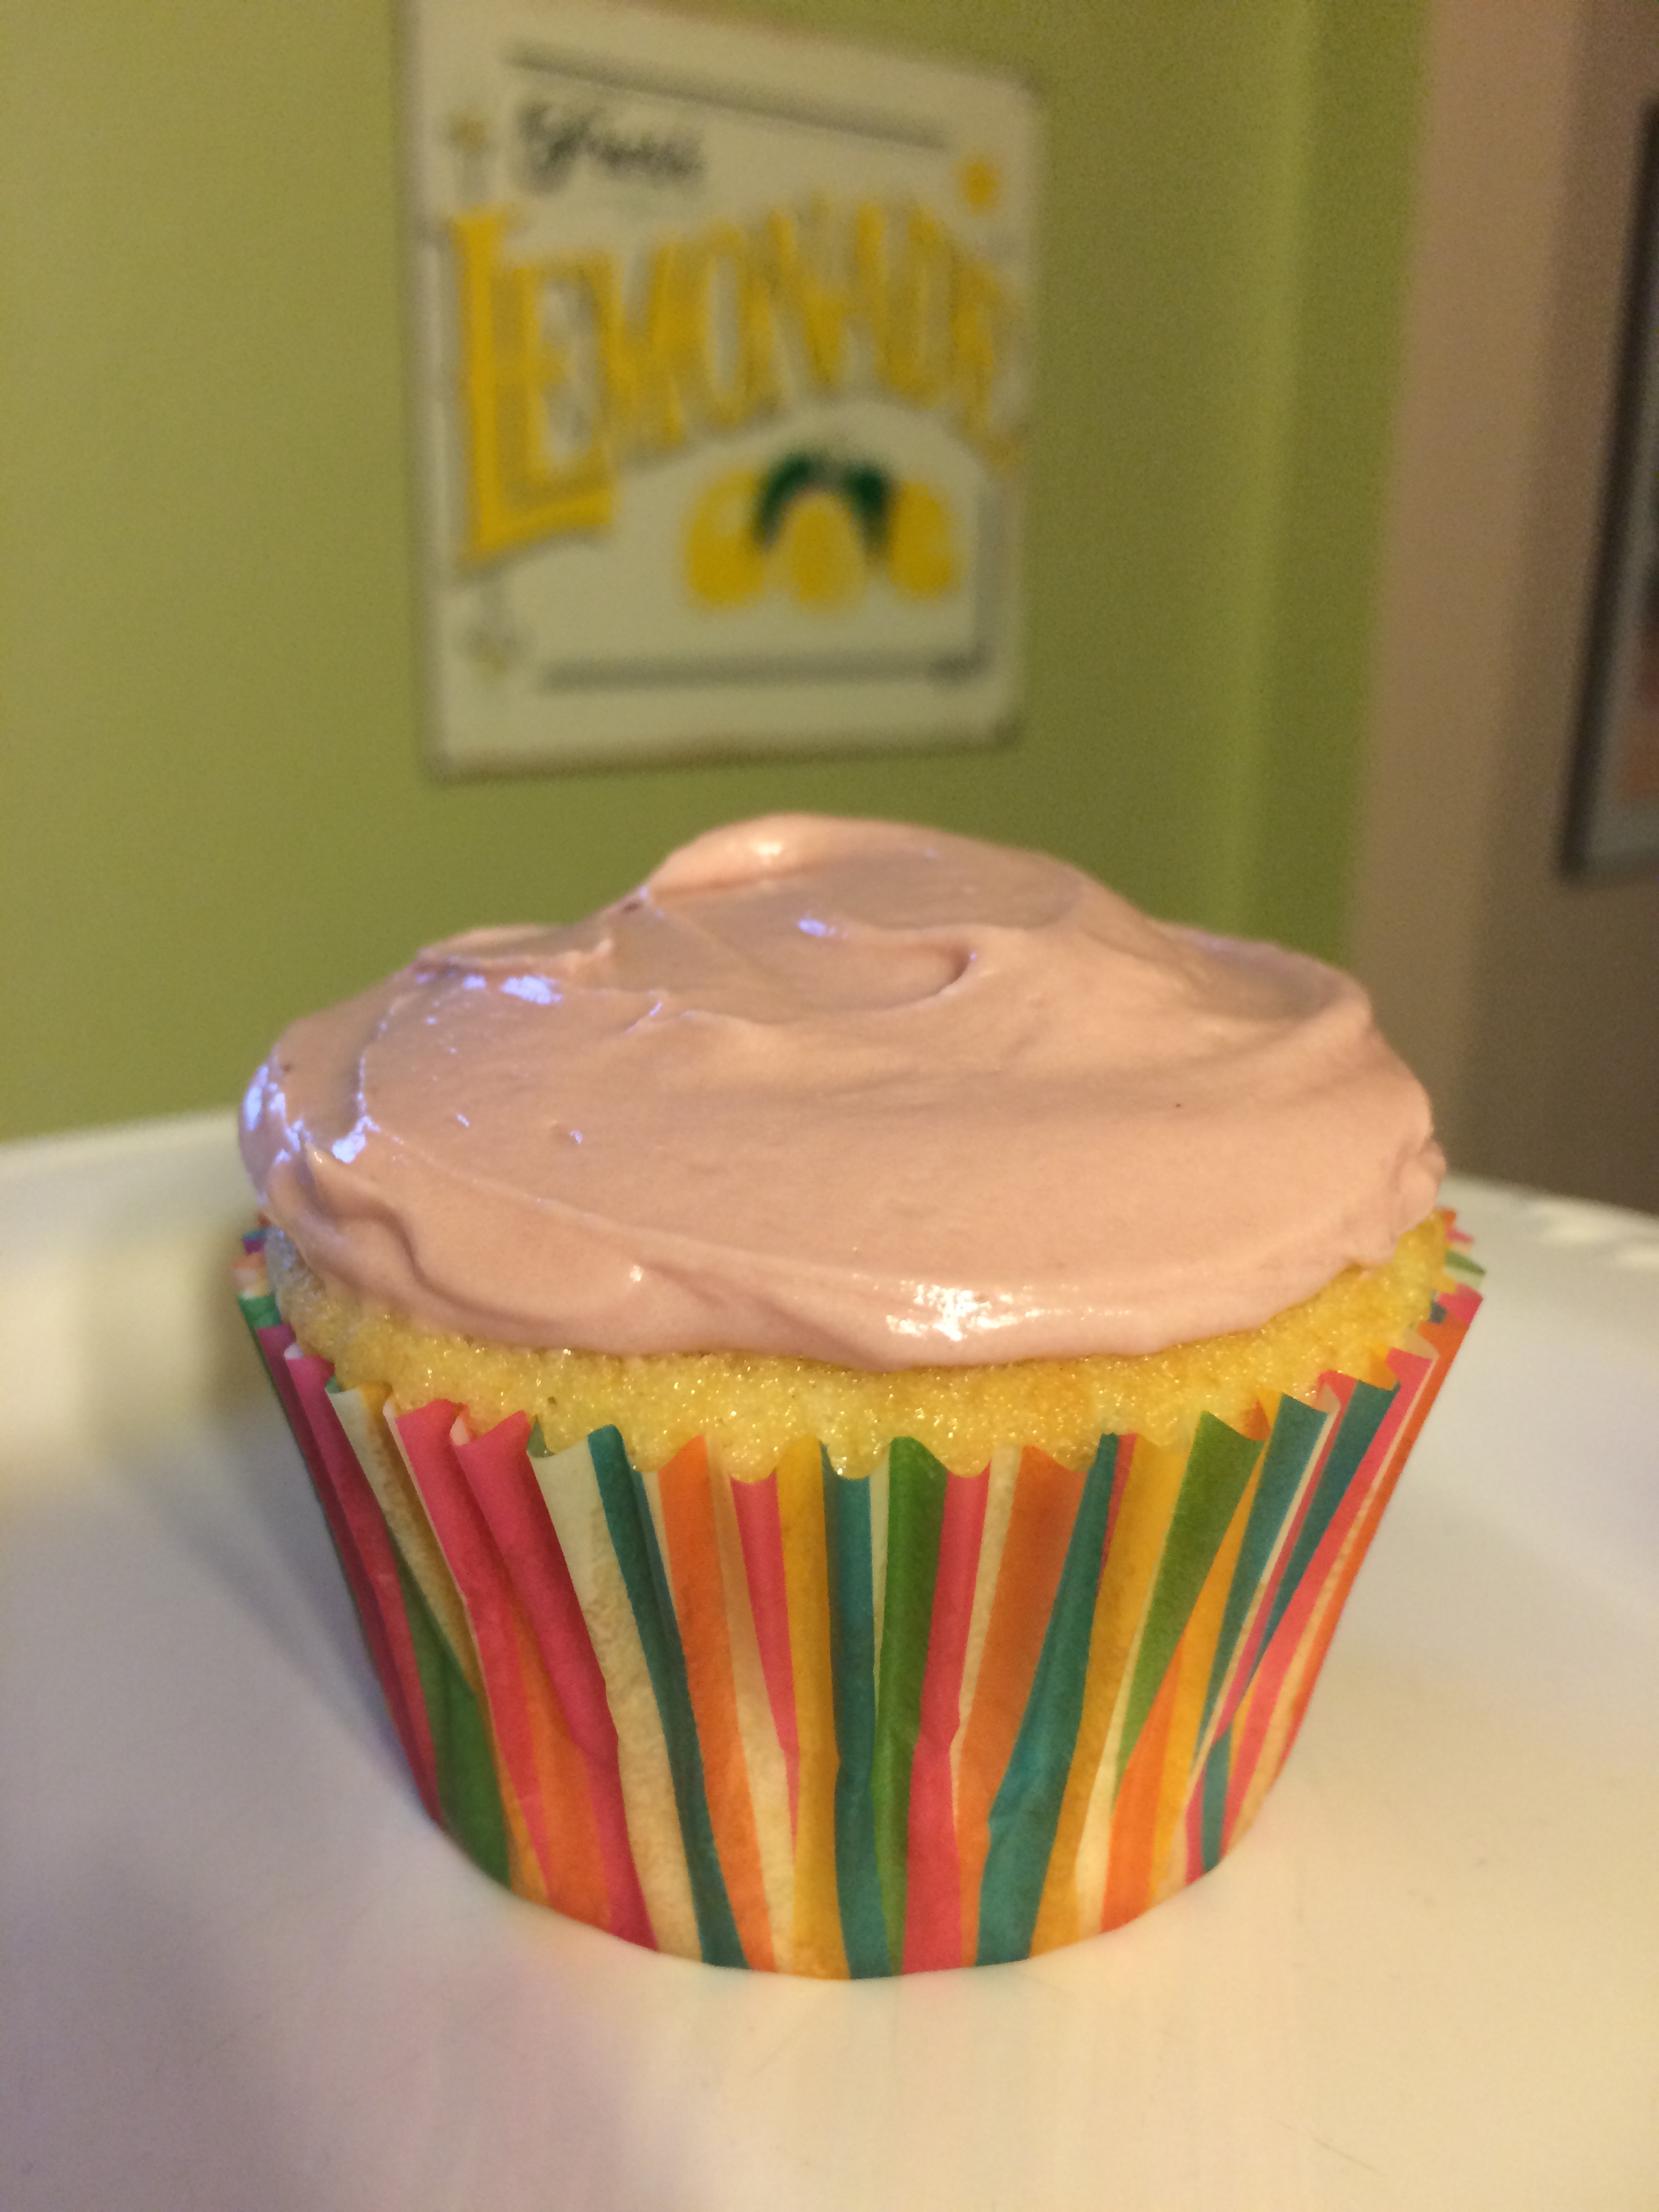
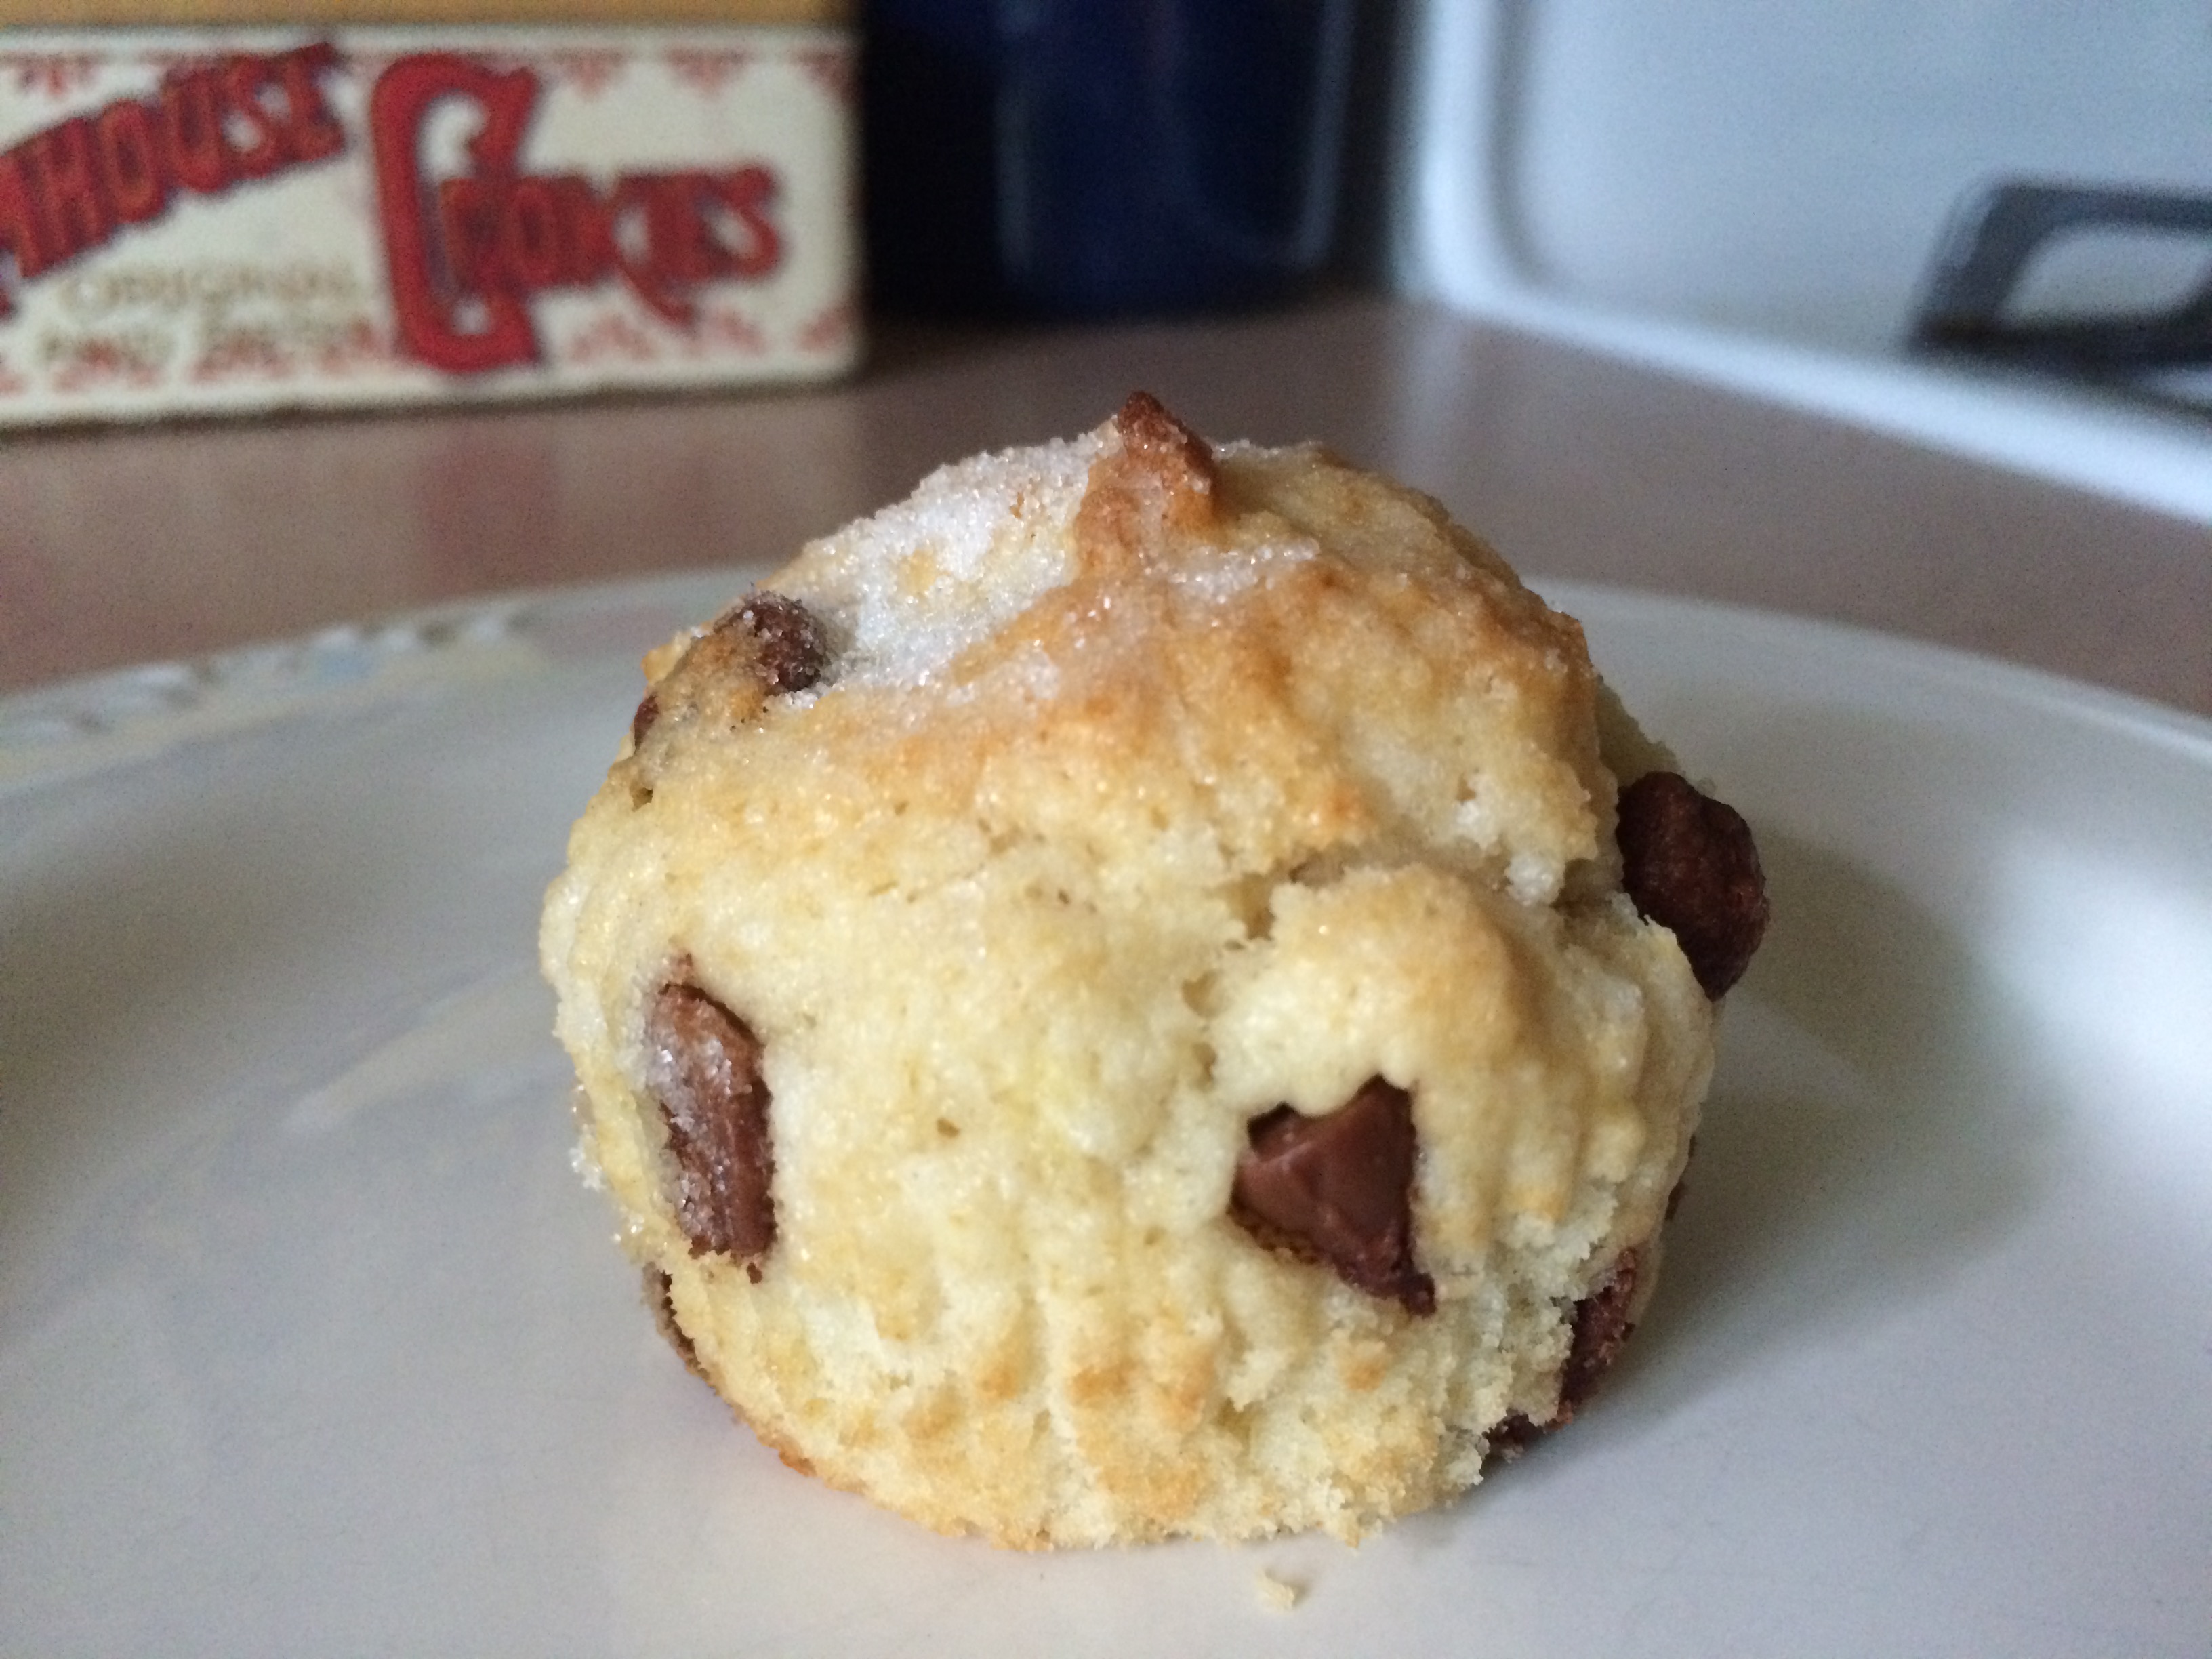
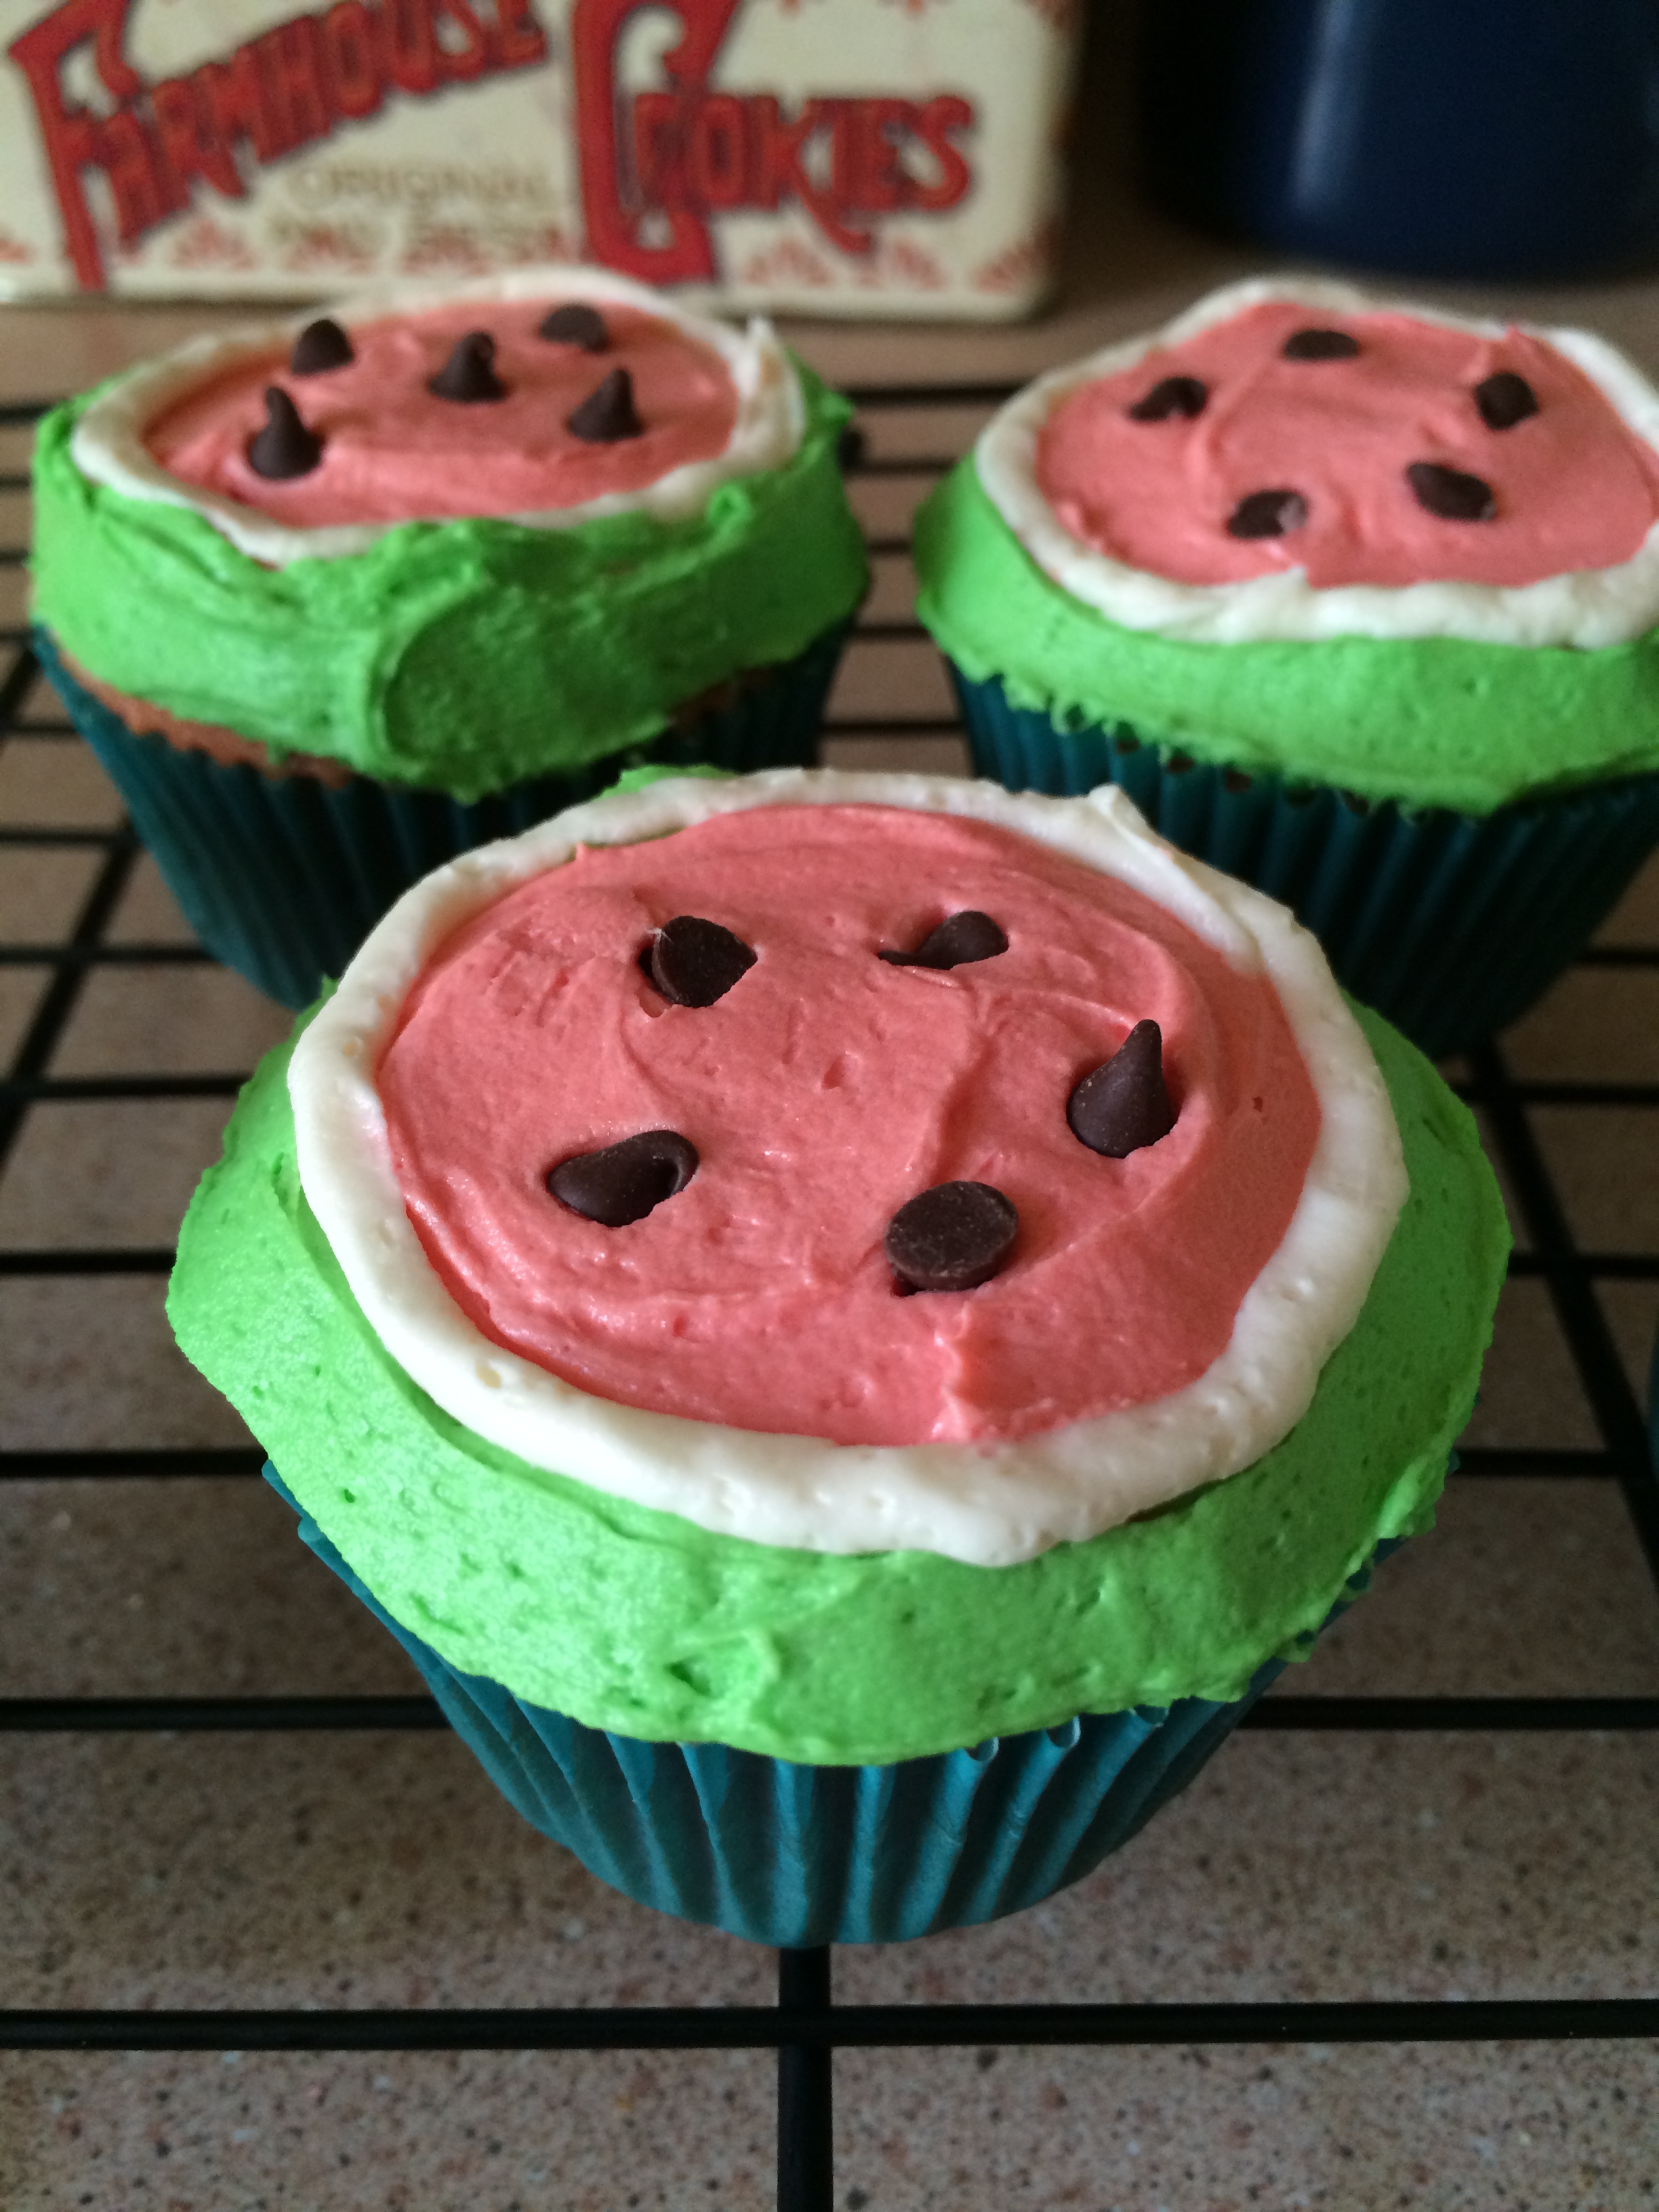
These watermelon cupcakes are fairly simple to bake, requiring only a basic white cupcake recipe, some red food coloring, and miniature chocolate chips. Frosting and decorating them, however, is another matter entirely. While piping on red, green, and white frosting and dotting each cupcake with miniature chocolate chips might seem simple, it’s definitely easier said than done…at least for me, anyway. Perfect circles are hard to come by, and those cute miniature chips that look like watermelon seeds can be a bit unruly.
I began with blobs of red frosting in the middle, then outlined those with green and finished off with the white of the rind, but if I ever make these again, I think i’ll go green, white, red instead. I might also use different frosting tips; I used all plain, round tips of varying sizes this time, but I might suggest a star tip for the green part of the rind, then plain round for the white and a large plain tip for the red.
However you frost them, I hope you enjoy them!
Ingredients
For the cupcakes
- 1 recipe white cake
- Red gel food coloring
- 1/2 cup miniature semisweet chocolate chips
For the frosting & decoration
- 1 recipe vanilla buttercream
- Red and green food coloring
- Miniature semisweet chocolate chips
Preparation
Preheat oven to 375 degrees. Line two cupcake tins with paper liners; this recipe yields 18 cupcakes.
In a small bowl, combine flour and baking powder; set aside.
In a mixing bowl, cream together sugar, shortening, and salt until fluffy.
Add egg and vanilla; beat until combined.
Add flour mixture and milk in alternating batches, starting and ending with the flour and beating until just combined.
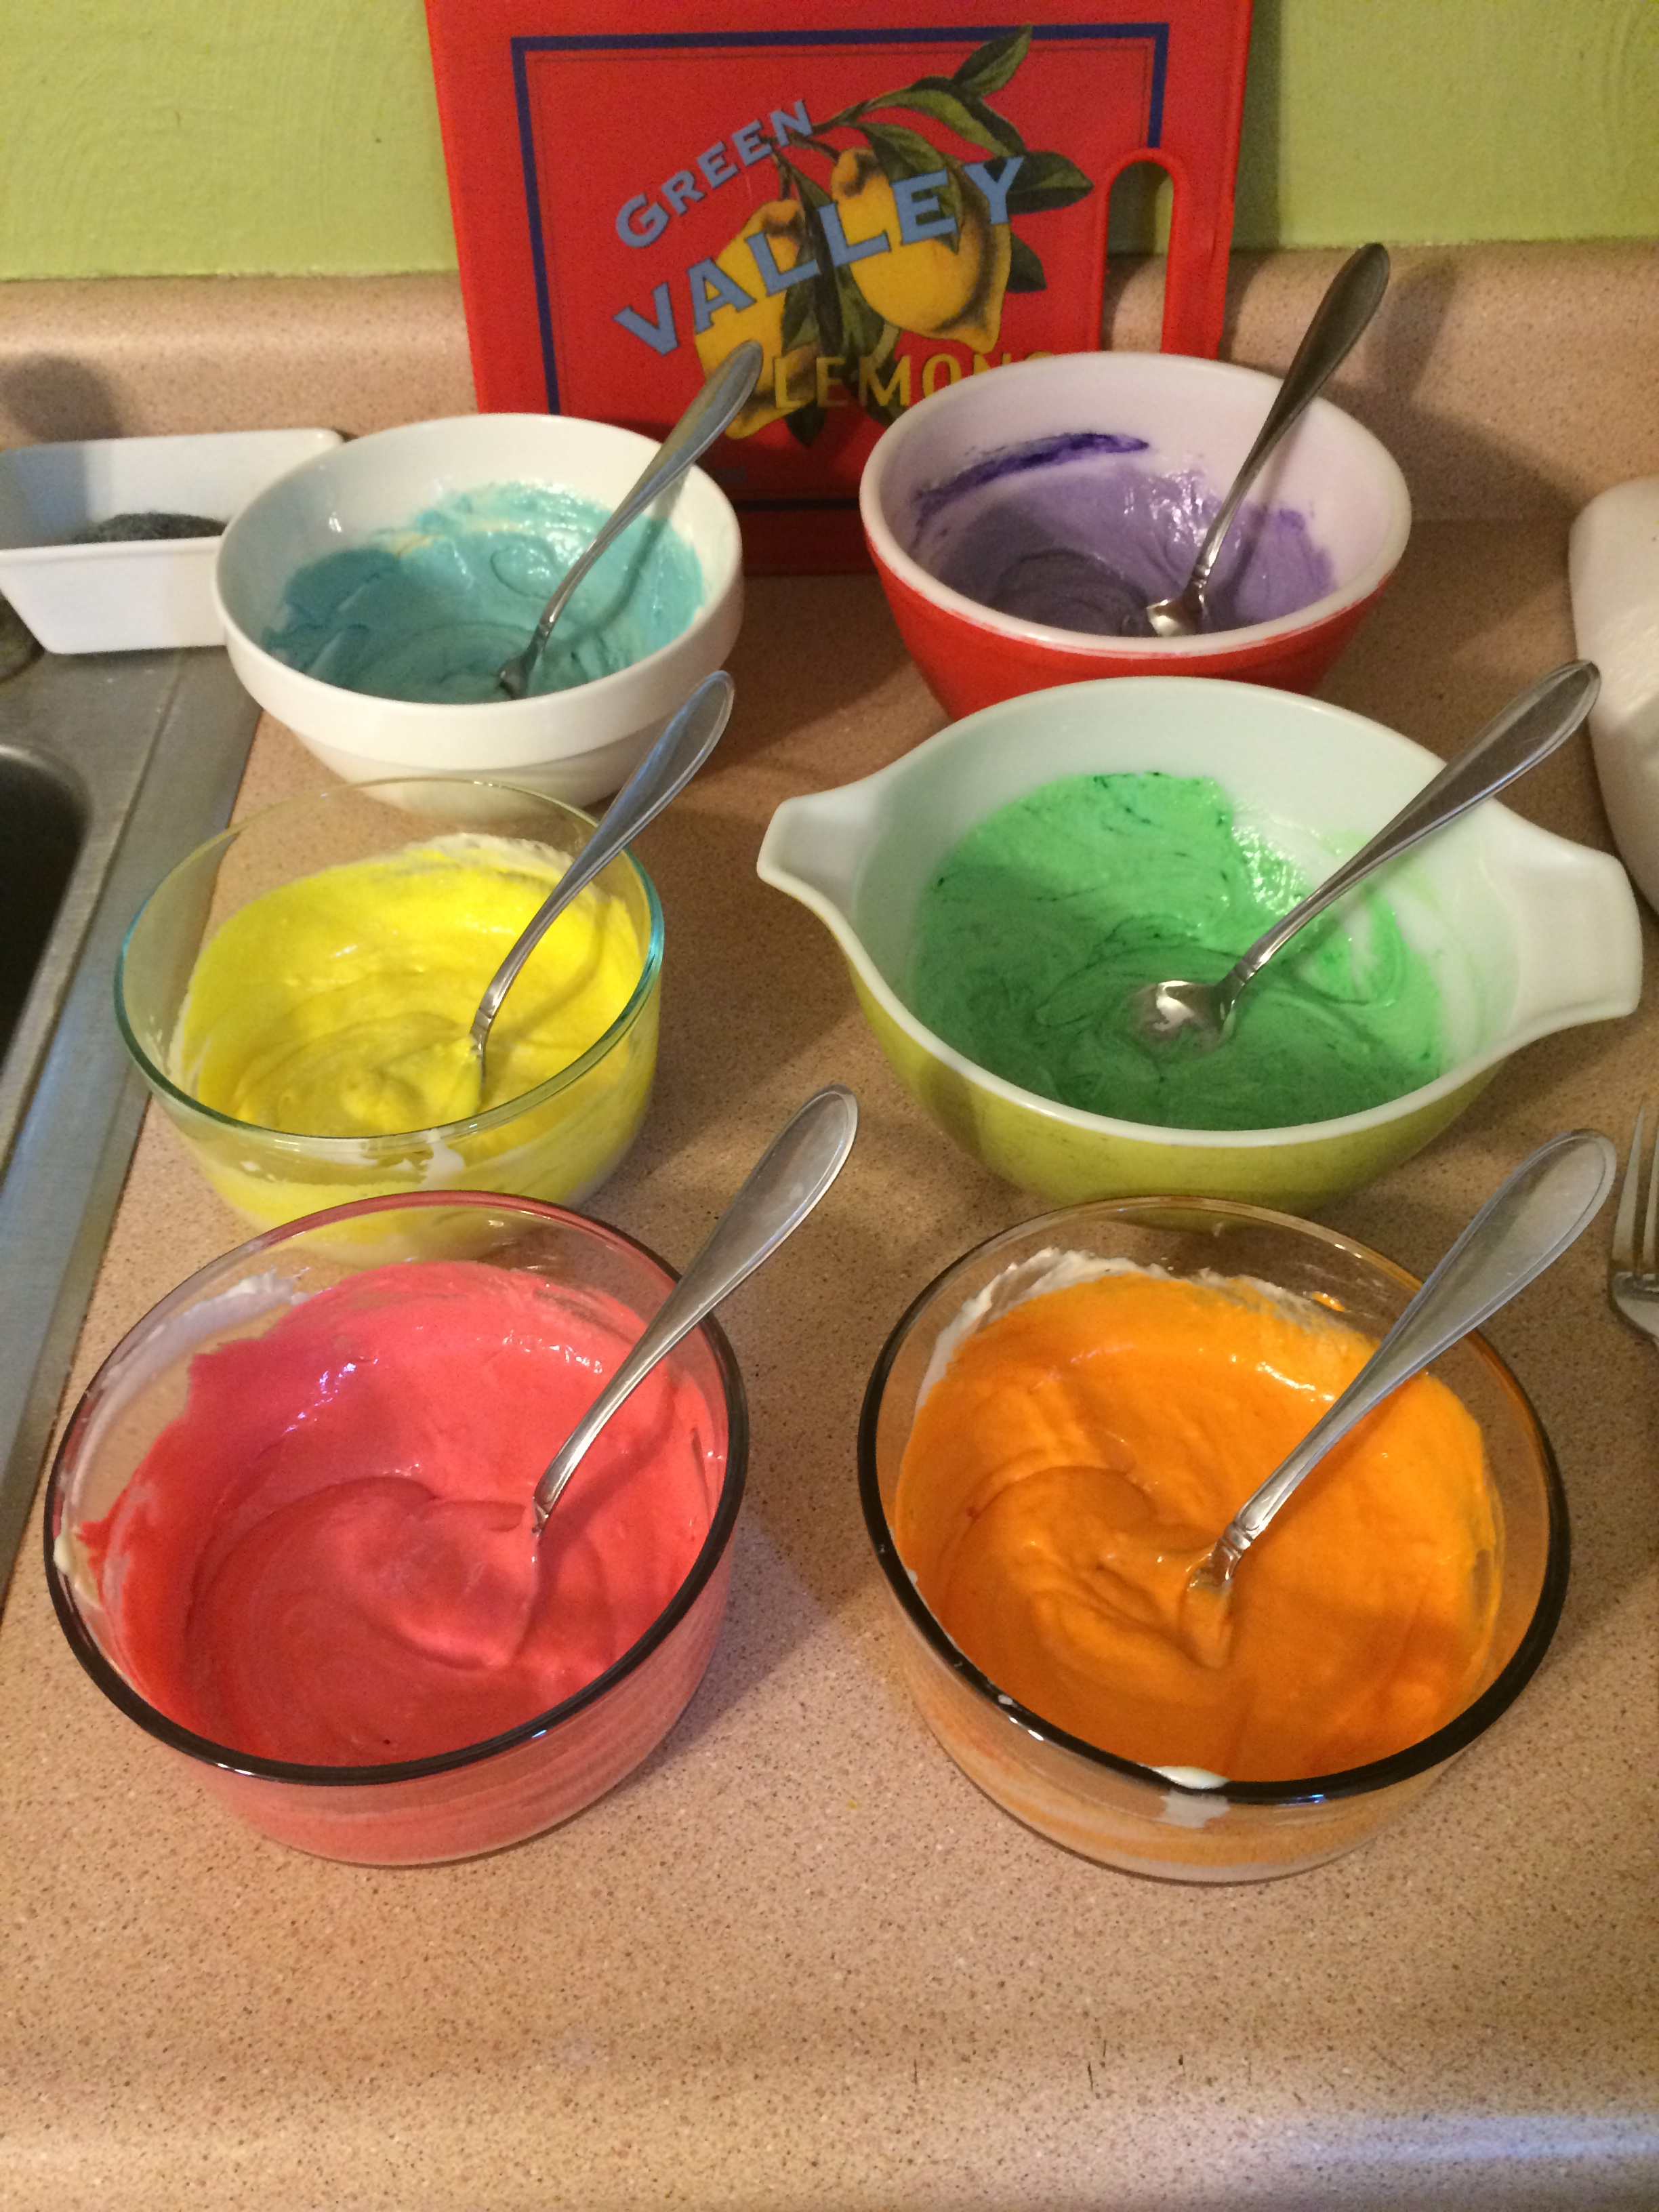
Mix in red food coloring to your desired shade, then stir in chocolate chips.
Using a two-inch cookie scoop, drop batter into prepared cupcake tins.
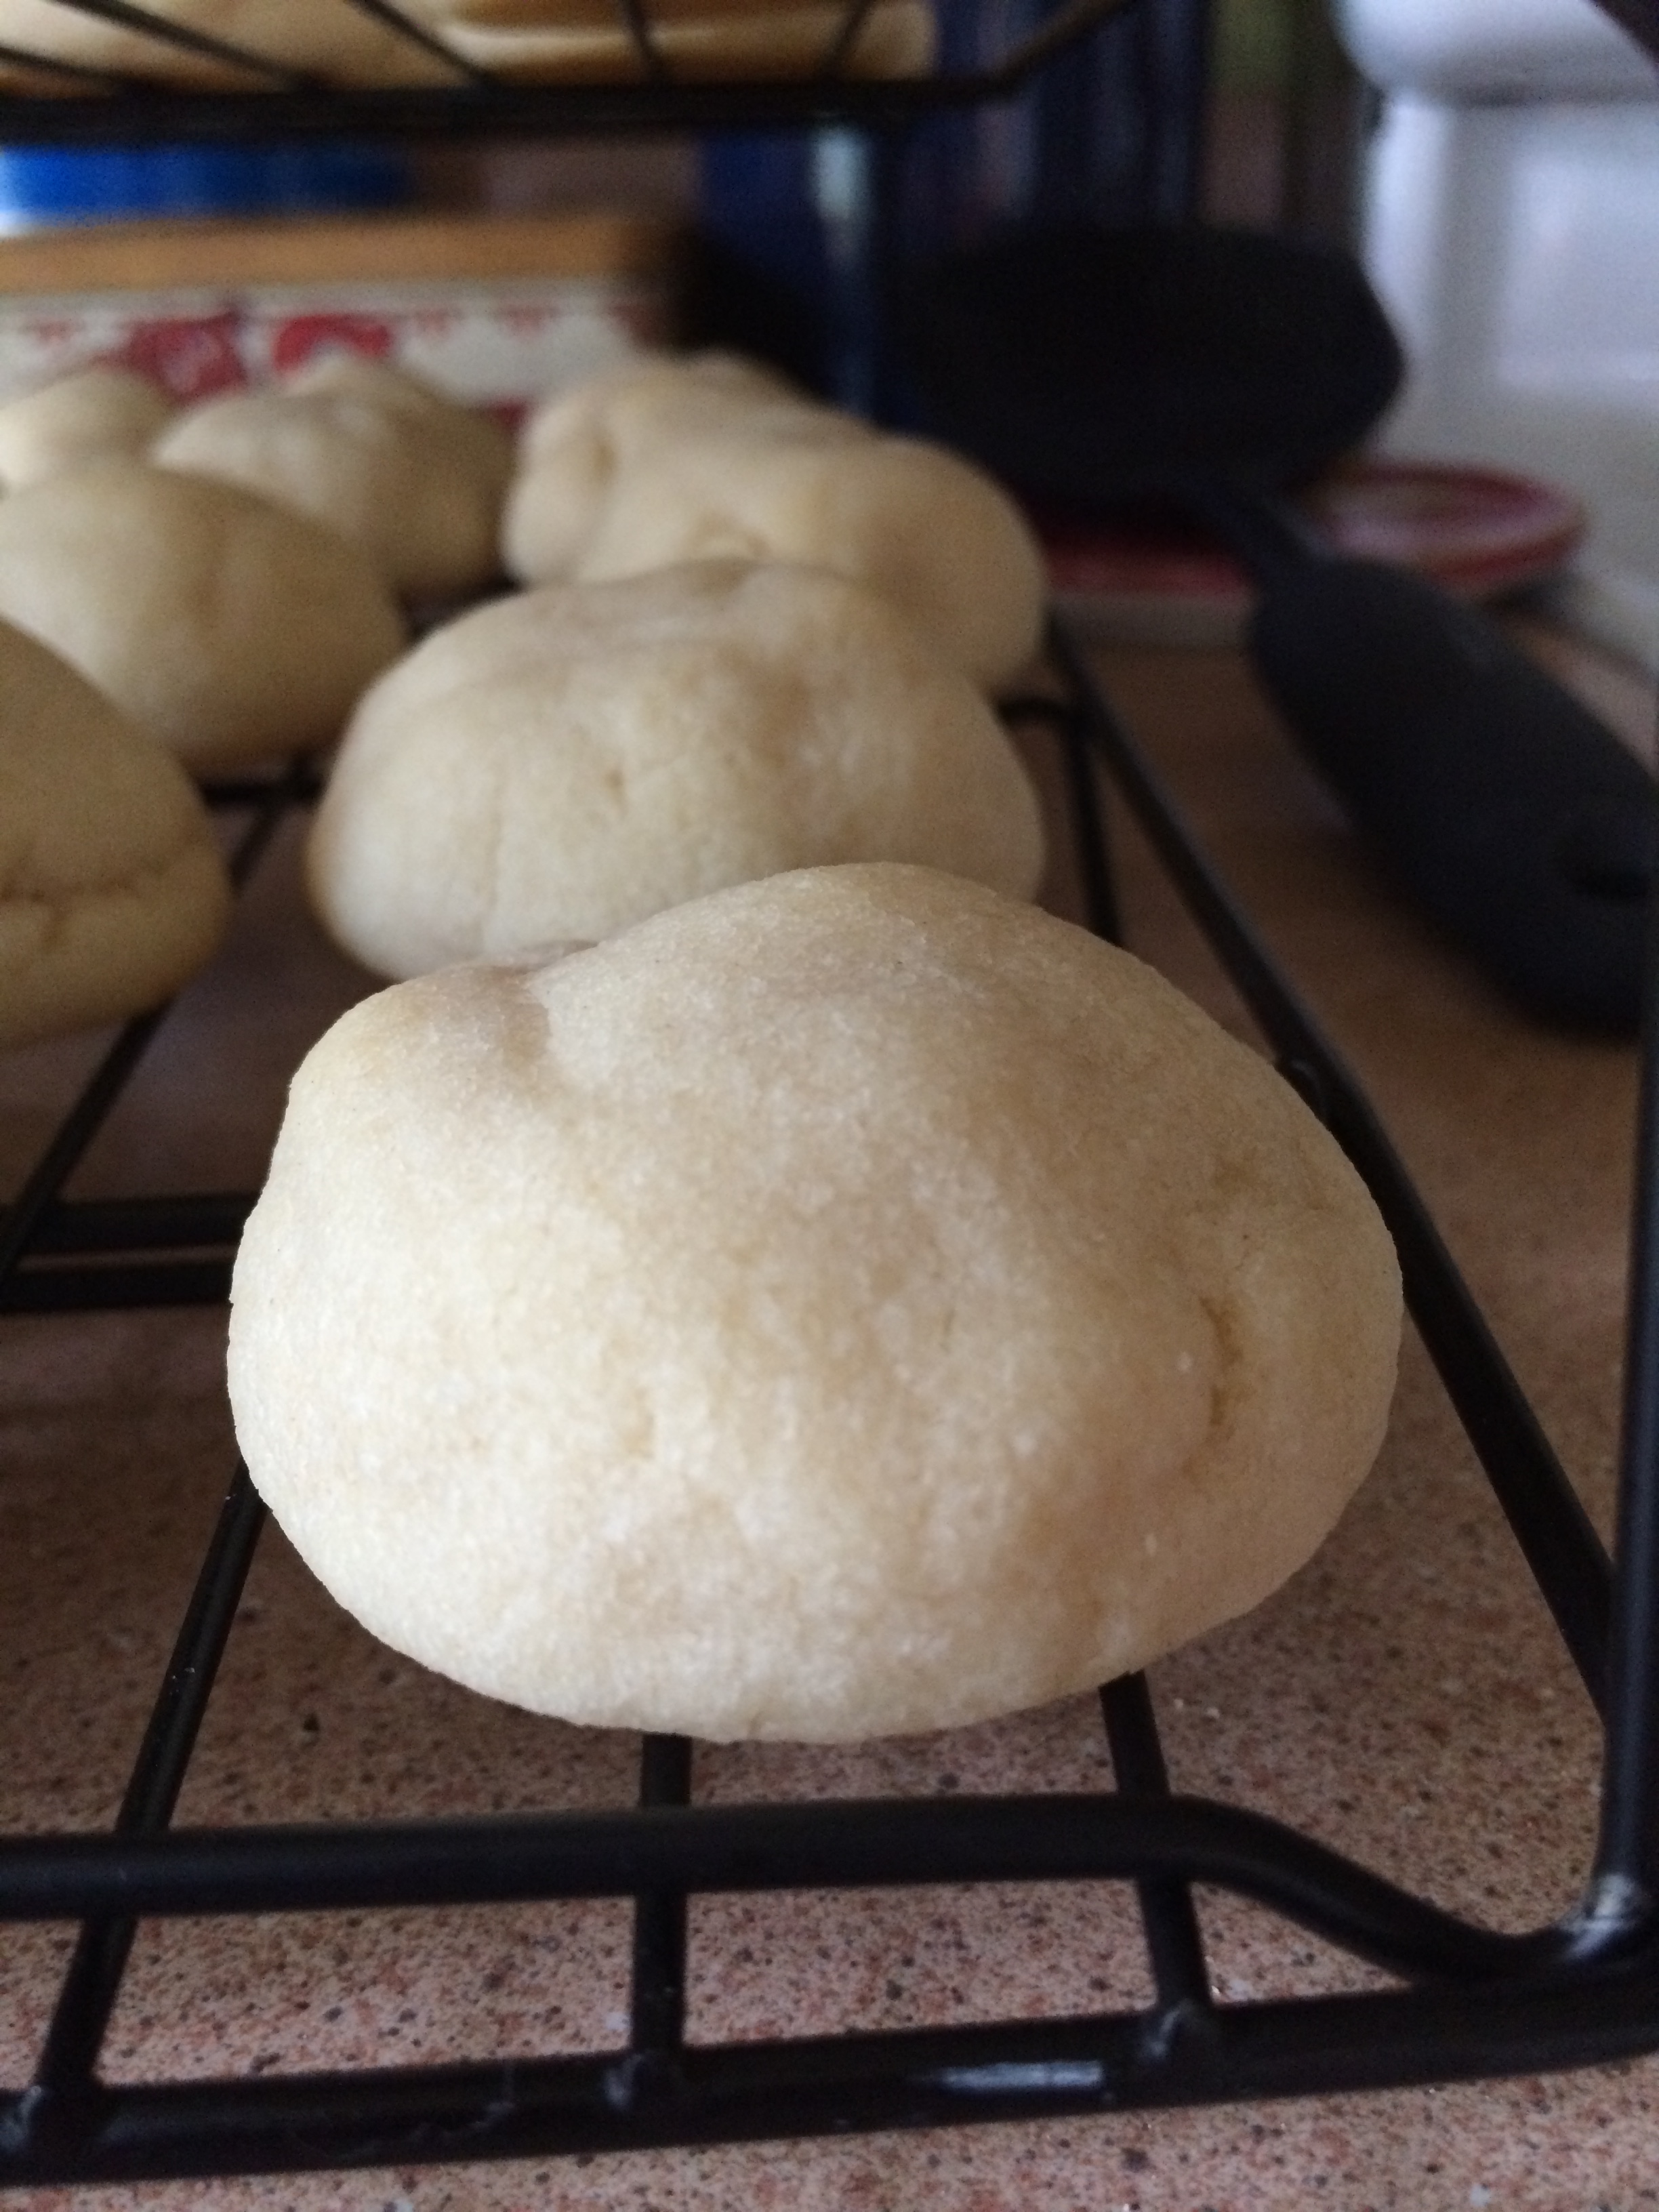
Bake for 18-2o minutes, until a cake tester comes out clean. Remove from oven and immediately remove cupcakes to a wire rack to cool completely before frosting.
Prepare the frosting and divide into three portions; reserve a small portion for the white, a slightly larger portion for the green, and the largest portion for the red. Tint to your desired shades.
Fit piping bags with your desired tips; I used two large, plain, round tips for the red and green and a smaller plain, round tip for the white. Pipe frosting on to create the flesh and rind of the watermelon, then top with miniature chocolate chips for seeds.