My mom, Genny, is not really a flowers-on-Mother’s-Day kind of mom. She’s more likely to plant a garden of flowers than to keep them in a vase on her table…and then mow the lawn, mulch the flower bed, and trim the hedges, all before noon. Her energy at the age of 68 far exceeds that of my energy at the age of 37. She is a force of nature, indeed.
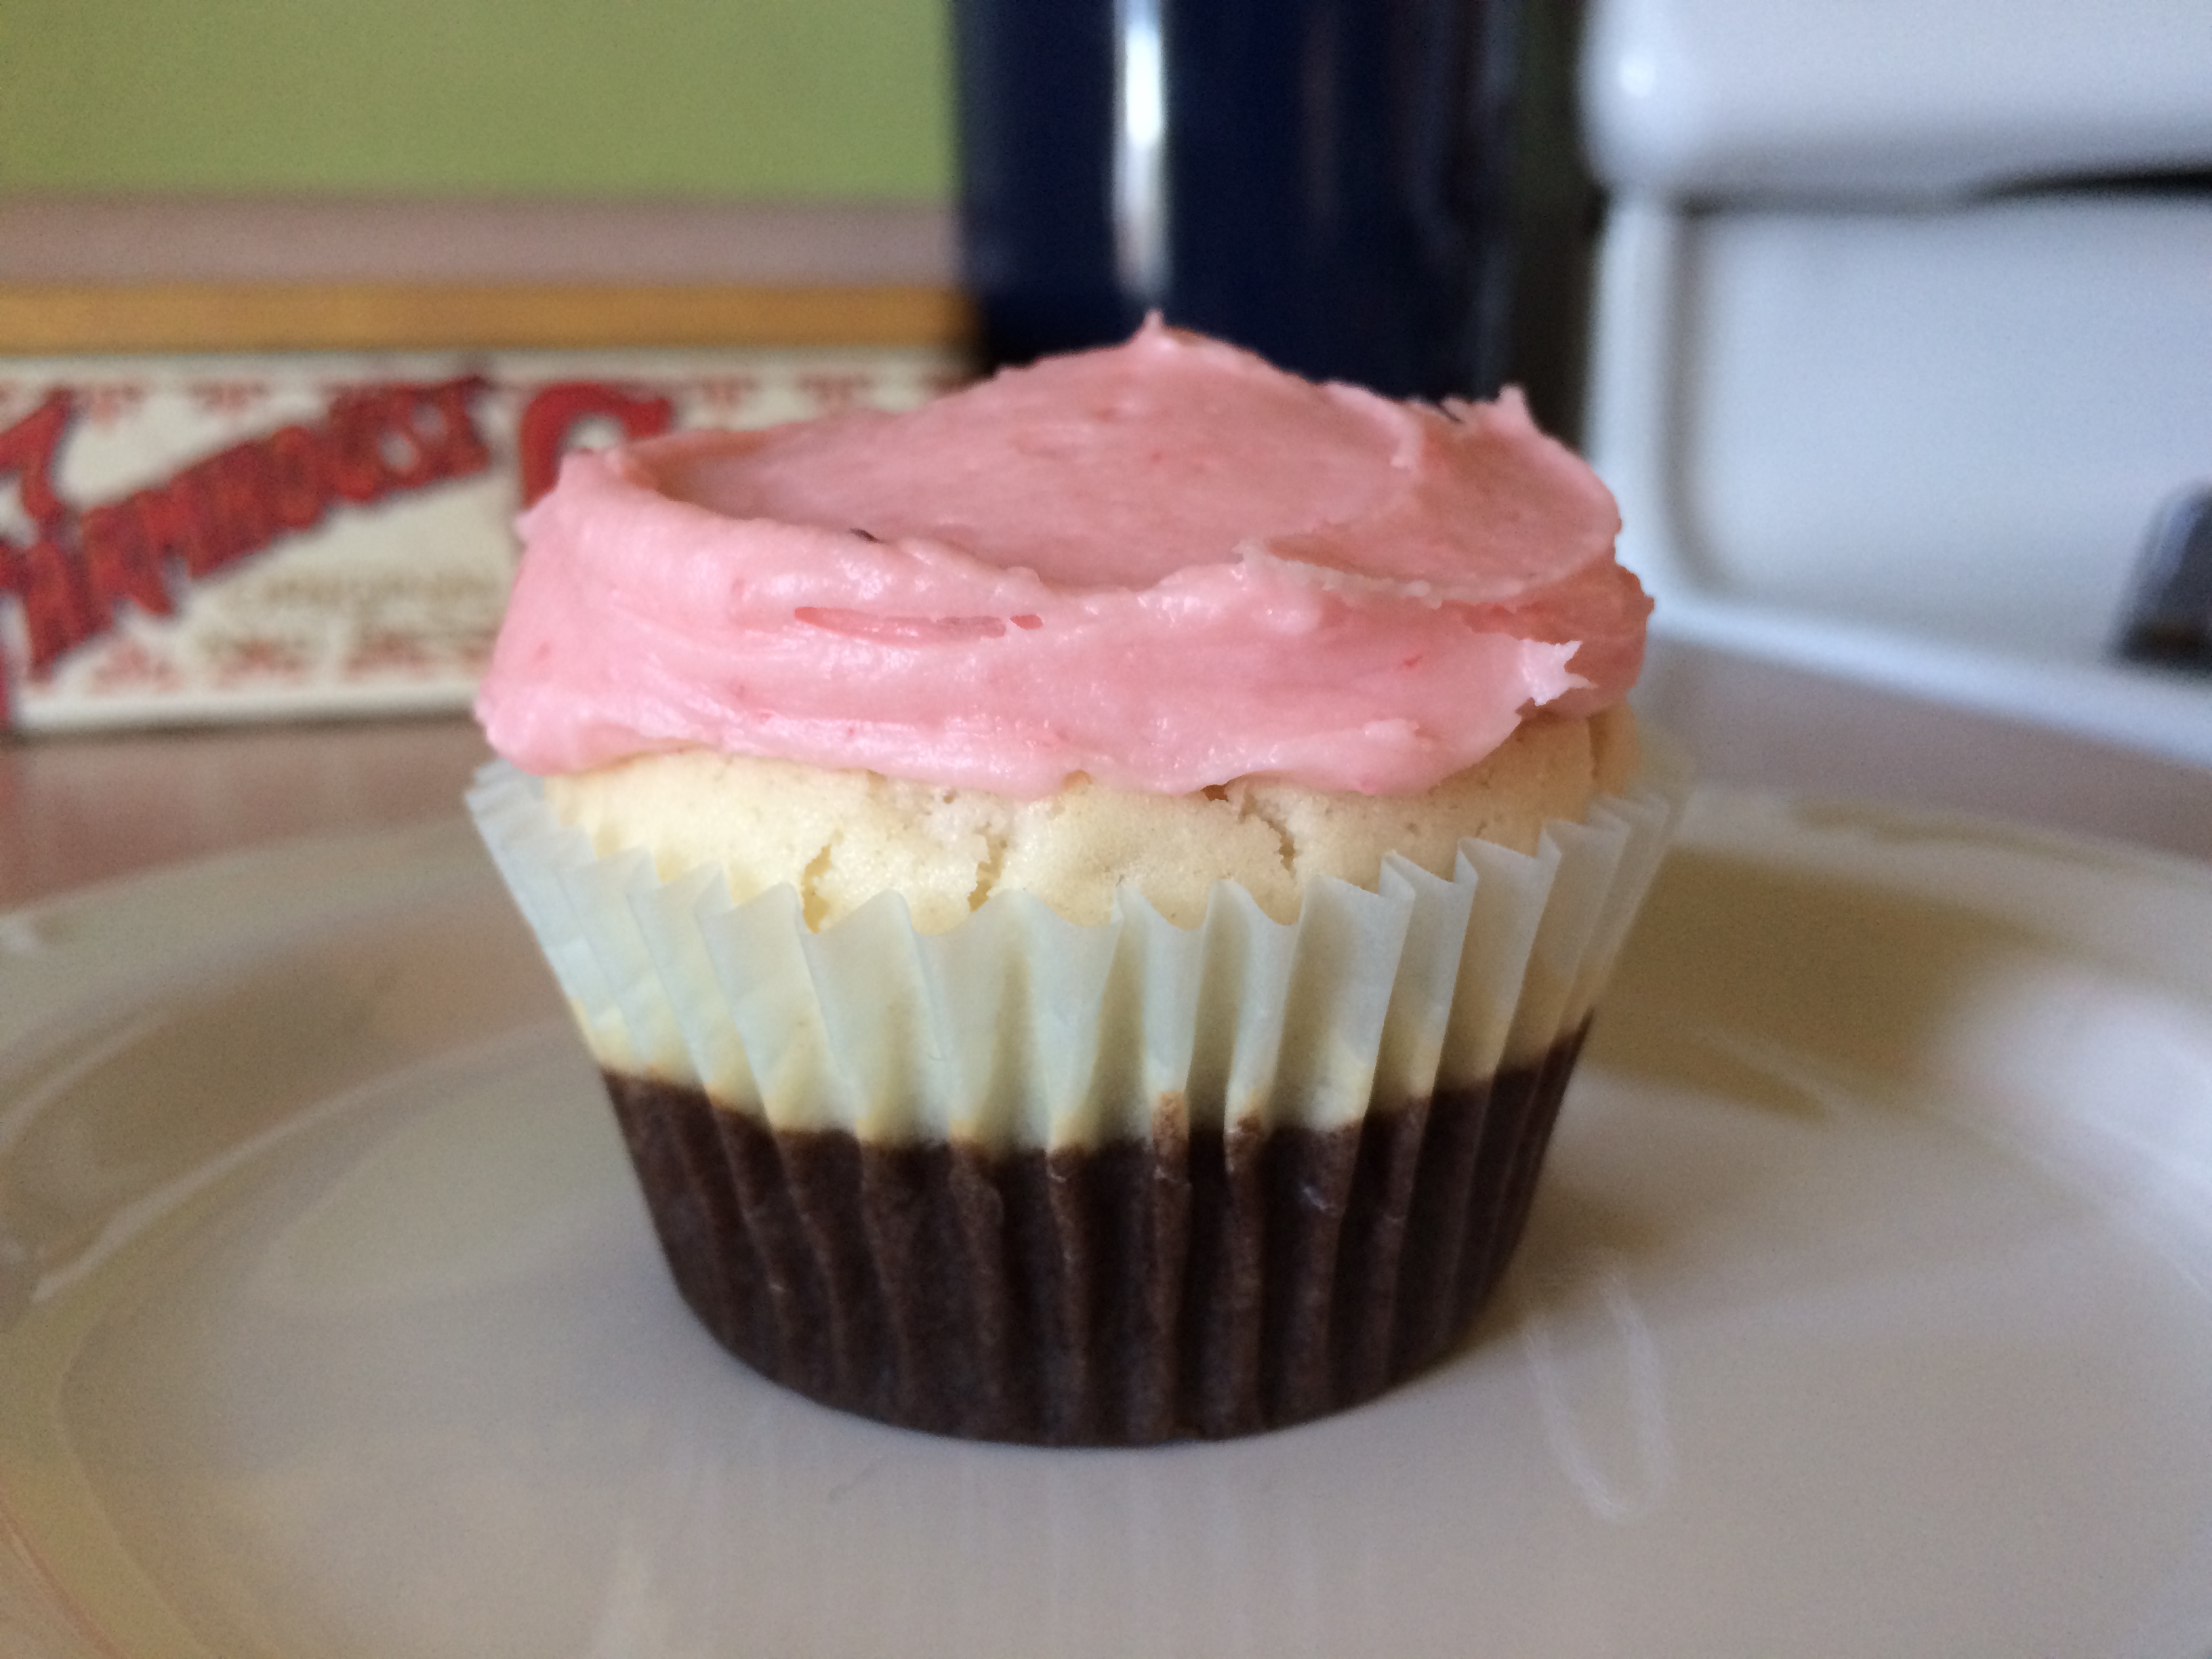
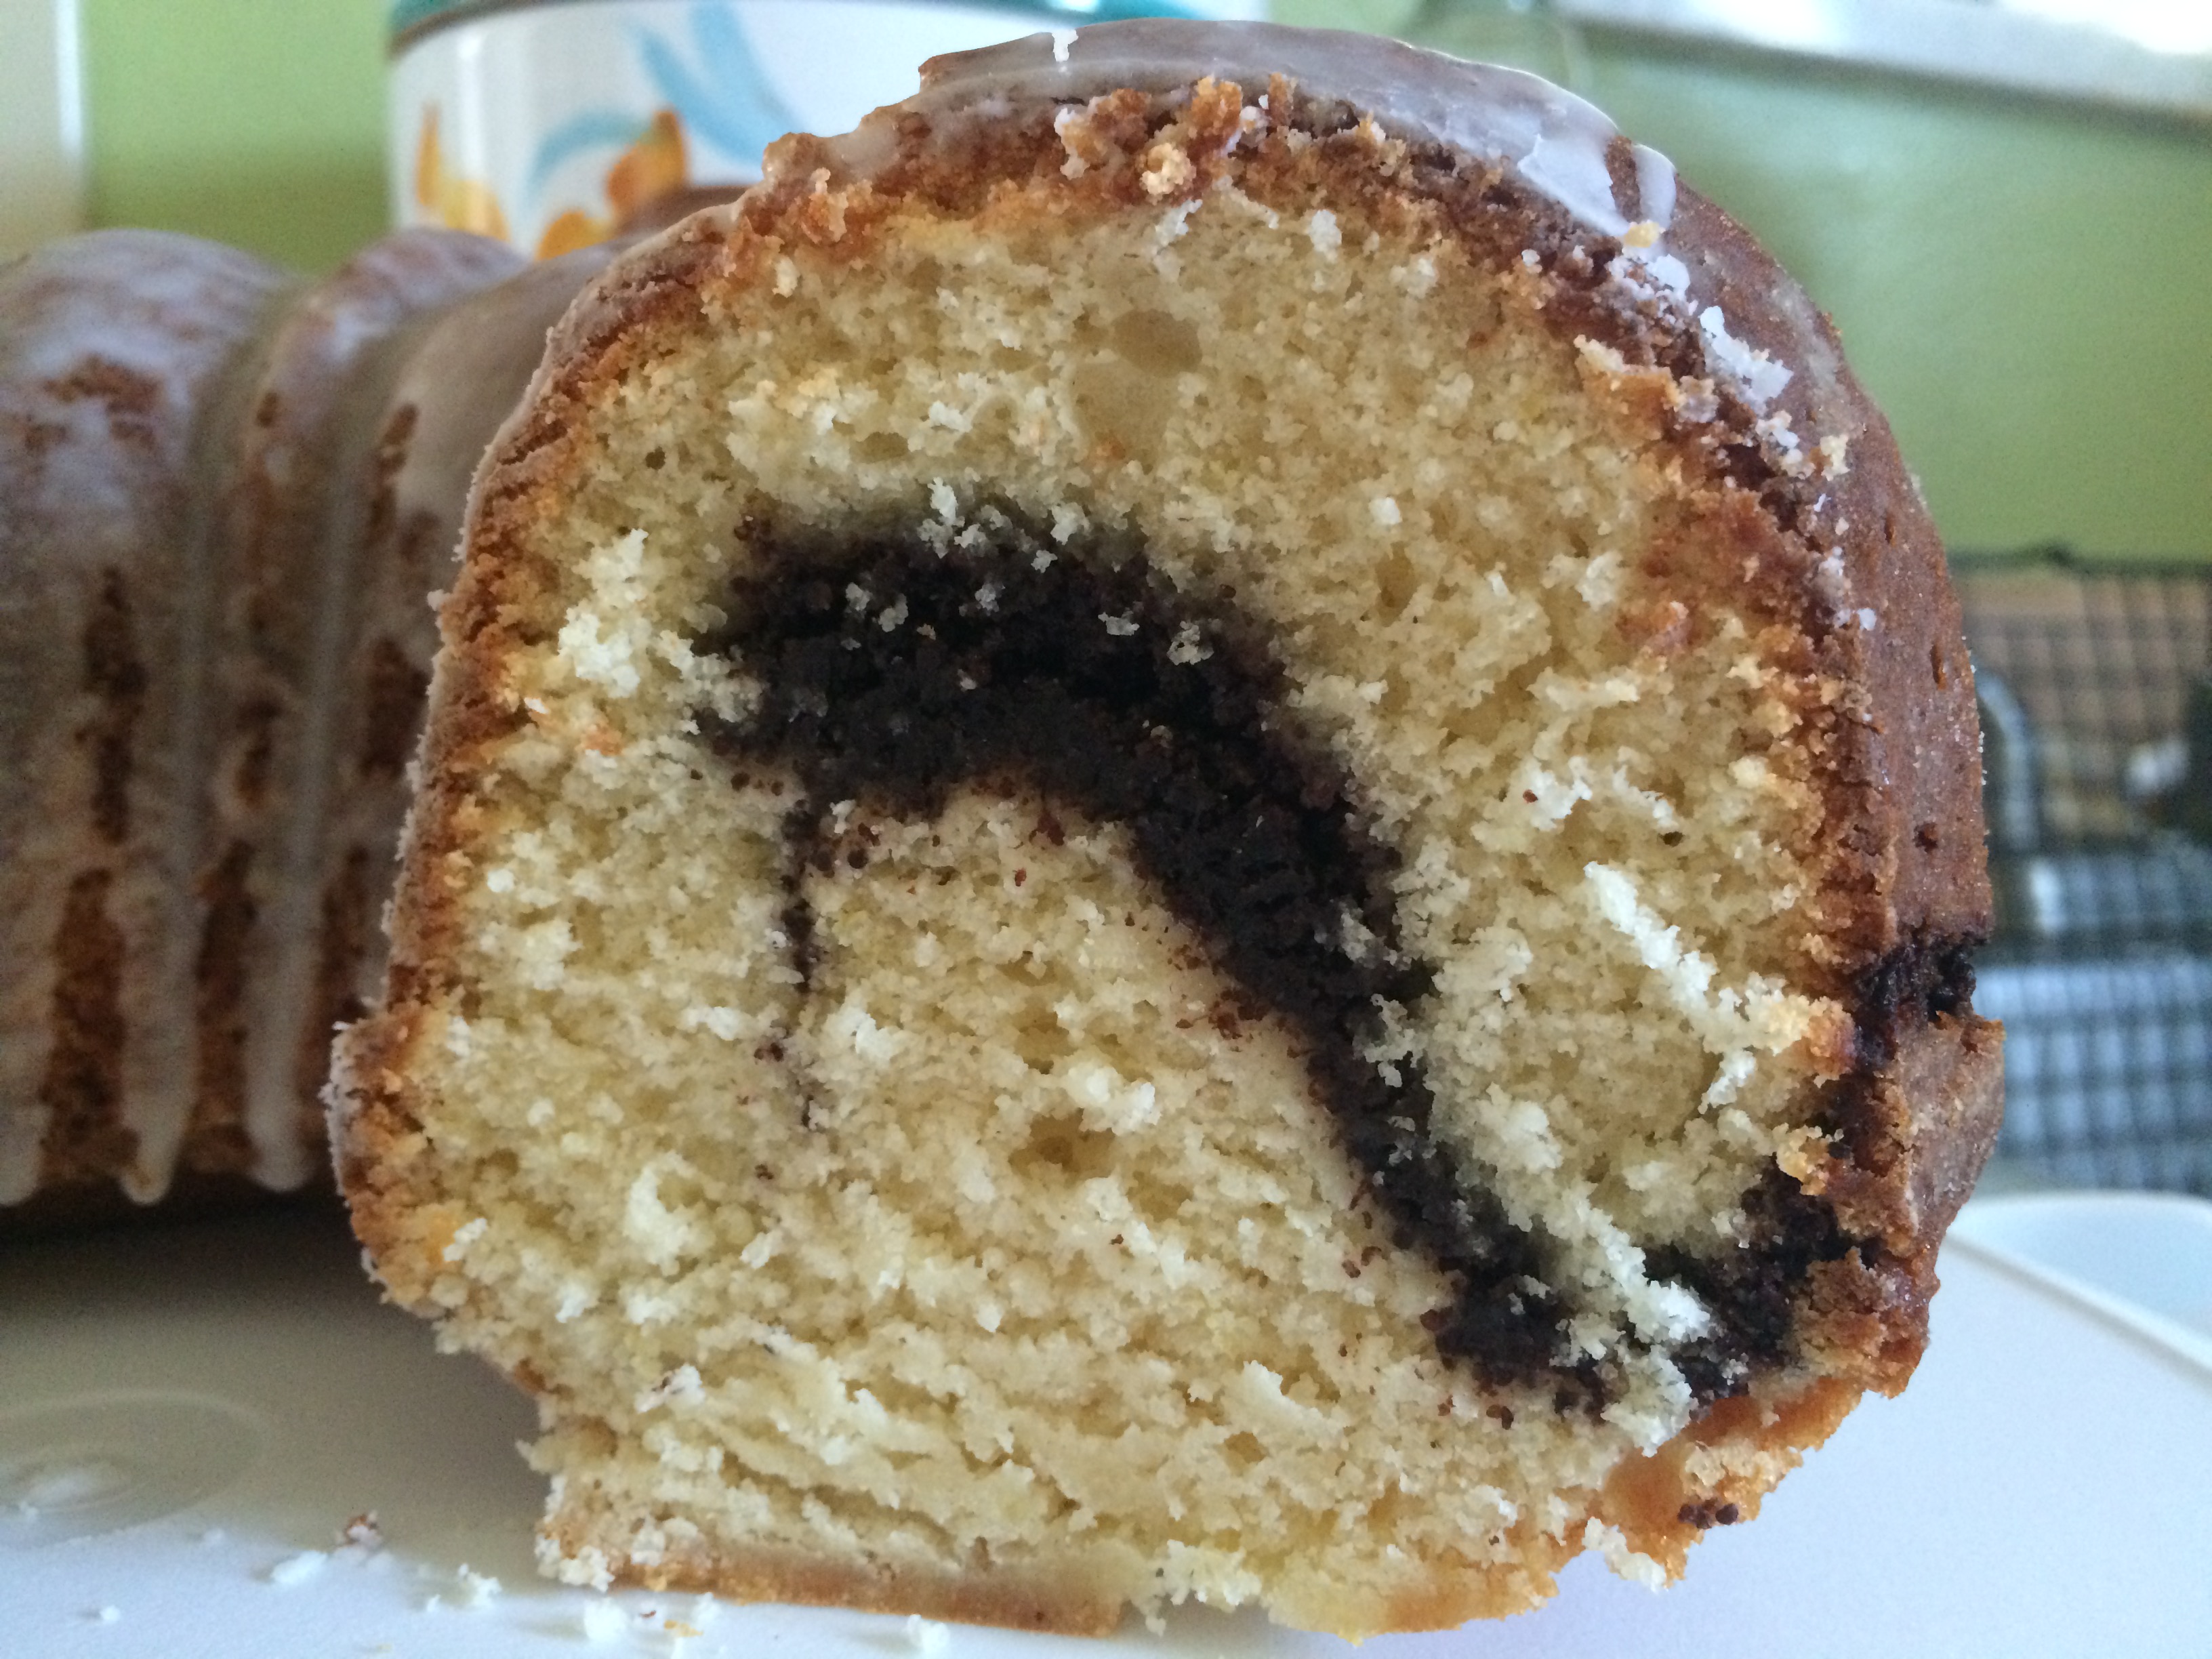
Although Genny isn’t a big consumer of sweets, I suspect she’ll have at least a slice of this butter pecan cake, which I’ve made for her to celebrate Mother’s Day. This recipe strikes me as very Southern, or like something you’d find in the pages of Country Woman magazine – which is fitting because Genny grew up in what used to be a fairly rural part of Maryland and is now a much more populous community for commuters to Baltimore and DC.
This recipe makes quite a quantity, turning out one 8-inch round cake and 24 cupcakes. You could certainly make this as a three-layer cake, or as a two-layer cake with a dozen cupcakes, or just three dozen cupcakes. Whatever you decide, I’m sure your results will be tasty. Happy Mother’s Day!
Ingredients
For the butter pecans (make these first – you need them for both your cake and frosting)
- 2 cups chopped pecans
- 4 tablespoons salted butter
For the cake (or cupcakes)
- 3 cups flour
- 2 teaspoons baking powder
- 1 cup salted butter, at room temperature
- 2 cups granulated sugar
- 1 tablespoons vanilla extract
- 4 large eggs
- 1 cup whole milk
- 1 1/2 cups butter pecans
For the frosting
- 1 cup unsalted butter, at room temperature
- pinch of salt
- 3 – 3 1/2 cups powdered sugar
- 1 teaspoon vanilla extract
- 1/2 cup butter pecans, chopped to a finer consistency than what you’re using in the batter
Preparation
For the butter pecans:
Preheat oven to 350 degrees. Line a rimmed baking sheet with foil, extending the foil over all four sides.
Place pecans and butter onto the baking sheet; bake for about 8-9 minutes, stirring frequently, until pecans are toasted and fragrant. Be careful not to burn them – pecans can burn easily after several minutes in the oven.
Remove pecans from the baking sheet and place on a platter to cool completely before using.
For the cake or cupcakes:
If you’re making a cake or cakes: grease and flour your baking pans or spray with baking spray. I lined the bottom of my baking pan with a circle of parchment as well.
If you’re making cupcakes: line cupcake pans with paper liners.
In a large bowl, combine flour and baking powder; set aside.
In a mixing bowl, cream together butter, sugar, and vanilla until light and fluffy. Add eggs, one at a time, beating well after each.
Add flour mixture and milk alternatively in three batches, beginning and ending with the flour. Stir in butter pecans.
Pour batter into prepared pans, or, for cupcakes, fill cupcake wells about 2/3 full.
Bake cakes for 25-30 minutes or cupcakes for 18-20 minutes, until a cake tester comes out clean.
Cool cake or cupcakes completely before frosting.
For the frosting:
In a mixing bowl, beat butter on medium speed for about 1 minute.
Add 3 cups of powdered sugar and beat on low speed until the sugar is completely incorporated into the butter. I cover my mixer with a towel to prevent a sugar storm.
Add vanilla and beat until combined; check your consistency and if it is too thin, add another 1/2 cup of powdered sugar. Stir in butter pecans.
Frost cakes and cupcakes using an offset spatula. I used a 1-inch cookie scoop and dropped scoops of frosting onto each cupcake first, then used all of the leftover frosting on the cake. You wouldn’t want to try to pipe this frosting because of the pecan pieces, but the old-fashioned look of hand-frosted treats suits this recipe very well.