Butterscotch Pie

butterscotch pieCooking pie filling is a delicate business. Most recipes instruct you to cook your ingredients “until thickened and bubbly” before tempering with the egg yolks. This is a very subjective endeavor, when you think about it. Just how thick and bubbly is thick and bubbly enough, really?

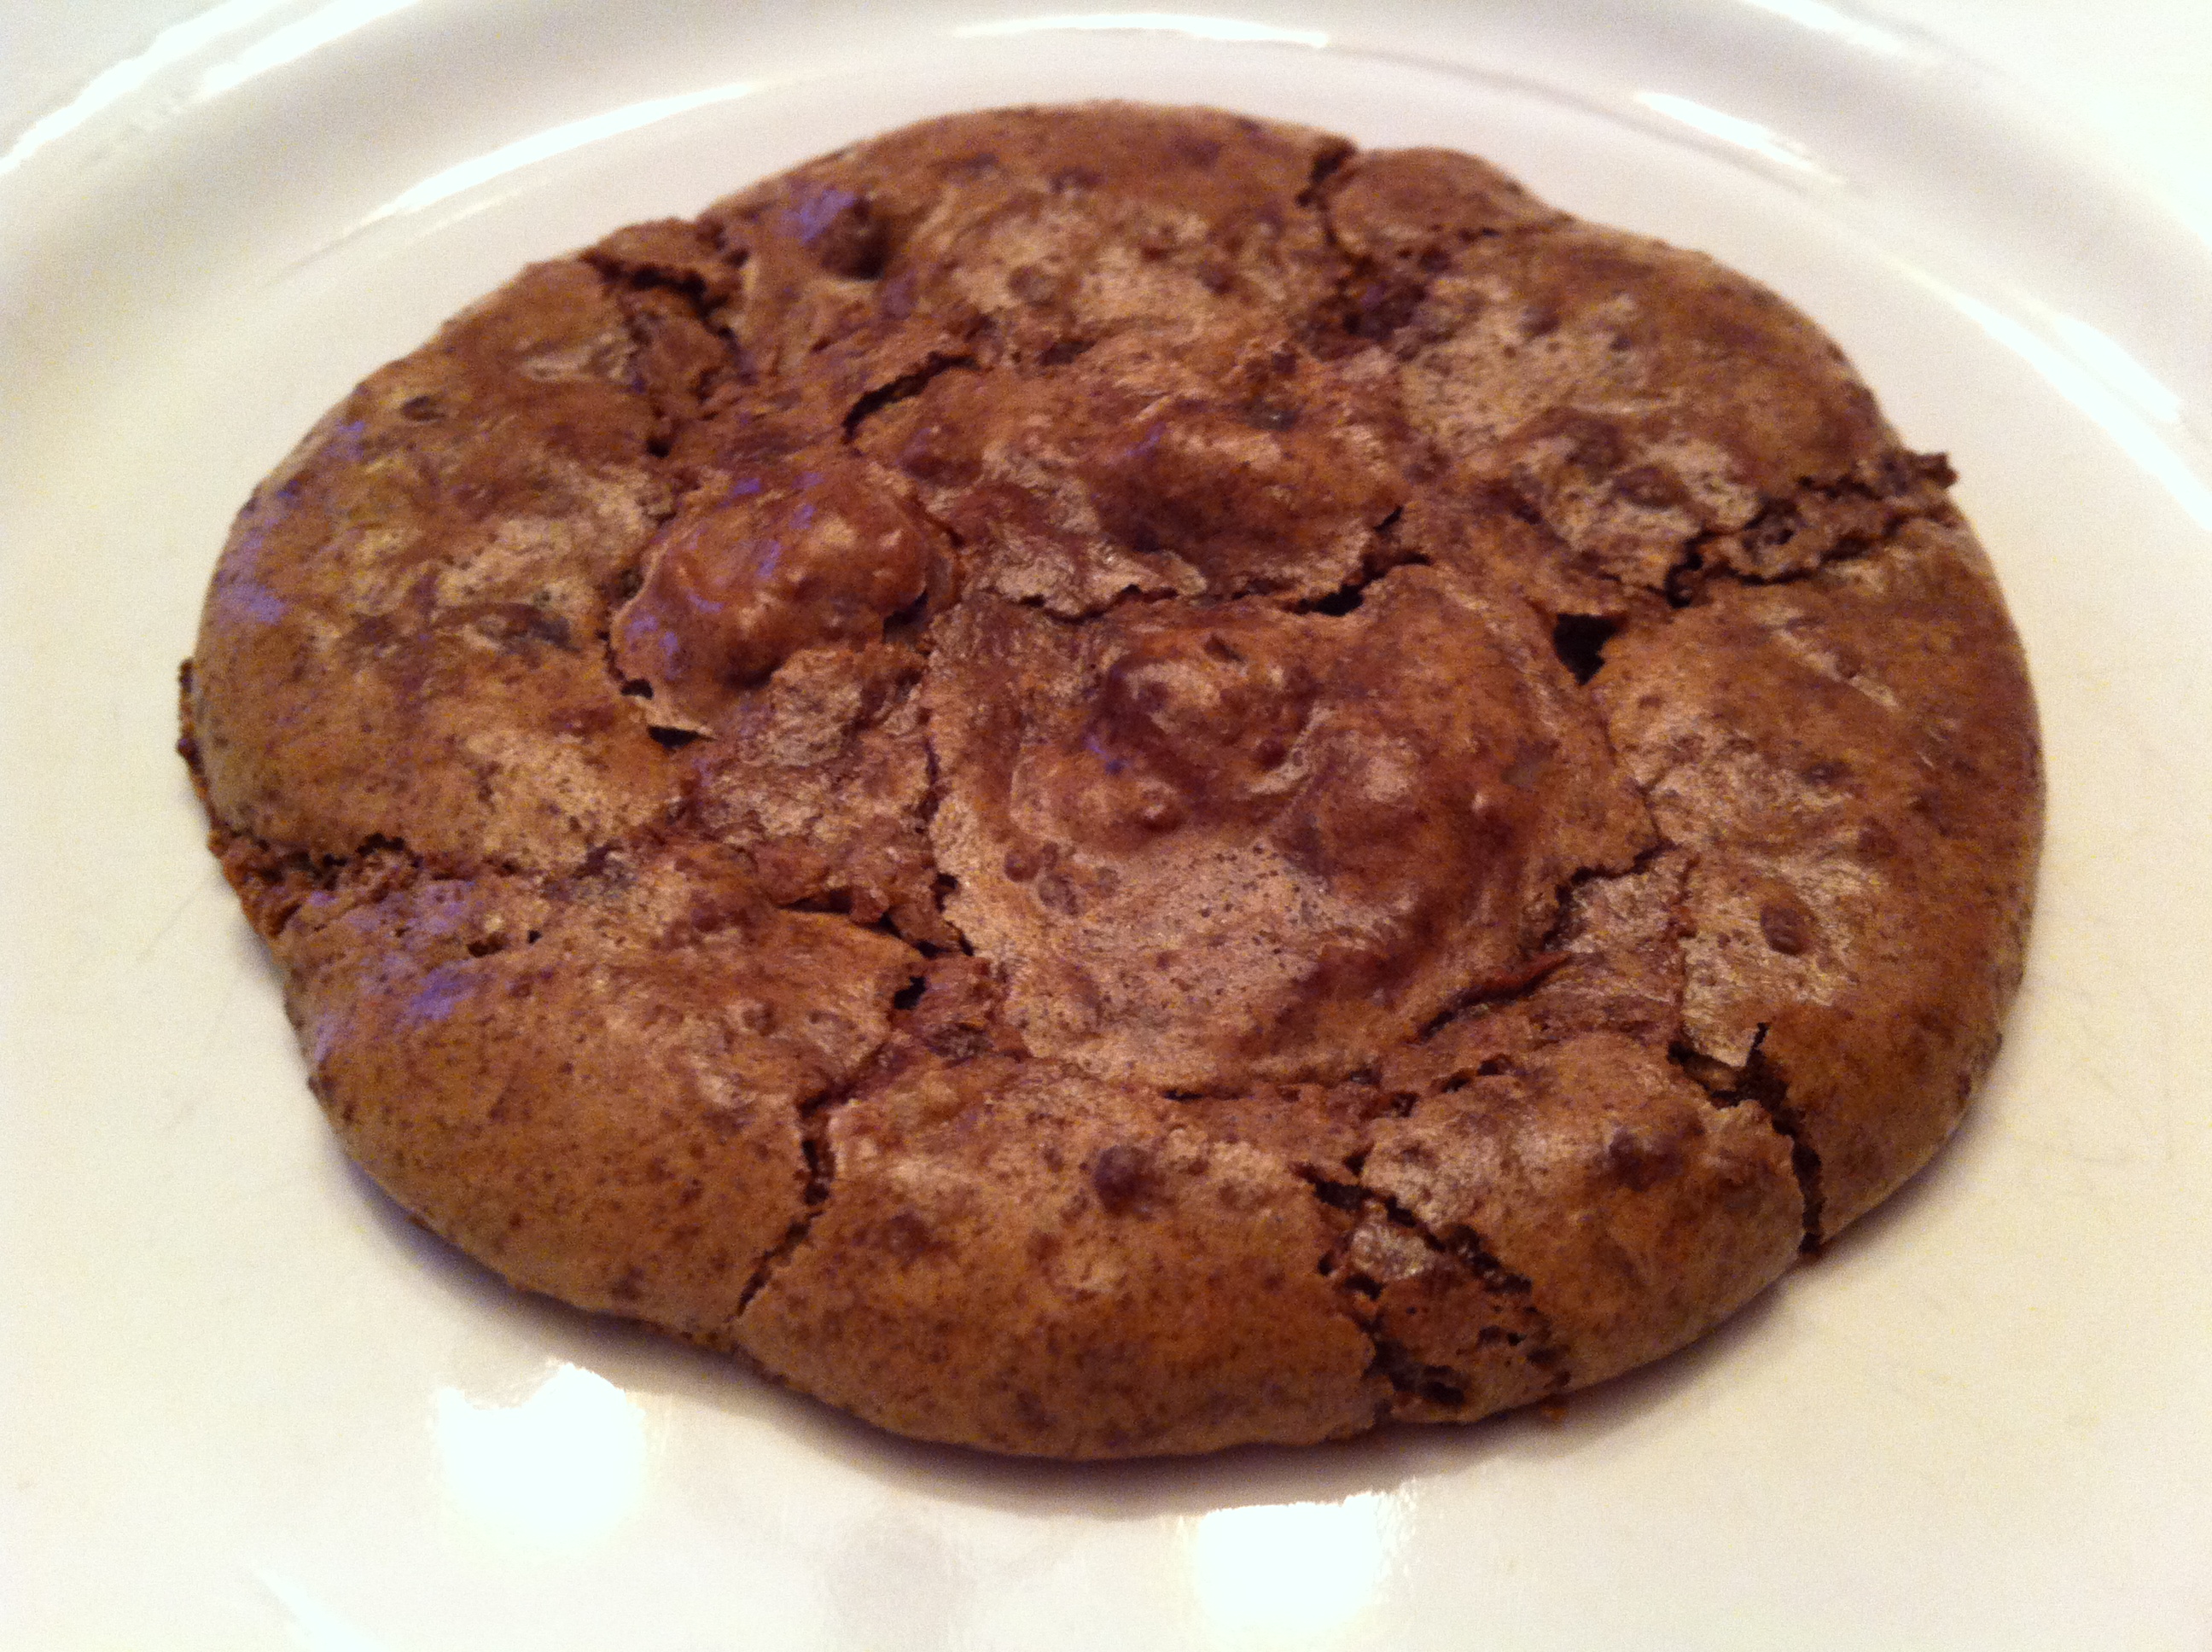
I suspect that I under-cooked my filling for this pie, because it is far less solid than the filling in my vanilla cream pie from a few weeks back. It’s also far less butterscotch-like than I expected…not that it wasn’t very tasty.

Next time, I’ll use dark brown sugar, which in hindsight was probably what the author meant when they wrote “brown sugar” in the recipe. I’ll also cook the filling for a few more minutes, until thicker and bubblier, before tempering the eggs.

Ingredients

  • 1 pie crust
  • 1/3 cup flour
  • 1 1/2 cups packed brown sugar
  • 2 1/4 cups milk
  • 3 egg yolks
  • 2 tablespoons butter
  • 1 teaspoon vanilla

To pre-bake the crust:

Preheat oven to 375 degrees.

Line a 9-inch pie plate with crust, trim edges, and prick bottom with a fork. Line crust with parchment and fill with dried beans or pie weights; bake for 15 minutes, then remove the beans/weights and parchment and continue baking for another 15 minutes, until edges are golden brown. Allow crust to cool completely before filling.

To make the filling:

Place egg yolks in a large glass measuring cup and beat lightly; set aside. Using a measuring cup will make it easier to pour the tempered egg yolk mixture back into the pan of filling later.

In a medium saucepan, whisk together flour, brown sugar, and milk until very well combined. Cook until thickened and bubbly, stirring frequently. Once bubbles form, cook and stir 1 minute more.

Remove from heat and slowly pour about 1 cup of the filling mixture into the egg yolks, whisking constantly to temper. Pour egg yolk mixture back into the pan of hot filling and bring to a very gentle boil. Cook and stir 2 minutes more.

Remove from heat and stir in butter and vanilla extract until very well combined.

Pour filling into cooled pre-baked crust and gently press plastic wrap on the top of the filling. Refrigerate for at least 3 hours before serving; my pie was refrigerated overnight.


Lemon Curd

lemon curdWhat can I say about lemon curd? I love it. And now, I know how to make it…which makes me feel like a superwoman. There’s something about successfully tempering egg yolks that gives me an incredible sense of accomplishment, like I’ve just climbed the Mount Everest of confections.

I had six egg yolks left over from this weekend’s baking, and I wanted to use them all up in the same recipe. Fortunately, the recipe that I had for lemon curd was easily tripled to accommodate six yolks, and the adjusted recipe appears below. Also, I used Meyer lemons for this curd; Meyer lemons are thought to be a cross between a lemon and a clementine or orange and are native to China. I’ve been fascinated by Meyers for some time, and when Mike told me that Soergel Orchards had them in stock this week, I asked him to bring them home for me. You could certainly use regular lemons, of course.

Ingredients

  • 6 egg yolks
  • 6 teaspoons cornstarch
  • 1 cup sugar
  • 3/4 cup lemon juice (I used 6 small/medium-sized Meyer lemons)
  • zest of 3 lemons
  • 12 tablespoons butter

Preparation

Lightly beat egg yolks and pass them through a fine sieve to remove the albumin. Set aside in a medium bowl close to the stove for easy access; thoroughly wash your sieve and place it nearby for a second straining once the curd has cooked.

In a medium saucepan, whisk together cornstarch, sugar, lemon juice, and lemon zest until completely combined. Add butter and cook on medium heat until thickened and bubbly.

Working quickly, pour about half of the hot lemon mixture into the egg yolks, whisking constantly to temper. Pour egg mixture back into the pan and cook and stir for 2 minutes more.

Pour mixture through your sieve to remove the zest; press waxed paper (or plastic wrap) onto the surface to prevent a skin from forming. Once curd is completely cooled, place in an airtight container. According to various food safety websites and other food blogs, lemon curd should last in the refrigerator for a few weeks.

Hot Cocoa Cookies

hot cocoa cookiesI joined Pinterest several months back, at the recommendation of my friend Kerry from work. At present, my “baking” board has 246 pins…and it gets bigger every day. I also have boards that celebrate lemons, gardens, eco-friendly housekeeping practices, good advice, and movie villains, but more often than not, I pin things that involve butter and sugar.

Kerry is also active on Pinterest, and she recently confessed that she pins recipes in the hope that I’ll see them and bake them. This is one of those examples, as she requested hot cocoa cookies for our holiday party at the office today. The recipe below is actually an adaptation of a recipe that I found on another food blog and combined with my own chocolate drizzle instead of the recipe’s original chocolate icing. The end result is a rich treat that tastes remarkably like a cup of hot cocoa. Next time, I might try a peppermint drizzle, or even a caramel one.

Ingredients

For the cookies

  • 8 tablespoons butter
  • 1 12-ounce package semisweet chocolate chips
  • 1 1/2 cups flour
  • 1/4 cup cocoa powder
  • 1 1/2 teaspoons baking powder
  • 1/4 teaspoon salt
  • 1 1/4 cups packed light brown sugar
  • 3 eggs
  • 2 teaspoons vanilla extract
  • 15 large marshmallows, cut in half crosswise

For the chocolate drizzle

  • 1/2 cup semisweet chocolate chips
  • 1 tablespoon shortening

Preparation

In a medium saucepan, melt butter and chocolate chips. Set aside and allow to cool slightly.

In a medium bowl, combine flour, cocoa, baking powder, and salt; set aside.

In a mixing bowl, combine brown sugar, eggs, and vanilla and beat until well-blended. Add cooled chocolate and beat until combined.

With the mixer running on low, slowly add flour/cocoa mixture until a smooth dough forms. Cover dough with plastic wrap and chill for 1 hour.

Preheat oven to 325 degrees. Line several baking sheets with parchment paper.

Using a 2-inch cookie scoop, scoop out dough (dough will be very stiff at this point) and roll into balls. Place about 2 inches apart on prepared baking sheets, and flatten slightly with the palm of your hand. My recipe above yielded 30 balls of dough, but if yours varies, simply adjust the quantity of marshmallows for topping.

Bake for 12 minutes, then remove from oven and quickly top each cookie with one half of a marshmallow. Return to the oven and bake 3 minutes more; remove from oven once again and gently press the marshmallow down to flatten it just slightly. Allow to cool for 5 minutes on baking sheets, then place on a wire rack to cool completely.

Once cookies are completely cool, place waxed paper beneath the cooling racks to catch any drip from the chocolate drizzle. To prepare the drizzle, combine 1/2 cup chocolate chips with 1 tablespoon shortening in a small saucepan and melt over low heat, stirring constantly until smooth. Drizzle over cookies and allow to harden before serving.

Dark Chocolate Meringues (Gluten-Free!)

dark chocolate meringuesSeveral folks in my life are gluten-free, so it’s been interesting for me to experiment with gluten-free baking. Thus far, my gluten-free endeavors have centered in the macaroon/meringue world, including today’s dark chocolate meringues, but I do hope to branch out into non-wheat-based flours in the New Year.

I’ll admit that this recipe needs some work; it’s adapted from Ron Ben-Israel’s dark chocolate meringue recipe that was part of this year’s Food Network 12 Days of Cookies. And although I’m a huge fan of dark chocolate, this cookie is a bit too bitter even for me. I’m not sure how to tone down the bite in this cookie, but I’m certainly open to suggestions; so far I’m considering increasing the amount of nuts and perhaps using pecans instead of walnuts, and maybe using a blend of milk and dark chocolates, rather than all dark. This is the beauty of baking, though…the possibilities are endless!

Ingredients

  • 12 ounces dark chocolate chips (53% cacao)
  • 1/2 teaspoon vanilla extract
  • 1/4 teaspoon salt
  • 1 tablespoon vinegar
  • 4 egg whites
  • 1 cup sugar
  • 1/2 cup walnuts, finely chopped

Preparation

Preheat oven to 325 degrees. Line two baking sheets with parchment paper.

Melt chocolate in a microwave-safe bowl by microwaving in 30-second intervals, stirring after each, until chips are nearly completely melted. Remove bowl from microwave and stir until remaining chips melt completely. Allow to cool, but not to harden. Stir in vanilla. (Note: the chocolate thickened significantly after I stirred in the vanilla, so I kept stirring it to keep it smooth while the egg whites were whipping.)

Place salt, vinegar, and egg whites in a mixing bowl fitted with a whisk attachment and mix on medium speed until whites are foamy, about 1 minute. Add sugar in a steady stream with the mixer running and allow whites to whip to stiff peaks, about 4-5 minutes.

Stir about one-third of the whipped whites into the chocolate, then fold the combined whites/chocolate mixture into the remaining whites. It’s important to note that you want to keep the mixture as light as possible, but you do need to fold more firmly than you would normally in order to incorporate the chocolate mixture properly.

Fold in walnuts, then place the dough into a large resealable plastic bag (or pastry bag), snip off one corner, and pipe the dough in 1 1/2 inch circles on the parchment-lined baking sheets.

Bake both batches at once, for about 12 minutes. Cookies are done when the tops are shiny and cracked. Allow to cool for 10 minutes on baking sheets, then cool completely on a wire rack.

Pfeffernüssen

pfeffernussenGermans have been immigrating to America since the colonial days, bringing beer, hamburgers, and all manner of delicious baked goods with them. German Americans represent the largest ancestry group in the U.S., with about 50 million individuals tracing their heritage back to Germany. Mike is about three-quarters German, and I’m one-quarter, thanks to my mom’s mom, Genevieve Feaga (pronounced Fig-ee) O’Donnell.

Many Christmas traditions in the U.S. originated in Germany, from Christmas trees to gingerbread houses. Pfeffernüssen seem to be the über-spicy cousins of gingerbread, packing in cinnamon, allspice, cloves, nutmeg, and even pepper in their dough. The recipe below is slightly adapted from the Martha Stewart Cookie Book recipe; I increased my spices a bit and just used regular nutmeg and pepper, rather than freshly grated or ground, as I only had the regular kind. Also, I spiced these very generously; while I wouldn’t describe the spice measurements below as “heaping,” you definitely don’t need to be stingy when measuring.

Ingredients

  • 2 1/4 cup flour
  • 1/4 teaspoon baking soda
  • 1/4 teaspoon black pepper
  • 3/4 teaspoon cinnamon
  • 1/2 teaspoon allspice
  • 1/4 teaspoon nutmeg
  • 1/2 teaspoon cloves
  • 8 tablespoons butter, room temperature
  • 3/4 cup light brown sugar
  • 1/4 cup molasses
  • 1 egg
  • 1/2 teaspoon vanilla extract
  • 1 1/4 cup powdered sugar, for coating

Preparation

Preheat oven to 350 degrees. Line two baking sheets with parchment paper.

Place powdered sugar in a brown paper bag and set aside.

In a medium bowl, combine flour, baking soda, and spices; set aside.

In a mixing bowl, combine butter, brown sugar, and molasses. Beat on medium speed until fluffy, about 2-3 minutes.

Add egg and vanilla and mix until combined.

With the mixer on low, slowly add flour, mixing until just combined.

Using a 2-inch cookie scoop, scoop out dough, roll into balls, and place about 1 1/2 inches apart on prepared baking sheets.

Bake for 15-17 minutes, until tops crack and just begin to brown. Allow to cool for about 10 minutes.

Once cookies have cooled slightly, place 2-3 cookies in the brown paper bag at a time and gently shake to coat. Remove from bag and place on a wire rack to cool completely.


Vanilla Cream Pie

vanilla cream pie

Yesterday I attempted (twice) to make a butterscotch pie from a recipe written by a famous lifestyle maven. While I fully recognize that the maven and her test kitchen chefs likely possess culinary skills that surpass my own, I also sincerely believe there is something wrong with her recipe, in quantity or in process. Perhaps some step was left out, or there was an instruction regarding the temperature of an ingredient that no one thought to include. Either way, I gave it two good tries and ended up having to throw away a burnt-caramel-encrusted wooden spoon.

Fortunately, I had a pre-baked crust and four egg yolks waiting in the wings during the butterscotch disaster, so when I consulted my trusty Better Homes & Gardens 25th Anniversary Cookbook and discovered that vanilla cream pie called for both items, I knew it was meant to be. I’d never tempered eggs before, but with Mike’s help all went well. The end result is, quite seriously, one of the best pies I’ve ever had. So take that, lifestyle maven. The BH&G also has a butterscotch recipe, so stay tuned for that sometime soon.

Ingredients

  • 1 pie crust
  • 4 egg yolks
  • 3/4 cup sugar
  • 1/4 cup corn starch
  • 3 cups milk
  • 1 tablespoon butter
  • 1 1/2 teaspoons vanilla extract
  • Dark chocolate Hershey’s Kisses, for garnish, if desired

Preparation

To pre-bake the crust:

Preheat oven to 375 degrees.

Line a 9-inch pie plate with crust, trim edges, and prick bottom with a fork. Line crust with parchment and fill with dried beans or pie weights; bake for 15 minutes, then remove the beans/weights and parchment and continue baking for another 15 minutes, until edges are golden brown. Allow crust to cool completely before filling.

To make the filling:

Place egg yolks in a large glass measuring cup and beat lightly; set aside. Using a measuring cup will make it easier to pour the tempered egg yolk mixture back into the pan of filling later.

In a medium saucepan, whisk together sugar, corn starch, and milk until very well combined. Cook until thickened and bubbly, stirring frequently. Once bubbles form, cook and stir 2 minutes more.

Remove from heat and slowly pour about 1 cup of the filling mixture into the egg yolks, whisking constantly to temper. Pour egg yolk mixture back into the pan of hot filling and bring to a very gentle boil. Cook and stir 2 minutes more.

Remove from heat and stir in butter and vanilla extract until very well combined.

Pour filling into cooled pre-baked crust and gently press plastic wrap on the top of the filling. Refrigerate for at least 3 hours before serving; my pie was refrigerated overnight.

If desired, chop or grate dark chocolate Hershey’s Kisses and sprinkle over the top of the pie before serving. Whipped cream would also be a great topping idea.

Wondering what to do with four leftover egg whites? Use three of them for coconut macaroons and the remaining white to make a half-batch of cocoa meringues.


Peanut Butter Chocolate Chip Cookies

IMG_1597I’ve been away from my oven for the past two weekends, first traveling for work and then sidelined with a cold. Today, I simply needed to bake something.

My health coach recently asked me what I love about baking, and I told her that I love both the structure and creativity of it. You can look at a recipe and know, with some certainty, how it will turn out, but you also have the power to add or omit or change a few ingredients and come up with something entirely different. This recipe is a good example of that creativity, as it blends two classic cookies, the peanut butter cookie and the chocolate chip cookie, and makes them into something new and delicious.

Just a few notes about these treats: while they’re baking, you want to keep a close eye on them, because they over-bake very quickly. Check them around 10 minutes in the oven, then give them another minute or two, but make sure you pull them when they’re golden brown at the edges and still just slightly raw-looking in the centers. Don’t worry about under-baking them; they’ll continue to bake for a few minutes while they cool on the cookie sheets anyway, but you won’t be able to achieve the soft, chewy texture you’re after if you bake them too long.

Ingredients

  • 1 1/2 cups flour
  • 1 teaspoon baking soda
  • 1/2 cup sugar
  • 1/2 cup brown sugar
  • 1 cup butter, softened
  • 1/2 cup peanut butter
  • 1 teaspoon vanilla
  • 1 egg
  • 1 12-ounce bag milk chocolate chips
  • About 1/4 cup sugar, for pressing onto tops of cookies before baking

Preparation

Preheat oven to 350 degrees.

Line several baking sheets with foil or parchment paper.

In a small bowl, combine flour and baking soda; set aside.

In a mixing bowl, cream together white sugar, brown sugar, butter, peanut butter, and vanilla, scraping sides of the bowl frequently.

Add egg and beat well.

Add flour mixture in two batches, mixing until well-combined.

Stir in chocolate chips.

Using a 2-inch cookie scoop, drop scoops of dough about 2 inches apart on prepared baking sheets.

Butter the bottom of a glass and dip it into sugar, then press onto each scoop of dough to flatten. You’ll need to dip the glass into the sugar before flattening each scoop of dough.

Bake for 10 minutes and check progress; cookies are done when their edges are golden brown but the centers appear just slightly raw. Average baking time is 12-14 minutes, depending on your oven. Remove cookies from oven and cool for 5 minutes on cookie sheets before transferring to a wire rack to cool completely.


Zucchini Bread

zucchini breadYes: I am baking with vegetables. People who know me well will be astonished by this, given that until recently I’ve lived a fairly vegetable-free life. My aversion to these nutritional powerhouses began early in life, and I’ve kept most vegetables at arm’s length (or hidden in mashed potatoes, so I don’t really have to taste them) until the last month or so.

You’d think that a kid raised by health and phys ed teachers would eat spinach omelets for breakfast, salads for lunch, and grilled veggies for dinner…but you’d be wrong. I’ve spent most of my life shunning veggies, especially the green ones…and most especially, the leafy green ones. But last month, I committed to improving my overall health and began to work with a health coach (read: my friend and former intern Kate, who is awesome) and she’s helping me figure out ways to sneak vegetables into foods that I already like. Enter zucchini bread.

Skeptical, I was, but curious too. As the bread baked, a lovely cinnamon aroma wafted from my kitchen. Once cool, I cut a slice, then stared it down. I could do this, right? Long ago I adopted an attitude of no fear in my baking, so why should tasting be any different? For the record: this bread tastes amazing. It’s cinnamony and moist and studded with chocolate chips, which makes anything better, really. If all vegetables tasted like this, I’d be the healthiest person in the world.

Ingredients

  • 3 cups flour
  • 1 teaspoon salt
  • 1 teaspoon baking soda
  • 1 teaspoon baking powder
  • 3 teaspoons cinnamon
  • 3 eggs
  • 1 cup vegetable oil
  • 2 1/4 cups sugar
  • 3 teaspoons vanilla extract
  • 2 cups grated zucchini
  • 1 cup milk chocolate chips

Preparation

Preheat oven to 325 degrees.

Spray two 8 x 4 loaf pans with baking spray.

In a large bowl, combine flour, salt, baking soda, baking powder, and cinnamon; set aside.

In a medium bowl, combine eggs, vegetable oil, sugar, and vanilla, mixing well. Add to dry ingredients and stir until well-combined and no dry streaks remain.

Add zucchini and chocolate chips and stir to combine.

Divide batter evenly between loaf pans.

Bake for 60-65 minutes, until a cake tester comes out clean. Cool completely before serving.

Chocolate Donuts

chocolate donuts
Last week’s apple cider donuts left me with about a cup of buttermilk. And what does a baker do with leftover buttermilk, you ask? She makes more donuts. 

Buttermilk used to be the liquid that was left over after churning butter, but today, it’s the result of adding a lactic acid bacteria culture to pasteurized milk. I’m not sure if there is a chemical reason why one would use buttermilk in baking, but there’s a definite flavoring difference, much like when you employ sour cream in a cake or dough, that can’t be achieved with regular milk.

Some recipes call for buttermilk or “sour milk,” which is made by mixing regular milk with lemon juice or vinegar. For these donuts, I’d stick to the real thing if you can. Flavor-wise, they’re a rich chocolate, and could be glazed with a vanilla icing or simply dusted with powdered sugar. Full disclosure: last night, I ate one and a half donuts with whipped cream as dessert. Because sometimes, you just need to do things like that.

Also important to note: this recipe would be easy to double to make one dozen donuts; the recipe below yields 6.

Ingredients

For the donuts

  • 1 cup flour
  • 1/4 cup unsweetened cocoa powder
  • 1/2 teaspoon baking soda
  • 1/4 teaspoon salt
  • 1/2 cup buttermilk
  • 1/2 cup dark brown sugar, packed
  • 1 egg
  • 4 teaspoons butter, melted
  • 1 teaspoon vanilla

For the chocolate glaze

  • About 1 1/4 cups powdered sugar
  • 1 tablespoons unsweetened cocoa powder
  • 2 tablespoons milk
  • 1/4 teaspoon vanilla extract

Preparation

Preheat oven to 325 degrees.

Grease one donut pan with baking spray.

In a medium bowl, combine flour, cocoa powder, baking soda, and salt; set aside.

In a small bowl, combine buttermilk, brown sugar, melted butter, and vanilla.

Add wet ingredients to dry ingredients and stir until well-combined.

Using two teaspoons from your tableware, drop batter into donut wells, divingind batter evenly and filling about 3/4 full; smooth the tops as best you can with wet fingers or the back of a spoon.

Bake for 13 minutes; remove from oven and allow to cool before dipping in glaze.

To make the glaze: combine all ingredients in a small bowl and mix well to a very smooth consistency. Add more powdered sugar if your icing is too thin; you want to be able to dip each donut into the glaze easily, but you don’t want it to be too runny.

Place waxed paper beneath the cooling rack to catch any drips. Dip each donut into the glaze, coating the top well, then place on the cooling rack to set. Store in a single layer.

Apple Cider Donuts

photoOne of my greatest dreams in life is to visit the King Arthur Flour store in Norwich, VT. I can just picture it: aisle after aisle of baking pans, mixing bowls, kitchen scales, flours, extracts, chocolate chips…every tool and ingredient a baker could possibly want, all under one roof.

The donut pans I used for this recipe are King Arthur Flour pans; I have the miniature donut pan as well, but for this recipe, I recommend using the full-sized versions. The apple cider in the batter yields a fluffy, airy texture, and I highly recommend using good-quality cinnamon, such as Vietnamese cinnamon (also available at King Arthur Flour, or Penzey’s), for the cinnamon-sugar coating. If you’d rather not dip your still-warm donuts in melted butter then coat them in cinnamon sugar, try a glaze made from powdered sugar and apple cider…which is what I’ll do next time.

Ingredients

Donuts

  • 2 cups flour
  • 3/4 cup sugar
  • 1 1/2 teaspoon baking powder
  • 1/4 teaspoon baking soda
  • 1 teaspoon salt
  • 2 eggs
  • 1/2 cup apple cider
  • 1/4 cup buttermilk
  • 2 tablespoons butter, softened
  • 1 heaping teaspoon cinnamon

Cinnamon Sugar Coating

  • 1 stick butter
  • 1/2 cup sugar
  • 2 teaspoons cinnamon

Preparation

Preheat oven to 325 degrees.

Spray two donut pans with cooking or baking spray; set aside.

In a medium bowl, combine flour, sugar, baking powder, baking soda, and salt; set aside.

In another medium bowl, combine eggs, apple cider, buttermilk, butter, and cinnamon; mix well.

Add wet ingredients to dry ingredients and stir until just combined; you will still have flecks of butter visible, and that is okay; the batter will be very thick.

Spoon batter into prepared pans, filling about 3/4 full. Smooth tops of donuts with wet fingers.

Bake for 22-25 minutes, until tops are just golden brown.

Remove from pans immediately and allow to cool for just a few minutes while you prepare the cinnamon sugar coating.

Melt butter in a microwave-safe bowl; set aside.

Combine sugar and cinnamon, mixing well.

Dip donuts, while still warm, into the butter on both sides, then dip immediately in cinnamon sugar.

Serve warm or allow to cool.