Toffee Saltines

Sweet Saltines
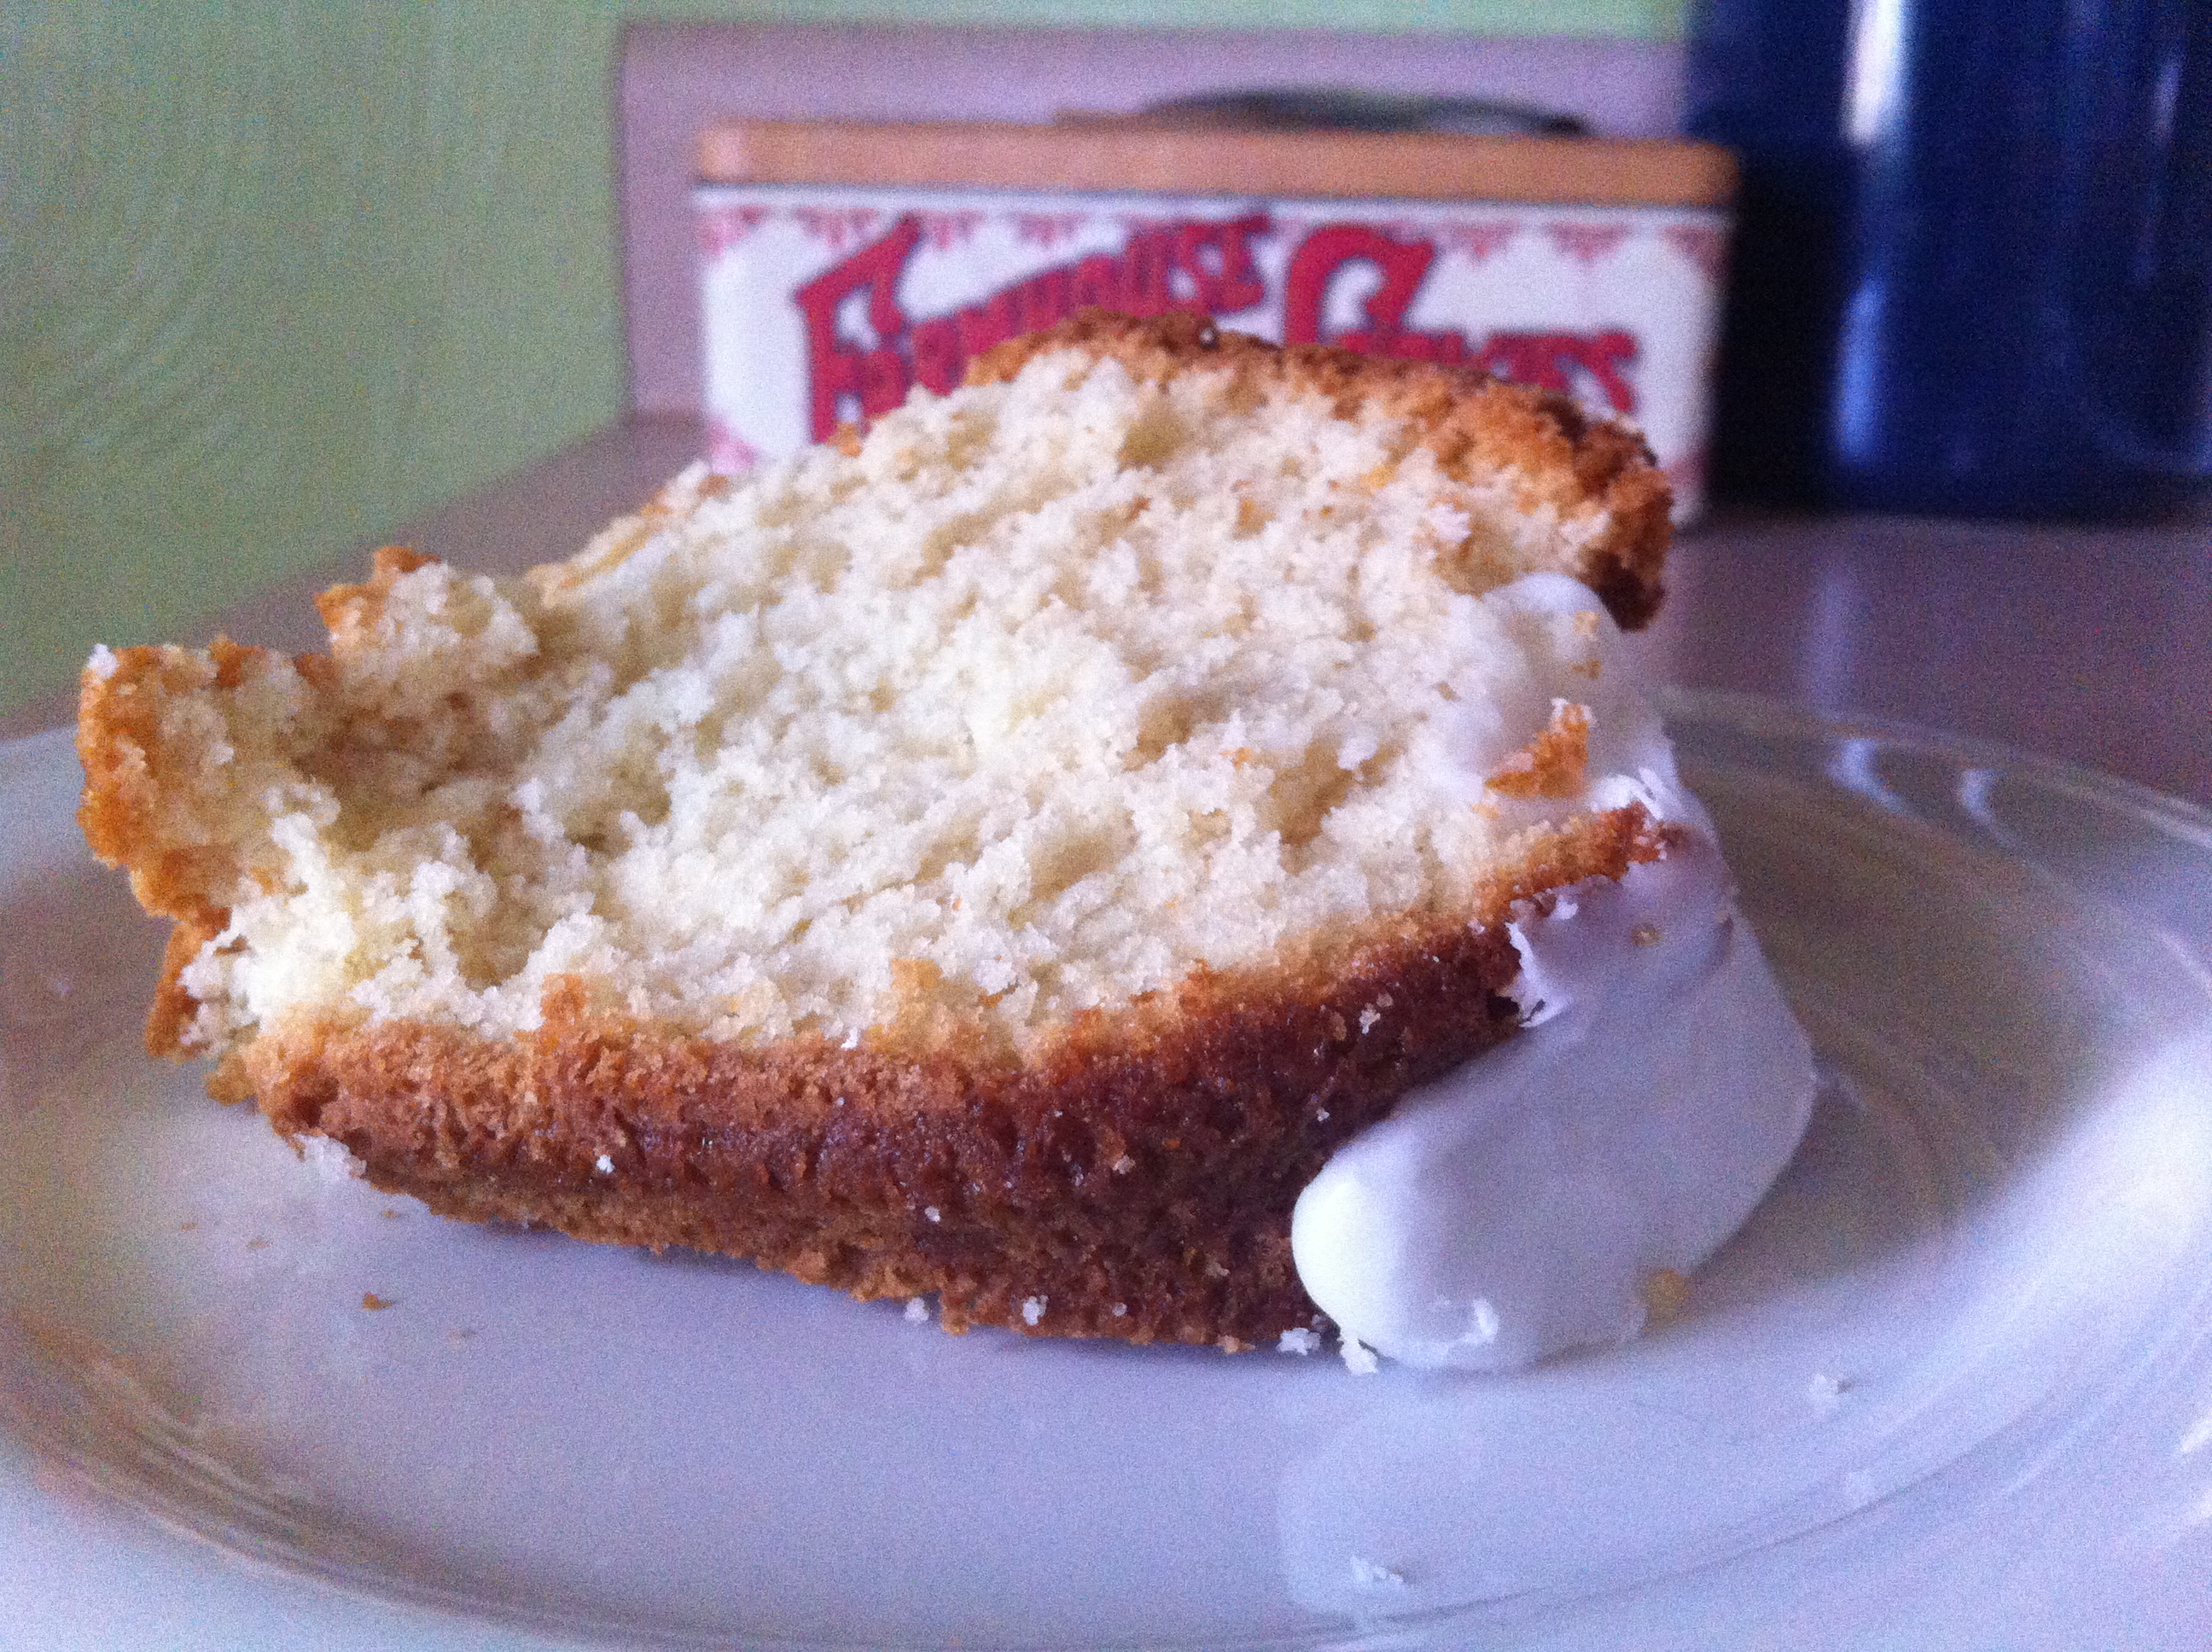
Recipes for this treat – which has various names, including “Christmas Crack” – are everywhere. My Aunt Liz makes a version that she calls pecan pralines, involving graham crackers, toffee, and pecans. I didn’t have enough graham crackers to make that version, so I’ve used the standard saltine instead.

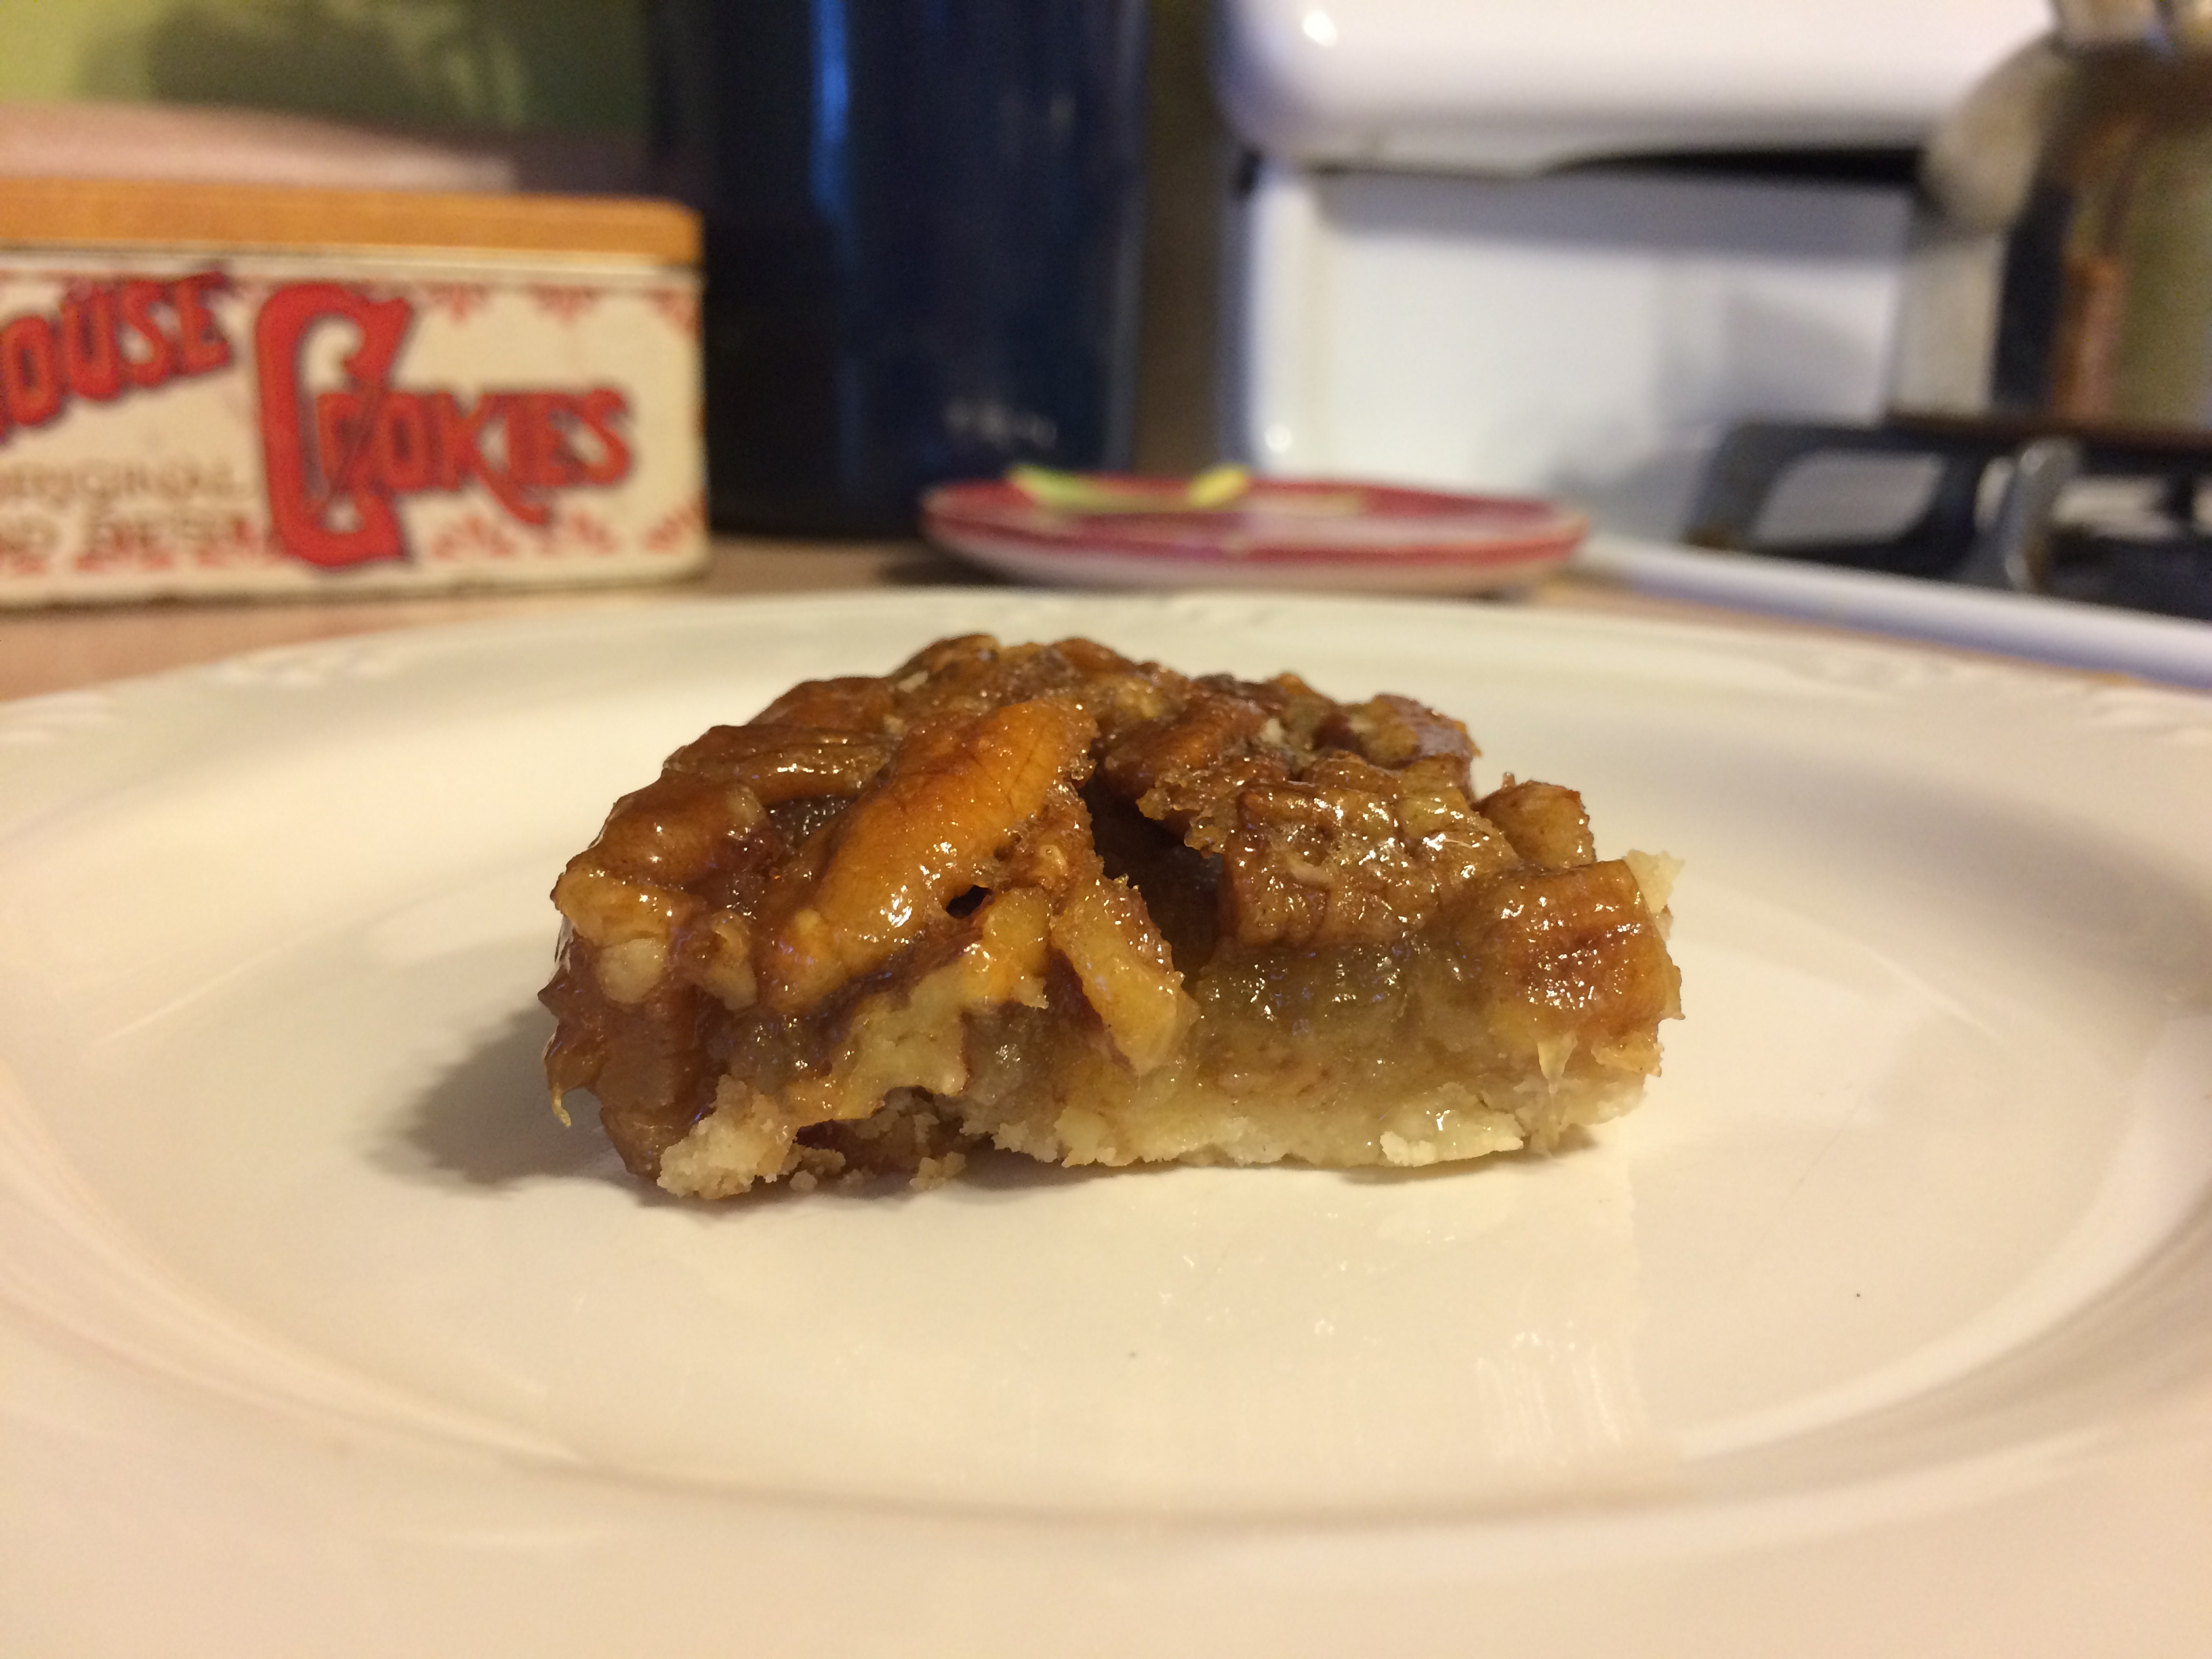
The great thing about this treat is that it can be customized however you like. I’ve created both a plain, toffee and pecan-only version and a chocolate version, the photo of which appears below. You could add toffee bits, butterscotch chips, various nuts, or other candies if you’d like.

The non-chocolate version is for my mom, who will be coming to Christmas dinner later today. She’s been known to arrive at my house after running various errands in need of a snack, and her go-to question is always “got any crackers?” Merry Christmas, Mum.

Note: the following recipe creates a “half and half” pan of toffee saltines – half with chocolate, and half without.

Ingredients

  • 1 1/2 sleeves saltine crackers
  • 1 1/4 cups light brown sugar
  • 1 1/4 cups butter
  • About 1/2 cup chopped pecans
  • About 1/2 to 3/4 cup milk chocolate chips

Preparation

Preheat oven to 400 degrees. Line a rimmed baking sheet with foil and spray very lightly with cooking or baking spray.

Place crackers on the baking sheet in a single layer.

In a medium saucepan, melt brown sugar and butter, stirring frequently. Bring to a full, rolling boil; once mixture reaches a full, rolling boil, allow it to boil for three minutes without stirring.

Remove from heat and pour over crackers, spreading carefully with a spatula to fully cover.

Bake for 5 minutes. Remove from oven; sprinkle half of the crackers with pecans. Sprinkle remaining half with chocolate chips and let stand for a minute or two so the chips begin to melt. Spread the chocolate on the remaining half of the crackers, then sprinkle with pecans.

Allow to cool completely before breaking into pieces.

Sweet Saltines with Chocolate

Chewy Gingersnaps

chewy gingersnapsTomorrow, there is a cookie contest in my new office. I had a hard time deciding what to make – after all, there are dozens of cookie recipes on this blog and hundreds more in the cookbooks that line my shelves. My awesome cousin Barb suggested that I go with a cookie that everyone has had, knowing that my version would knock their socks off. And so, I’ve chosen my chewy gingersnap, a delicious creation of molasses and spices.

Okay, so perhaps “chewy gingersnap” is an oxymoron. But what else can you call a traditional gingersnap recipe that is tweaked in molasses content and baking time to yield a chewy, soft cookie instead of the traditional crisp? Chewy gingersnap works for me.

The trick to these cookies is their baking time, and the limited time they’re allowed to cool on the baking sheets once removed from the oven. Bake them no more than eight minutes, and let them sit on your baking sheets for no more than two minutes, to ensure that they don’t become brittle.

Will I be victorious in tomorrow’s competition? Time will tell. At the very least, I’ll get to try lots of treats made my other bakers.

Ingredients

  • 2 1/4 cups flour
  • 1 cup packed light brown sugar
  • 3/4 cup shortening
  • 2 1/2 ounces molasses*
  • 1 egg
  • 1 teaspoon baking soda
  • I teaspoon ginger
  • 1 teaspoon cinnamon
  • 1/2 teaspoon cloves
  • 1/4 cup sugar, for rolling

*I fill my glass measuring cup to the line just above the 1/4 cup line, which is about 2 1/2 ounces of molasses.

Preparation

Preheat oven to 375 degrees. Line several baking sheets with foil. Place sugar in a small bowl.

In a mixing bowl, combine 1 1/4 cups flour with the light brown sugar, shortening, molasses, egg, baking soda, ginger, cinnamon, and cloves. Beat on medium speed until very well combined, scraping the sides of the bowl frequently.

Add remaining flour and beat until very well combined.

Using a one-inch cookie scoop, scoop dough and roll into balls, then roll each ball in sugar. Place on prepared baking sheets about 2 inches apart.

Bake for 8 minutes – cookies will look puffy and slightly under-baked – and cool them on the baking sheets for 2 minutes. Remove to wire racks to cool completely. Remember, the cookies will continue baking as they cool on the baking sheets, which is why it’s very important not to over-bake them in the oven or leave them on the hot baking sheets for too long.

Mexican Chocolate Snickerdoodles

mexican choc snickerdoodlesWhere would the world be without chocolate? I know my life certainly wouldn’t be the same.

Chocolate is one of the most versatile ingredients in baking, when you think about it. How many other flavors go just as well with raspberries or strawberries as they do with peanut butter, almonds, or even pepper?

The pairing of chocolate with spices like cayenne fascinates me, because I wonder who first thought about doing so and how surprised people were when it turned out to be delicious. These cookies definitely have a bit of a kick, especially if you’re not used to peppery spices. If you’d prefer not to use the cayenne you can omit it, but be sure to keep the cinnamon in the sugar coating.

Ingredients

  • 8 tablespoons butter, softened
  • 3/4 cup sugar
  • 3/4 cup packed light brown sugar
  • 1 teaspoon cream of tartar
  • 1/2 teaspoon baking soda
  • 1/2 teaspoon salt
  • 1/4 teaspoon cayenne pepper
  • 2 eggs
  • 2 teaspoons vanilla
  • 1/2 cup unsweetened cocoa powder
  • 2 1/4 cups flour
  • 1/4 cup sugar
  • 2 teaspoons cinnamon

Preparation

In a mixing bowl, beat butter on medium speed for 30 seconds. Add 3/4 cup white sugar and the brown sugar, cream of tartar, baking soda, salt, and cayenne pepper, beating well until combined, scraping the sides of the bowl frequently.

Add eggs and vanilla, beating well until combined.

Add cocoa powder and beat, then add flour about 1/4 cup at a time, beating well to combine.

Cover dough and chill for about 30 minutes, until easy to handle.

Preheat oven to 350 degrees. Line three baking sheets with parchment paper.

In a small bowl, combine 1/4 cup sugar and cinnamon.

Using a one-inch cookie scoop, scoop dough and roll into balls, then dip in sugar and cinnamon. Place about 2 inches apart on prepared sheets and bake for 10-12 minutes, until edges are set.

Remove from oven and cool on baking sheets for about 3 minutes, then place on wire racks to cool completely.


Pecan Pie Bars

pecan pie barsThe good news: pecans are a great source of manganese, a mineral that has many benefits to overall health. Pecans are also a good source of protein and omega-6 fatty acids, and can help lower cholesterol.

The bad news: the health benefits of pecans may be canceled out by the cup and a half of corn syrup, cup and a half of sugar, and four eggs that are also included in this recipe.

The next time I make these I think I’m going to reduce the filling ingredients by about one-fourth, so that the filling doesn’t bubble over the sides of the pan. If I do so, I’ll post an adapted recipe here so everyone can have the ratios.

These bars were for my brother Andy on his birthday, as he is a fan of pecan pie.

Ingredients

For the crust

  • 2 cups flour
  • 1/3 cup sugar
  • 1/4 teaspoon salt
  • 12 tablespoons butter, cold, cut into small cubes

For the filling

  • 4 eggs
  • 1 1/2 cups sugar
  • 1 1/2 cups light corn syrup
  • 3 tablespoons butter, melted
  • 1 1/2 teaspoons vanilla extract
  • 2 1/2 cups chopped pecans

Preparation

Preheat oven to 350 degrees. Spray a 15 x 10 x 1 pan with baking spray.

In a large bowl, combine flour, sugar, and salt. Cut in butter until the mixture looks like coarse crumbs; I also used my hands to get a more even consistency.

Press into the bottom of the pan in an even layer; bake for 20 minutes.

With a few minutes left on your crust baking time, prepare the filling. In a large bowl whisk eggs, sugar, corn syrup, melted butter, and vanilla until well combined. Stir in pecans.

Carefully pour filling over hot crust and return to the oven, baking for 25-30 minutes or until filling is set. Note: your pan will be very, very full so move it carefully; I placed a larger baking pan on the rack beneath mine to catch the drips, and my filling bubbled over a bit so I’m glad I did.

Remove from oven and cool on a wire rack completely before cutting.

Peppermint Pattie Brownies

peppermint browniesI often wonder when food producers began putting recipes on packaging, and why they chose to do so. I like to think that cooks and bakers across the world wrote letters to these producers, sharing innovative recipes they’d pioneered in their kitchens. Or, perhaps these cooks and bakers sought new ideas for what to do with sweetened condensed milk, or chocolate chips, or canned pumpkin after they’d made traditional recipes so many times.

When I picked up a bag of miniature York Peppermint Patties at Target today, I immediately thought they’d make a great addition to brownies. And of course, right there on the back was a brownie recipe that I adapted just slightly below, reducing the number of Patties because of how many were actually in the bag.

The batter rises significantly during baking, yielding an almost cake-like texture for these very rich treats. They’re quite delicious, but trust me when I say to cut them into small squares!

Ingredients

  • 2 cups flour
  • 1 cup cocoa powder
  • 1 teaspoon baking powder
  • 1 teaspoon salt
  • 3 sticks butter, melted
  • 2 cups sugar
  • 1 tablespoon vanilla extract
  • 5 eggs
  • 21 miniature York Peppermint Patties

Preparation

Preheat oven to 350 degrees. Spray a 13 x 9 baking pan with baking spray.

Unwrap patties and keep them in a cool place while you’re preparing your batter; you don’t want to set them next to your preheating oven, or the chocolate might begin to melt.

In a medium bowl, combine flour, cocoa powder, baking powder, and salt; set aside.

In a large bowl, combine melted butter, sugar, and vanilla; stir well. Add eggs and stir until very well-blended.

Add flour mixture and stir very well to fully combine, making sure no streaks of the dry ingredients remain.

Reserve 2 cups of batter in a small bowl and pour the remaining batter into the prepared pan. Place patties on top, spacing evenly, then top with the reserved batter and smooth with a spatula for an even top surface.

Bake for 55-60 minutes; brownies are done when the edges have begun to pull away from the pan and a cake tester inserted in the center comes out with just a few crumbs.

Cool completely before cutting into small squares; you’ll likely have about 36 brownies.


Chocolate Chip Shortbread

ccshortbread

I’ve been reading a lot of novels set in Scotland lately, and Scotland makes me think of two of my favorite treats: shortbread and scones. I’ve made chocolate chip scones before, so when I found this chocolate chip shortbread recipe on Pinterest, I thought I’d give it a try.

The dough is very easy to make and the end results are delicious, but there’s just a bit of a flaw in preparation that I’m not sure how to remedy. As I sliced through the chilled dough my knife got caught on the chocolate chips, causing it to break and crumble. This isn’t an insurmountable flaw, of course; I simply rounded up all of the broken scraps, formed another small log, and cut it into finger-like rectangles instead of squares. If anyone has any suggestions about how to prevent such an occurrence, though, I’d love to hear them.

Regardless of the preparation challenges, these treats are delicious; just salty enough, just crumbly enough, and definitely a good complement to a cup of tea…just as all good shortbread should be.

Ingredients

  • 1 cup butter, at room temperature
  • 3/4 cup powdered sugar
  • 1 teaspoon kosher salt (or sea salt)
  • 2 1/3 cups flour
  • 1 cup milk chocolate chips

Preparation

In a mixing bowl fitted with the paddle attachment, cream together butter, powdered sugar, and salt until very well-combined, scraping the sides of the bowl frequently.

Add flour slowly, about 1/2 cup at a time, mixing until just combined. Stir in chocolate chips; you may need to knead the dough slightly to get them well-distributed.

Roll the dough into an 8-inch square log and wrap tightly in plastic or waxed paper, then chill for 1 hour (or freeze for 30 minutes), until the log is firm.

Preheat oven to 350 degrees. Line two baking sheets with parchment paper.

Slice cookies to about 1/4 inch thickness and place on prepared baking sheets; you can slice each square in half a second time to create smaller finger-like, rectangle-shaped cookies if you like.

Bake for 15-18 minutes, until golden brown.

Cool on baking sheets for a few minutes, then remove to a wire rack to cool completely.


Milk Dud Brownies

milk dud browniesDespite my overwhelming appreciation for chocolate and caramel, I rarely eat Milk Duds. This year, one of our Halloween candy mixes included miniature boxes of them, and because it rained on Halloween we had plenty left over. What’s one to do with leftover Milk Duds? Turn them into brownies, of course.

This recipe comes from Bakeaholic Mama and reminds me of a flourless chocolate cake – the finished product is very dense, very chewy, and quite delicious. My only challenge was cutting them – once they were cool, I was able to score them well, but actually removing them from the pan without having them crumble was next to impossible. Next time, I might add one additional teaspoon of flour to stabilize them a bit.

Ingredients

  • 5 1/2 teaspoons butter, melted
  • 3/4 cup sugar
  • 1/8 teaspoon salt
  • 1/2 teaspoon vanilla extract
  • 1 egg
  • 3 tablespoons flour
  • 1/2 cup cocoa powder
  • 1/2 cup Milk Duds, chopped

Preparation

Preheat oven to 350 degrees. Spray the bottom of an 8 x 8 pan with baking spray.

In a medium bowl, mix butter, sugar, salt, vanilla, and egg until well-combined.

Add flour and cocoa powder and stir to combine; fold in Milk Duds.

Spread batter in pan and bake for 15-20 minutes, until a cake tester comes out clean.

Cool in pan before cutting.

Chocolate Sour Cream Cake

sour cream chocolate cakeI love recipes that employ old-fashioned methods in preparation; melting chocolate on a low flame, beating an egg with a fork, actually mixing batter by hand. This is one such recipe, put to use because I had a container of sour cream staring at me from next to the buttermilk I’d been baking with all last week. Somewhere along the line, I began keeping sour cream on hand in the same way that I always have various baking chocolates, canned pumpkin, and molasses in my pantry. I never know when inspiration will strike and require a cultured dairy product.

This recipe comes from one of my favorite books, Miriam’s Kitchen, an exploration of the connections between food, family, and cultural identity. I read Miriam’s Kitchen at least once a year, usually in the fall, and I’ve been wanting to try this recipe for some time. The end result has great chocolate flavor, but is slightly drier than I’d like it to be – such can be the case with chocolate cakes, and is perhaps why they’re often paired with fudgy icing. This icing is a thick version of a chocolate drizzle; if I make this cake again, I might use a chocolate buttercream or a fudge frosting instead to add a bit of moisture.

Ingredients

For the cake

  • 8 tablespoons unsalted butter
  • 2 1/2 ounces unsweetened baking chocolate
  • 1 egg, beaten
  • 1 cup sugar
  • 1 cup sour cream
  • 1/4 teaspoon baking soda
  • 1 1/4 cup cake flour

For the icing

  • 3 tablespoons butter
  • 2 tablespoons unsweetened cocoa powder
  • 2 cups powdered sugar
  • 1 teaspoon vanilla
  • 2 tablespoons milk

Preparation

Preheat oven to 350 degrees. Grease a bundt pan very well and flour lightly.

In a small saucepan, melt butter and chocolate on very low heat, stirring frequently to combine.

In a large mixing bowl, combine egg and sugar; beat with a fork to combine, then add sour cream and beat again to combine. Scrape the sides of the bowl with a spatula as necessary.

Place a sieve over the mixing bowl and sift in cake flour and baking soda, then mix with a wooden spoon until combined.

Add melted chocolate and butter, mixing with the wooden spoon until combined.

Pour batter into prepared bundt pan; bake for 35-40 minutes, until a cake tester comes out clean. Cool completely in the pan, then turn out onto a wire rack.

Prepare the icing: in a medium saucepan, melt butter. Add cocoa powder and stir until smooth. Remove from heat; add 1 cup powdered sugar and stir until smooth; add vanilla, milk, and remaining powdered sugar to reach a thick drizzling consistency. Pour over cake and spread with an offset spatula; icing will set fairly quickly.


Buttermilk Biscuits

buttermilk biscuitsIt’s buttermilk baking week here at our house, because about a week ago I purchased a quart of buttermilk and promptly forgot what I meant to bake with it. This happens sometimes – I come home from the grocery store with some key ingredient, fully intending to bake something I saw on Pinterest or in a Better Homes & Gardens Facebook post or in a Woman’s Day magazine.

A few days later, I find the ingredient in question and wonder what I meant to make with it…which means I then have to search online, seeking out recipes that put it to use. Which, if I’m honest, usually leads me down into the rabbit hole of recipes one can find on the internet, creating the need for more ingredients that I’ll someday buy and wonder what I meant to bake with them. Anyway…because I had some buttermilk left from this weekend’s pound cake, I decided to whip up some buttermilk biscuits with last night’s chicken-and-mashed-potatoes dinner.

The key to biscuit preparation is to handle the dough as little as possible. Easy handling creates those highly desirable flaky layers that good biscuits always have; a heavy hand will yield hockey pucks. I did have to knead my dough just slightly before i patted it down, and I’m happy to say that I still had some pretty flaky layers. Note: you may also need just a bit more buttermilk if your dough is too dry, but add sparingly. It’s easy to add more liquid, but impossible to take it away.

Ingredients

  • 2 cups flour
  • 1/4 teaspoon baking soda
  • 1 tablespoon baking powder
  • 1 teaspoon salt
  • 6 tablespoons cold butter, cut into small cubes
  • 1 cup buttermilk

Preparation

Preheat oven to 450 degrees. Line a baking sheet with parchment paper.

In a large mixing bowl, stir together flour, baking soda, baking powder, and salt. Cut in butter using a pastry cutter or two knives until mixture resembles coarse crumbs. Add buttermilk and mix until just combined.

Turn dough onto a lightly floured surface and very gently pat it to 1/2 inch thickness – do not use a rolling pin. Fold over 5 times, then pat down again to 1 inch thickness. Using a round cutter, cut biscuits and place about 1 inch apart on the baking sheet. Re-form the scraps and cut remaining dough, noting that these biscuits will likely be a bit tougher than the first ones.

Bake for 10-12 minutes, until tops are golden brown. Remove from oven and serve warm.

Buttermilk Pound Cake

buttermilk pound cake“There’s a hole in this cake,” says Maria Portocalos in My Big Fat Greek Wedding, when presented with a Bundt from her soon-to-be-in-laws. So what exactly is a Bundt cake? According to Wikipedia, the Bundt is based on a European fruit cake called Gugelhupf or, in the north of Germany, Bundkuchen. The Nordic Ware company began making Bundt pans in the U.S. in the 1950s and, with the help of some publicity from Pillsbury, the pans became popular.

When you look at the photo below, you’ll have a new appreciation for the need to a) properly grease and flour your Bundt pan and b) allow your cake to cool completely before attempting to remove it from said pan. I thought my baking spray, which includes a combination of cooking spray and flour, would be enough to release the Bundt…but I was wrong. Also, I removed the cake when it was still slightly warm, which could have been another problem.

Moral of the story: grease your pan with shortening, flour your pan, and wait until your cake cools completely before you remove it from the pan so you can avoid the torn Bundt situation that I experienced in the photo below. Despite its less-than-perfect appearance, the cake itself is quite delicious.

Ingredients

Buttermilk Pound Cake

  • 3 cups flour
  • 1/4 teaspoon baking soda
  • 1 cup butter, softened
  • 2 1/2 cups sugar
  • 4 eggs
  • 1 cup buttermilk
  • 2 teaspoons vanilla

Almond Drizzle

  • 1 1/2 cups powdered sugar
  • 1 teaspoon almond extract
  • About 1 tablespoon water

Preparation

Preheat oven to 325 degrees. Grease and flour a 10-cup capacity Bundt pan.

In a small bowl, combine flour and baking soda; set aside.

In a mixing bowl, cream together butter and sugar until light and fluffy. Add eggs, one at a time, mixing well after each addition.

Add buttermilk and flour mixture alternatively, beating until just combined. Pour batter into prepared pan and bake for 70 minutes, until a cake tester comes out clean.

Allow cake to cool completely in pan; remove and invert on a cake plate before drizzling.

For the drizzle: in a large glass measuring cup combine powdered sugar and almond extract. Add water slowly, about 1 teaspoon at a time, to reach a thick drizzling consistency. Pour over top of cake and allow to drip down the sides.

Below, the evidence of my faulty pan-greasing and haste of removal is clearly observed. At least it tastes good.

bundtmishap