Pumpkin Sugar Cookies

pumpkin sugar cookiesAt any given time, I have at least one can of pumpkin puree in my pantry cabinet. You never know when the pumpkin mood will strike, whether it’s the middle of October, the middle of March, or the middle of August.

Mike recently tagged me in a Facebook post about these cookies, and of course, they had been on my Pinterest board for some time. The original recipe comes from another blog, Lauren’s Latest, and the end result is a delicious combination of a soft sugar cookie and a pumpkin cookie.  I adapted the recipe slightly in preparation, and because I don’t keep pumpkin pie spice on hand, I made my own – my recipe appears below.

Next time, I’ll use a full teaspoon of pumpkin pie spice in the cookie dough to kick up the flavor a bit. Also, I increased the quantities in the glaze recipe, because the original recipe didn’t produce enough glaze for my batch of 39 cookies.

Ingredients

Pumpkin Pie Spice

  • 1/2 teaspoon cinnamon
  • 1/4 teaspoon ginger
  • 1/4 teaspoon allspice
  • 1/8 teaspoon nutmeg

Pumpkin Sugar Cookies

  • 4 cups flour
  • 1/4 teaspoon baking soda
  • 1/4 teaspoon cream of tartar
  • 1/2 teaspoon salt
  • 1/2 teaspoon pumpkin pie spice
  • 1/2 cup unsalted butter, softened
  • 1/2 cup vegetable oil
  • 1/2 cup pumpkin puree
  • 1 cup granulated sugar
  • 1/2 cup powdered sugar
  • 1/2 teaspoon vanilla
  • 2 large eggs

Pumpkin Spice Glaze

  • 6 cups powdered sugar
  • About 5 1/2 tablespoons water
  • 1/2 teaspoon pumpkin pie spice

Preparation

Preheat oven to 350 degrees. Line several baking sheets with parchment paper.

Make pumpkin pie spice: in a small bowl combine cinnamon, ginger, allspice, and nutmeg. Stir together until very well-combined.

Make cookie dough: in a large bowl, combine flour, baking soda, cream of tartar, salt, and pumpkin pie spice; set aside.

In a mixing bowl, beat butter, vegetable oil, pumpkin puree, granulated sugar, powdered sugar, vanilla, and eggs until smooth; some small lumps of butter will remain, and that’s fine.

Gradually add flour mixture, about 1 cup at a time, beating well between each addition and scraping the sides of your bowl frequently.

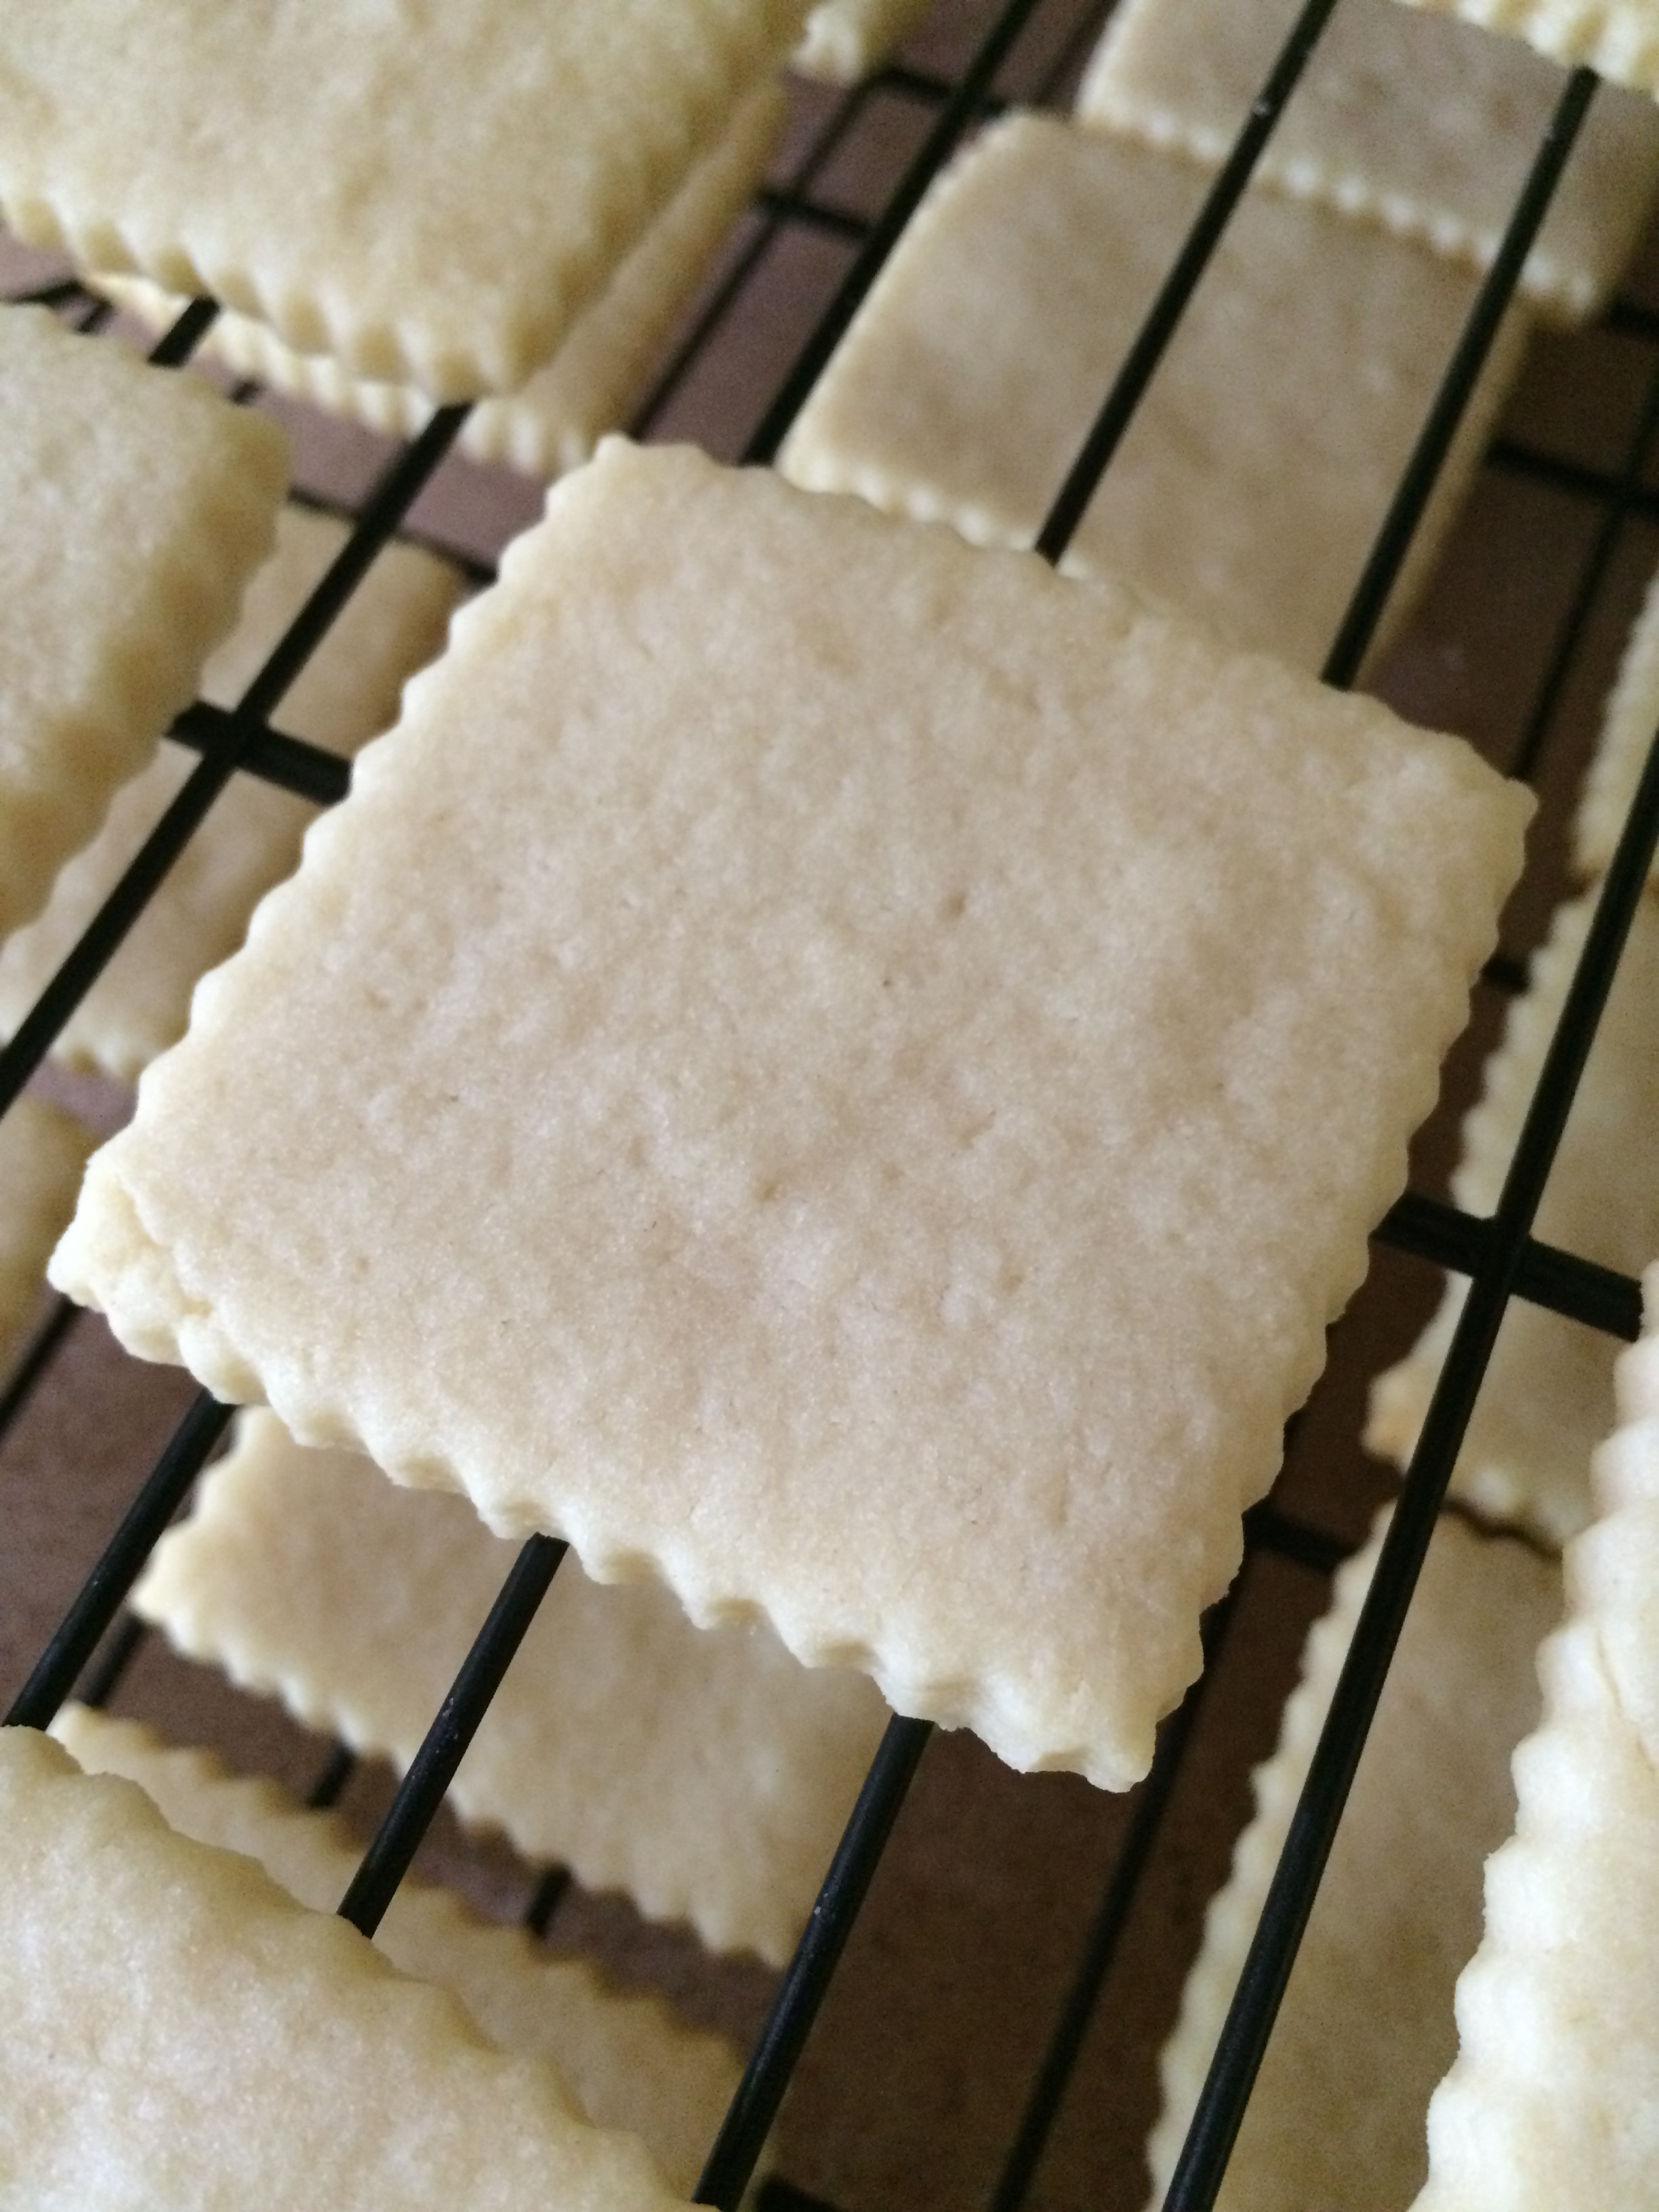
Using a 2-inch cookie scoop, scoop dough onto baking sheets. Spray the bottom of a glass with cookie spray, dip bottom into sugar, and flatten cookies to about 1/2 inch thickness. You’ll need to re-coat your glass with sugar between each cookie.

Bake for 9 minutes, until edges are set and tops are just beginning to turn golden. Cool on baking sheets for 3 minutes, then remove to a wire rack to glaze.

Make your glaze while your first batch is baking: in a large bowl, combine powdered sugar and pumpkin pie spice, mixing well to combine. Add water, 1 tablespoon at a time, until your mixture reaches a thick glaze consistency.

Using a teaspoon from your measuring spoons, scoop glaze onto each cookie, allowing to drip over edges. Allow to cool completely before serving.

Store cookies at room temperature in an airtight container between sheets of waxed paper.

Apple Crumb Pie

applecrumbpie1Confession: as much as I love to bake apple pie, I don’t eat it. I’m not a fan of cooked fruit, except for my Aunt Liz’s skillet apples, which are kind of like apple pie filling. But when it comes to this traditional, all-American dessert, I always pass.

I’ve never made a crumb-topped pie before, but they’re a great solution if you don’t want to get fancy with your crust. This pie went into my office, and it was a big hit, especially around 2:30 p.m., when the post-lunch need for sugar kicked in.

Ingredients

For the crust

For the filling

  • 6 medium-sized apples, preferably a mix of green and red, peeled and thinly sliced
  • 3/4 cup sugar
  • 2 tablespoons flour
  • 1/2 teaspoon cinnamon
  • 1/2 teaspoon nutmeg
  • About 1 tablespoon honey

For the crumb topping

  • 1/2 cup flour
  • 1/4 cup sugar
  • 1/8 cup brown sugar
  • 1 teaspoon cinnamon
  • Dash of nutmeg
  • Pinch of salt
  • 4 tablespoons unsalted butter, cold and cut into small cubes

Preparation

Preheat oven to 425 degrees.

Prepare pie crust; line a 9-inch pie plate with crust. I left my edge plain, but you could flute yours if you like.

Prepare the filling; in a large bowl, combine flour, sugar, cinnamon, and nutmeg. Add sliced apples and toss to coat.

Pour filling into pie shell and drizzle with honey.

Prepare the crumb topping; combine flour, sugar, brown sugar, cinnamon, nutmeg, and salt. Rub in the butter (or cut in with a pastry blender) until the mixture appears as small crumbs. Cover filling with crumb topping.

Place a pie guard (or aluminum foil) around the edge of your crust to prevent over-browning; bake for 20 minutes, then remove guard and reduce temperature to 375. Bake for another 40 minutes, until apples are tender.

Cool completely, or serve warm.

Below, the pie is being divided up for my coworkers (next to some expense forms). 

applecrumbpie2

Chocolate Chip Pecan Blondies

ccpecanblondiesBetter Homes & Gardens must have the most awesome test kitchens ever, because their recipes always work. Every. Single. Time.

Every now and then, even those of us with semi-pro-level baking skills can have a disaster in the kitchen, and I usually attribute this to the recipe, rather than to the baker. Some recipes are unclear, or perhaps not as well-tested as they should be; sometimes the ratios are off, or the volume is wrong for the pan, or the flavor profile leaves a lot to be desired.

Not with BH&G, my friends. These folks know their stuff, and this recipe is yet another example. It is a “make it mine” blondie recipe from Better Homes & Gardens Baking, which Mike gave me for Christmas last year (along with some snazzy new spatulas and mini loaf pans). You can add whatever you like to the base, and I chose toasted pecans and chocolate chips. Next time, I might add a chocolate drizzle to the top, or mix in some toffee pieces as well.

Ingredients

  • 10 2/3 tablespoons butter
  • 2 cups packed light brown sugar
  • 2 teaspoons vanilla
  • 2 eggs
  • 2 cups flour
  • 1 teaspoon baking powder
  • 1/4 teaspoon baking soda
  • 1 cup toasted pecans, chopped
  • 1/2 cup milk chocolate chips

Preparation

Preheat oven to 350 degrees. Line a 13 x 9 baking pan with foil, extending foil over the sides. Lightly grease foil.

In a medium saucepan, combine butter and brown sugar. Stir constantly over medium heat until mixture melts and becomes smooth.

Pour mixture into a large mixing bowl and allow to cool about 10 minutes, stirring occasionally.

Meanwhile, in a medium bowl, combine flour, baking powder, and baking soda; set aside.

Once butter/sugar mixture has cooled slightly, add vanilla and eggs and mix well.

Add flour mixture and stir well to combine; batter will become fairly thick.

Add toasted pecans and chocolate chips and stir to combine.

Spoon batter into prepared pan and spread out into an even layer.

Bake for 25-30 minutes, until top is a very light golden brown and a cake tester comes out clean.

Cut into bars while still warm; when completely cool, remove from pan and store in an airtight container.

Cherry Pie

cherry pie with plaid latticeSome time ago, I mastered my mom’s pie crust recipe. While I can make a nice, flaky crust, my crust decoration skills – like latticework and fluted edges – leave a lot to be desired. Today I chose to practice latticework, based on a plaid lattice design I saw from King Arthur Flour. And because I wanted to focus my attention on the crust and not the filling, I used canned pie filling.

That’s right. Canned pie filling. Go ahead and gasp in shock, because you know how I’m a huge proponent of scratch baking and I’ve even blogged about how I couldn’t consider myself a “real” pie baker without being able to make crust from scratch.

Here’s the thing, though…sometimes, in the interest of practicing your lattice work, you want to focus on the crust and not the filling. Or, you really want a pie but your fruit of choice is out of season. Or you simply just don’t have time to peel apples or pit cherries or slice peaches. Most of us use canned pumpkin for our pumpkin pies, don’t we? We’re not roasting pumpkins and scraping out the flesh and spicing it up with cinnamon. Nope, we’re popping open a can and mixing that puree with various sugars and spices.

So, this made me wonder…when did canned pie filling come on the scene in American baking? Probably about the same time that Rosie left her kitchen to become a riveter but was still expected to run a household, pie baking included. Whatever you choose to do, I salute you, fellow pie bakers. If you have any good tips on mastering latticework, please let me know!

Ingredients

Preparation

Preheat oven to 425 degrees.

Prepare pie crusts; line an 8-inch pie plate with one crust and reserve the second crust for the lattice top.

Roll out your second crust, then cut into strips for the lattice. I cut mine into four 2-inch strips and four 1-inch strips.

To make the lattice, place two 2-inch strips and two 1-inch strips onto your filling, alternating two-inch, then one-inch, then two-inch, then one-inch. Fold back half of the strips and lay another 2-inch strip on your filling so that it is perpendicular to the other strips. Fold the other set of strips back so they cover the new strip, then repeat with the remaining strips (again, using the two-inch, then one-inch pattern) to form the lattice. This diagram at King Arthur Flour works very well as a guide for latticework.

Fold the edges of your lattice strips over the edge of your bottom crust and crimp the edges as desired.

Place a pie guard or foil around the edge of your crust and bake for 20 minutes.

Remove the pie guard or foil and reduce oven temperature to 375, then bake for another 30-35 minutes. You may need to place your pie guard back on again for the last 10 minutes of baking.

Remove from the oven and allow to cool before serving.


Oatmeal Chocolate Chip Bars

oatmealccbarsSometimes I wonder who invented bar-style cookies. A woman without a lot of time of her hands, perhaps? Bars are a great options for picnics and potlucks, offering all of the deliciousness of cookies with much less baking time. Convenient and tasty…always a good combination.

These oatmeal chocolate chip bars came from Buns in My Oven, another baking blog that I found while looking for fun, easy-to-bake bar recipes. I really like oatmeal chocolate chip cookies, and these bars are very similar, though I think the next time I make them I’ll add a dash of cinnamon to the dough to kick up the flavor a bit.

I highly suggest warming these up and serving them with vanilla ice cream, or perhaps spreading on some peanut butter, if you’re looking for serving suggestions. You could also just eat them standing up at your sink in the middle of the night. Who am I to judge?

Ingredients

  • 2 1/2 cups old fashioned oats
  • 2 cups flour
  • 1 1/2 cups packed light brown sugar
  • 1 teaspoon baking soda
  • 1 teaspoon salt
  • 1 tablespoon vanilla
  • 2 eggs
  • 1 1/4 cups butter, melted
  • 2 cups milk chocolate chips

Preparation

Preheat oven to 350 degrees. Spray a 9 x 13 baking pan with nonstick spray.

Combine oats, flour, brown sugar, baking soda, salt, vanilla, eggs, and melted butter in the bowl of a stand mixer fitted with a paddle attachment and beat until combined. Dough will be very thick, so you’ll want to scrape down the sides a few times to make sure you get all of your dry ingredients incorporated.

Stir in chocolate chips, then pour dough into prepared pan, spreading it out as best you can.

Bake for 25-30 minutes, until a cake tester comes out mostly clean with a few moist crumbs. Bars will look slightly underdone, but that’s what you want – be careful not to over-bake.

Allow to cool for 1 hour, then cut into squares.


Loaded Peanut Butter Cookies

loaded pb cookiesTexture can make or break your baked goods, and for me, great texture is about balance. You don’t want a cookie that is too soft or too crisp, and striking that balance takes patience, attention to detail, and a bit of intuition.

I always (seriously, always) under-bake peanut butter cookies by a minute or two, pulling them from the oven when they still look puffy in the middle. Once you remove cookies from the oven, they keep baking for a few minutes while they cool on the baking sheets. So if you under-bake them by just a minute or two, they’ll reach the perfect level of done-ness while they’re cooling on your baking sheets, and they won’t end up too crispy.

These cookies have a great texture, being both soft and chewy and studded with crunchy Reese’s Pieces. I found this original recipe on Six Sisters’ Stuff, where they are billed as triple peanut butter cookies and use peanut butter chips instead of chocolate. I thought that might be a bit too peanut buttery, so I opted for chocolate chips with great results.

Ingredients

  • 1 cup butter, softened
  • 1 1/2 cups peanut butter
  • 1 cup packed light brown sugar
  • 1 cup white sugar
  • 2 eggs
  • 1 teaspoon vanilla
  • 1 teaspoon baking soda
  • 3 cups flour
  • 1 cup Reese’s Pieces
  • 1 cup milk chocolate chips

Preparation

Preheat oven to 350 degrees. Line several baking sheets with parchment paper. Note: this makes a very, very large batch of cookies; mine made almost 5 dozen.

In a mixing bowl, cream together butter, peanut butter, brown sugar, and white sugar until well-combined and fluffy, scraping the sides of your bowl often.

Add eggs and vanilla, beating well to combine. Add baking soda, then 1 cup of flour, beating to combine. Add remaining flour 1 cup at a time, mixing between each addition, to form a soft dough that pulls away from the sides of your mixer.

Add Reese’s Pieces and chocolate chips; I used my hands to mix them into the dough.

Roll dough into 1 1/2 inch balls and place about 1 1/2 inches apart on prepared baking sheets; they do not spread that much when baking, but you don’t want them too close together.

Bake for 10 minutes, until cookies are still puffy in the middle but brown on the bottom (just use your spatula to gently lift one cookie up to check the bottom). Remove from oven and cool on baking sheets for about 3 minutes, then remove to a wire rack to cool completely.

Sunflower Cupcakes

sunflower cupcakesSummer is in full swing, and our neighborhood blooms with all manner of beautiful plants. Around the corner from our house, one neighbor’s landscaping includes enormous sunflowers, easily more than six feet tall, among other stunning plants that I wish we had in our yard.

Sunflowers come in many shapes and sizes, and there are probably as many recipes for sunflower cupcakes as well. You’ll find plenty of options on Pinterest, using Oreo cookies as the centers, or chocolate sprinkles; I saw one recipe that used chocolate-covered espresso beans, which seems both cool and kind of pricey. I decided to go with an all-frosting flower to get some piping practice.

Buttercream frosting works very well for these, but you could use cream cheese frosting if you like. I chose a chocolate cupcake and basic vanilla buttercream, for pretty (and tasty) results.

Ingredients

Preparation

Bake cupcakes and allow to cool completely before frosting.

Prepare vanilla almond buttercream; place 1 cup frosting in a small bowl and tint using brown gel food coloring. Tint the remaining frosting yellow; I used Wilton golden yellow.

Fit a piping bag with a small star tip; I used the Wilton 16 tip. Pipe stars in a circle in the center of each cupcake.

Fit another piping bag with a leaf tip; I used the Wilton 352 tip. Holding the bag so that the points of the tip are vertical to the cupcake rather than flat against it, pipe petals around the outside of the flower center, covering the cupcake completely.

If you like, you can make one outer row and one inner row of petals for more texture; I did this on a few cupcakes, but in the interest of time (and heat – it’s almost 90 in Pittsburgh today) I piped one single row on all of the others.

You’ll have plenty of frosting left over, so you can be generous with your piping. I had about 1/4 cup of brown and at least 1/2 cup of yellow, which I’ll reserve for another use.


Cream Cheese Shortbread

creamcheeseshortbreadMy mission to find that delicious, albeit nameless, bakery cookie from my childhood continues with today’s cream cheese shortbread. And while this recipe yields a delicious treat, it does not, unfortunately, produce that delicious nameless bakery cookie from my childhood.

Someday, when I finally find the right recipe, I think I’m going to call it the white whale. For now, though, experiments continue. Fortunately, the experiments are quite tasty.

I found this recipe on Pinterest, from another food blog called Mama Likes to Cook. The end result is a great twist on a classic shortbread, and the addition of the cream cheese yields a lighter texture than you’d expect.  Although I’ve left these plain, you could definitely dress them up with a chocolate drizzle, tint them for holidays, or turn them into sandwiches with some chocolate or vanilla filling.

Ingredients

  • 1 cup butter, at room temperature
  • 4 ounces cream cheese, at room temperature
  • 1/2 cup sugar
  • 1 teaspoon vanilla extract
  • 2 cups flour

Preparation

Preheat oven to 375 degrees. Line several baking sheets with parchment or foil.

In a mixing bowl, beat butter and cream cheese on medium speed until well-combined, about 2 minutes. Add sugar and cream until light and fluffy, for another 2-3 minutes.

Scrape down the sides of your bowl well, then add vanilla extract and beat to combine.

Add flour, about 1/2 cup at a time, mixing until very well combined.

On a lightly floured surface, turn out dough and knead just slightly; you will have a very soft, flexible dough.

Roll out to 1/4 inch thickness and cut with desired cutters; I used a square cutter with fluted edges. Scraps are very easy to re-roll; just add a dash of flour to keep your dough stable.

Place on prepared cookie sheets about 1 inch apart and bake for 8-10 minutes, until edges are firm. Remove from oven and allow to cool for a few minutes on the baking sheets, then remove to a wire rack to cool completely.


Buttermilk Chocolate Cupcakes

IMG_4941Happy World Chocolate Day! Let’s celebrate with some buttermilk chocolate cupcakes and cocoa frosting. If you want to add a scoop of vanilla ice cream on the side, that would be a great idea too.

Can you imagine a world without chocolate? I can, but I certainly don’t want to. This delicious creation is a culinary wonder, pairing easily with a range of flavors both sweet and savory. When you think about it, I bet you have at least one favorite treat that involves chocolate in some way, even if it’s a basic chocolate chip cookie or a tender chocolate cake.

These cupcakes remind me a bit of devil’s food, and the original recipe came from Taste of Home, one of my new favorite sites. I cut that recipe in half to make a dozen and chose to pair them with my favorite cocoa frosting, which uses simple ingredients you’re likely to have in your pantry. You could definitely go with the one in the original recipe, or use a vanilla frosting instead – but given that it’s World Chocolate Day, we’re going to go all-out chocolate.

Ingredients

For the cupcakes

  • 3/4 cup flour
  • 1/4 cup cocoa powder
  • 1/2 teaspoon baking soda
  • 1/8 teaspoon salt
  • 4 tablespoons butter, at room temperature
  • 3/4 cup sugar
  • 1 egg
  • 1/2 teaspoon vanilla extract
  • 1/4 cup buttermilk
  • 1/4 cup water

For the frosting

  • 4 tablespoons butter, melted
  • 1/3 cup cocoa powder, sifted
  • 1 3/4 cup powdered sugar, sifted
  • 3 tablespoons milk
  • 1 tablespoon vanilla
  • rainbow sprinkles, if desired

Preparation

Preheat oven to 375 degrees. Line a 12-well cupcake tin with paper liners.

In a small bowl, combine flour, cocoa powder, baking soda, and salt; set aside.

In a glass measuring cup, combine buttermilk and water; set aside.

In a mixing bowl, cream together butter and sugar until light and fluffy. Add egg and beat until well-combined, then add vanilla extract and beat until well-combined, scraping the sides of the bowl a few times.

Add flour mixture and buttermilk/water mixture alternatively in two batches, beating well after each.

Using a 2-inch cookie scoop, scoop dough into prepared cupcake wells, filling about 2/3 full.

Bake for 18-2o minutes, until a cake tester comes out clean. Remove from oven and cool in the pan for a few minutes (the original recipe suggests 10 minutes, but I cooled mine for about half that time), then remove to a wire rack to cool completely before frosting.

For the frosting: in a small bowl, combine melted butter and cocoa powder, whisking until smooth. Place mixture in the bowl of a stand mixer fitted with the paddle attachment; beat on low speed for 1 minute, then on medium speed for 2 minutes.

Add 1 cup powdered sugar and 1 tablespoon milk and beat until very well-combined, scraping the sides of the bowl well a few times. Add remaining powdered sugar and 1 more tablespoon milk and beat for about 1 minute; add vanilla and beat 1 minute more, then add final tablespoon of milk and beat for 2 minutes, until lighter in color and fluffy.

Fit a piping bag with a large star tip; pipe frosting onto cupcakes. Top with sprinkles if desired; store in an airtight container at room temperature.

Patriotic Whoopie Pies

patriotic whoopiesHappy Independence Day, Americans! Let’s celebrate with some star-spangled sweets. These patriotic whoopie pies take a classic red velvet recipe and add a bit of a twist, using both red and blue food coloring for red, white, and blue treats.

The Brown Eyed Baker (another Pittsburgh-based, self-taught baker and blogger) has a great recipe for red velvet whoopie pies, which I used as the base for these treats. Instead of adding the food coloring with the vanilla during mixing, I made the batter first without any food coloring, then divided it and tinted half red and half blue. I also chose a marshmallow creme-based filling, instead of the original recipe’s cream cheese filling so I didn’t need to refrigerate them.

Ingredients

For the red and blue velvet whoopie pies

  • 3 cups all-purpose flour
  • 1/3 cup cocoa powder
  • 1 teaspoon baking powder
  • 1/2 teaspoon baking soda
  • 1/2 teaspoon salt
  • 1/2 cup unsalted butter, at room temperature
  • 1/2 cup vegetable shortening
  • 1/2 cup light brown sugar
  • 1 cup granulated sugar
  • 2 eggs
  • 2 teaspoons vanilla extract
  • 1 cup buttermilk
  • 3 teaspoons red liquid food coloring
  • 3 teaspoons blue liquid food coloring

For the fluffy white filling

  • 8 tablespoons unsalted butter, at room temperature
  • 1 7-ounce jar marshmallow creme
  • 2 1/2 teaspoons vanilla extract
  • 2 3/4 cups powdered sugar

Preparation

Preheat oven to 350 degrees. Line several baking sheets with parchment paper.

In a large bowl, combine flour, cocoa powder, baking powder, baking soda, and salt; set aside.

In a mixing bowl, cream butter, shortening, brown sugar, and white sugar until very light and fluffy, about 5 minutes, scraping the sides of the bowl a few times.

Add eggs, one at a time, mixing well after each. Add vanilla extract and beat until combined.

Add the flour and buttermilk alternatively in two batches, beating until just combined after each.

Divide batter into two bowls; you’ll have about 3 1/2 cups of batter in each. Add red food coloring to the first bowl and mix until well-combined; add blue food coloring to the second bowl and mix until very well-combined.

Using a two-inch cookie scoop, drop scoops of batter at least 2 inches apart onto prepared baking sheets; you’ll have 6 cookies per sheet.

Bake for 10-11 minutes, until tops spring back just slightly when touched. Remove from oven and cool on baking sheets for 5 minutes, then remove to wire racks to cool completely before filling.

To make the filling, place butter in a mixing bowl fitted with a paddle attachment and beat on medium speed for 1-2 minutes. Add marshmallow creme and vanilla and beat until very well-combined.

Add powdered sugar about 1 cup at a time, beating well between each addition and scraping the sides of your bowl frequently. You want a firm but spreadable consistency so that your filling doesn’t ooze out the sides.

Flip cookies over and match up one blue and one red per whoopie pie. Using a 1-inch cookie scoop, drop generous scoops of filling onto each blue cookie. Using a small offset spatula, spread filling slightly, then place a red cookie on top.

Wrap each whoopie pie in plastic wrap for easy serving and storage. Since they are so large, it’s nice to be able to eat half of one and save the other half for later.