Orange Almond Cake (gluten-free!)

orange almond cakeWhat exactly is gluten? In simple terms, it is a protein present in wheat, which provides stability to breads, cakes, cookies, and other baked goods. Gluten-free baking relies on other ingredients that can bind together and provide structure, ranging from eggs and nut flours to thickeners like xantham gum.

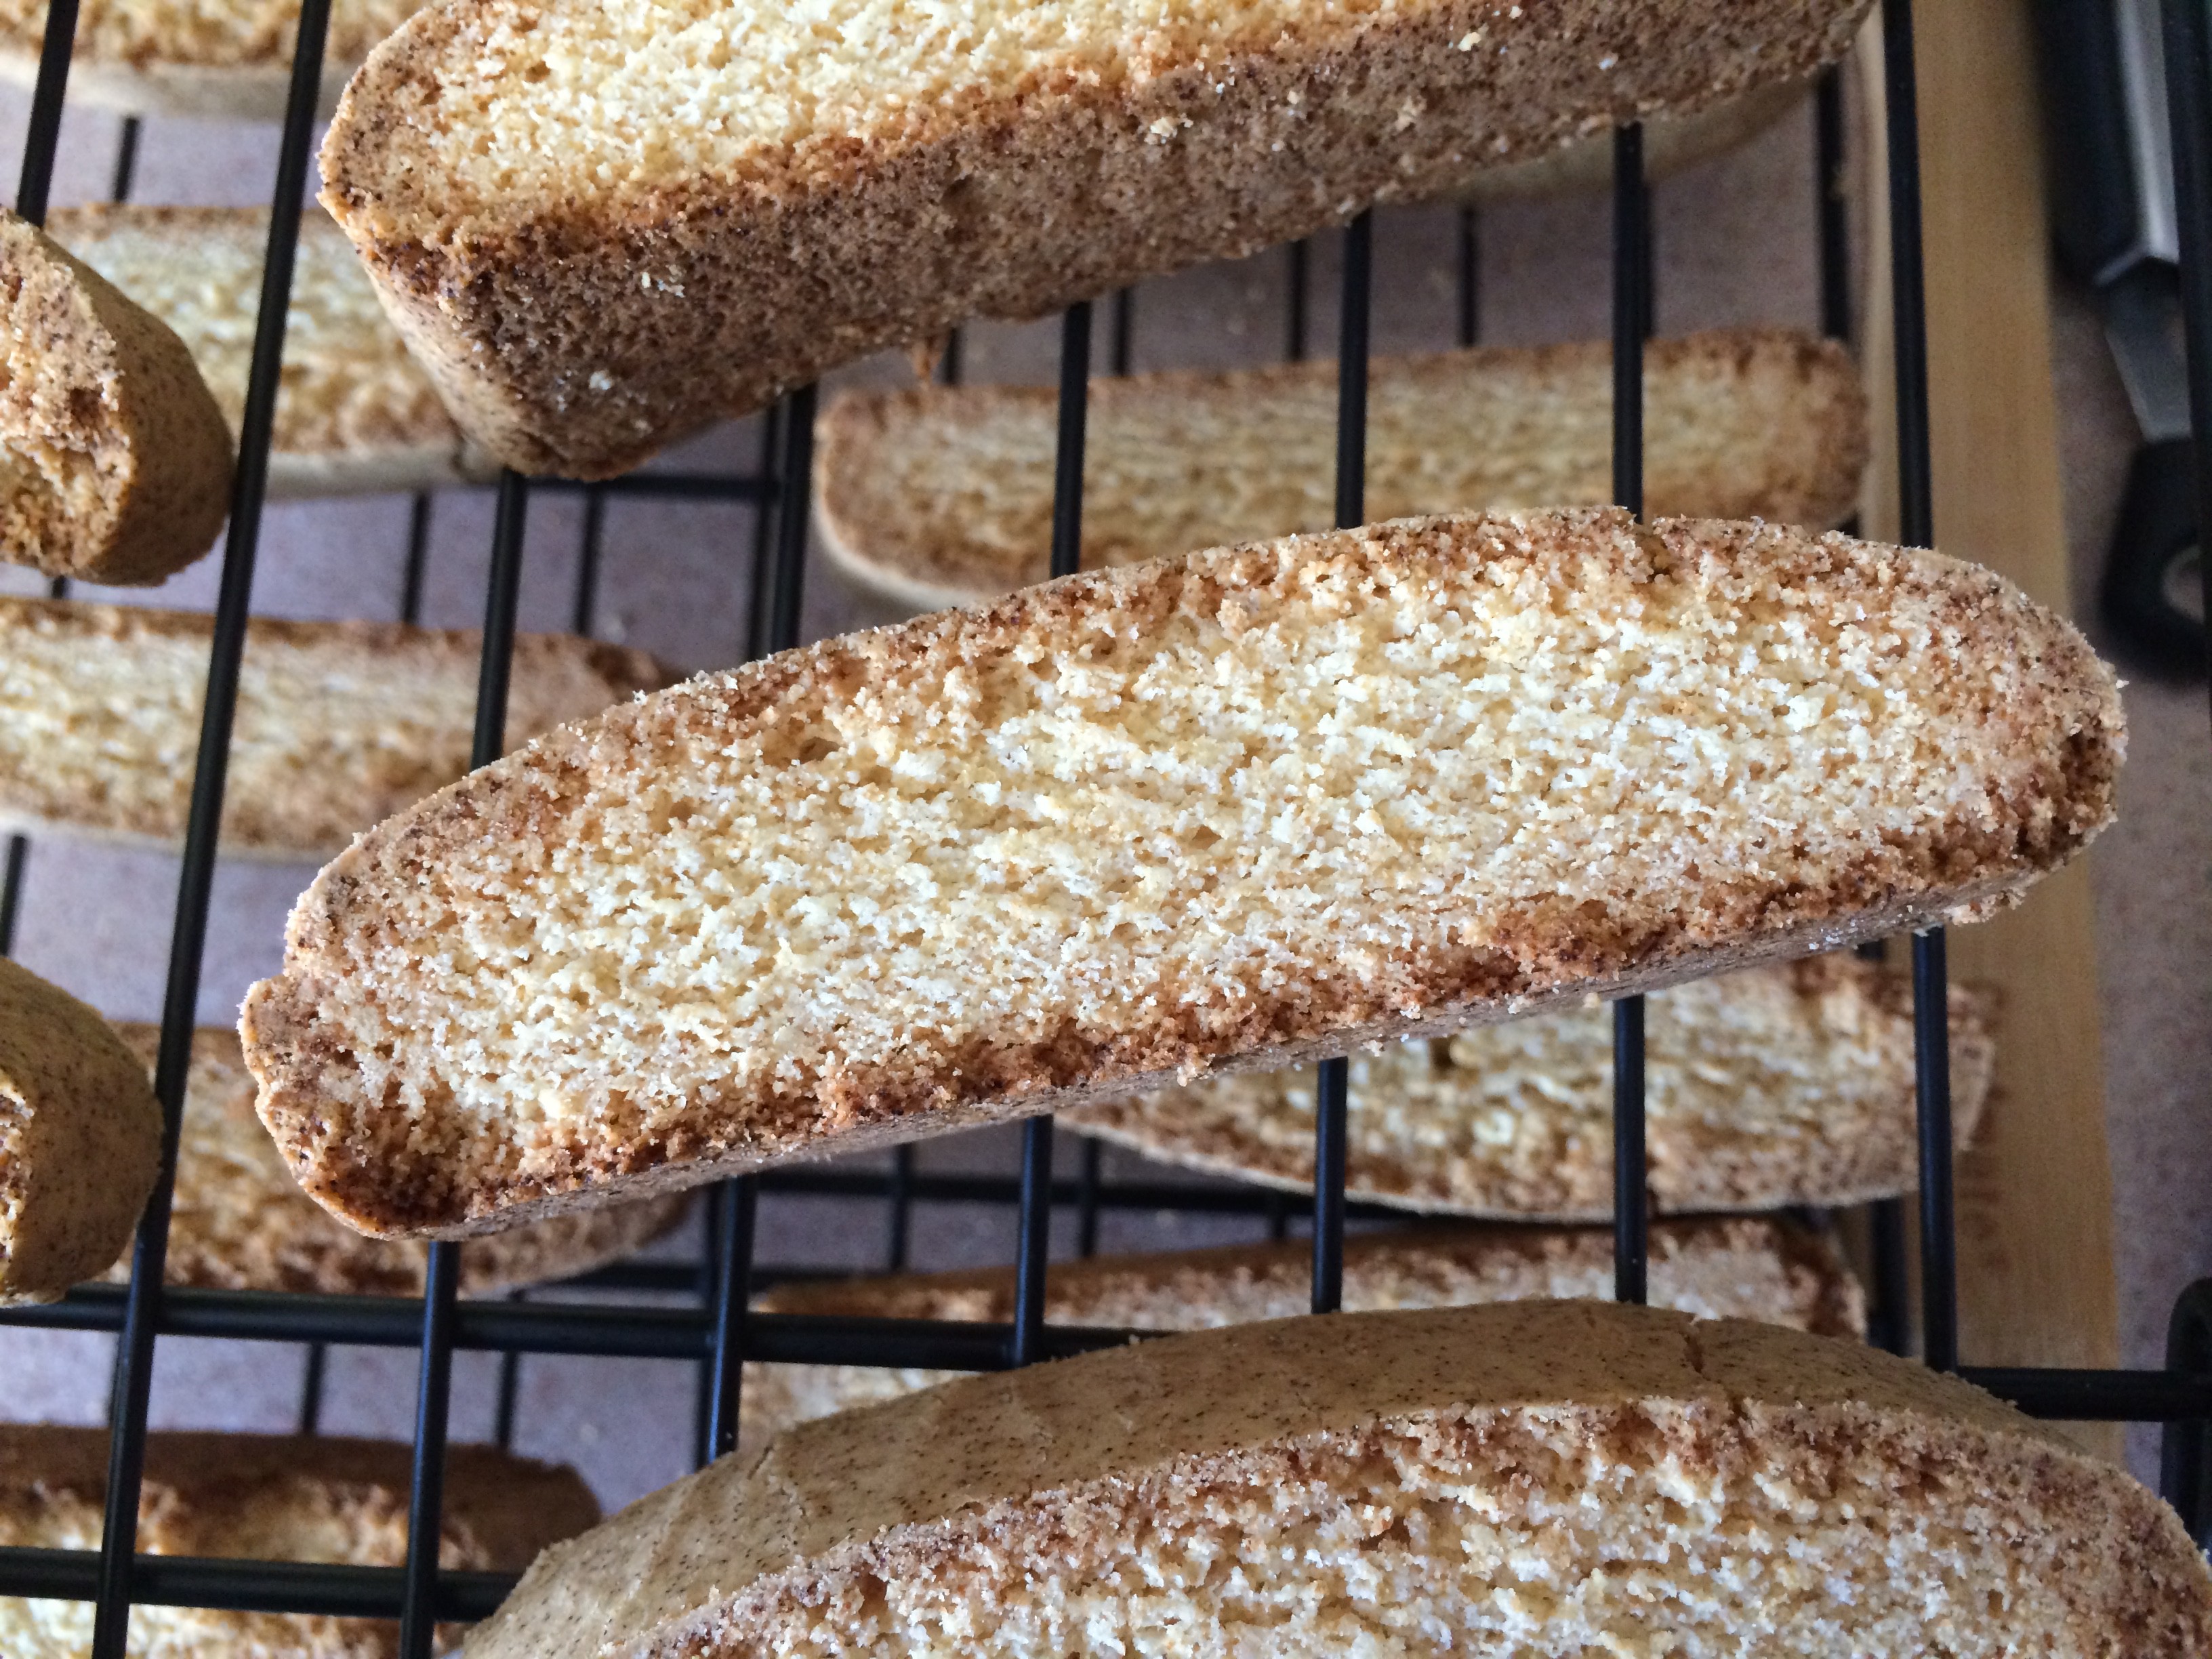
As a savvy baker, I understand that gluten-free recipes can bring about a number of challenges, and I’ve been sorely disappointed by nut-based, high-egg-volume cake recipes in the past. I baked this as a trial run for our seder, which will take place on the first night of Passover in just a couple of weeks. The recipe came from a food blogger in Australia, hence the use of grams below. The preparation is fascinating, as I think you may agree once you read the directions. I’m happy to say that it turned out very well; my plan for the seder is to add some slices almonds to the top, which will brown nicely during baking.

Ingredients

  • 2 medium oranges
  • 6 eggs, at room temperature
  • 250 grams sugar, processed to super-fine consistency*
  • 250 grams almond meal
  • 1 teaspoon baking powder

*To make regular sugar super-fine, place it in a food processor fitted with a steel blade and pulse several times until you get a consistency like sand.

Preparation

Wash the oranges well. Place them in a large cooking pot with plenty of water and bring them to a boil. Turn down to a simmer, and simmer for 2 hours, checking frequently. Remove oranges from the water and allow to cool completely.

Preheat oven to 375 degrees. Line a 9-inch springform pan with parchment, extending the paper over the sides.

Remove the ends of the oranges, which can be bitter, and place the oranges, skin and all, into a food processor. Pulse to a smooth consistency.

In a large bowl, whisk eggs and sugar together very well. Add orange puree and whisk together.

Add almond meal and baking powder, stirring with a wooden spoon to blend completely.

Pour batter into prepared pan and bake for 50-60 minutes, until a cake tester comes out clean. Be careful not to over-bake; the sides and bottom of the cake will darken considerably and you do not want them to burn.

Remove from oven and cool in pan for about 10 minutes; remove the cake from the pan, leaving it in the parchment, and place it on a wire rack to cool completely. Remove parchment; store at room temperature.

Note: this cake is very moist, and according to the original recipe it becomes even more so after a few days. Be sure to store in an airtight container.


Mint Chocolate Brownies

mintbrowniesMy cousin-in-law Robb recently made a mint chocolate brownie and shared the recipe with me. This is the first time I’ve ever made brownies with chocolate syrup, and it definitely won’t be the last. The brownies themselves are fudgy and cake-like at the same time, a texture I’ve never before achieved.

I can see this recipe getting adapted for raspberry or strawberry buttercream and a semisweet or bittersweet chocolate layer on the top. While the original mint recipe Robb sent to me calls for creme de menthe, I didn’t have any in our liquor cabinet (as I would imagine most people don’t). I did a bit of internet searching and found another recipe that incorporated peppermint instead, so I’ve used that here. I also tweaked the peppermint layer to taste, adding vanilla and milk, to soften the mint flavor slightly. The end result is something like an Andes candy, but way, waaay better.

Ingredients

For the brownie layer

  • 8 tablespoons butter, softened
  • 1 cup sugar
  • 4 eggs, beaten
  • 1 16-ounce can chocolate syrup
  • 1 teaspoon vanilla
  • 1 cup flour

For the mint layer

  • 8 tablespoons butter, softened
  • 2 cups powdered sugar
  • 1 tablespoon peppermint extract
  • 1 1/2 teaspoons vanilla extract
  • 1 1/4 tablespoons milk
  • green liquid food coloring

For the chocolate layer

  • 6 ounces milk chocolate chips
  • 6 tablespoons butter

Preparation

Preheat oven to 350 degrees. Grease a 9 x 13 baking pan or spray with baking spray.

In a mixing bowl, cream butter and sugar together until fluffy. Add eggs, chocolate syrup, and vanilla and beat on low, then medium speed, until combined. Add flour and beat until combined. Batter will be quite thin. Pour into prepared pan.

Bake for 30 minutes; the top will look shiny and wet, but a cake tester should come out clean.

Cool brownies completely in the pan before adding the mint and chocolate layers.

To make the mint layer, beat butter and powdered sugar on low, then medium speed, until fully incorporated. Add peppermint extract, vanilla, and milk; add green food coloring to tint to a light green color.

Spread evenly over brownies.

To make the chocolate layer, melt chocolate chips and butter together on a very low flame. Cool to room temperature, then pour over mint layer, spreading with an offset spatula to cover completely.

Allow chocolate layer to set before serving.


Shortbread Spiral Cookies

shortbread spiralsAlthough I’ve seen many a spiral cookie in my baking travels, I’ve never made them until today. This easy recipe will make a handy addition to my arsenal, as I can see tinting the dough all manner of colors for various holidays or incorporating cocoa into the dough for a chocolate and vanilla spiral.

I’d also love to experiment with shapes, like the amazing baker at Eugenie Kitchen did with this remarkable heart cookie. Perhaps next year for St. Patrick’s Day, I’ll create a clover cookie not unlike the rainbow heart, with different shades of green – but that will take some practice.

These treats are destined for my goddaughter, Maureen, and her family for St. Patrick’s Day.

Ingredients

  • 2 1/2 cups flour
  • 1 teaspoon salt
  • 1/4 teaspoon baking soda
  • 1 cup butter, softened
  • 1 cup powdered sugar
  • 1 egg
  • 1 teaspoon vanilla
  • 1 1/2 teaspoons almond extract
  • green food coloring

Preparation

In a medium bowl, sift together flour, salt, and baking soda; set aside.

In a mixing bowl, beat butter on medium speed for 2-3 minutes, until light and fluffy. Add powdered sugar and beat until fluffy.

Add egg, vanilla, and almond and beat well – your batter will become slightly clumpy, but once you add the flour mixture, the texture will even out.

Add flour mixture in three batches, beating well between each.

Divide dough in half and tint one half green. Wrap each half in plastic wrap and chill for about 1 hour.

Remove dough from refrigerator and allow to sit at room temperature for just a few minutes.

Lightly dust your counter top with flour and roll out the plain half of the dough first; you will want to create a square that is about 8 x 8. Roll out your green dough next, then place it on top of your plain dough. If your dough isn’t completely square, that’s okay; you can cut the edges to make a square and roll the scraps together to make marble cookies*.

Gently press the two layers together by lightly rolling with your rolling pin. Carefully roll up your dough to create a log, pressing gently to tighten the roll as you go. Wrap the log in plastic wrap and chill for about 10-15 minutes.

Preheat oven to 375 degrees. Line three baking sheets with parchment or foil.

Remove the log from the fridge and unwrap. Slice into 1/2 inch cookies, turning the log every few slices to keep it round. Place cookies about 2 inches apart on the baking sheets.

Bake 10-12 minutes, until edges are just beginning to turn golden. Remove from oven and cool on baking sheets for 1-2 minutes, then remove to a wire rack to cool completely.

*If you had to trim your dough to make a square, take your scraps and knead them together gently, creating a marbled ball of dough. Roll into a log, then chill, slice, and bake as above.


Chai Tea Cupcakes

chaiteacupcakesThe Better Homes & Gardens Baking Book – an awesome Christmas gift from Mike – bills these treats at chai tea muffins, but their ingredients and preparation method are much more cupcake-like to me. I debated about calling these “cuffins,” or perhaps “muffcakes,” because I’m still on the fence. And besides, it’s fun to make up words.

So, what’s the difference between a cupcake and a muffin? To me, the simple answer is: the kind of fat you use, and how you mix your ingredients. Cupcakes tend to employ butter and a creaming method, where you blend sugar into the butter, then add your other wet and dry ingredients, sometimes alternatively. Most muffins involve vegetable oil, and a process of combining dry ingredients in one bowl and wet ingredients in another, then mixing the wet into the dry. As you’ll see below, these treats use the creaming method and butter – and are in my opinion more cupcake than muffin.

Regardless of what you call them, these treats smell delicious! Were it not for my current No Sweets for Lent endeavor, I would have eaten one the moment my chai nutmeg drizzle had set.

Ingredients

Cupcakes

  • 1 1/4 cups milk
  • 4 chai tea bags
  • 8 tablespoons butter, softened
  • 1 1/2 cups sugar
  • 1 teaspoon vanilla
  • 2 eggs
  • 11/2 cups flour
  • 1/2 cup whole wheat flour
  • 1 1/2 teaspoons baking soda
  • 1/2 teaspoon ginger
  • 1/4 teaspoon salt

Chai Nutmeg Drizzle

  • 3/4 to 1 cup powdered sugar
  • About 5 teaspoons chai tea
  • Dash of nutmeg

Preparation

Heat milk in a saucepan over medium heat until it simmers. Add chai tea bags and steep for 5 minutes. Remove the bags, pressing to release as much tea as you can. Allow to cool.

Preheat oven to 350. Line 24 muffin cups with paper liners; you will likely need an additional 6 liners, as my batch yielded 30.

Combine flour, whole wheat flour, baking soda, ginger, and salt; set aside.

In a mixing bowl, cream butter, sugar, and vanilla until light and fluffy. Add eggs, one at a time, beating well after each addition.

Add flour mixture and milk mixture alternatively in three batches, beginning and ending with the flour and beating until just combined.

Using a 2-inch cookie scoop, scoop dough into muffin cups, filling about 2/3 full.

Bake for 15-20 minutes, until tops are light golden brown and a cake tester comes out clean.

Cool in muffin pans for about 1 minute, then remove to wire racks to cool completely before drizzling.

To make the chai nutmeg drizzle, prepare a cup of chai tea with water and allow it to cool.

In a small bowl, place 3/4 cup powdered sugar and add tea, 1 teaspoon at a time, mixing until you reach your desired drizzling consistency. Add a dash of nutmeg to taste.

Fit a small pastry bag with a plain tip and pipe over cupcakes. Allow to set before serving.


Black Bottom Cupcakes

blackbottomcupcakesYears ago, before I began a serious baker, I marveled at the Starbucks black bottom cupcake. I had no idea what was in it – I simply knew it was delicious, and that it was the only cupcake in existence that didn’t need frosting. How could one achieve such a thing? What was that spongy, chocolate chip-studded white layer? This remained a mystery, until today.

The black bottom cupcake is surprisingly simple to make, requiring basics that you likely have in your pantry. The batter could certainly hold its own without the cream cheese/sugar/egg/chocolate chip filling, but that would defeat the entire black bottom purpose. Although it’s Lent and I’m refraining from sweets at present, this will be on the top of my list to make once Easter arrives. Next time, I might increase my filling quantity, perhaps even doubling it, so that I can add more filling to each cupcake.

Ingredients

Filling

  • 8 ounces cream cheese, at room temperature
  • 1/3 cup sugar
  • dash of salt
  • 1 egg
  • 2/3 cup chocolate chips (I used milk chocolate)

Cupcakes

  • 2/3 cup cocoa powder
  • 3 cups flour
  • 2 cups sugar
  • 2 teaspoons baking soda
  • 1/2 teaspoon salt
  • 2 cups water
  • 2/3 cup vegetable oil
  • 2 tablespoons vinegar
  • 2 teaspoons vanilla extract

Preparation

Preheat oven to 350 degrees. Line cupcake pans with paper liners; my recipe yielded 33 cupcakes, just shy of three dozen.

In a mixing bowl, combine cream cheese and sugar; beat until well combined. Add egg and salt and beat until very well combined. Stir in chocolate chips.

In a large bowl, sift together cocoa powder, flour, sugar, baking soda, and salt. Add water, vegetable oil, vinegar, and vanilla extract and mix very well.

Using a 1/4 cup measuring cup, scoop batter into cupcake wells, filling just over half full. Drop a heaping teaspoon of the cream cheese filling mixture into the middle of each.

Bake for 20 minutes; remove from oven and allow to cool for a few minutes in the pan, then remove to a wire rack to cool completely.

Anise Biscotti

anise biscottiAnise is used in cooking, baking, and if you can believe it, medicine throughout the world. It can be found in everything from cookies to tea, and it’s one of my favorite flavors, particularly for biscotti.

My grandma Zella, despite being Hungarian and not at all Italian, used anise for pizzelles. Because of this, I always think of anise as an Italian flavor, and I make sure I get a few plain anise and anise almond biscotti when I visit Enrico Biscotti in Pittsburgh’s Strip District.

Almonds would be a great addition to this recipe, but it is delicious plain as well. As far as biscotti recipes go, I’d say this was among the easiest and most successful I’ve ever tried.

Ingredients

  • 3 1/4 cups flour
  • 1 tablespoon baking powder
  • 1/2 cup vegetable oil
  • 1 cup sugar
  • 1 tablespoon anise extract
  • 3 eggs

Preparation

Preheat oven to 375 degrees. Line a baking sheet with parchment paper.

In a medium bowl, combine flour and baking powder; set aside.

In a mixing bowl, combine vegetable oil, sugar, anise extract, and eggs and beat on medium speed until combined.

Add flour all at once; beat until combined. Dough will be very thick.

Divide dough in half and roll into logs as long as your baking sheet. Press dough down to about 1/2 inch thickness.

Bake for 25-30 minutes, then remove from the oven and allow to cool for about 10 minutes. Line a second baking sheet with parchment.

Slice each log into 1-inch slices, then place slices on baking sheets and return to the oven and bake for another 6 minutes on each side.

Remove from oven and cool on a wire rack.

Heart Sugar Cut-Outs

heartEvery baker needs a simple, tasty sugar cut-out in her arsenal. I think of sugar cookies as a perennial treat, good for any occasion or no occasion at all. Cookie cutters are available in so many shapes and sizes, and you can make them as simple or as elaborate as you like. I find that keeping a range of food colorings, both the gel and liquid kind, is very helpful for sugar cut-out decoration.

The recipe below includes simple ingredients that you probably have in your fridge and pantry. It’s a modification of my earlier sugar cut-out post, because when I baked these yesterday I used a lot more vanilla than my original post included and I liked both the texture and the flavor of this dough better.

For the frosting, you can go as simple or as fancy as you wish. I tinted mine pink and red, to keep it simple, but you can add sprinkles or colored sugar or piped elements – whatever your heart desires.

Sugar Cookies

Ingredients

  • 2 cups flour
  • 2 teaspoons baking powder
  • 1/2 teaspoon salt
  • 8 tablespoons butter, softened
  • 1 cup sugar
  • 1 egg
  • 4 teaspoons vanilla extract
  • 1 recipe Zella’s icing, plus red gel and red liquid food coloring

Preparation

In a small bowl, combine flour, baking powder, and salt; set aside.

In a mixing bowl fitted with the paddle attachment, beat butter on medium speed for about 1 minute. Add sugar and beat until light and fluffy.

Add egg and 2 teaspoons vanilla, then beat until well-combined.

Add flour mixture in two batches, beating well between each addition.

Add remaining vanilla and beat until dough comes together; it may be a bit crumbly, but that’s okay.

Turn out onto a lightly floured counter top and knead very gently to bring the dough together. Divide in half; shape into balls, then flatten into discs. Refrigerate for about 20-30 minutes.

Preheat oven to 375 degrees. Line several baking sheets with foil.

Remove dough from fridge and allow to sit at room temperature for a few minutes.

On a lightly floured counter top, roll dough to about 1/8 inch thickness. Cut into heart shapes and place on prepared baking sheets about 2 inches apart.

Bake for 9 minutes, until edges are just golden. Remove from oven and cool on baking sheets for a few minutes, then remove to a wire rack to cool completely.

When cookies are completely cool, prepare icing.

Divide in half; use a few drops of red liquid food coloring for pink icing and red gel for red icing.

Frost cookies as desired; you can add sprinkles, chocolate chips, or piped elements for decoration if you like, but I just left mine plain.

Allow frosting to set before storing cookies; store between sheets of waxed paper in an airtight container.


Peanut Butter Heart Cookies

pb heartsReese’s now makes a heart-shaped version of their miniature peanut butter cup. They are quite tasty on their own, and even better when placed on a peanut butter cookie. I always think of the classic peanut butter blossom, with its Hershey’s Kiss, as a Christmas cookie, and this is a nice alternative for Valentine’s Day.

A few folks have asked how I keep these cookies soft, and the key there is in the baking time. Most recipes over-estimate baking time, which yields a harder, crunchy cookie – especially with peanut butter cookies. If you’re after a soft cookie, under-bake them by a few minutes. When you pull them from the oven, allow them to sit on their baking sheets for 2-3 minutes, then remove them to a wire rack to cool them – they continue baking, but won’t over-bake, that way.

The actual in-the-oven baking time for these cookies is 10 minutes, because you need the bottoms to be sturdy enough to hold the candy once you place it. Once you’ve placed your chocolates, move your cookie sheet to a cooler place, away from the oven, so the chocolate can start to set sooner.

Ingredients

  • 1/2 cup peanut butter
  • 1/2 cup shortening
  • 1/2 cup sugar
  • 1/2 cup packed brown sugar
  • 1 teaspoon baking powder
  • 1/8 teaspoon baking soda
  • 1 egg
  • 2 tablespoons milk
  • 1 teaspoon vanilla
  • 1 3/4 cups flour
  • About 36 Reese’s peanut butter hearts

Preparation

Preheat oven to 350 degrees. Line several baking sheets with foil or parchment paper.

Unwrap 36 hearts and set aside in a cool place, away from the heat of the oven so they don’t start to melt.

In a small bowl, measure out 1/4 cup sugar for rolling; set aside.

In another small bowl, measure out 1/2 cup sugar, brown sugar, baking powder, and baking soda; set aside.

In a mixing bowl, beat shortening and peanut butter until smooth.

Add sugar mix and beat until combined, scraping the sides of the bowl as necessary.

Add egg, milk, and vanilla and beat until combined.

Add flour and beat until well-combined.

Using a one-inch cookie scoop, scoop out dough and roll into balls; roll balls in sugar and place two inches apart on prepared baking sheets.

Bake for 10 minutes; remove from oven and immediately press one heart in the center of each, then transfer the entire baking sheet to a wire rack away from the oven to cool for about 5 minutes. Remove cookies from the baking sheet and place on a wire rack to cool completely.

Peanut Butter M&M Cookies

pbmmValentine’s Day is just around the corner, and I’m preparing a care package for my goddaughter Maureen and her family. This year, Mo is getting some peanut butter M&M cookies, and there will be a few other things for her and her baby sister Margo as well.

Full disclosure: I don’t really like plain M&Ms. I love the peanut kind, and the peanut butter kind, but plain M&Ms have always seemed too…well, plain…for my taste. They’re perfect in these cookies, though, adding a nice pop of chocolate and some crunch.

If you’re planning to bake and ship these, make sure you package them well with several layers of waxed paper in the container. I’m pretty sure they’ll ship well, but it’s always best to be on the safe side with your packaging.

Ingredients

  • 1 3/4 cup flour
  • 1 teaspoon baking soda
  • 1/2 teaspoon salt
  • 8 tablespoons butter, softened
  • 1/2 cup sugar
  • 1/2 cup packed light brown sugar
  • 1/2 cup peanut butter
  • 1 egg
  • 1 teaspoon vanilla
  • 2 tablespoons milk
  • 1 cup M&Ms candies (I used the Valentine’s Day mix)

Preparation

Preheat oven to 350 degrees. Line several baking sheets with parchment paper.

In a medium bowl, stir together flour, baking soda, and salt; set aside.

In a mixing bowl, beat butter on medium speed for about 1 minute. Add sugars and beat until fluffy, then add peanut butter and beat until very well-combined.

Add egg, vanilla, and milk, beating on low speed until combined.

Add flour mixture in two batches, beating well after each addition.

Stir in M&Ms.

Using a 1-inch cookie scoop, scoop balls of dough and place about 2 inches apart on the prepared cookie sheets.

Bake for 10-12 minutes, until tops are just golden. Remove from oven and cool on cookie sheets for a few minutes, then remove to a wire rack to cool completely.

Chocolate Caramel Cookies

chocolate caramelRolos have been around since 1937. Originally manufactured in Britain, they are made by Nestle everywhere except the United States, where the fine folks at Hershey’s produce them alongside other heavenly treats like Reese’s Peanut Butter Cups, Kit Kats, and Mr. Goodbars.

So, what happens when you take a Rolo and wrap chocolate cookie dough around it? You get a delicious treat, like these cookies.

The original recipe I found included a salted caramel drizzle, and the next time I make these, I’ll definitely include it. While they’re certainly delicious on their own, I think these cookies could benefit from an extra kick of caramel and a sprinkle of sea salt.

Ingredients

  • 2 3/4 cups flour
  • 3/4 cup cocoa powder
  • 1 teaspoon baking soda
  • 1/4 teaspoon salt
  • 1 cup butter, softened
  • 1 cup sugar
  • 1 cup packed light brown sugar
  • 2 eggs
  • 2 teaspoons vanilla
  • 36 Rolo candies, unwrapped

Preparation

Preheat oven to 375 degrees. Line several baking sheets with parchment paper.

In a medium bowl, combine flour, cocoa powder, baking soda, and salt; set aside.

In a mixing bowl fitted with the paddle attachment, beat butter on medium speed for 30 seconds.

Add sugar and brown sugar, beating until light and fluffy, scraping the sides of the bowl frequently.

Add eggs, one at a time, beating until combined, then add vanilla and beat until combined.

Add flour mixture about a half-cup at a time, mixing well between each addition and scraping the sides of the bowl frequently.

Using a 2-inch cookie scoop, shape dough into balls and press a Rolo into each center, shaping dough around the candy to enclose it.

Place cookies about 2 inches apart on prepared sheets and bake for 10 minutes, until edges are firm. Remove from oven and allow to cool for a few minutes on cookie sheets, then remove to a wire rack to cool completely.

Store in an airtight container at room temperature.