Peanut Butter Cup Cookie Bars

pb cup cookie barsAs far as peanut butter goes, I’m a Jif loyalist. My mom was one of the choosy moms who chose Jif in my childhood, and as such I find pretty much every other brand inferior.

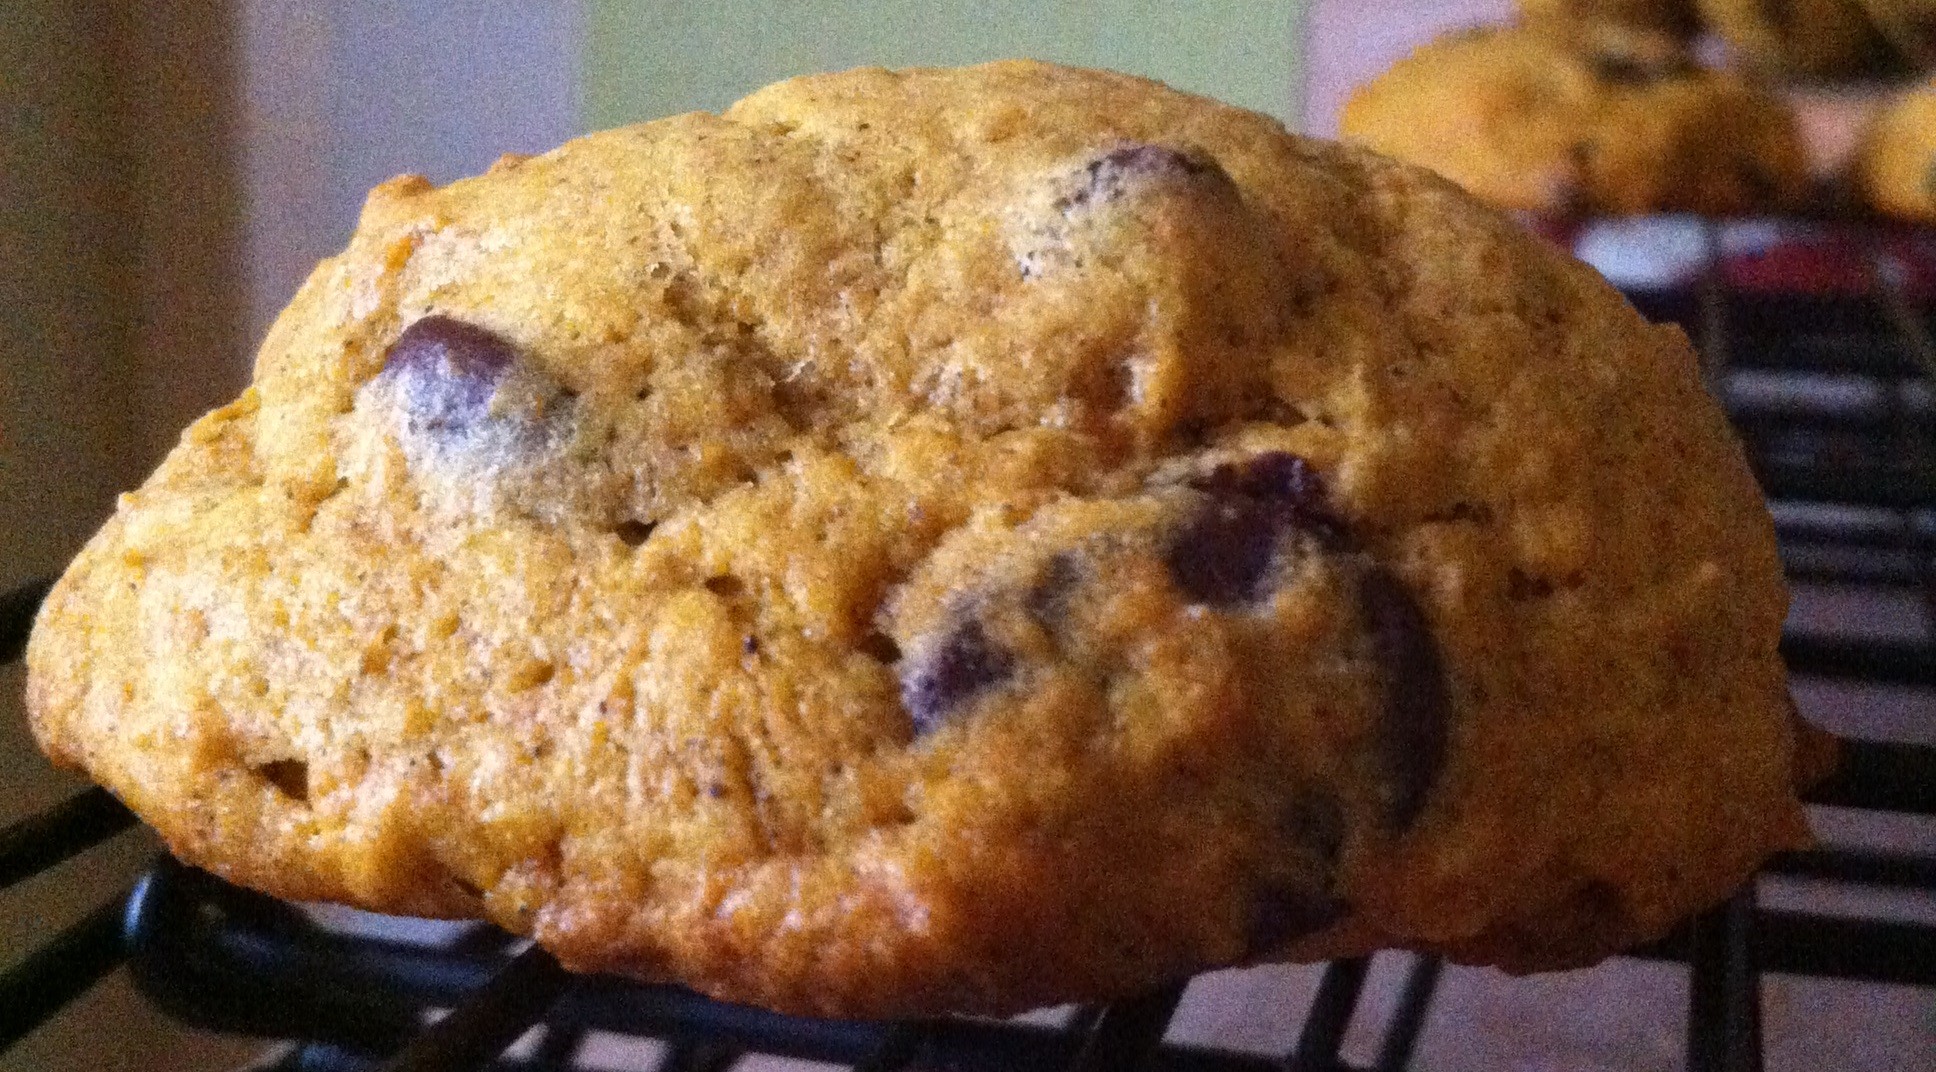
Jif introduced its creamy peanut butter in 1958 and the extra crunchy variety in 1974. Why there isn’t just “crunchy” peanut butter, I’m not sure, but you can use either smooth or crunchy for this recipe. I had a jar of extra crunchy on hand, so I decided to use that, along with chopped Reese’s Peanut Butter Pumpkins. You could certainly use regular chopped peanut butter cups or milk chocolate chips if you prefer; just adjust the quantity to 1 3/4 cups.

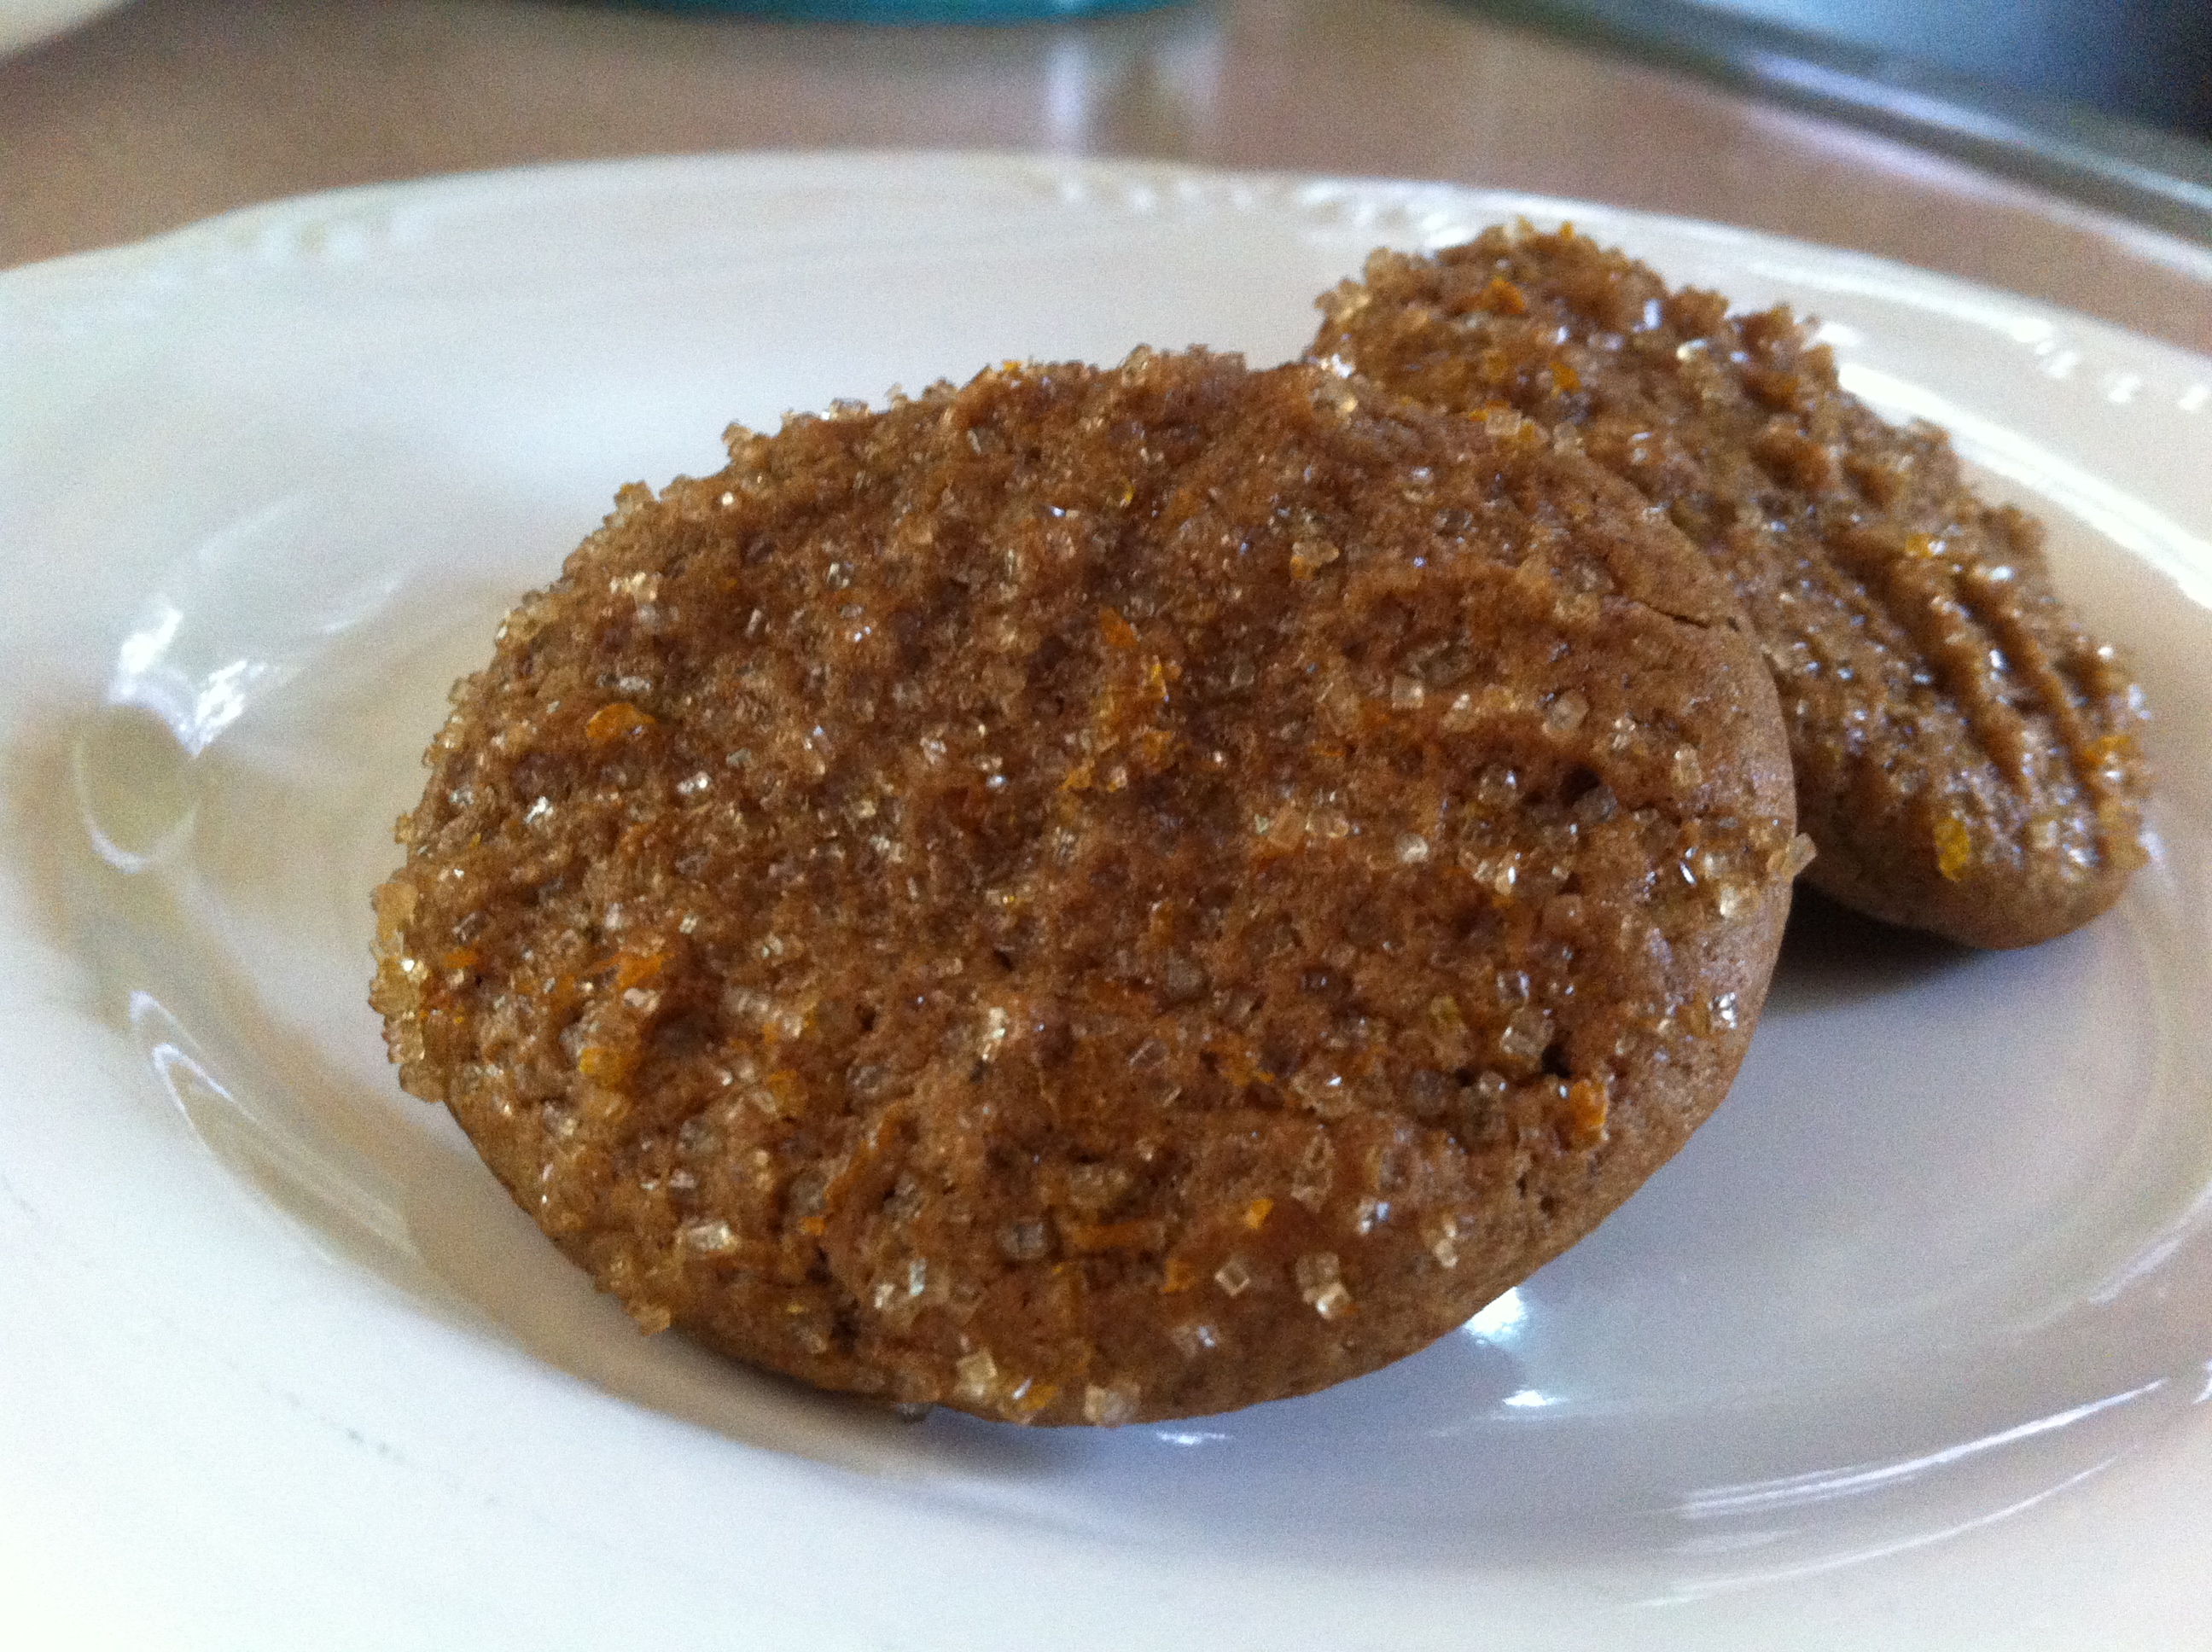
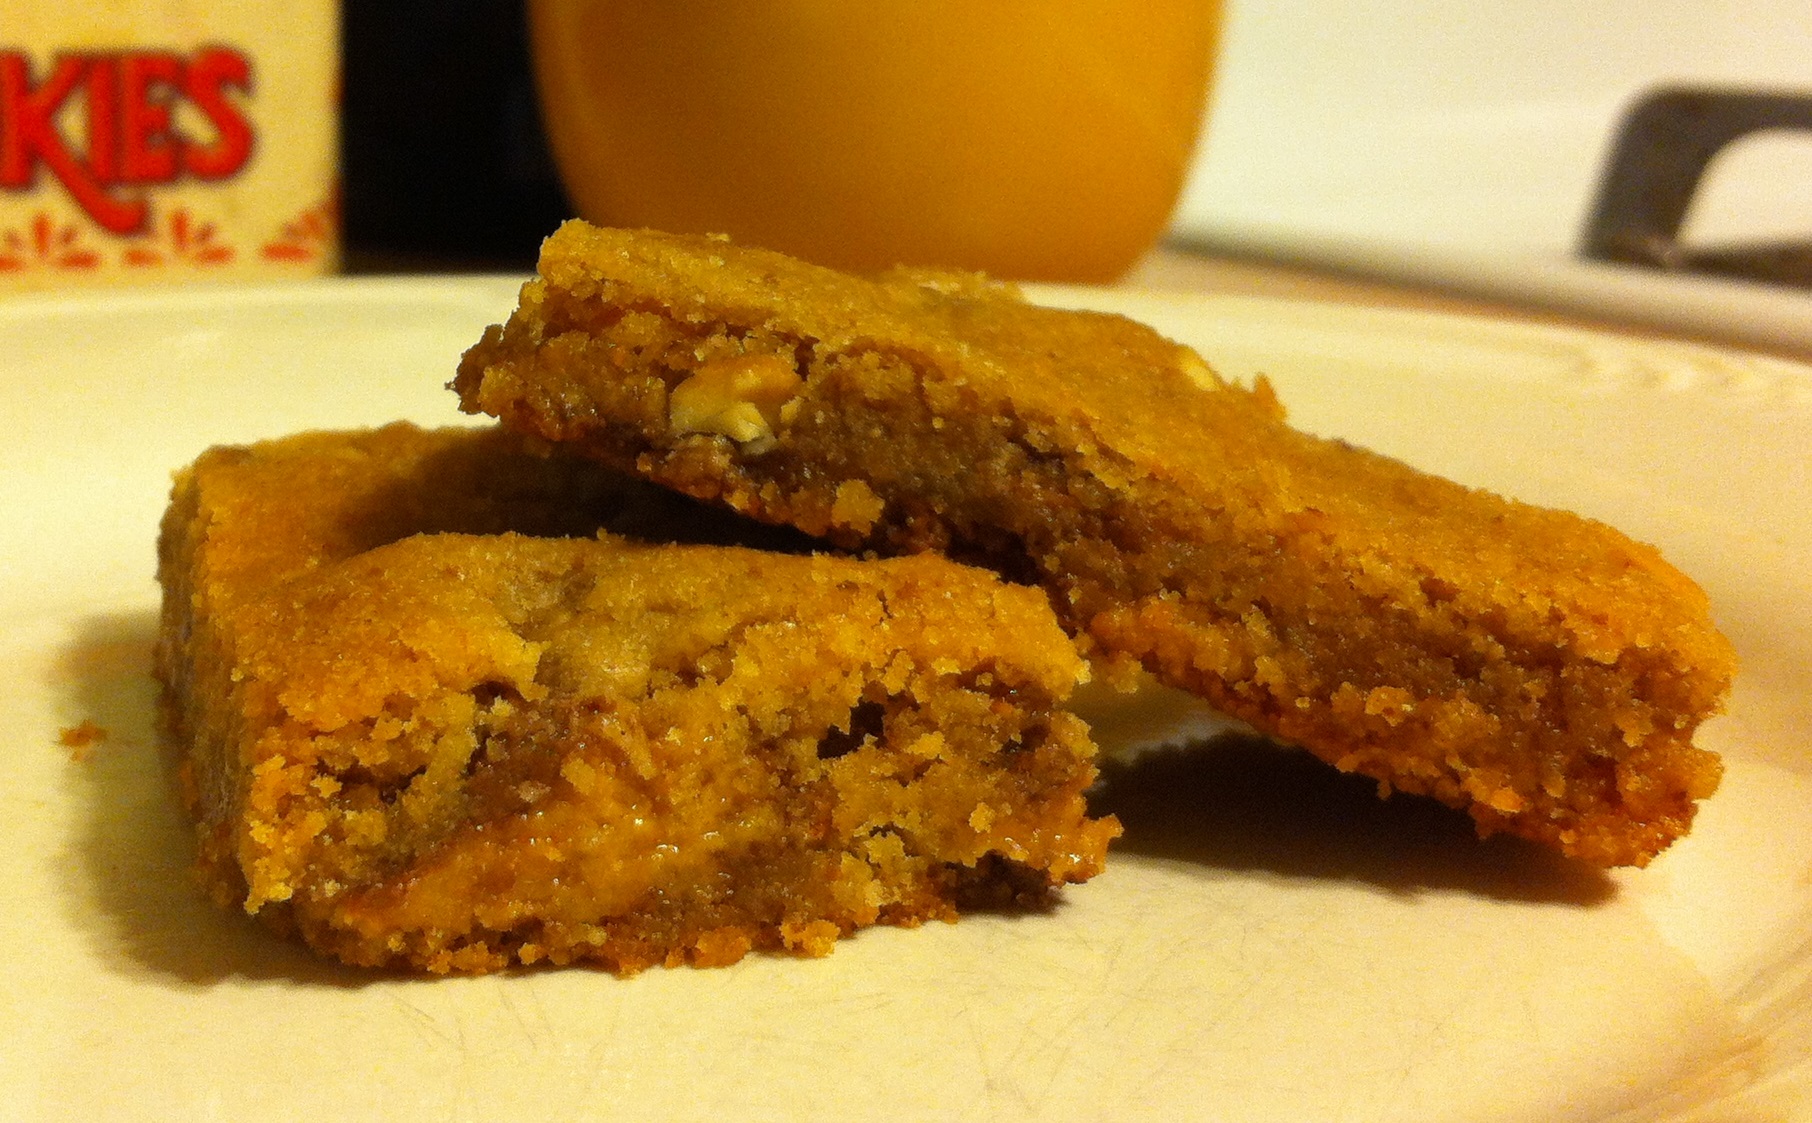
A note of caution for your oven: this recipe bakes in a 10 x 15 x 1 pan, and mine puffed up and spilled over the sides, dripping quick-to-burn cookie bits on my oven floor. Next time, I’ll place a cookie sheet lined with parchment beneath the pan to catch the drips. This recipe can also be baked as individual cookies; just scoop them out, flatten them with the bottom of a glass dipped in sugar, and bake for about 8 minutes.

Ingredients

  • 1 1/2 cups flour
  • 1 teaspoon baking soda
  • 1/2 cup sugar
  • 1/2 cup packed light brown sugar
  • 1 cup butter, softened
  • 1/2 cup extra crunchy peanut butter
  • 1 teaspoon vanilla
  • 1 egg
  • 7 Reese’s Peanut Butter Pumpkins, chopped

Preparation

Preheat oven to 375 degrees. Line a baking sheet with parchment and place a 10 x 15 x 1 jelly roll pan on the parchment. You do not need to grease the pan.

In a small bowl, combine flour and baking soda; set aside.

In a mixing bowl, combine sugar, brown sugar, butter, peanut butter, and vanilla and beat until very well combined.

Scrape down the sides of the bowl and add the egg, beating until combined.

Scrape down the sides of the bowl again and gradually add the flour mixture.

Stir in chopped peanut butter pumpkins.

Spread dough in the ungreased pan and smooth the top with a small offset spatula.

Bake for 15-18 minutes, until golden brown but still puffy in the middle.

Cool completely on a wire rack before cutting.

Using a small offse


Pumpkin Chocolate Chip Bread

pumpkin choc chip breadPumpkins have appeared everywhere, seemingly overnight. October is prime pumpkin season, and everywhere I look I see them, bins and piles of bright orange squashes. They sit on porches next to mums and bales of hay, waiting to be carved at Halloween. Personally, I prefer my pumpkins un-carved so they can be displayed through Thanksgiving.

We’ve discussed pumpkin at length on this blog, but I continue to be amazed at how many different variations of pumpkin recipes that exist, particularly on the internet. I found this one one another blog, but tweaked it slightly to make it my own (I increased the amount of spices recommended in the original). It’s a rather large recipe, yielding three 8 x 4 loaves; I used foil loaf pans for them instead of using my regular loaf pans so I could give them as gifts. The original author of the recipe reports that they freeze very well, so they could be made ahead of time and given as holiday gifts.

Ingredients

  • 2 1/2 cups white flour
  • 1 cup whole wheat flour
  • 3 cups sugar
  • 2 teaspoons baking soda
  • 2 1/2 teaspoons ground cinnamon
  • 1 1/2 teaspoons ground nutmeg
  • 1 teaspoon salt
  • 1 15-ounce can pumpkin puree (not pie filling)
  • 1 cup vegetable oil
  • 4 eggs
  • 2/3 cup water
  • 1 cup semisweet chocolate chips

Preparation

Preheat oven to 350 degrees.

Spray three 8 x 4 loaf pans with baking spray (or regular nonstick spray)

In a very large bowl, mix flours, sugar, baking soda, cinnamon, nutmeg, and salt; set aside.

In a large bowl, stir together pumpkin puree, vegetable oil, eggs, and water until very well blended.

Stir wet ingredients into dry ingredients, mixing well so that no streaks of dry ingredients remain.

Stir in chocolate chips.

Divide batter evenly between three pans; I used a 1/4 cup measuring cup to do this.

Bake for 60 minutes, until a cake tester comes out clean.

Cool on a wire rack in pans; once completely cool, remove from pans and wrap well in plastic wrap and foil (especially if you’re freezing any loaves).

Pumpkin Chocolate Chip Cookies II

pumpkin chocolate chip cookies 2It’s pumpkin season. Today, Pittsburgh is a cool 60 degrees with rain, and the tops of the trees are tinged orange and brown. Fall, my favorite of the seasons, is here.

Last week’s pumpkin ginger cookies left me with about a cup of unused pumpkin, and there were so many possibilities for its use. Tomorrow I’ll be baking another pumpkin-themed treat, but today, because Mike was able to come home early from work, I decided to whip up a batch of pumpkin chocolate chip cookies for him. These differ slightly from pumpkin chocolate chip cookies i, in that they have a combination of semisweet and bittersweet chocolate chips and no nuts.

Incidentally, pumpkin is quite good for you. It contains vitamins A and C, magnesium, iron, and potassium and is low in both fat and cholesterol. Granted, mixing it with sugar and chocolate chips changes things, but let’s focus on the positives, eh?

Ingredients

  • 2 1/4 cups flour
  • 1 teaspoon baking powder
  • 1/2 teaspoon baking soda
  • 1/2 teaspoon salt
  • 1 1/2 teaspoons cinnamon
  • 1/2 teaspoon ginger
  • 1 cup butter, softened
  • 1/2 cup sugar
  • 1/2 cup brown sugar
  • 15 ounces pumpkin
  • 2 eggs
  • 1 teaspoon vanilla extract
  • 1 cup semisweet chocolate chips
  • 1 cup bittersweet chocolate chips

Preparation

Preheat oven to 375 degrees.

Line several baking sheets with parchment paper.

In a medium bowl, combine flour, baking powder, baking soda, salt, cinnamon, and ginger; set aside.

In a mixing bowl, cream together butter and sugars.

Add pumpkin, eggs, and vanilla; mix well.

Slowly add flour mixture and beat until well combined.

Stir in chocolate chips.

Using a two-inch cookie scoop, drop scoops of dough about two inches apart on the baking sheet.

Bake 17 minutes, until edges are lightly browned.

Cool for 5 minutes on baking sheet, then cool completely on a wire rack.

Pumpkin Molasses Cookies

pumpkin molasses cookiesMy kitchen smells so amazing right now that if the Yankee Candle folks could be here they’d create a candle based on it. I almost called these treats Pumpkin Dreams, because their original title didn’t quite seem to capture their aromatic deliciousness; I also considered calling them Septembers, because they’re an excellent combination of fall ingredients.

I will readily admit that I ate one the moment it was cool enough to consume without burning my mouth, and they are among my favorites, ever, which is really saying something.The perfect marriage of a pumpkin cookie and a gingersnap, they are spicy and sweet with a crunchy outer edge and soft, pillowy center.

The triple threat in these treats is the combination of pumpkin, molasses, and the spice blend of cinnamon, ginger, and cloves. Each ingredient highlights the next, so you get layers of flavor; the spicy sweetness of the cinnamon and the pumpkin, the rich and slightly bitter molasses and cloves, and the light zing of the ginger. This cookie is an excellent example of how certain flavors can bring others out, in the best of senses. Next time, I may toss in a bit of nutmeg into the mix and see what happens.

Ingredients

  • 2 1/3 cups flour
  • 2 teaspoons baking soda
  • 2 1/2 teaspoons cinnamon
  • 1 1/2 teaspoons ginger
  • 1 1/2 teaspoons cloves
  • 1/2 teaspoon salt
  • 8 tablespoons butter, softened
  • 1 cup sugar
  • 1/2 cup canned pumpkin (not pie filling)
  • 1/4 cup molasses
  • 1 egg
  • 1 teaspoon vanilla extract
  • 1/2 cup sugar, for rolling

Preparation

In a medium bowl, combine flour, baking soda, cinnamon, ginger, cloves, and salt; set aside.

In a mixing bowl, cream butter and sugar until fluffy.

Add pumpkin, molasses, egg, and vanilla and beat until combined.

Add flour in two batches, mixing well.

Cover and chill dough for about 1 hour, until easier to handle.

Preheat oven to 350 degrees.

Line several baking sheets with parchment paper.

Using a 2-inch cookie scoop, scoop dough and roll into balls, then coat each ball very well in sugar and place about 2 inches apart on the baking sheets.

Bake for 13-15 minutes, until edges are set and centers are puffy. Remove from oven and cool on baking sheets for 5 minutes before removing to a wire rack to cool completely.

.

Honey Cake

honey cakeSometimes, you encounter a treat that becomes your nemesis. Until last year, honey cake was mine.

I first read about honey cake in Miriam’s Kitchen, an excellent book by Elizabeth Ehrlich that explores the connection between food and family, history, and tradition. The author described her Great-Aunt Dora’s honey cake as a rich, aromatic confection that was baked to celebrate Rosh Hoshannah in the hope of a sweet new year, and it sounded exactly like something I’d love to add to our holiday table.

Great-Aunt Dora’s recipe was included in the book, but when I baked it the outside burned, while the inside remained gooey and inedible. Years of honey cake experiments ensued, during which I tried different recipes each time, all with similar results. Last year, I scoured the internet for a new recipe, and I found this one, which yields a very successful, spicy orange honey cake.

Honey cake is still a bit tricky because of the amount of liquid and sugar (from both the honey and the white sugar in the recipe), so I recommend the following tips for baking:

  • Bake your cake at 340 degrees; the slightly lower temperature allows the cake to bake through without burning.
  • Check your cake for the first time at 33 minutes; the center will likely still look very wobbly, so continue baking for 3 minutes at a time, checking frequently, until a cake tester comes out clean. My cake bakes for about 43-45 minutes.

Ingredients

  • 2 1/2 cups flour
  • 3 teaspoons baking powder
  • 1/2 teaspoon baking soda
  • 1/2 teaspoon salt
  • 1 teaspoon cinnamon
  • 1 cup sugar
  • 1 cup honey
  • 1/2 cup vegetable oil
  • 4 eggs
  • zest of 1 medium orange
  • 1 cup orange juice

Preparation

Preheat oven to 340 degrees.

Grease and flour a 9 x 13 sheet cake pan.

In a medium bowl, sift together flour, baking soda, salt, and cinnamon; set aside.

In a mixing bowl, combine sugar, honey, vegetable oil, eggs, and orange zest. Beat until combined.

Add flour mixture and orange juice alternatively, beginning and ending with the flour and beating until just combined. Batter will be very runny.

Pour into prepared pan and bake for 33-43 minutes, until a cake tester inserted in the center comes out clean.

Cool completely before serving. This cake can be served as-is or dressed up with whipped cream, powdered sugar, or my favorite, a drizzly icing made of powdered sugar and orange juice.

Molasses Spice Cookies

molasses spice cookies (2)These treats are destined for my awesome friend Bryan out in New Mexico, to both celebrate the impending arrival of autumn and to cheer him up since he’s been a bit stressed lately. My natural inclination is to comfort people with baked goods, and the wonders of FedEx, UPS, and overnight service from the post office make this possible even at a great distance.

Some cookies are definitely better candidates for shipping than others. I’ve had the greatest luck shipping cookies that are more sturdy, like drop cookies, rolled cookies (like these), or plain cut-outs that are in basic shapes like circles or squares. Frosted cookies might be tricky because the frosting itself raises the moisture content, which might cause the cookies to begin to disintegrate or go stale quicker. These cookies have a slightly soft texture; they’re not chewy like a chocolate chip but not hard like a gingersnap, so I’m hoping they hold their ground until Bryan can enjoy them.

For the actual shipping, I pack cookies in several layers of waxed paper for cushion in a container that will allow for very little wiggle room, then place the container in a box packed with tissue paper or bubble wrap. Budget-wise, you can usually get a reasonable rate for two-day delivery, so if you’ve baked on a Monday and are mailing on Tuesday, your treats will arrive by Thursday and should be perfectly fine. Because homemade cookies have a shorter shelf life than store-bought, I wouldn’t go beyond two-day delivery.

Ingredients

  • 1 3/4 cups flour
  • 1/2 teaspoon baking soda
  • 1/2 teaspoon kosher salt
  • 1 1/4 teaspoons cinnamon
  • 1/4 teaspoon nutmeg
  • 1/4 teaspoon ginger
  • 1/4 teaspoon cloves
  • 1/8 teaspoon black pepper
  • 8 tablespoons butter
  • 1/2 cup packed light brown sugar
  • 1 egg
  • 1 teaspoon vanilla
  • 1/4 cup molasses
  • zest of 1 orange
  • 1/3 cup raw sugar

Preparation

In a medium bowl, combine flour, baking soda, cinnamon, nutmeg, ginger, cloves, and pepper; set aside.

In a mixing bowl, cream butter and brown sugar.

Add egg and beat until just combined.

Add vanilla and molasses and beat until just combined.

Add flour and beat until just combined. Cover dough with plastic wrap and chill 1-2 hours.

Preheat oven to 350 degrees.

Line several baking sheets with parchment paper.

In a small bowl, combine raw sugar and orange zest.

Using a 1-inch cookie scoop, scoop out dough and roll into balls, then dip each ball into the raw sugar/zest.

Place on prepared baking sheets about 2 inches apart and flatten with the tines of a fork like you would a peanut butter cookie.

Bake 10 minutes, until edges are just beginning to brown and centers are set.

Cool on baking sheet for 5 minutes, then cool completely on a wire rack.


Toffee Bars

toffee barsAlthough I’ve eaten toffee many times, until today I didn’t know how it was made. Similar to caramel, toffee is created by caramelizing sugar (or molasses) with butter and bringing it to “hard crack stage,” a term employed in candy making that equates to about 300 degrees.

My experience with toffee has usually come in the form of the Heath bar, a wonderful concoction of toffee covered in chocolate. These bars taste a great deal like Heath bars and are easier to make than one might think at first glance, as they employ sweetened condensed milk and butter to create the toffee layer.

Just a few tips: you’ll want to be sure to cut the bars and remove them from the pan within minutes of pouring on the chocolate layer, as I can imagine them being difficult to pry out otherwise. I found that using a small offset spatula to spread the chocolate layer worked out well; you’ll also want to use a small offset spatula to remove the bars from the pan once you’ve cut them.

Ingredients

For the crust:

  • 8 tablespoons butter
  • 1/2 cup sugar
  • 1/4 teaspoon salt
  • 1 cup flour

For the toffee layer:

  • 2 tablespoons butter
  • 1 14-ounce can sweetened condensed milk
  • 2 teaspoons vanilla extract

For the chocolate layer:

  • 2 tablespoons butter
  • 1 ounce unsweetened chocolate
  • 1 1/2 cups powdered sugar, sifted
  • 1 teaspoon vanilla
  • 4 teaspoons hot water

Preparation

Preheat oven to 350 degrees.

Prepare the crust; in a mixing bowl, cream together butter, sugar, and salt. Add flour and mix with a wooden spoon, then with your hands, until a soft dough forms. Press into the bottom of a 9 x 13 pan and bake for 12-15 minutes, until edges are golden brown.

While crust is baking, prepare toffee layer; in a medium saucepan, combine butter and sweetened condensed milk and cook over medium heat until bubbly, stirring constantly. Continue to cook for another 5 minutes, stirring constantly, until mixture thickens. Remove from heat and stir in vanilla; immediately pour and spread over hot crust. Bake for 12-15 minutes, until golden brown. Remove baking dish from oven and allow to cool for just a few minutes while you prepare the chocolate layer.

For the chocolate layer, in a medium saucepan, combine butter and chocolate over low heat and allow to melt, stirring frequently. Remove from heat and add powdered sugar, vanilla, and 2 teaspoons hot water. Stir until very smooth; if necessary, add 2 additional teaspoons hot water, 1 at a time, to reach a very pourable consistency. Spread over warm bars.

Using a very sharp knife, cut bars and immediately remove from pan. Cool on a wire rack.

Lemon Pie Cookies

lemon pie cookiesMy grandpap, Andy Kozusko Sr., loved lemon meringue pie. My grandma Zella would make it occasionally, a labor-intensive affair involving carefully formed crust, homemade filling, and cloud-like meringue. He always proclaimed it delicious, and thanked her for making one of his favorite treats.

Girls from Pittsburgh seem to have special relationships with their grandpaps (in itself, a very Pittsburgh word). I had the fortune of living just five doors up from mine, able at any moment to skip down the sidewalk and stand by his side at his work bench or help him weed the vegetable garden. Our birthdays were four days apart, so they were often celebrated together; the year I turned five and he turned 61, we shared a Strawberry Shortcake-themed birthday cake. He was the gentlest of souls, and I lost him to lung cancer when I was in high school. To this very moment, I miss him as if it just happened yesterday.

If he were still on this earth, my grandpap would have turned 92 last week, so I made these cookies in honor and memory of him. Like his favorite lemon meringue pie, they are also quite labor-intensive, so I’m providing two ways of preparation for those who are short on time.

Version 1:

Ingredients

  • 1 recipe pie crust
  • 2 10-ounce jars lemon curd
  • 1 egg
  • 1 teaspoon water
  • sugar, for sprinkling

Preparation

Preheat oven to 350 degrees. Line several baking sheets with parchment paper.

Prepare egg wash by whisking egg and water together; set aside.

Prepare pie crust and roll out to about 1/4 inch thickness. Using a 3-inch cookie cutter, cut circles and set aside; re-roll scraps and continue cutting circles of dough until you’ve used it all and have an equal number of top circles and bottom circles for the cookies.

Take each circle and roll it out again, to about 1/8 inch thickness; you want the crust to be thin, but not so thin the cookies will burst when baking.

Spread about 1 teaspoon of lemon curd onto one circle, leaving about 1/4 inch border at the edge, then top it with another circle of dough. Pinch the edges together, place on the prepared cookie sheet, then press the edges closed with the tines of a fork.

You should be able to fit about 6 cookies on each cookie sheet; once your sheet is full, brush each cookie with the egg wash, sprinkle it with sugar, and cut a vent in the top of each cookie.

Bake for 15-20 minutes, until edges just begin to turn golden brown. Remove from cookie sheets and cool on a wire rack.

Version 2: Please note that this is not how I prepared my cookies, though the original recipe called for this kind of preparation using store-bought pie dough.

Ingredients

  • 1 recipe pie crust (you will only need two of the three crusts that the recipe yields)
  • 1 10-ounce jar lemon curd
  • 1 egg
  • 1 teaspoon water
  • sugar, for sprinkling

Preheat oven to 350 degrees. Line several baking sheets with parchment paper.

Prepare pie crust and roll out two circles to about 1/4 inch thickness and 9 inches in diameter; it will be important for your crusts to line up so that you can place one over the other.

On the bottom crust, spread lemon curd, leaving about 1/4 inch border at the edges. Using a 3-inch cookie cutter, cut through both layers of crust. Transfer cookies to prepared cookie sheets and press edges to seal, brush with egg wash, sprinkle with sugar, and cut a vent in each top.

Bake for 15-20 minutes, until edges are just golden brown. Remove from cookie sheets and cool on a wire rack.

Peanut Butter Popcorn

pb popcornSometimes you encounter a treat that you spend your whole life wanting to recreate. As a kid, I had a friend whose mom made excellent peanut butter popcorn, and I’ve always wanted to try to make it on my own.

Since moving back to Pittsburgh, my attempts to make successful caramel popcorn have failed, so I was a bit nervous about trying this recipe. The air seemed dry enough today (humidity is the enemy of candy-making), and armed with positive thoughts, I set my sugar and corn syrup to boil on the stove. After the requisite minute, I pulled them from the heat, stirred in my peanut butter and vanilla, and….magic. That heavenly, almost marshmallowy, peanut buttery smell that I remembered from childhood filled my kitchen. The consistency looked right, smooth and not unlike caramel. Into the oven it went, and 10 minutes later it came out a resounding success.

I used a disposable pan for this experiment just in case, but I’ll likely use a glass dish next time and/or spread the finished popcorn on a sheet of buttered foil to cool. As much as you’ll want to dive in right away, sugar gets dangerously hot when it cooks, so make sure the popcorn is completely cool before you serve it.

Ingredients

  • 4 cups air-popped popcorn (2 tablespoons unpopped)
  • 1/2 cup sugar
  • 1/2 cup light corn syrup
  • 1/2 cup peanut butter
  • 1 teaspoon vanilla extract

Preparation

Preheat oven to 300 degrees.

Place popcorn in a 9 x 13 glass baking dish.

In a medium saucepan, combine sugar and corn syrup; bring to a boil and boil for 1 minute.

Remove from heat and stir in peanut butter and vanilla.

Pour over popcorn, stirring to coat.

Bake for 10 minutes, stirring every few minutes to continue coating the kernels evenly.

Remove from oven and cool completely before serving. Store in an airtight container.

Apple Butter Muffins

apple butter muffinsApple butter is a new ingredient for me, first put to use in last week’s peanut butter swirl brownies. Whenever I work with something new, I like to learn its history, to find out how it came to be used in baking.

Like many American staples, apple butter is a European invention. In essence, apple butter is a highly-concentrated form of applesauce, created by cooking apples and cider or water until the fruit caramelizes. The “butter” part refers to its consistency, being easily-spreadable; there is no dairy whatsoever in apple butter, making it a popular low-fat substitute in baking and cooking or in vegan recipes.

These muffins are adapted from another recipe I found online; I added cinnamon to the batter and streusel topping for additional texture. They’re among my favorite treats that I’ve made all summer, not too sweet but with a wonderful cinnamon-sugar aroma and far lighter texture than you’d expect for a recipe that involves rolled oats. My recipe yielded 12 muffins plus one miniature loaf of apple butter bread, but you could easily just made additional muffins if you wish–this just seemed like it would make a nice quick bread as well, so I thought I’d experiment.

Pittsburgh-area friends: visit Soergel Orchards in Wexford for the best apple butter around. They make it themselves from their very own apples and it is delicious.

Ingredients

For streusel topping:

  • 1/2 cup flour
  • 1/4 cup brown sugar
  • 1 teaspoon cinnamon
  • 4 tablespoons butter, cut into chunks

For the muffins:

  • 1 cup rolled oats
  • 1 cup milk
  • 2 eggs
  • 1/2 cup apple butter
  • 1 cup flour
  • 1/2 cup brown sugar
  • 1 teaspoon baking powder
  • 1/2 teaspoon baking soda
  • 1/2 teaspoon salt
  • 1 teaspoon cinnamon

Preparation

Preheat oven to 400 degrees.

Line 12-16 muffin cups with paper liners (or line 12 muffin cups with paper liners and lightly grease one miniature loaf pan).

Make streusel topping: in a small bowl combine all ingredients and rub together with your fingers until the mixture resembles very coarse sand. Set aside.

In a large bowl, combine oats, milk, eggs, and apple butter; mix well.

In a medium bowl, whisk together flour, brown sugar, baking powder, baking soda, salt, and cinnamon; add to wet mixture and stir until just combined, taking care not to over-mix.

Spoon batter into prepared muffin cups, filling about 3/4 full.

Using a teaspoon from your measuring spoon set, scoop a very generous amount of streusel topping onto each muffin.

Bake for 20 minutes, until tops are very lightly golden brown.

Cool on a wire rack or serve slightly warm.

Note: if you’re also baking a mini quick bread, it bakes for 20 minutes as well.