Chocolate Bats

chocolate batsIt’s Halloween Eve, also known as Devil’s Night. As a big fan of the city of Detroit, I was disheartened to learn that this term is primarily associated with major vandalism and arson in the Motor City. I’m hoping that Detroit is peaceful tonight, for many reasons.

Anyway…it’s also National Bat Week, and I dig bats. I’ve been wanting to make bat-themed sugar cookies for a while, and I found this very easy recipe on Betty Crocker’s website. As usual, Betty knows her stuff.

This dough is incredibly easy to work with, not too soft and not too firm, just the right texture for rolling and cutting. I usually don’t enjoy making sugar cookies because they’re quite labor-intensive, but this recipe was really simple. I used two different bat cutters and intended to pipe on some icing eyes and fangs, but once these treats were done I decided I liked them better just as they were. Happy Halloween!

Ingredients

  • 1 1/2 cups flour
  • 3/4 cup cocoa powder
  • 1/8 teaspoon salt
  • 12 tablespoons butter, softened
  • 1 1/3 cup sugar
  • 1 egg
  • 1 teaspoon vanilla extract

Preparation 

In a medium bowl, combine flour, cocoa powder, and salt; set aside.

In a mixing bowl, cream together butter and sugar until fluffy. Add egg and vanilla extract, beating until well-combined.

Slowly add flour mixture, scraping the sides of the bowl often and beating until a very well-combined, soft dough forms.

Gently knead the dough a few times to make sure it comes together; roll dough into a ball and flatten into a disc. Wrap in plastic and chill for 1 hour.

Preheat oven to 375 degrees; line three baking sheets with parchment or foil.

On a lightly floured surface, roll dough to 1/8 inch thickness. Cut with a bat-shaped cookie cutter; if using different shapes, be sure to bake the same shape on one cookie sheet. Baking different-sized or differently-shaped cookies on the same sheet can lead to uneven results; some of your cookies might be underdone while others will be overdone.

Bake for 8-10 minutes, until edges are set. Remove from oven and cool on cookie sheets for 1-2 minutes, then remove to wire racks to cool completely.


Fudge Rounds

fudge roundsWhen I was in college, my grandma Zella would send me care packages. As a graduate of secretarial school in the 1940s, my little Hungarian-born gram never had the experience of microcosmic college life that I had at Frostburg State University. There, on a little campus on the side of a mountain in Western Maryland, my entire existence was wrapped up in papers about subjects I’d never remember today, in presentations for my communications degree, in quarters for laundry, and in the simple joy of grilled cheese day at the dining hall.

Another great joy in campus life was the care package from one’s grandma, and my packages always included some home-baked good, such as Zella’s almond cookies or butterscotch chip cookies, a few cans of Pringles, and some kind of Little Debbie Snack Cakes. The variety of snack cakes depended on the season; in autumn, Fall Party Cakes arrived, and in winter, Christmas Tree Cakes. Any time of year might bring Swiss Rolls, Zebra Cakes, Oatmeal Cream Pies, or Donut Sticks. Despite being one of the best bakers I’ve known, Z definitely believed in the convenience (and affordability) of Little Debbie’s offerings.

I’m not sure if she ever sent me Fudge Rounds, but I bet my gram would be proud of this recipe below; it captures the essence of the Fudge Round perfectly and, dare I say, with even more fudgy goodness than its packaged counterpart. The recipe below is adapted from a few others I found online, adjusting quantities for what I believe to be softer cookies and sturdier filling. You may notice the addition of 1 tablespoon of flour beyond the standard 2 cups in the cookie recipe; my first test batch seemed too soft, even after a few additional minutes of baking, so I added some more flour to stabilize the dough and it worked very well. It’s also important to note the need for salted butter here; if you’re using unsalted, you’ll want to add some salt with your dry ingredients to balance the flavor.

Fudge Cookies

Ingredients

  • 2 cups plus 1 tablespoon flour
  • 3/4 cups cocoa powder
  • 1 teaspoon baking soda
  • 1 1/4 cups salted butter, softened
  • 2 cups sugar
  • 2 eggs
  • 3 teaspoons vanilla extract

Preparation

Preheat oven to 350 degrees. Line three baking sheets with parchment paper.

In a medium bowl, stir together flour, cocoa powder, and baking soda; set aside.

In a mixing bowl, cream butter and sugar until light and fluffy. Add eggs, one at a time, beating well after each addition. Add vanilla and beat well.

Add flour mixture in three batches, scraping the sides of the bowl regularly; it will take several scrapings to fully incorporate all of the dry ingredients into the wet ingredients.

Using a two-inch cookie scoop, drop scoops of dough onto parchment-lined sheets; you should have 6 scoops on each sheet.

Bake for 8-10 minutes, until edges are set and centers are still puffy; remove from oven and allow cookies to cool on baking sheets for several minutes before removing to wire racks to cool completely. I left my batches on for about 8 minutes each.

Cool cookies completely before filling.

Chocolate Filling

Ingredients

  • 1/2 cup shortening
  • 1/2 cup salted butter, softened
  • 1 teaspoon vanilla extract
  • 1/4 cup cocoa powder
  • 3 1/2 to 3 3/4 cups powdered sugar
  • 4 tablespoons warm water

Preparation

In a mixing bowl, cream shortening and butter. Add vanilla and beat until well-combined.

Add cocoa powder and 1 cup powdered sugar; beat until well-combined, scraping the sides of the bowl often. Add 2 more cups powdered sugar, 1 cup at a time, mixing well and scraping the bowl between each addition. As with the batter for the cookies, it takes a while for the dry ingredients to fully incorporate with the wet ingredients in this recipe.

Add water and beat on low at first, then increase speed to medium and beat for 2 minutes, until filling is light and fluffy. Add remaining 1/2 to 3/4 cup powdered sugar, depending on the consistency of your filling; mine was quite thin, probably due to very soft butter in yesterday’s heat, so I added the full additional 3/4 cup to stabilize it.

Once the cookies have completely cooled, flip them all over; using a 1-inch cookie scoop, drop scoops of filling onto half of the cookies, spread with an offset spatula, and top with the remaining cookies.

Chocolate Drizzle

Ingredients

  • 1/2 cup milk chocolate chips
  • 1 teaspoon vegetable oil

Preparation

In a large glass measuring cup, melt chocolate chips and vegetable oil by microwaving in 15-second intervals, stirring between each. Pour drizzle into a pastry bag fitted with a small plain tip and pipe drizzle in wavy shapes. Allow chocolate to set before serving.

Store fudge rounds in single layers in airtight containers.

Truffles

trufflesI am now a chocolatier. An amateur one for sure, but that still counts, right?

Yesterday, I chopped up an enormous block of bittersweet chocolate with my big scary chef’s knife and made my first-ever batch of real truffles, using only chocolate and heavy cream and butter and flavorings. I had the music from the movie “Chocolat” in my head the whole time and tried my best to channel my inner Vianne Rocher.

Here’s what I’ve learned about working with ganache: once you try to roll it in your hands, all bets for cleanliness are off. It melts immediately, turning one’s hands into a chocolate-coated sticky mess. The end result is worth it, though: according to Mike, these truffles are “like taking a bite out of hot chocolate.” They are super-chocolaty and could of course be flavored and coated with any number of things, but I chose a simple orange extract and cocoa powder enhancement.

Ingredients

  • 12 ounces bittersweet chocolate, chopped
  • 1 cup heavy cream
  • 1 tablespoon butter
  • pinch of salt
  • 1/2 teaspoon vanilla extract
  • 1/2 teaspoon orange extract
  • about 1/4 cup cocoa powder, sifted

Preparation

Place chopped chocolate in a medium heat proof bowl; set aside.

In a medium saucepan, bring heavy cream, butter, and salt to a simmer. Immediately pour over chocolate and let set until chocolate is melted, about 10 minutes. Stir with a spatula until smooth.

Whisk in vanilla extract and orange extract (or just use 1 teaspoon vanilla extract if you don’t have orange), then continue stirring until chocolate is shiny and smooth. Pour into a shallow baking dish and let set overnight.

Line a baking sheet with parchment. Using a one-inch scoop, scoop out chocolate and roll into balls. Beware, this is a messy endeavor: I kept paper towels nearby and wiped my hands several times during the process. Coat each truffle in cocoa powder then place on the parchment-lined baking sheet. Cover with plastic wrap and chill at least 1 hour; once truffles are chilled, place in an airtight container and store in the refrigerator.

Toffee Chocolate Matzoh

matzoh brittleMost people call this “matzoh crack” for its highly addictive quality. Some call it matzoh brittle, or just chocolate-covered matzoh. Apparently, whatever you call it, it’s delicious, and enough to make a sugar-fasting gal break her fast (although I haven’t done so).

This treat is incredibly easy to make; I’ve seen it with regular saltine crackers as well as matzah, and I wonder how graham crackers would fare. My Aunt Liz makes a wonderful cracker/toffee/pecan creation at Christmas that I would swear uses graham crackers, so I’d like to give that a try.

Like many other treats, you can dress this one up as much as you like, or leave it plain and simple. Some recipes call for chopped walnuts or pecans to be sprinkled on after the chocolate chips melt, while others encourage a sprinkling of sea salt. Mike requested this plain version and declared it very tasty.

Ingredients

  • 4-6 sheets matzoh (the Passover kind, not regular)
  • 1 cup butter
  • 1 cup packed light brown sugar
  • 1/2 teaspoon vanilla extract
  • pinch of salt
  • 1 1/2 cups semisweet chocolate chips

Preparation

Preheat oven to 350 degrees. Line an 11 x 17 rimmed baking sheet with foil, extending well over and completely covering each side. Line the bottom of the sheet with parchment paper, cutting the parchment to fit.

Place matzoh in a single layer in the bottom of the baking sheet; you’ll need to break some of the matzoh into pieces to fit in one single layer.

In a medium saucepan, combine butter and brown sugar and cook until bubbly, stirring frequently. Once the mixture begins to boil, continue boiling for three minutes, stirring well; the mixture will thicken slightly as it cooks.

Remove from heat and stir in vanilla extract and salt, then immediately pour over matzoh. Use an offset spatula to spread toffee evenly over the crackers, as it will begin to set quickly.

Bake for 15 minutes, checking frequently to make sure the toffee doesn’t begin to burn. Remove from the oven and cover with chocolate chips; allow the chips to melt for a few minutes, then spread the melted chips in an even layer over the matzoh.

Allow to cool completely, then break into pieces. Store in an airtight container; we put ours in the fridge to keep the chocolate from re-melting.

Cocoa Frosting

vanilla with cocoa frostingRecently, I searched for a chocolate frosting that wasn’t buttercream, but rather a richer, more complex flavor. I found this recipe on the Hershey’s website and adapted it slightly to incorporate a greater amount of vanilla extract (as always) and a bit more powdered sugar for texture purposes.

This frosting smells delicious, very like a cup of hot cocoa. I paired it with vanilla cupcakes but I can see it as a good match for almond, white, chocolate, or strawberry cupcakes. It is very easy to pipe and has a smooth texture, so you can use star tips or plain tips, whatever your decorative sensibilities may be.

The recipe below yielded enough frosting for 12 miniature cupcakes and 11 regular-sized cupcakes, so I’d recommend increasing the ingredients by half to accommodate 24 cupcakes.

Ingredients

  • 8 tablespoons butter, melted
  • 2/3 cup cocoa powder
  • 3 3/4 cups powdered sugar
  • 1/3 cup milk
  • 2 teaspoons vanilla extract

Preparation

In the bowl of a stand mixer fitted with the paddle attachment, combine melted butter and cocoa powder. Beat on low speed for about 1 minute, then increase speed to medium and beat for 2 minutes more.

Add 1 cup powdered sugar and beat on low speed, then add about half of the milk, continuing to beat on low speed, until combined. Follow with another cup powdered sugar and remainder of milk, beating on low until combined. Add remaining powdered sugar, then vanilla, beating until frosting is creamy and spreadable, but not too thin. You may need to add just a bit more powdered sugar if your frosting is too thin to be piped easily through a piping bag.

Fit a piping bag with a medium star tip and pipe frosting onto cupcakes. Store in the refrigerator, but bring to room temperature before serving.

Oreo Truffles

oreo trufflesCould crushed-up Oreo cookies mixed with cream cheese possibly taste like real chocolate truffles? I wasn’t so sure until last night, when I whipped up a batch of these treats. I do enjoy a good truffle now and then, so I was a bit skeptical…but the answer is yes, they really do taste like real chocolate truffles.

If the truth be told, these treats are almost too chocolately for my taste…one certainly goes a very long way. Next time, I’ll use vanilla candy coating to mellow out the flavor a bit. You could also use white chocolate chips instead of semisweet for the coating, but I’m not a white chocolate fan. And, some recipes call for reserving a bit of the crushed-up cookies to sprinkle on the tops of the truffles once they’re dipped for added texture, but I chose to omit that step.

These treats are incredibly easy to make, so I’d recommend them for anyone who wants to whip up fancy-looking candies for a party or those looking to make something fun with their kids. Be sure to keep the finished product in the fridge, though, and only set them out right before they’ll be eaten…they do contain cream cheese, after all. And, it’s important to note that I only made a half-batch of these…you can easily double the recipe for a full batch.

Ingredients

  • 18 Oreo cookies, crushed to find crumbs
  • 4 ounces cream cheese, cut into chunks and softened
  • 1/2 cup semisweet chocolate chips
  • 1 tablespoon shortening

Preparation

Line a baking sheet with waxed paper; set aside.

In a mixing bowl, combine Oreo crumbs and cream cheese; mix with your hands (a spoon just doesn’t seem to blend the ingredients as thoroughly as necessary) until cream cheese is fully incorporated.

Using a 1-inch cookie scoop, scoop out dough and roll into balls. Place on the prepared baking sheet and refrigerate for 1-2 hours, until very firm.

In a small saucepan, melt chocolate chips and shortening together on low heat, stirring constantly to combine until fully melted.

Working quickly, dip each truffle into the chocolate and coat completely; return to waxed paper-lined baking sheet and chill until chocolate is firm. Store in an airtight container in the refrigerator.

Chocolate Peanut Butter Whoopie Pies

choc pb whoopies 
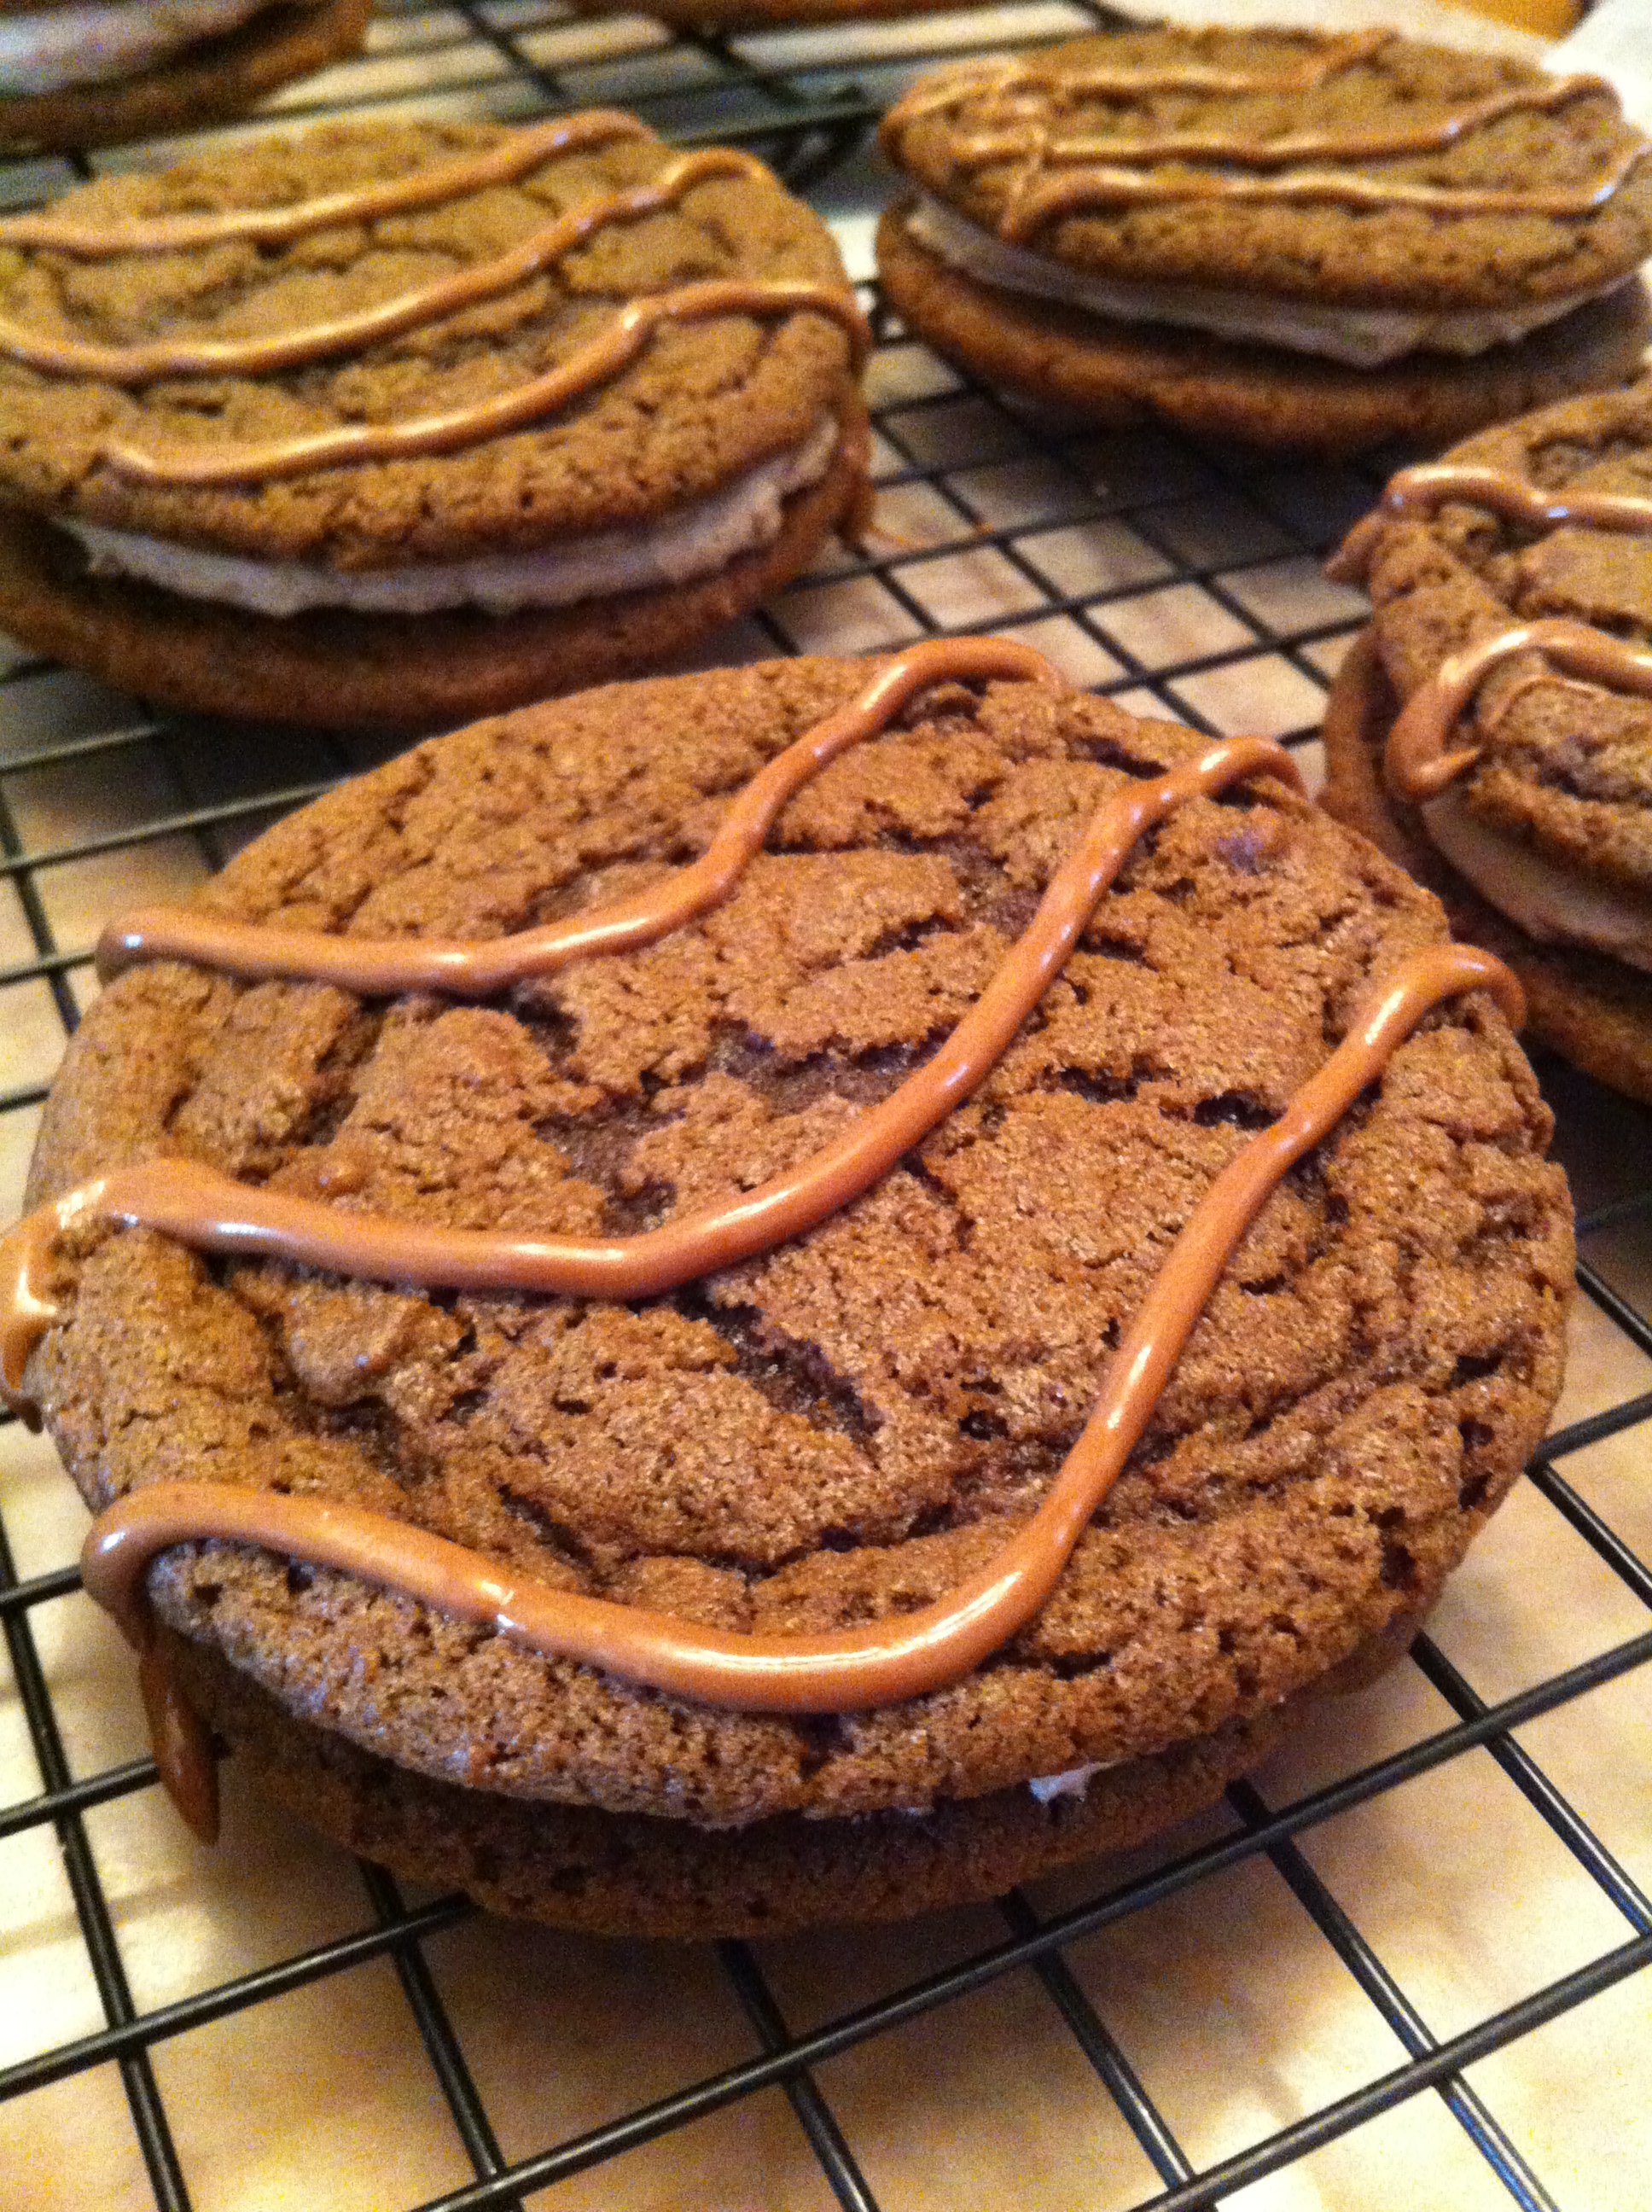
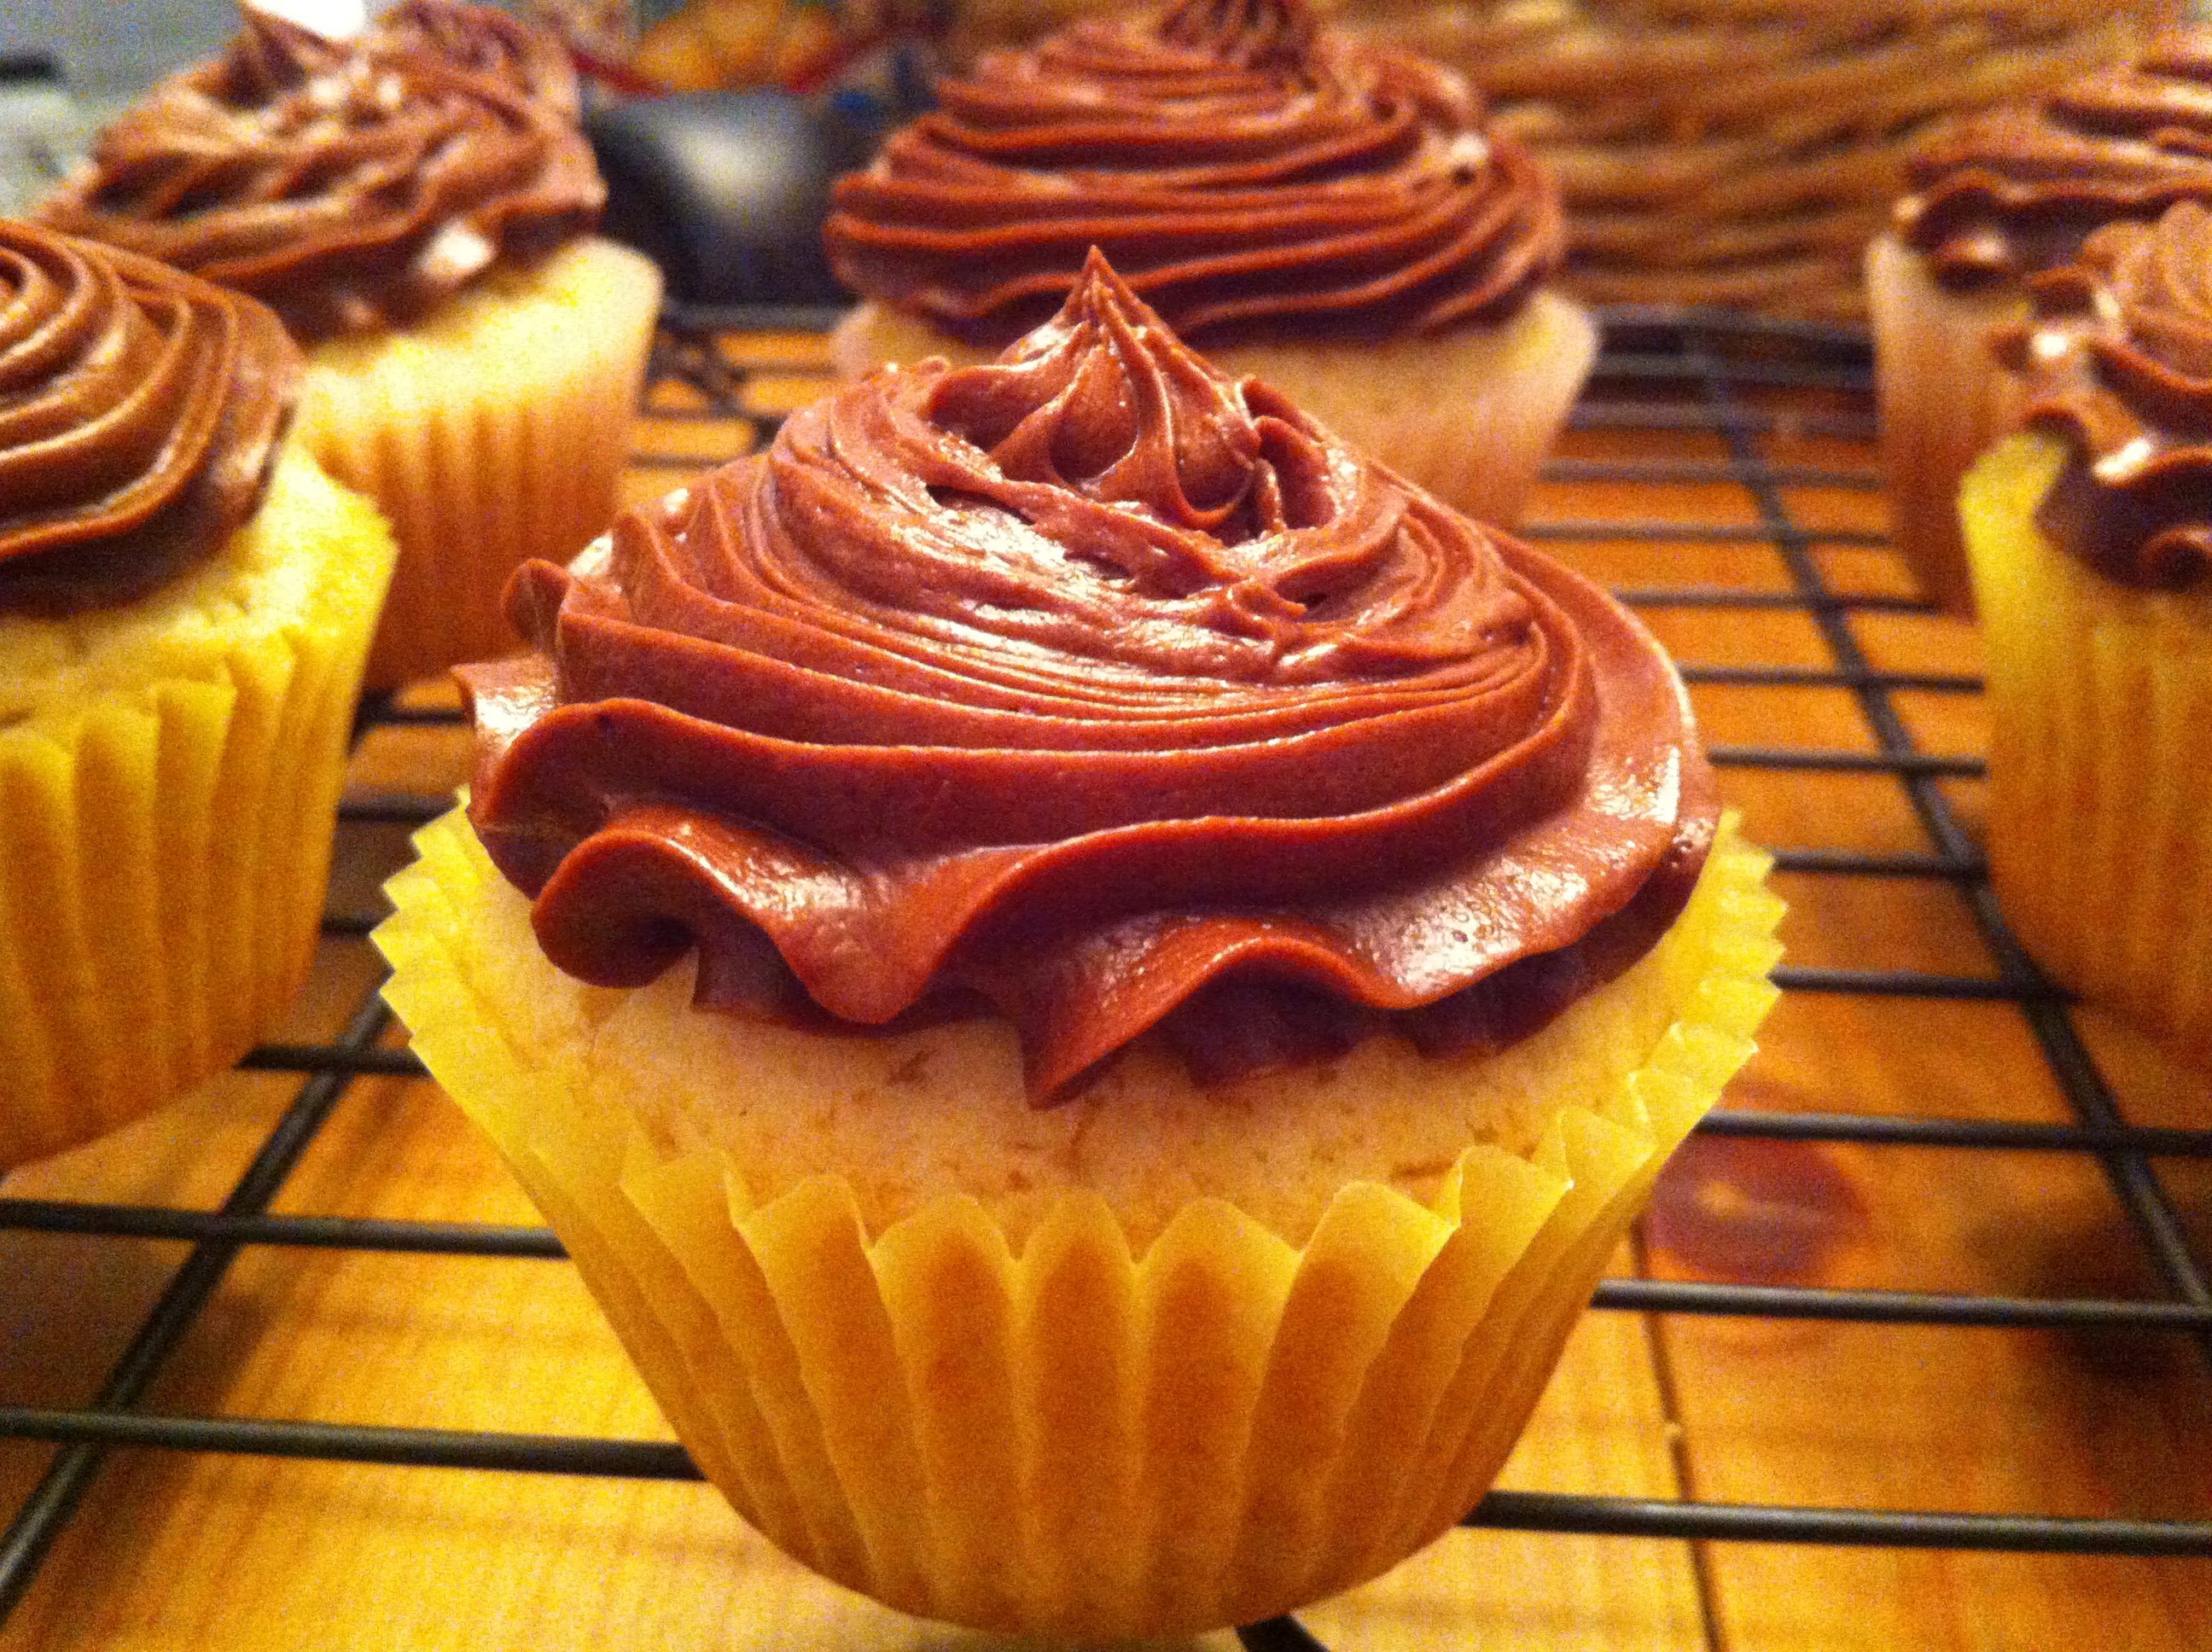
If ever there was a treat worth fighting over, it would be the whoopie pie. Pennsylvania, Maine, and New Hampshire all claim that whoopie pies were invented in their states, though some food historians believe that it was in fact the Amish in Pennsylvania, who migrated to other places, who pioneered these amazing cookies.

Pittsburghers call these treats gobs, but I think that whoopie pie is an infinitely happier term. Traditional whoopie pies are tender, cakey chocolate cookies with a thick layer of fluffy white frosting in between, but they’ve been adapted to incorporate an array of flavors, like pumpkin or lemon or vanilla. This recipe is adapted from the Martha Stewart Cookie Book recipe; I am pleased to say that it is delicious, among my favorite things that I’ve made lately.

Just a note: the peanut butter filling is really the key to this cookie. If it’s too sweet, the entire cookie will be overwhelming, so it’s important to have the right balance of peanut butter flavor, and this is why I suggest adding additional peanut butter to taste as you go along. I added about two additional tablespoons to the 3/4 cup of peanut butter to achieve the flavor I wanted.

Chocolate Cookies

Ingredients

  • 1 3/4 cups flour
  • 3/4 cup unsweetened cocoa powder
  • 1/2 tablespoon baking soda
  • 1/2 teaspoon baking powder
  • 1/2 teaspoon salt
  • 8 tablespoons butter, softened
  • 1 cup sugar
  • 1 egg
  • 1 cup buttermilk
  • 1 teaspoon vanilla

Preparation

Preheat oven to 400 degrees.

Line several baking sheets with parchment paper.

In a medium bowl, sift together flour, cocoa powder, baking soda, baking powder, and salt; set aside.

In a mixing bowl, cream together butter and sugar until very light and fluffy.

Add egg, buttermilk, and vanilla and mix well.

With the mixer on low, slowly add the flour mixture and beat until combined.

Using a one-inch cookie scoop, drop scoops of dough onto prepared sheets at least 2 inches apart.

Bake for 8 minutes, rotating baking sheets halfway through to ensure even baking.

Cool on wire racks completely before filling.

Peanut Butter Filling

Ingredients

  • 8 tablespoons butter, softened
  • 3/4 cup peanut butter, plus additional tablespoons to taste
  • 1 cup powdered sugar

Preparation

In a mixing bowl, beat together butter and 3/4 cup peanut butter.

Add powdered sugar, 1/4 cup at a time, beating until smooth.

Taste the filling and add additional peanut butter if desired.

To assemble cookies: using a one-inch cookie scoop, drop scoops of filling onto the flat sides of half of the cookies, smooth with a knife, then top with another cookie.

Store in the refrigerator for up to 3 days.


Chocolate Pie

chocolate pie

I waited four months for this pie.

Why, you ask, would someone like me go four months without a cookie, slice of cake, scoop of ice cream, sip of soda (Western Pennsylvanias read: pop), or bite of pie? Let’s just say that sugar and I had one of those unhealthy, borderline addictive-type relationships, and something had to be done about it…not to mention that my scale came very close to being hurled out the window after Christmas. But, now that I can look upon sweets as a normal part of a regular diet rather than the focus of my daily caloric intake, I really wanted a chocolate pie.

This is not a chocolate cream pie, but rather an interesting, almost brownie-like creation. It could definitely benefit from some whipped cream and raspberries (or raspberry sauce), fresh strawberries, or even a drizzle of melted peanut butter. It is also quite good just plain, and well worth a four-month wait.

Ingredients

  • 1 unbaked pie crust
  • 1 1/2 cups sugar
  • 3 tablespoons cocoa powder
  • 1/4 teaspoon salt
  • 2 eggs
  • 3/4 cup evaporated milk
  • 1 tablespoon vanilla
  • 4 tablespoons butter, melted

Preparation

Preheat oven to 350 degrees.

Line a 9-inch pie plate with crust, trim the edges, and prick the bottom and sides with a fork. Line the crust with two layers of foil, fill with dried beans or pie weights, and blind bake crust for 15 minutes. Remove from oven and cool 10 minutes before filling. If using beans, pour them into a bowl and allow them to cool, then store for re-use.

In a mixing bowl, combine sugar, cocoa powder, eggs, evaporated milk, vanilla, and salt. Carefully add melted butter, taking care not to scramble the eggs.

Cover the edge of the pie with a guard or foil; bake for 30 minutes, then remove guard and bake another 20 minutes, until the pie is set. Remove from oven and cool completely; refrigerate once pie reaches room temperature.

Chocolate Cake

chocolate cake


My five-year-old nephew Roman took a bite of a homemade sugar cookie on Christmas Day and made a face I wasn’t expecting: he wrinkled his nose and shook his head, the universal sign for “I don’t like this.” How could this be, I wondered? He’s a kid, right? Don’t children love sugar?

My brother Andy, Roman’s dad, remarked that kids eat a lot of processed foods, that they’re not necessarily used to homemade tastes. This make me think about the difference between the baked goods you buy at the store–packaged cookies, boxed cake mixes–and how different they really are from homemade. If you bake a cake from a mix, you’ll get fluffy, moist layers that will stay fresh for several days. Bake a cake from eggs, flour, butter, and sugar, and you’ll get a denser, more crumbly treat that lasts three, maybe four days tops (depending on your ability to resist slicing up a huge piece every time you pass your cake stand).

This recipe is a simple, one-bowl affair that requires no melted chocolate, just cocoa powder, and yields a single layer. Caramel frosting pairs well with this cake, but I chose to dust it with powdered sugar, make some whipped cream, and serve it “plain.”

Ingredients

  • 1 cup flour
  • 1 cup sugar
  • 1/4 cup unsweetened cocoa powder
  • 1 teaspoon baking powder
  • 1/4 teaspoon salt
  • 3/4 cup milk
  • 1/4 cup shortening
  • 1/2 teaspoon vanilla
  • 1 egg
  • Powdered sugar, for dusting
  • Sweetened whipped cream, for garnish, if desired

Preparation

Grease and flour a nine-inch round cake pan; set aside. Note: if you plan to leave the cake in the pan, you can simply grease and flour it, but if you wish to remove the cake from the pan to set it on a cake stand, I recommend greasing the bottom of the pan, lining it with a circle of waxed paper, then greasing and flouring the paper.

In a mixing bowl, combine flour, sugar, baking powder, and salt.

Add milk, shortening, and vanilla, beating on medium speed for two minutes.

Add egg and beat on medium speed for another two minutes.

Pour batter into prepared pan; it will be a light brown color and very fluffy in texture.

Bake for 30 minutes, or until a cake tester inserted in the center comes out clean.

Cool cake on a wire rack in the pan for 10 minutes, then remove from the pan (if you desire) to cool completely.

Dust with powdered sugar and top with sweetened whipped cream if desired.

Sweetened Whipped Cream

Ingredients

  • 3/4 cup whipping cream
  • 3-4 tablespoons powdered sugar

Preparation

Chill your bowl and beaters (or whisk attachment) for 10-15 minutes.

Add whipped cream and powdered sugar to the chilled bowl and beat on medium, then medium-high speed until soft peaks form.


Buckeyes

buckeye


Reese’s Peanut Butter Cups are my favorite commercial candy, and this recipe reminds me of a slightly sweeter version of the classic cup. If you search the internet, you’ll find dozens of recipes for buckeyes, all different, from the ingredients to the process to the preference for dipping partway or dipping completely. Whichever one you choose, you can’t go wrong. My recipe is very simple, using three ingredients for the filling and Baker’s dipping chocolate, which you can find in the baking aisle at the supermarket, for the coating. Someday, I plan to make buckeyes that are coated in chocolate mixed with paraffin wax, like my brave friend Mysty, but I’m not quite there yet.

Full disclosure: I made these buckeyes as a Christmas gift for myself. And no, I am not sharing.

Ingredients

  • 3 tablespoons butter, softened
  • 1/2 cup peanut butter
  • 1 cup powdered sugar, sifted
  • 1 7-ounce cup Baker’s dipping chocolate candy coating

Preparation

In a medium bowl, stir together butter and peanut butter until very well blended.

Add powdered sugar a quarter-cup at a time, mixing until very well combined. I use my hands to make sure the ingredients are completely incorporated and smooth.

Using a one-inch cookie scoop, scoop out peanut butter filling and roll into balls. Let stand on a parchment or waxed paper-lined baking sheet until dry, about 30 minutes.

Melt candy coating according to the package directions. Dip peanut butter balls into candy coating and return to baking sheet, then let stand until coating has hardened. I place my baking sheet in the fridge to help the coating set, then store the finished buckeyes in the fridge.